The floor looks great! My wife setup our E-Z Up tent for me too. It kept me cool but also kept the mortar from curing too quick. You’ll be cooking in no time.
Good job! Your on your way.
It was a drizzly weekend, but I pushed through.
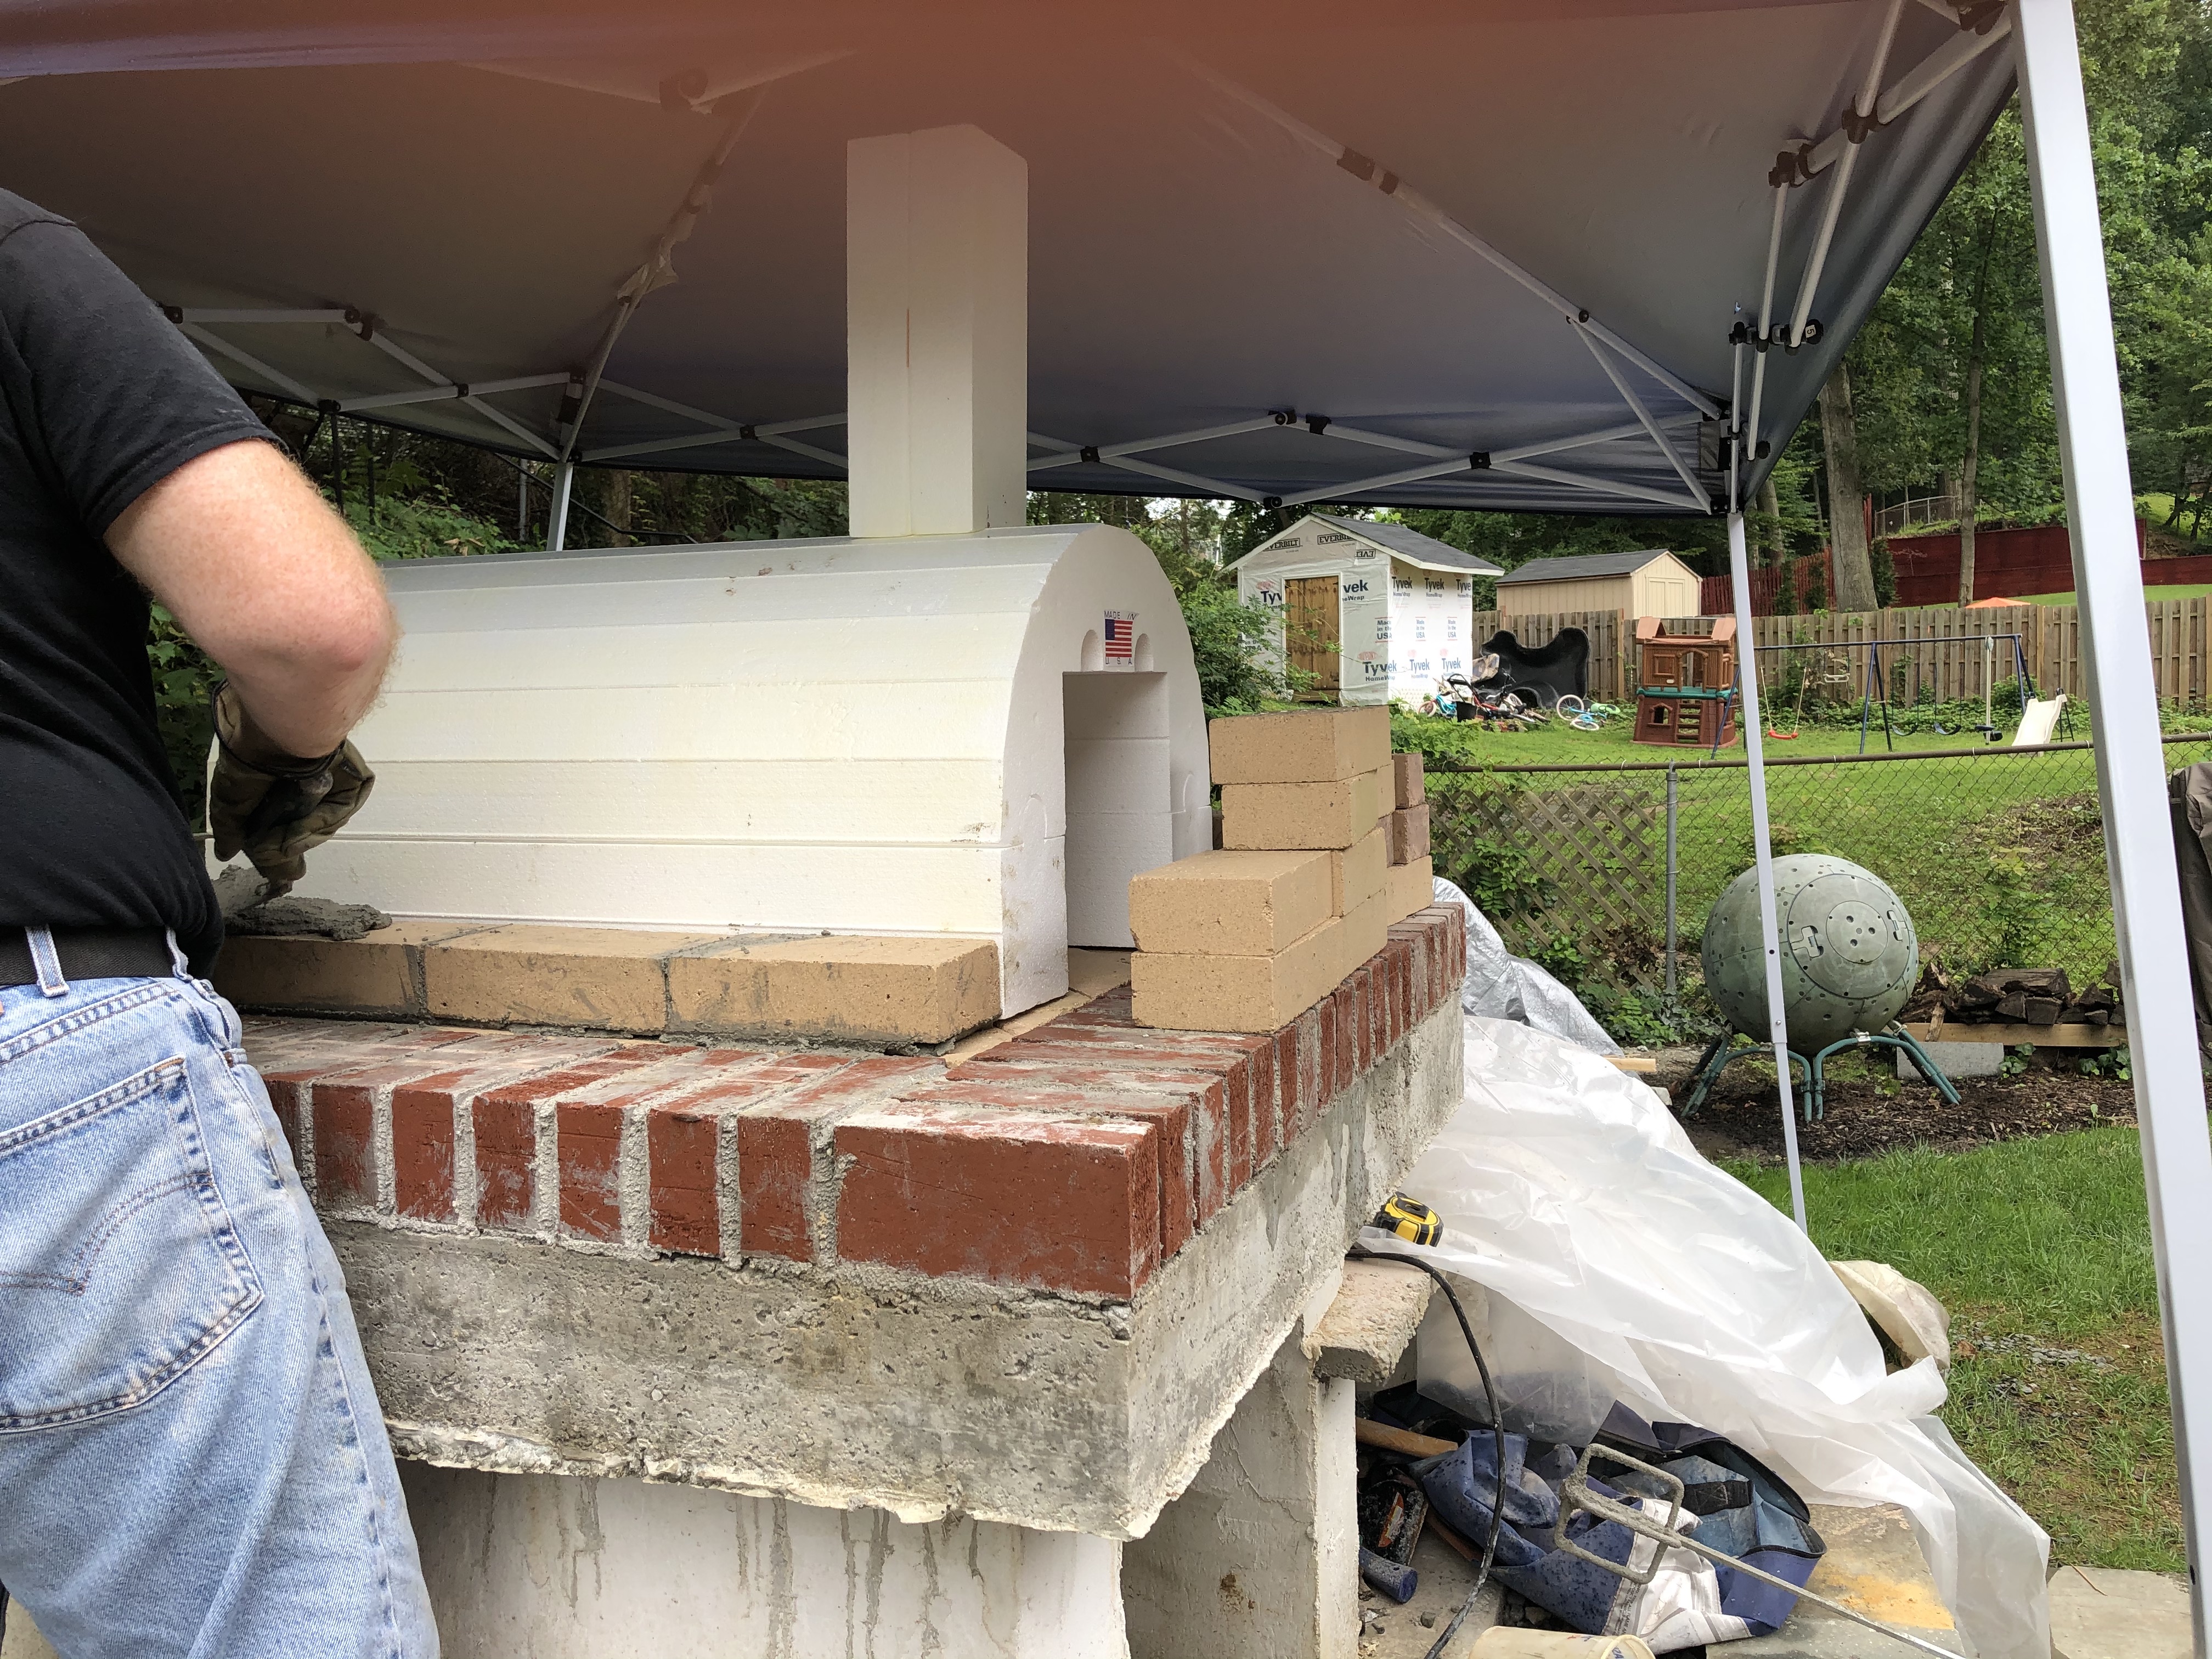
The second row was no more fun than the first, the form kept wanting to shift.
Once I finished the third row here, the form was going nowhere.
Had to stop here and make more mortar
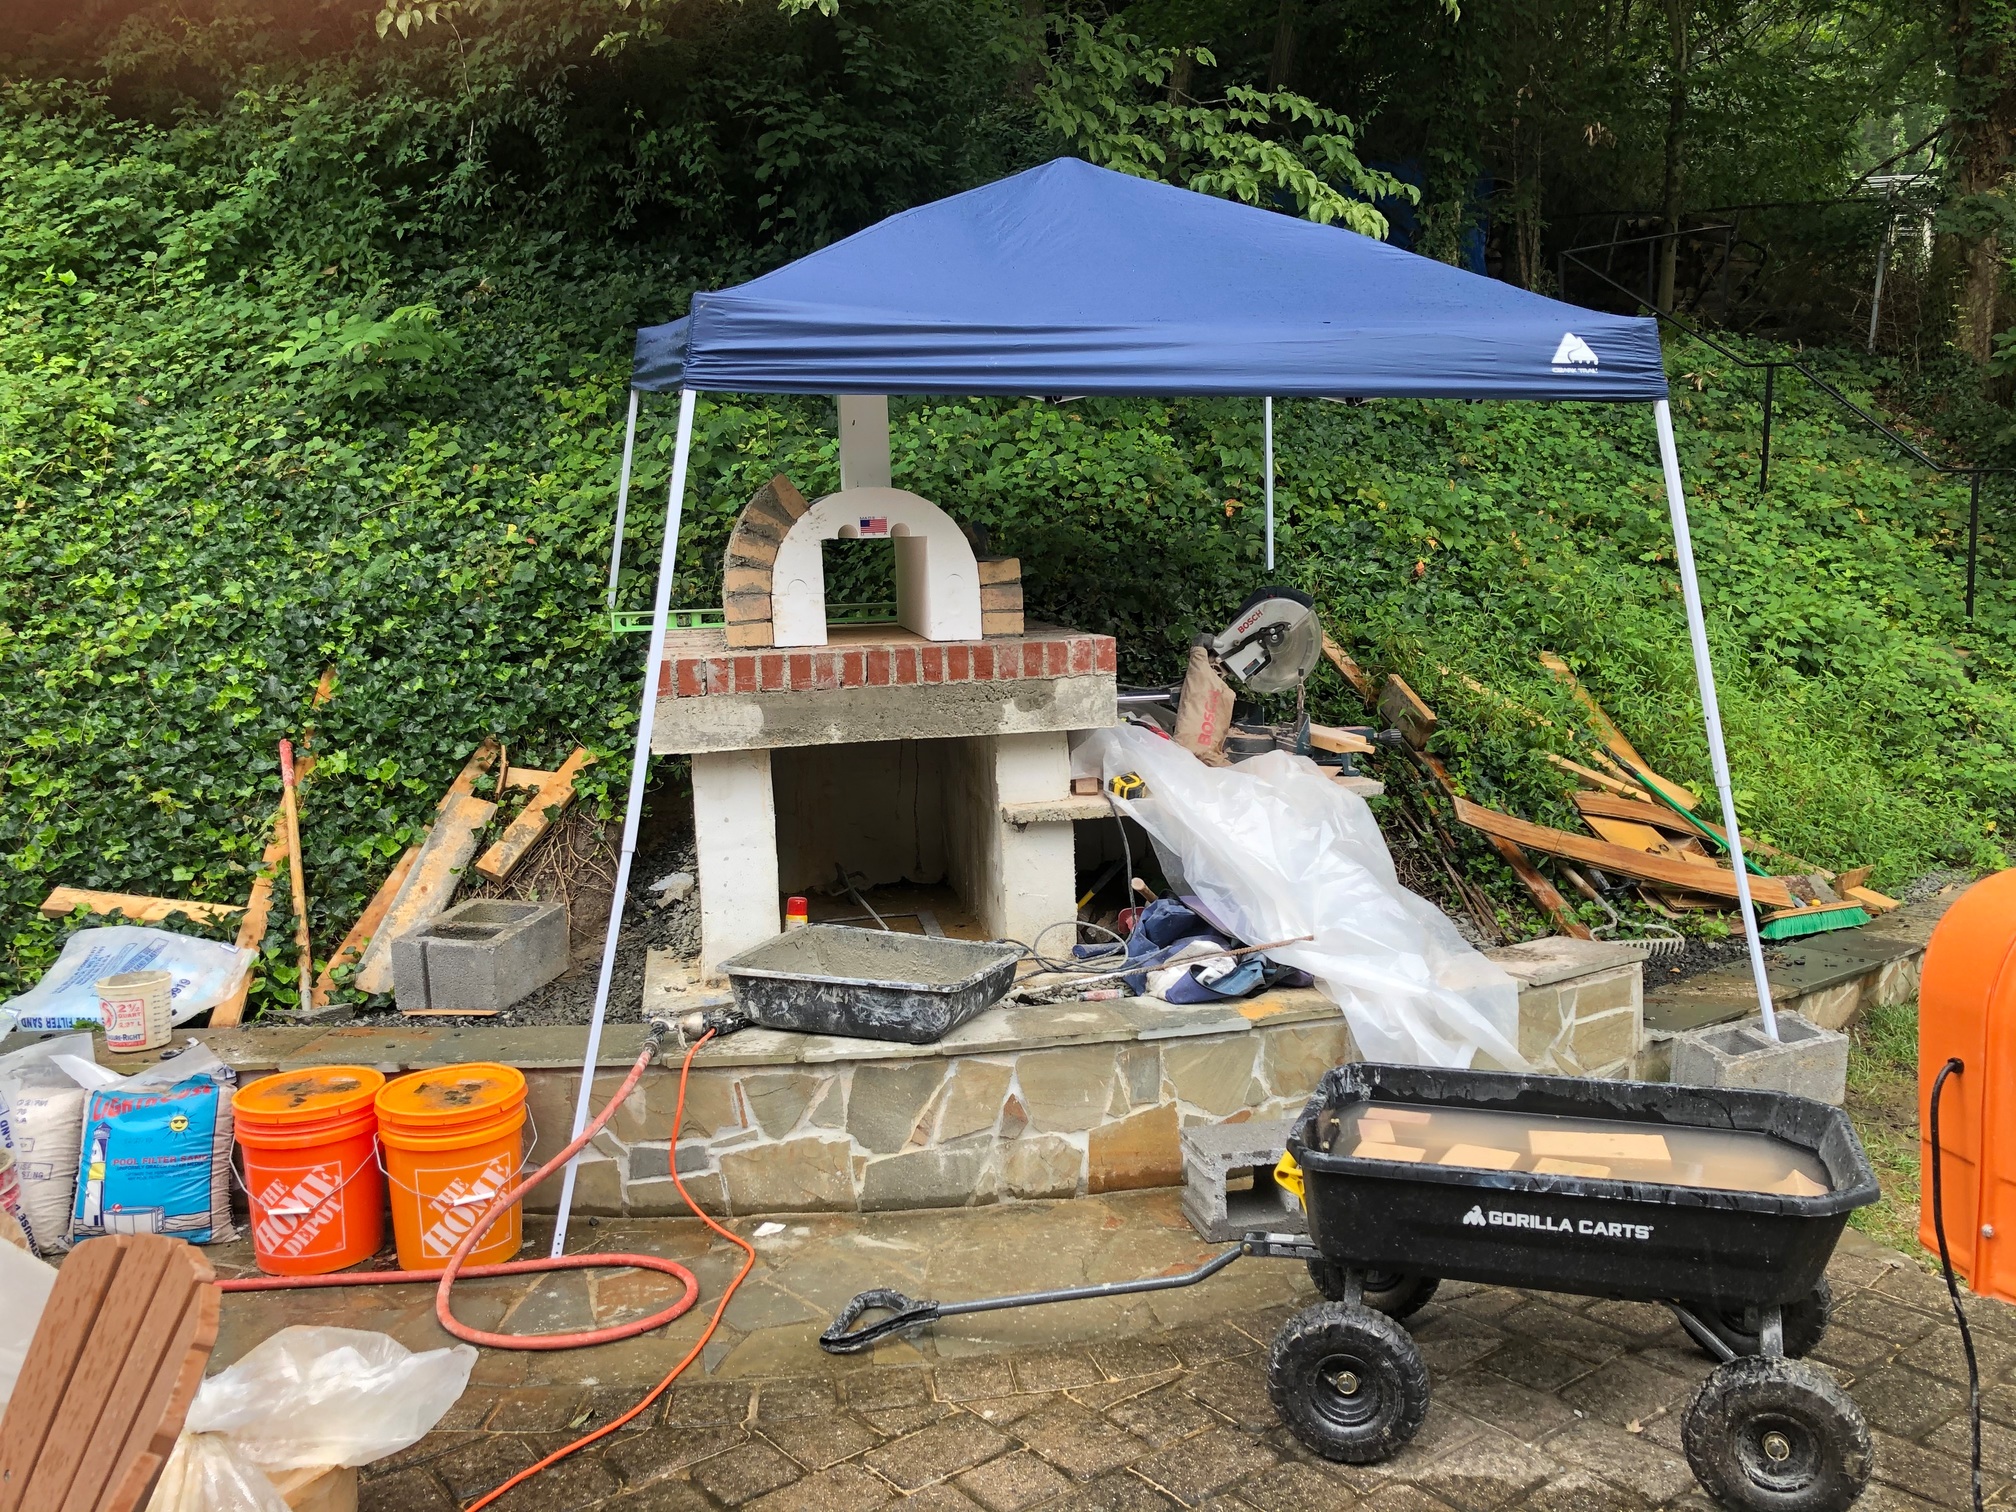
Yes, the jobsite is a mess, but I’m getting better at the brick work.
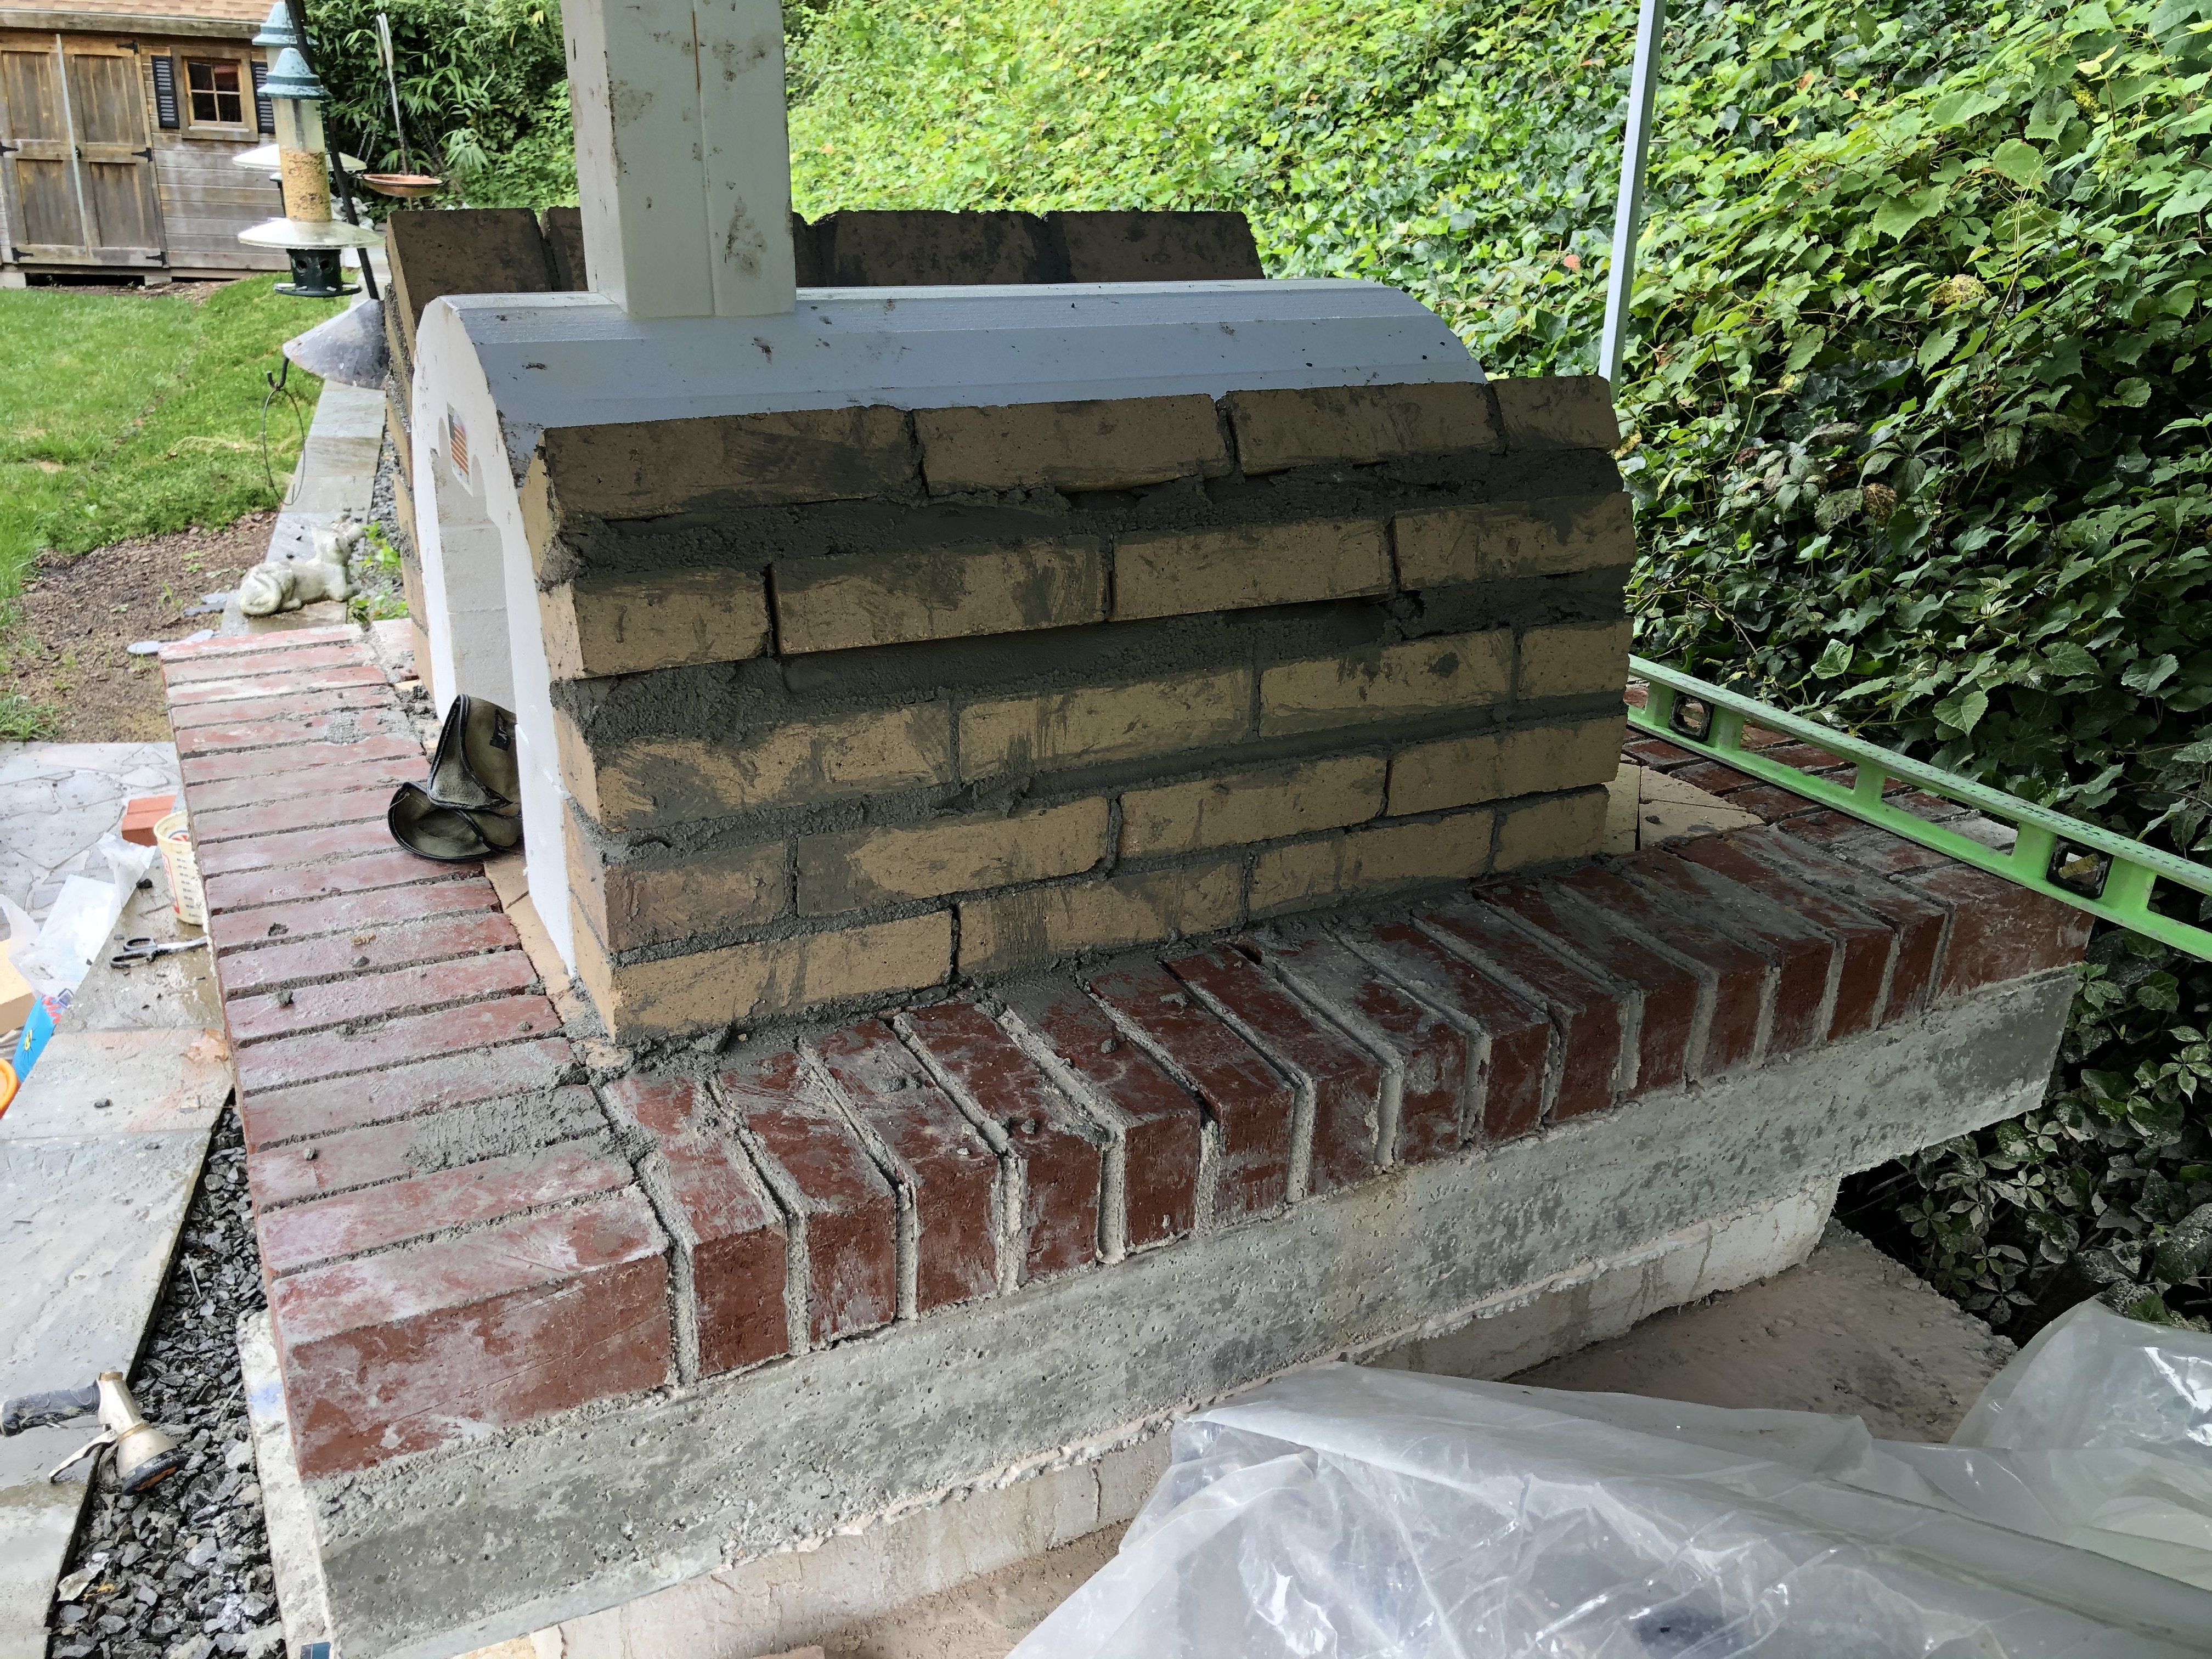
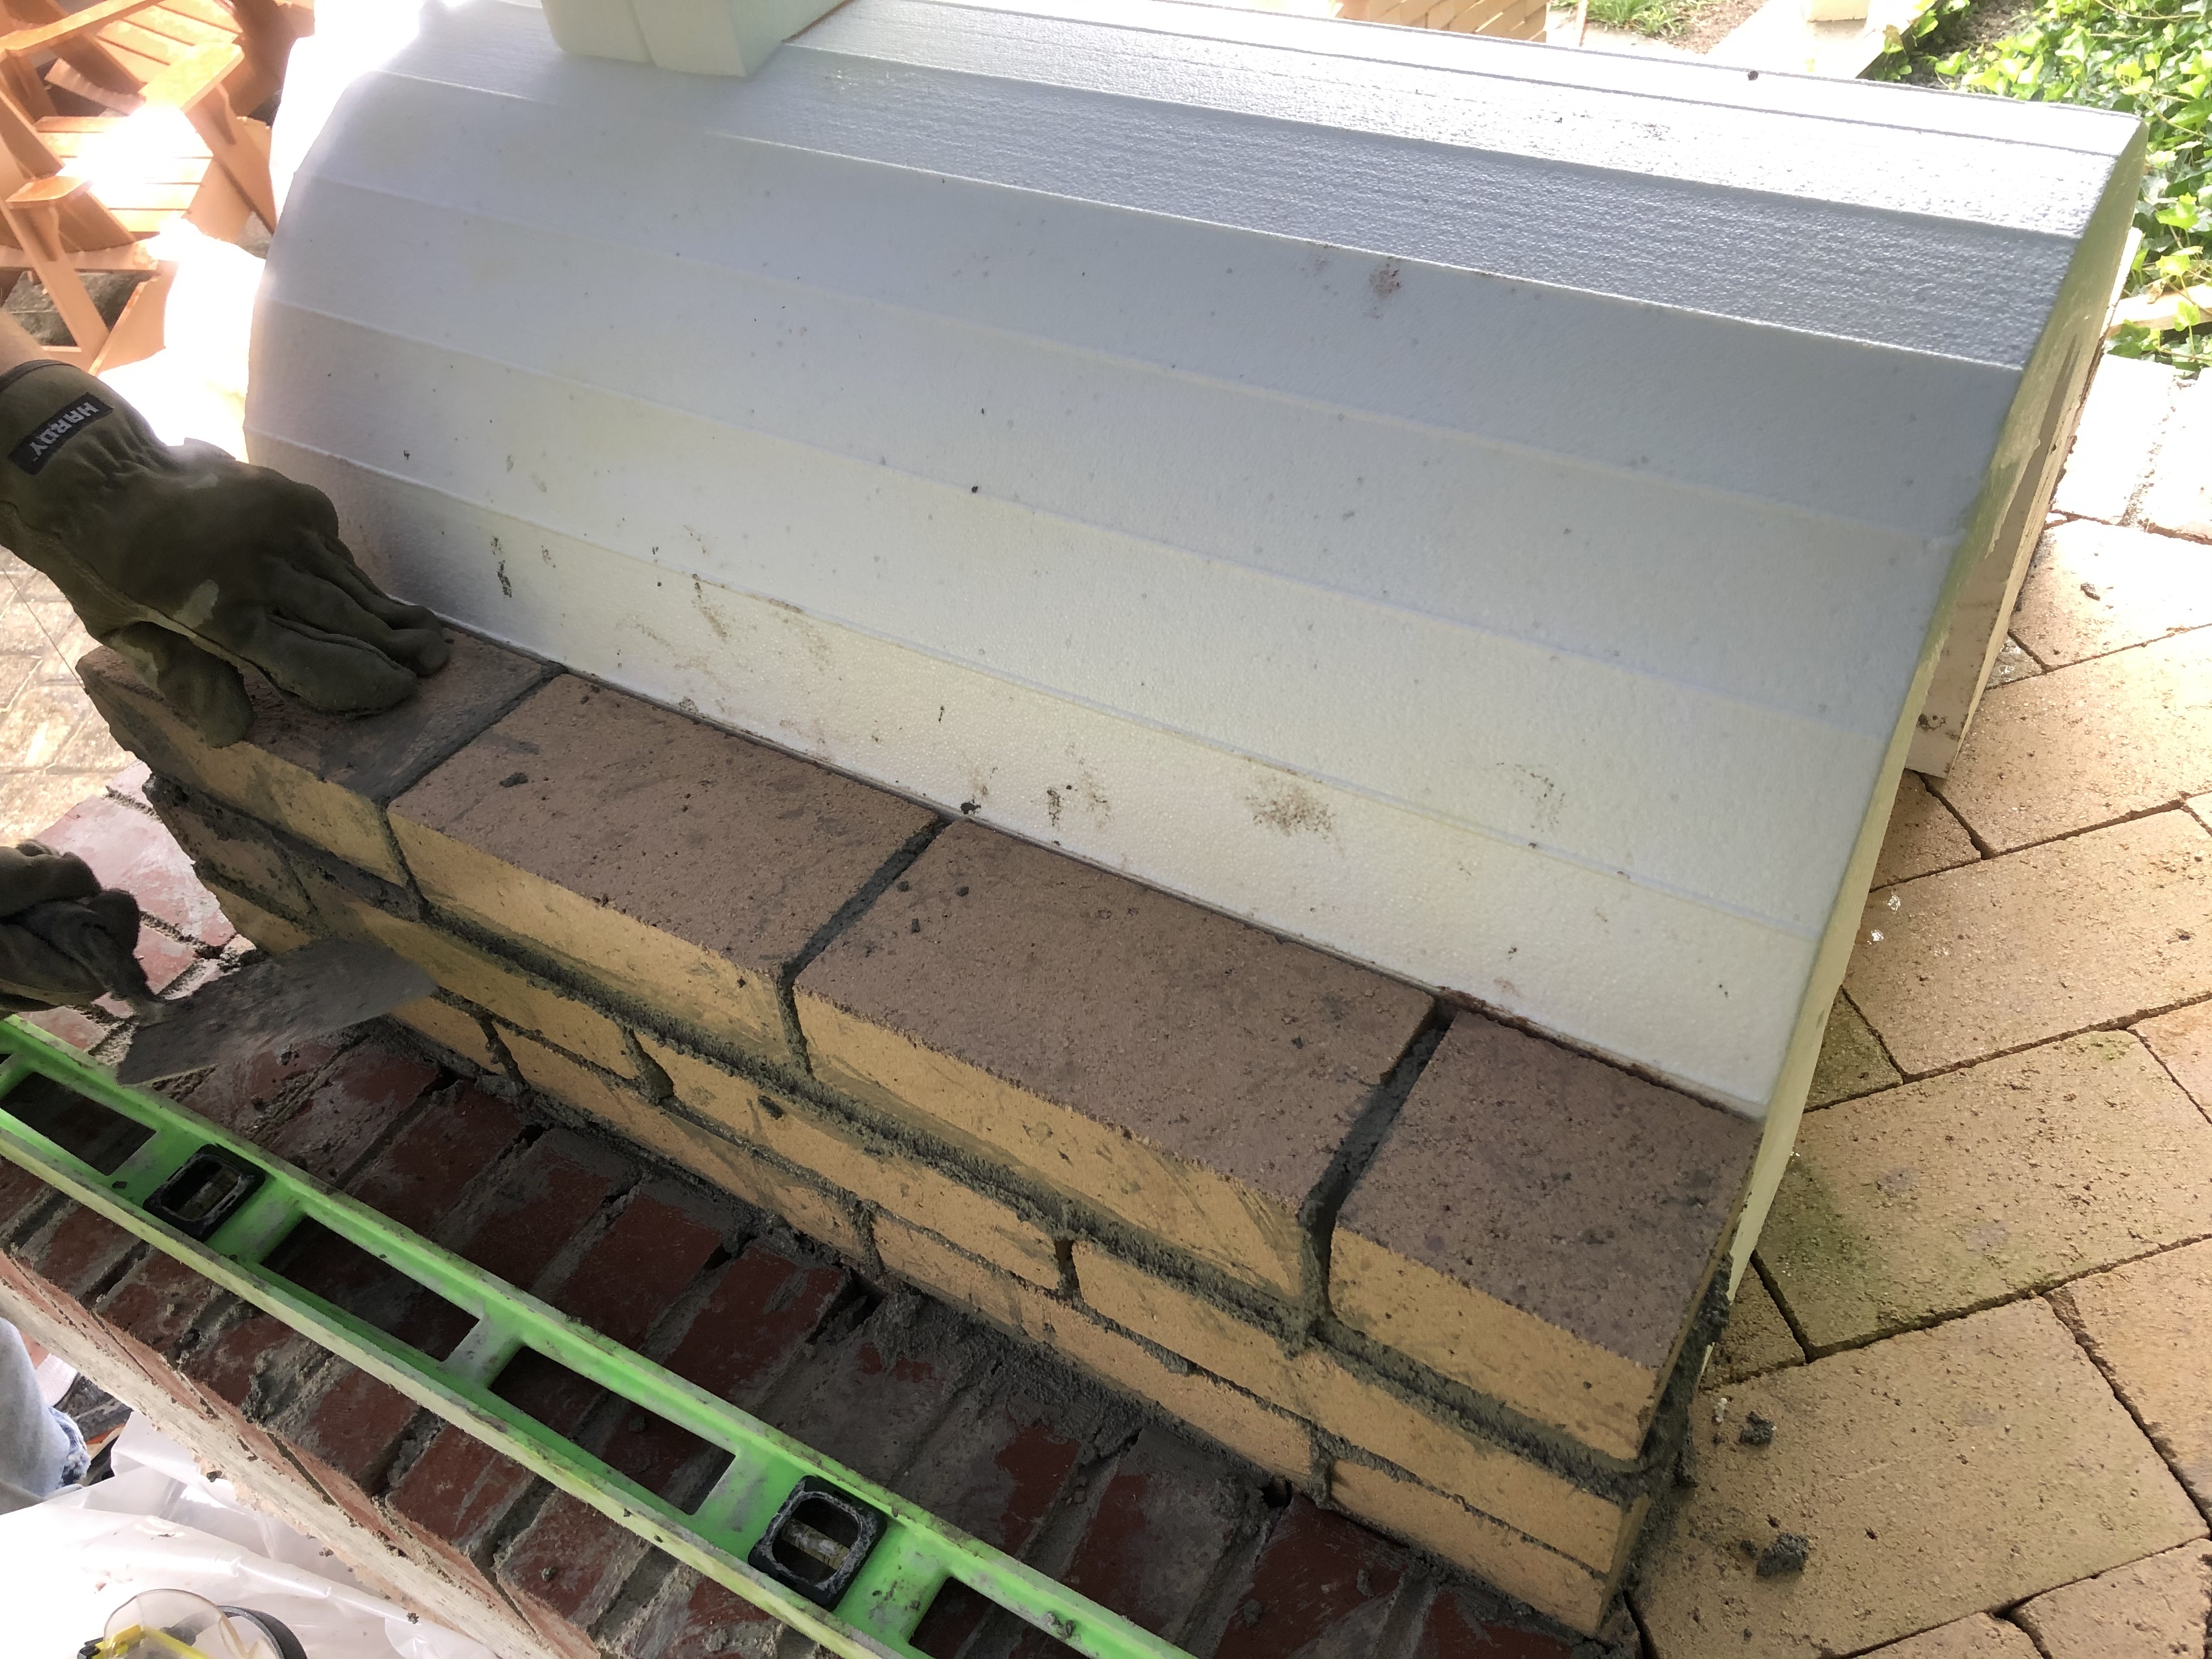
This pile of bricks is starting to look like something!
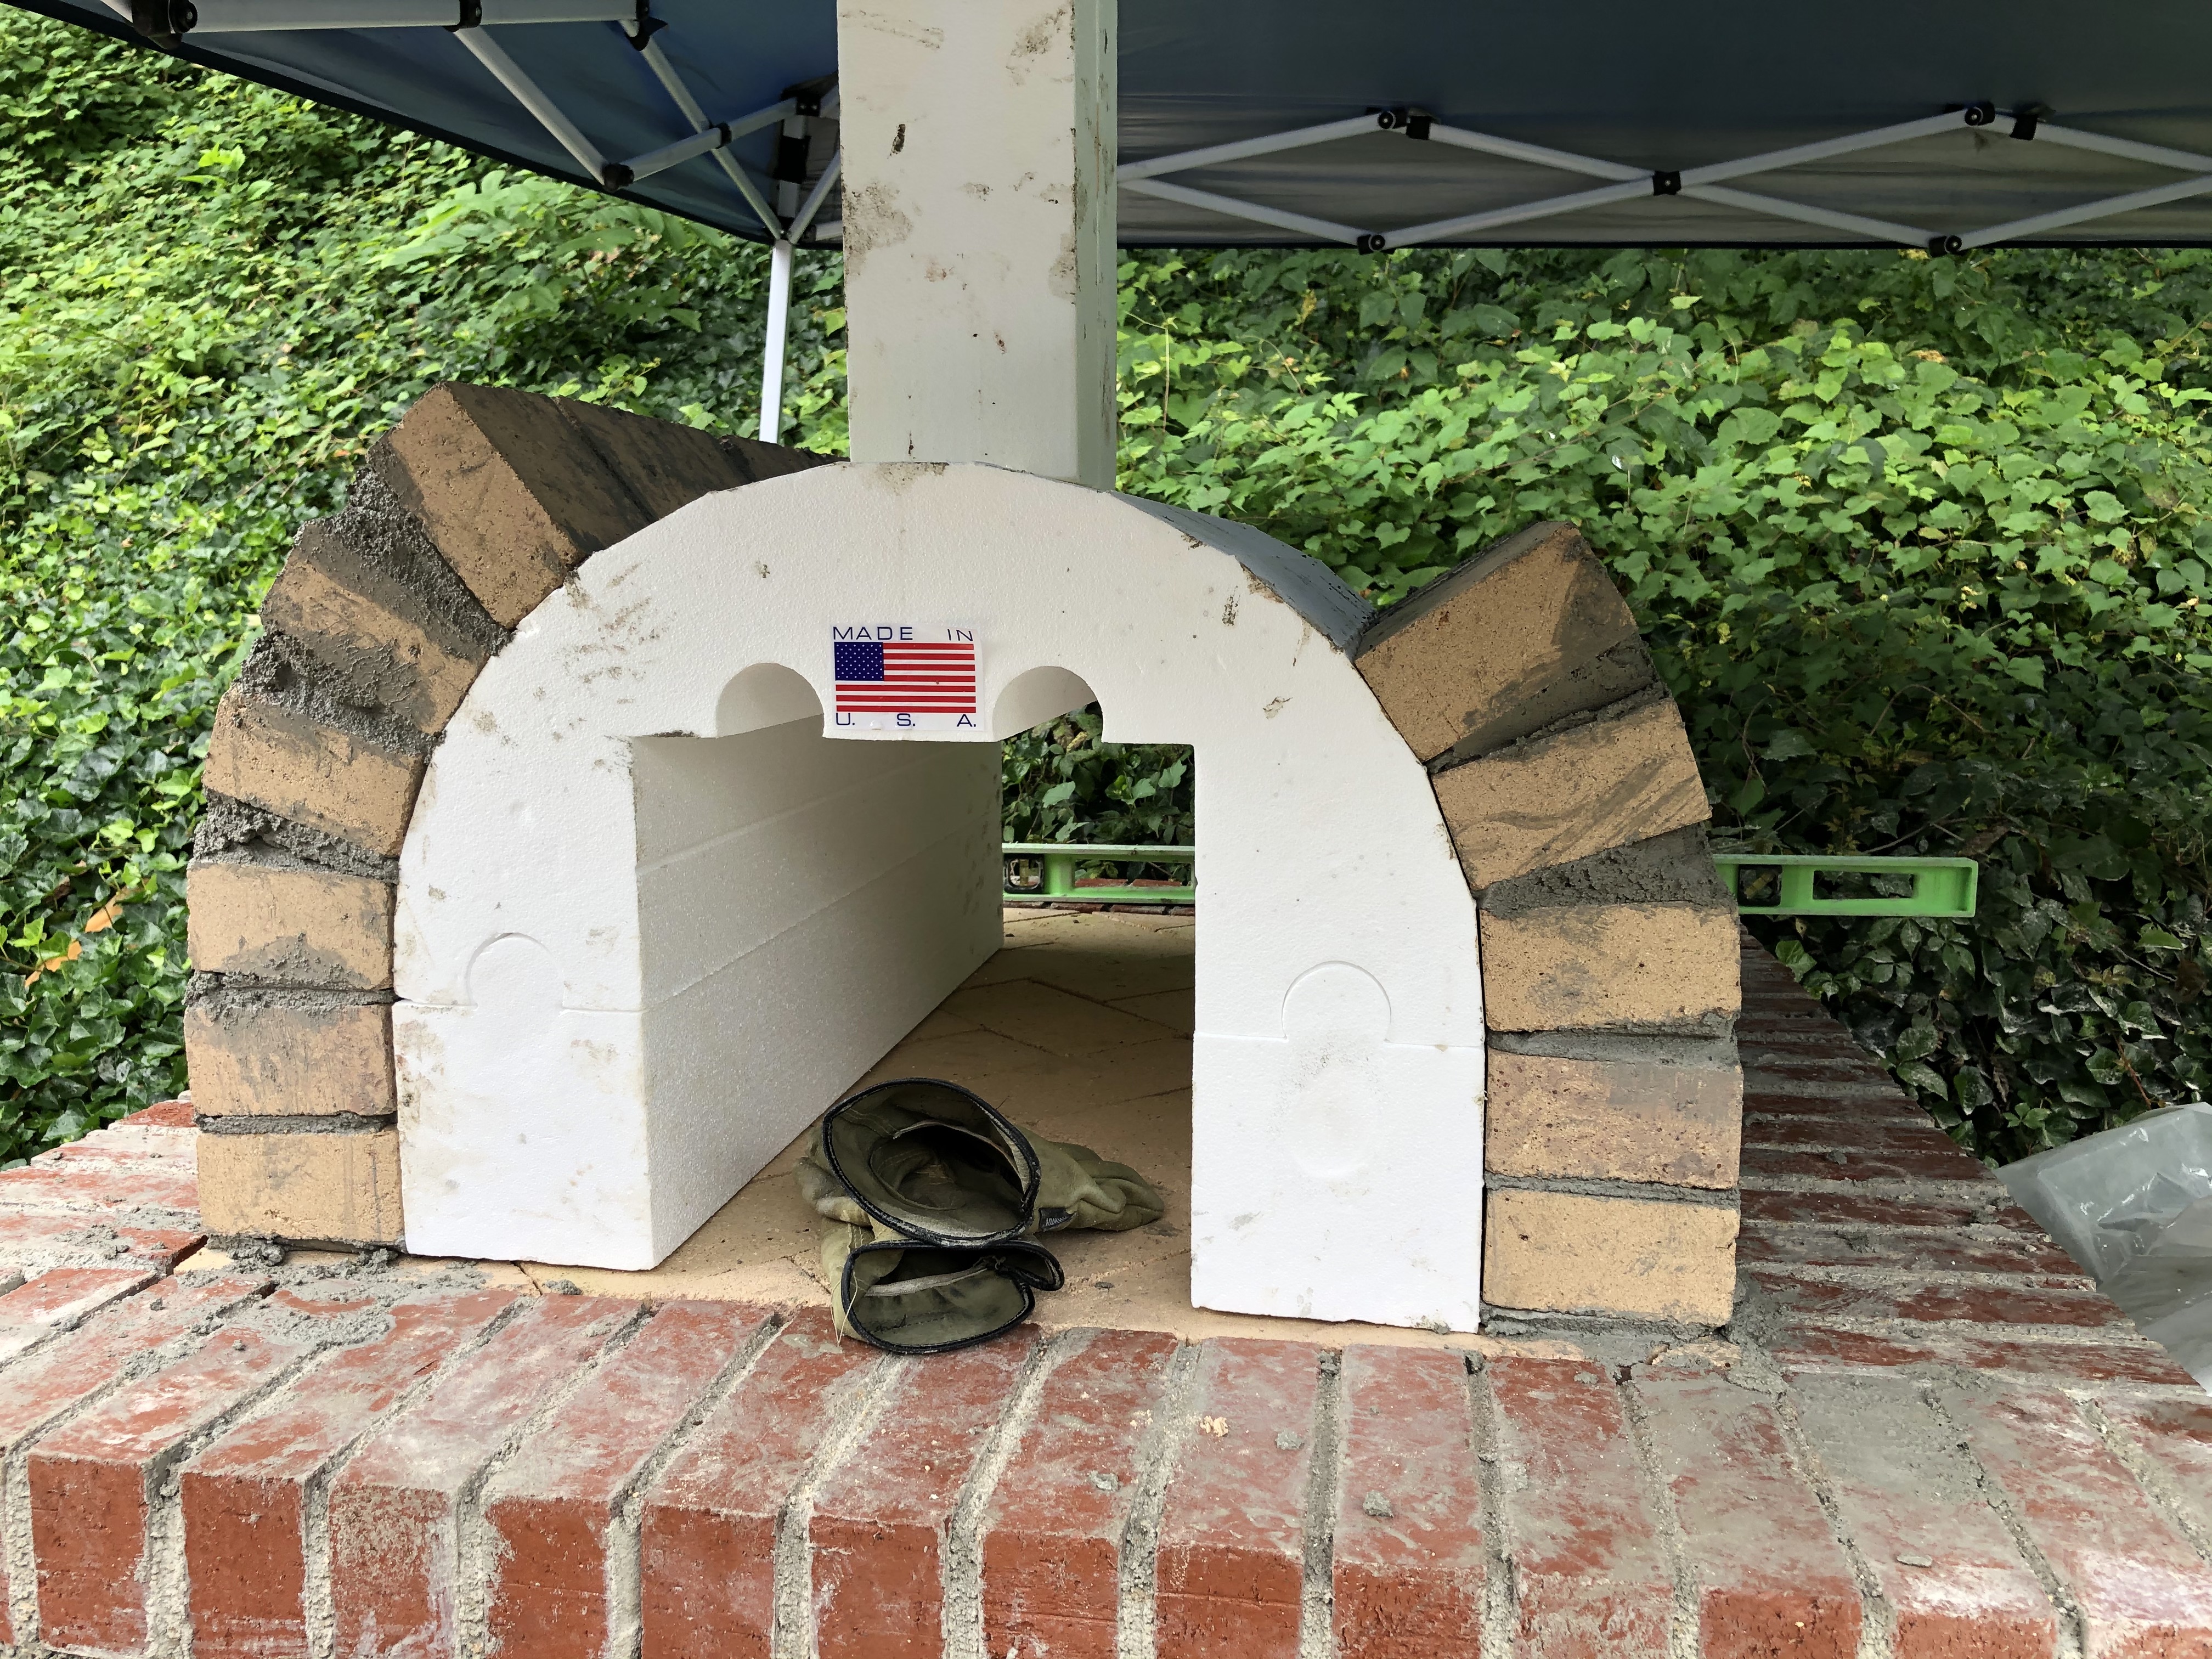
This is where the rain chased me away from the project. I could have kept going, but it was hard to make mortar without getting the cement and lime wet from the drizzle.
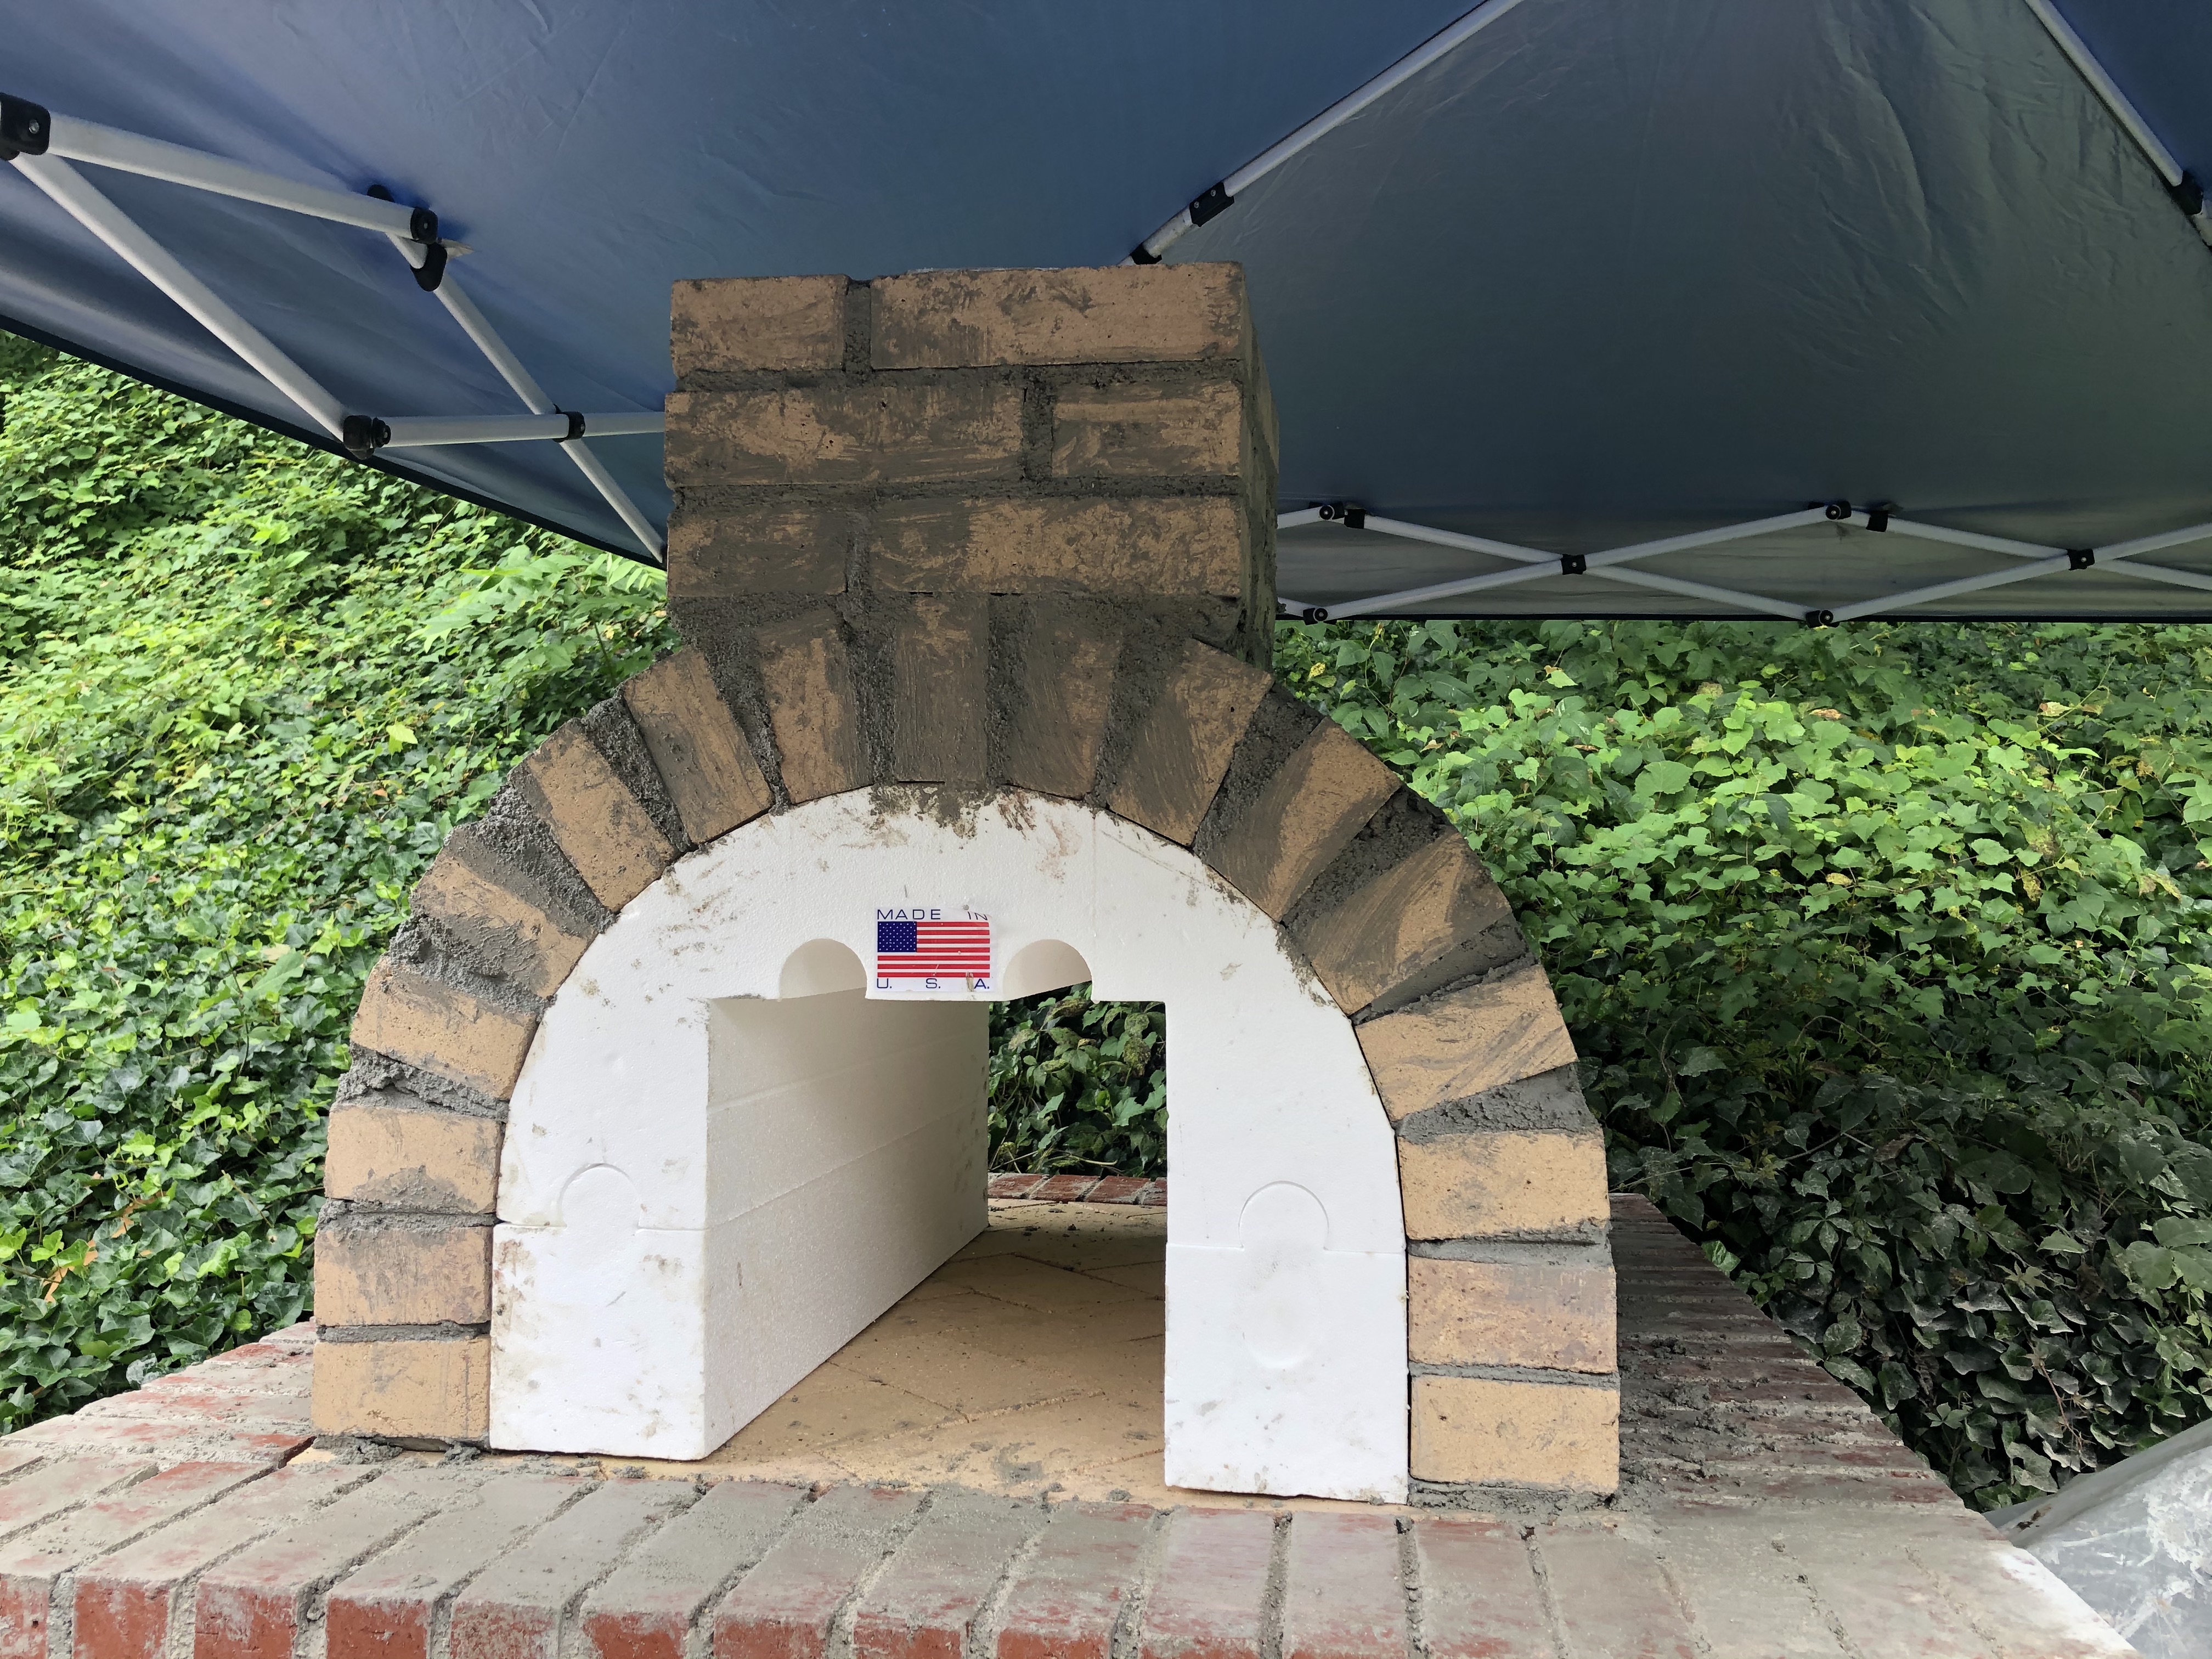
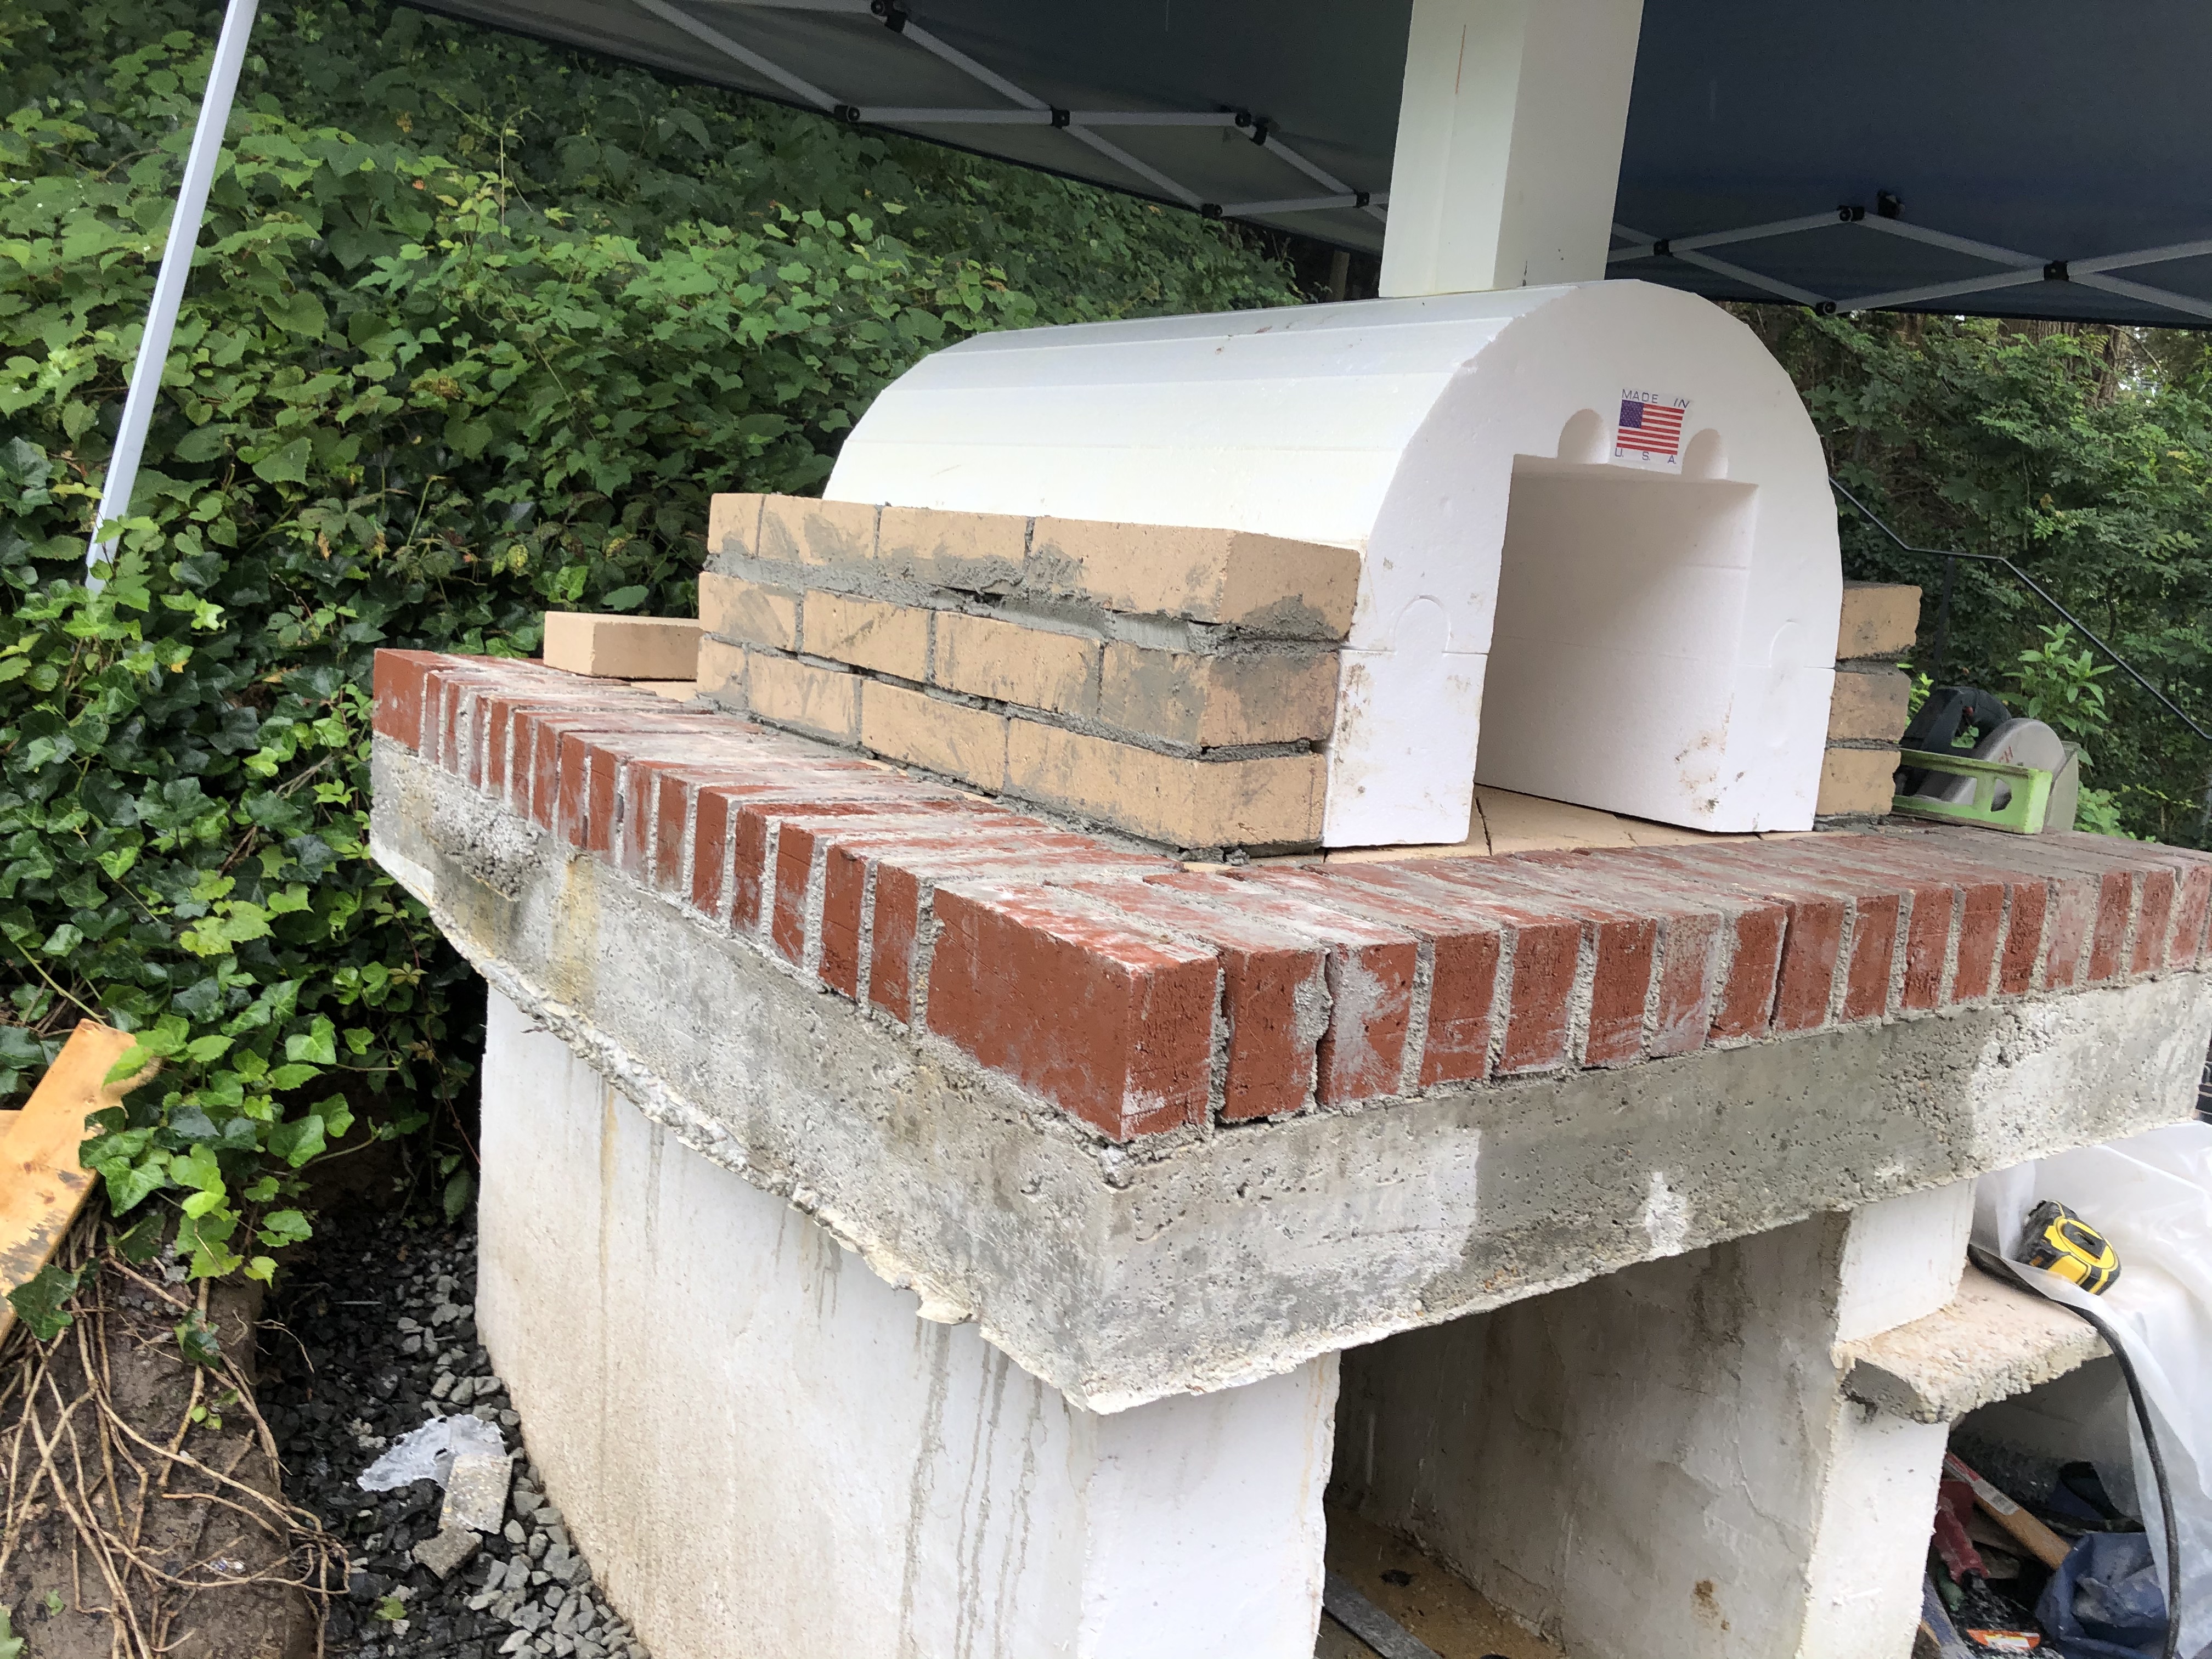
Today was supposed to be a total washout, but the rain stopped long enough for me to make a double batch of mortar, ad so I pushed through and built everything but the back wall of the oven. My inner perfectionist came screaming out while making the chimney.
This week, I may lay down a few courses of the back wall, depending on the weather.
More to come, but I’m happy with my progress.
G
Monday was a soggy wet loss, so I worked some on Tuesday and today
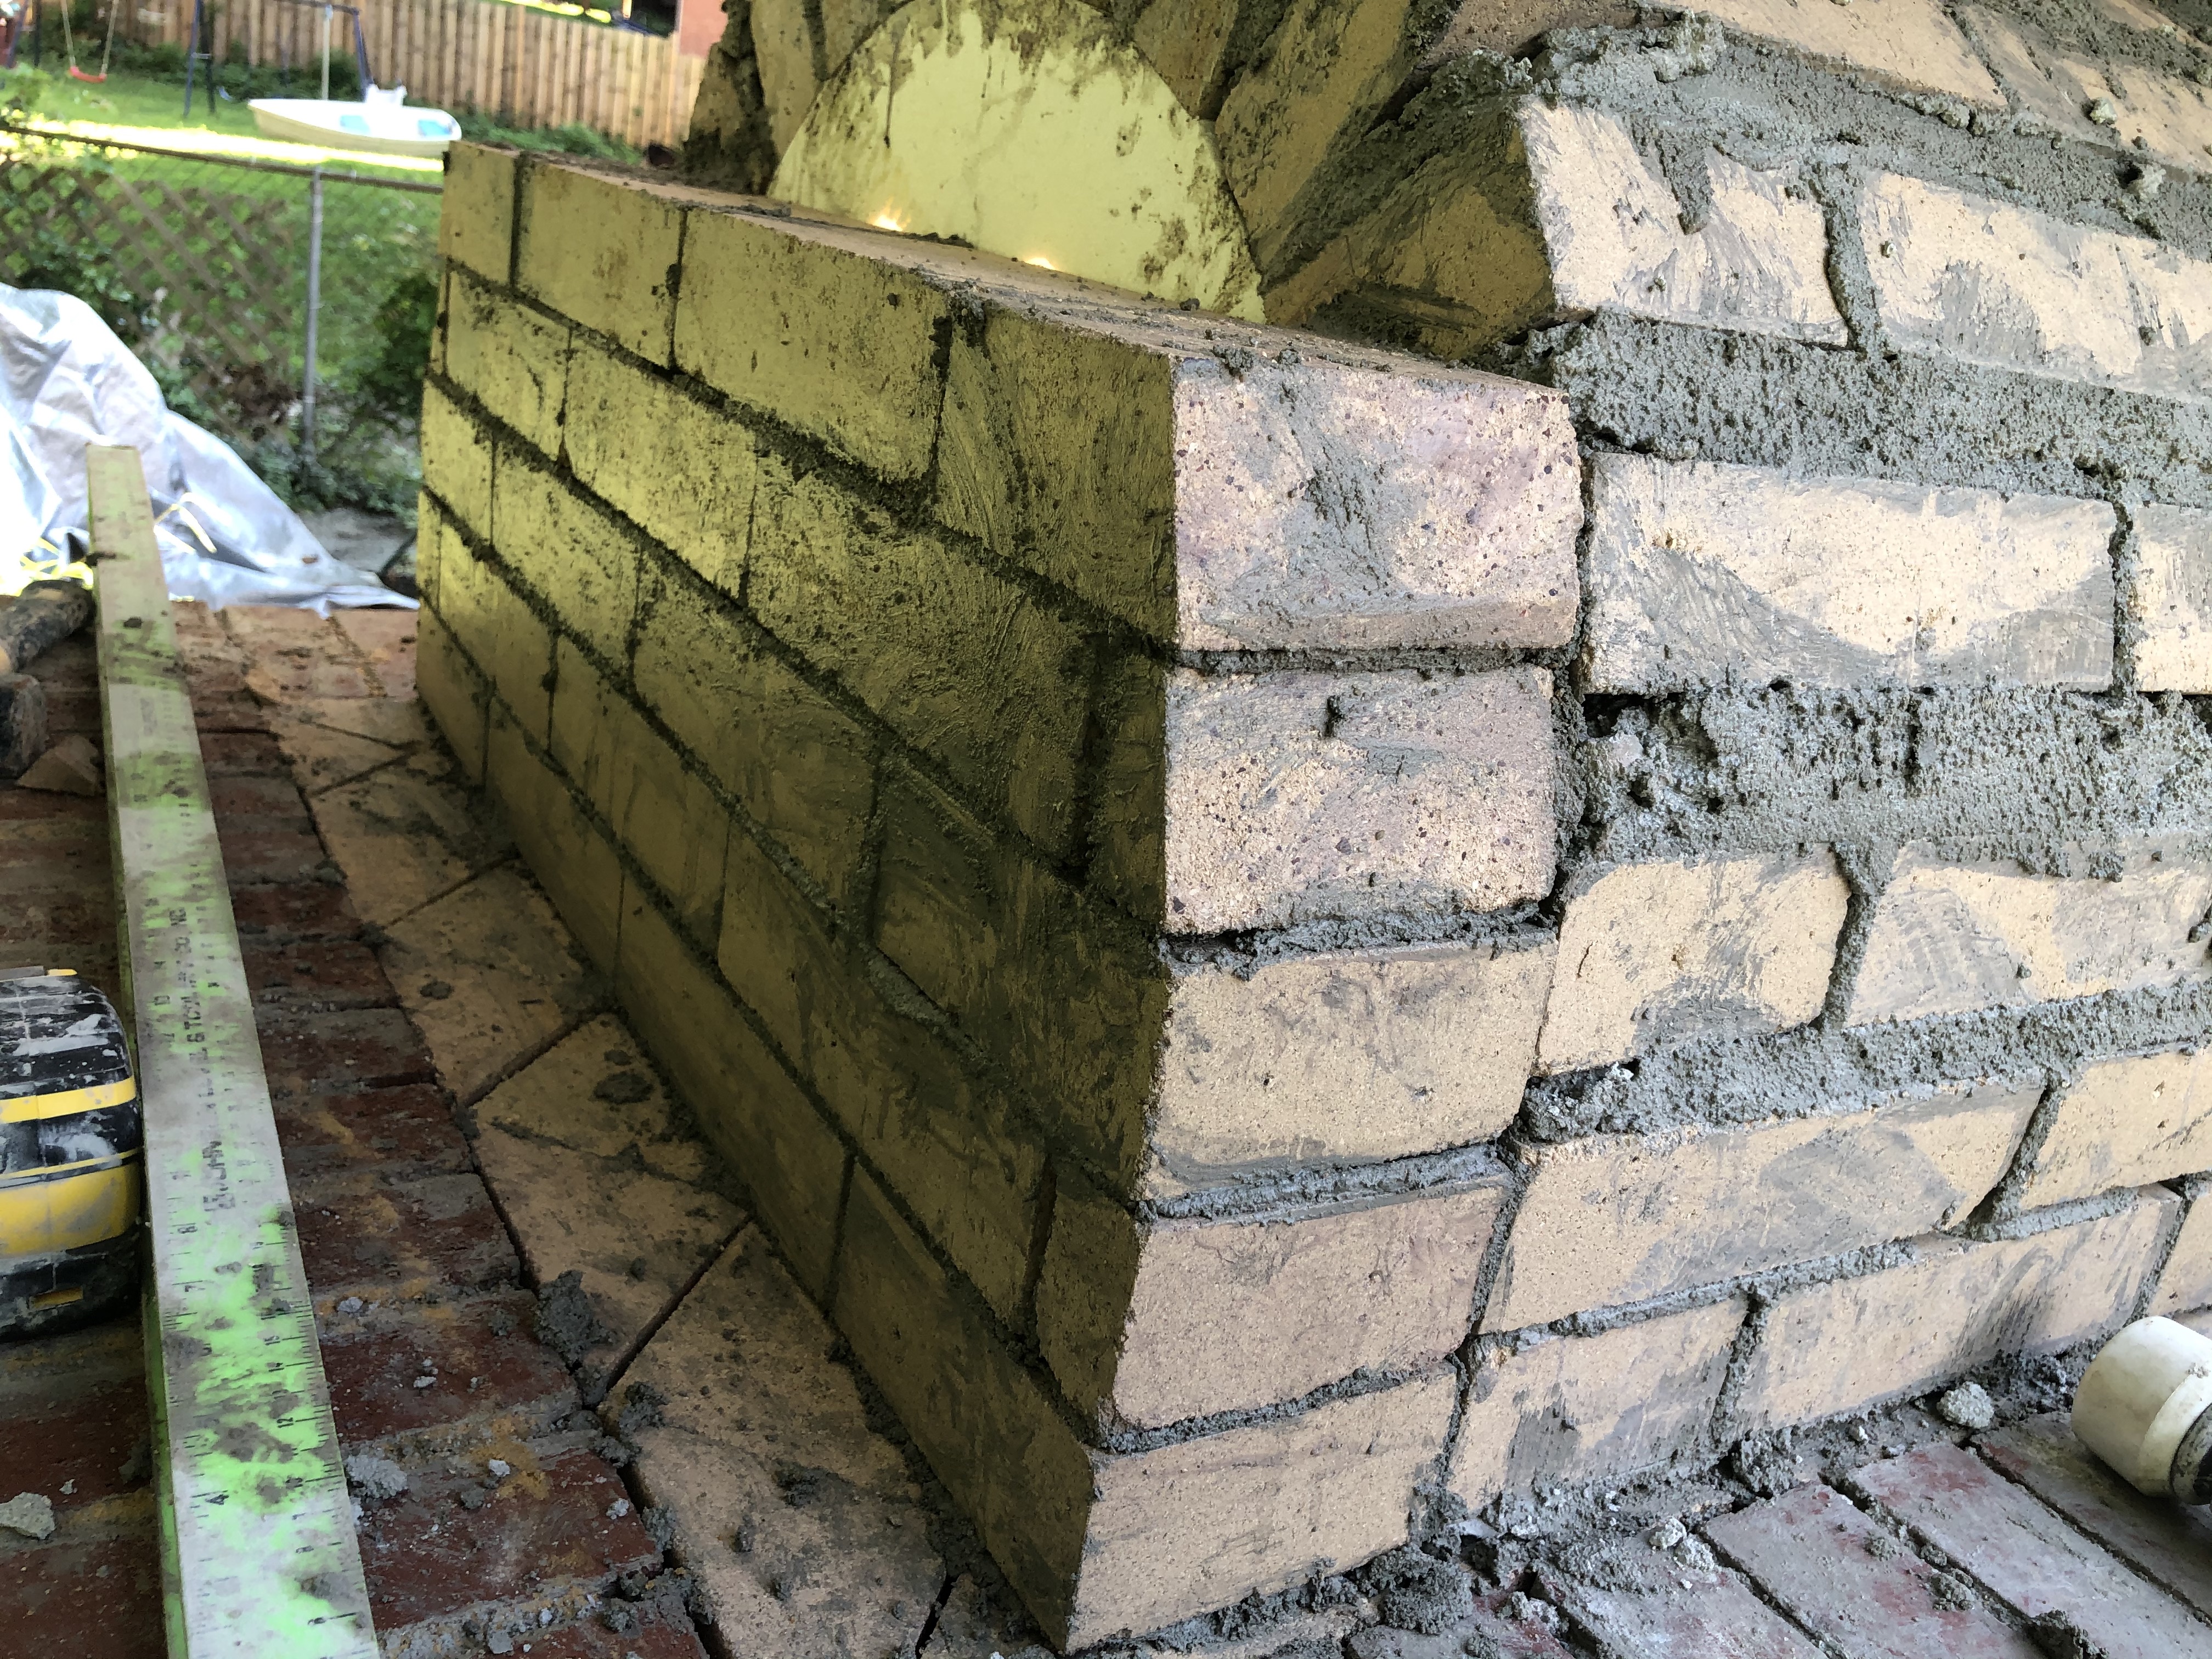
Got the first five rows of the back laid up Tuesday night.
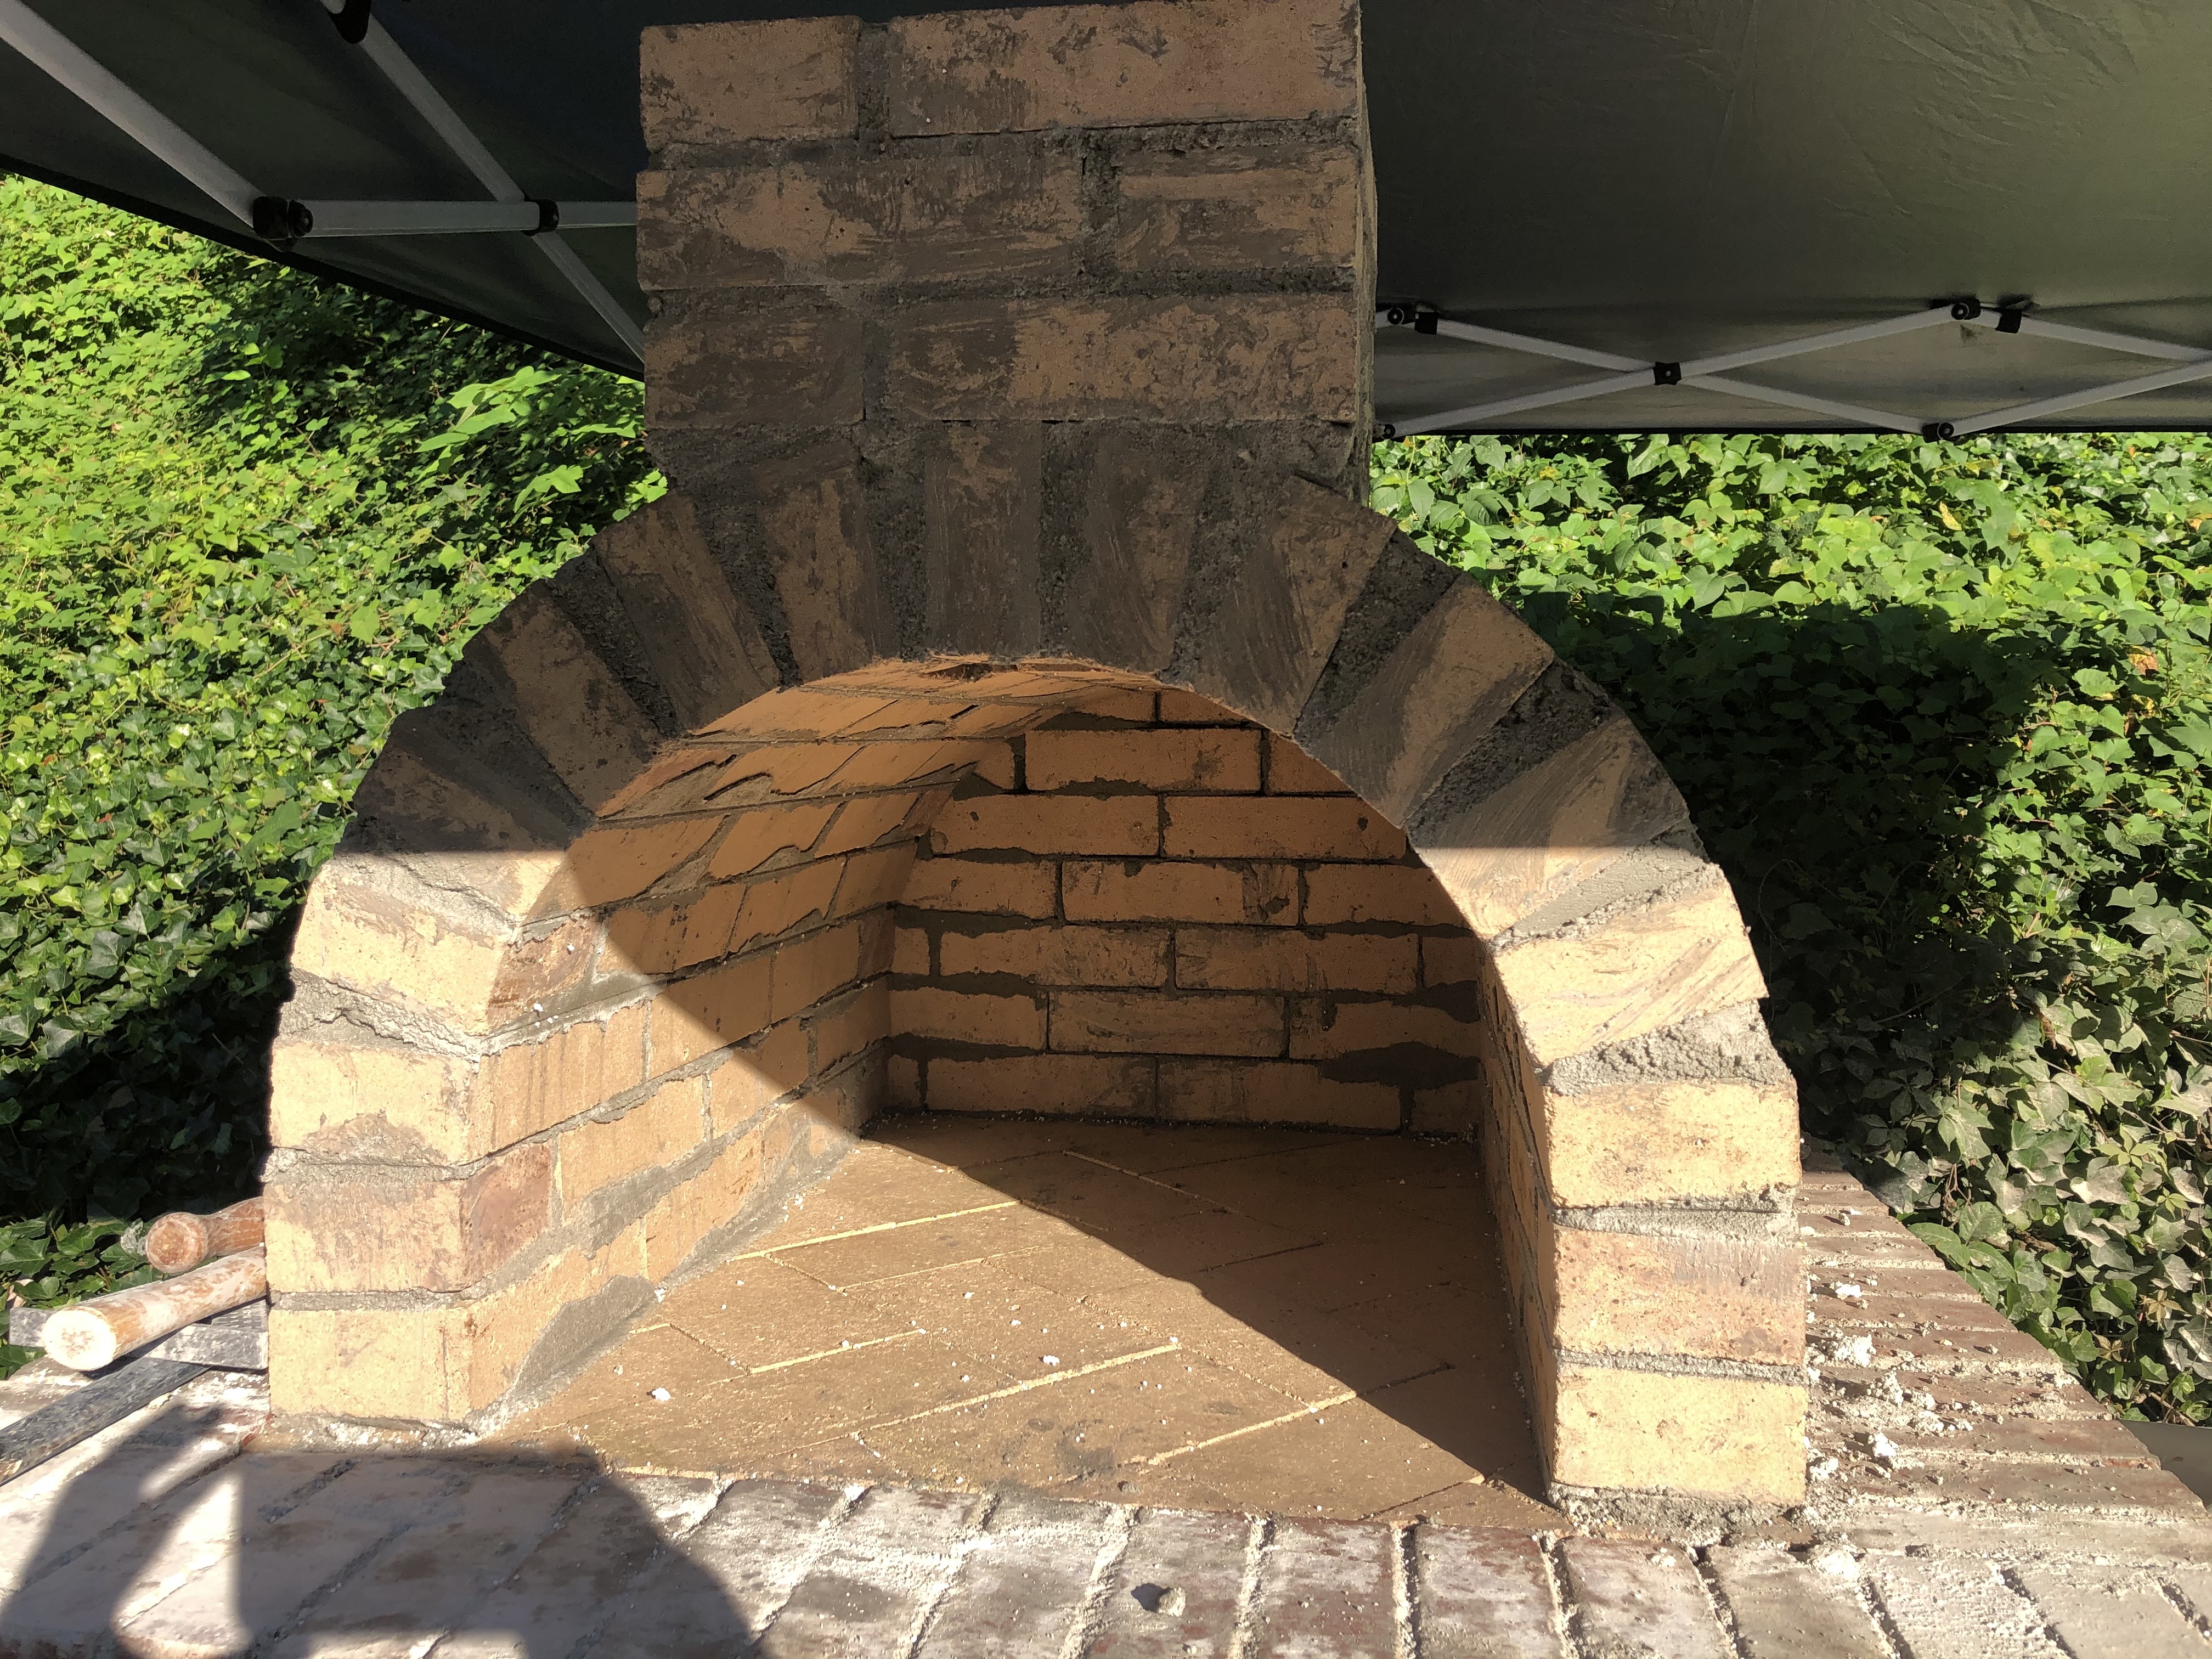
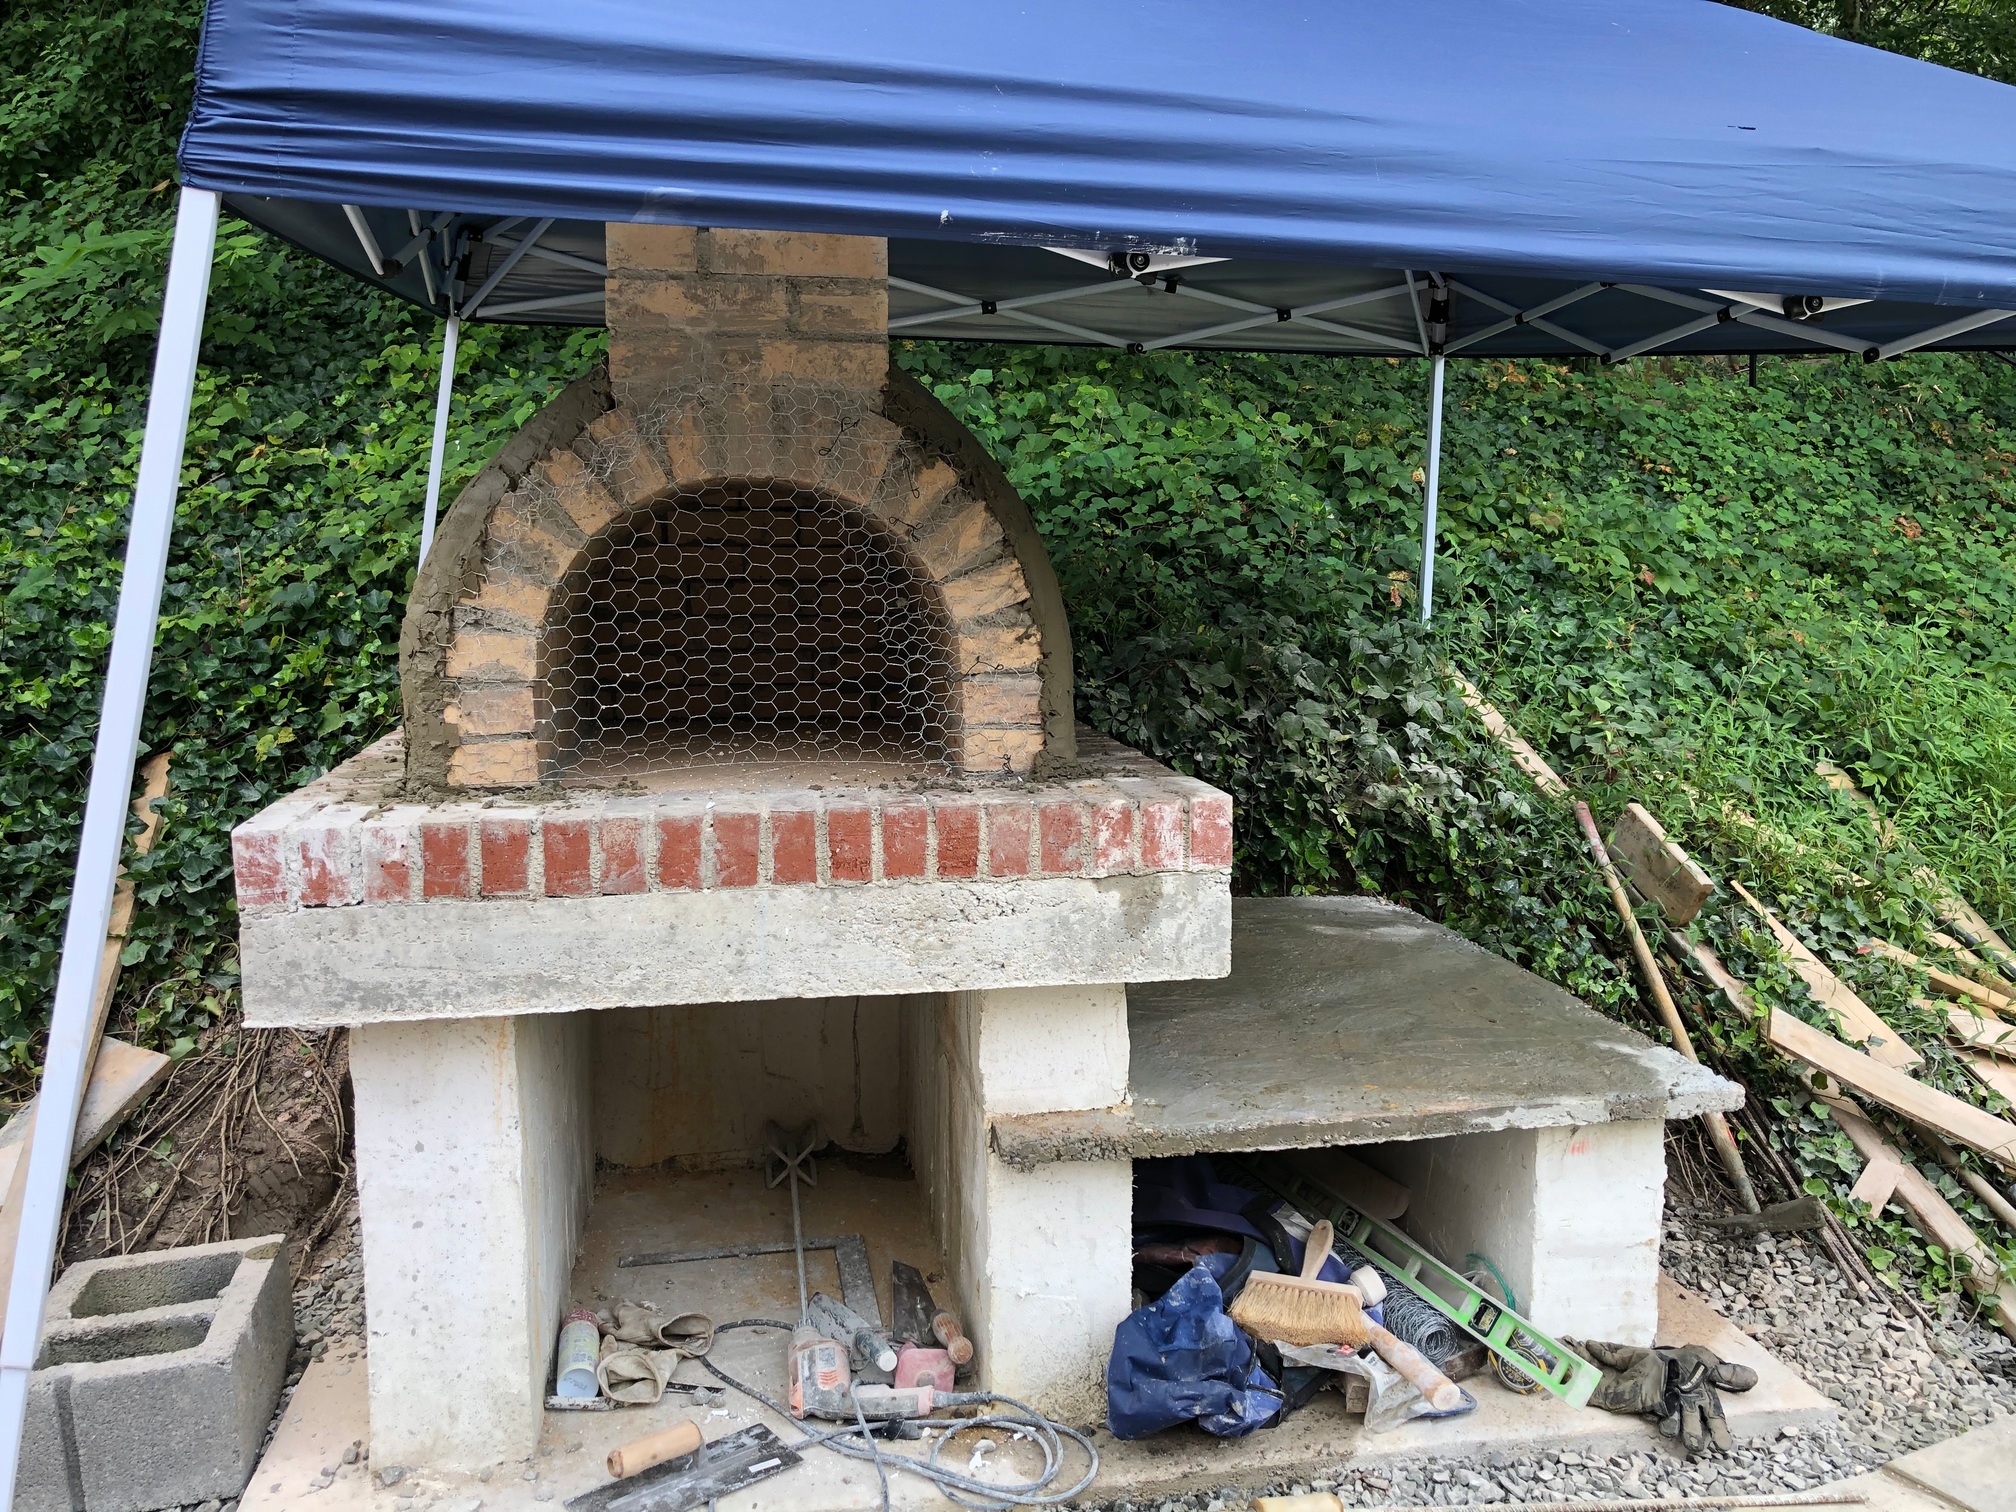
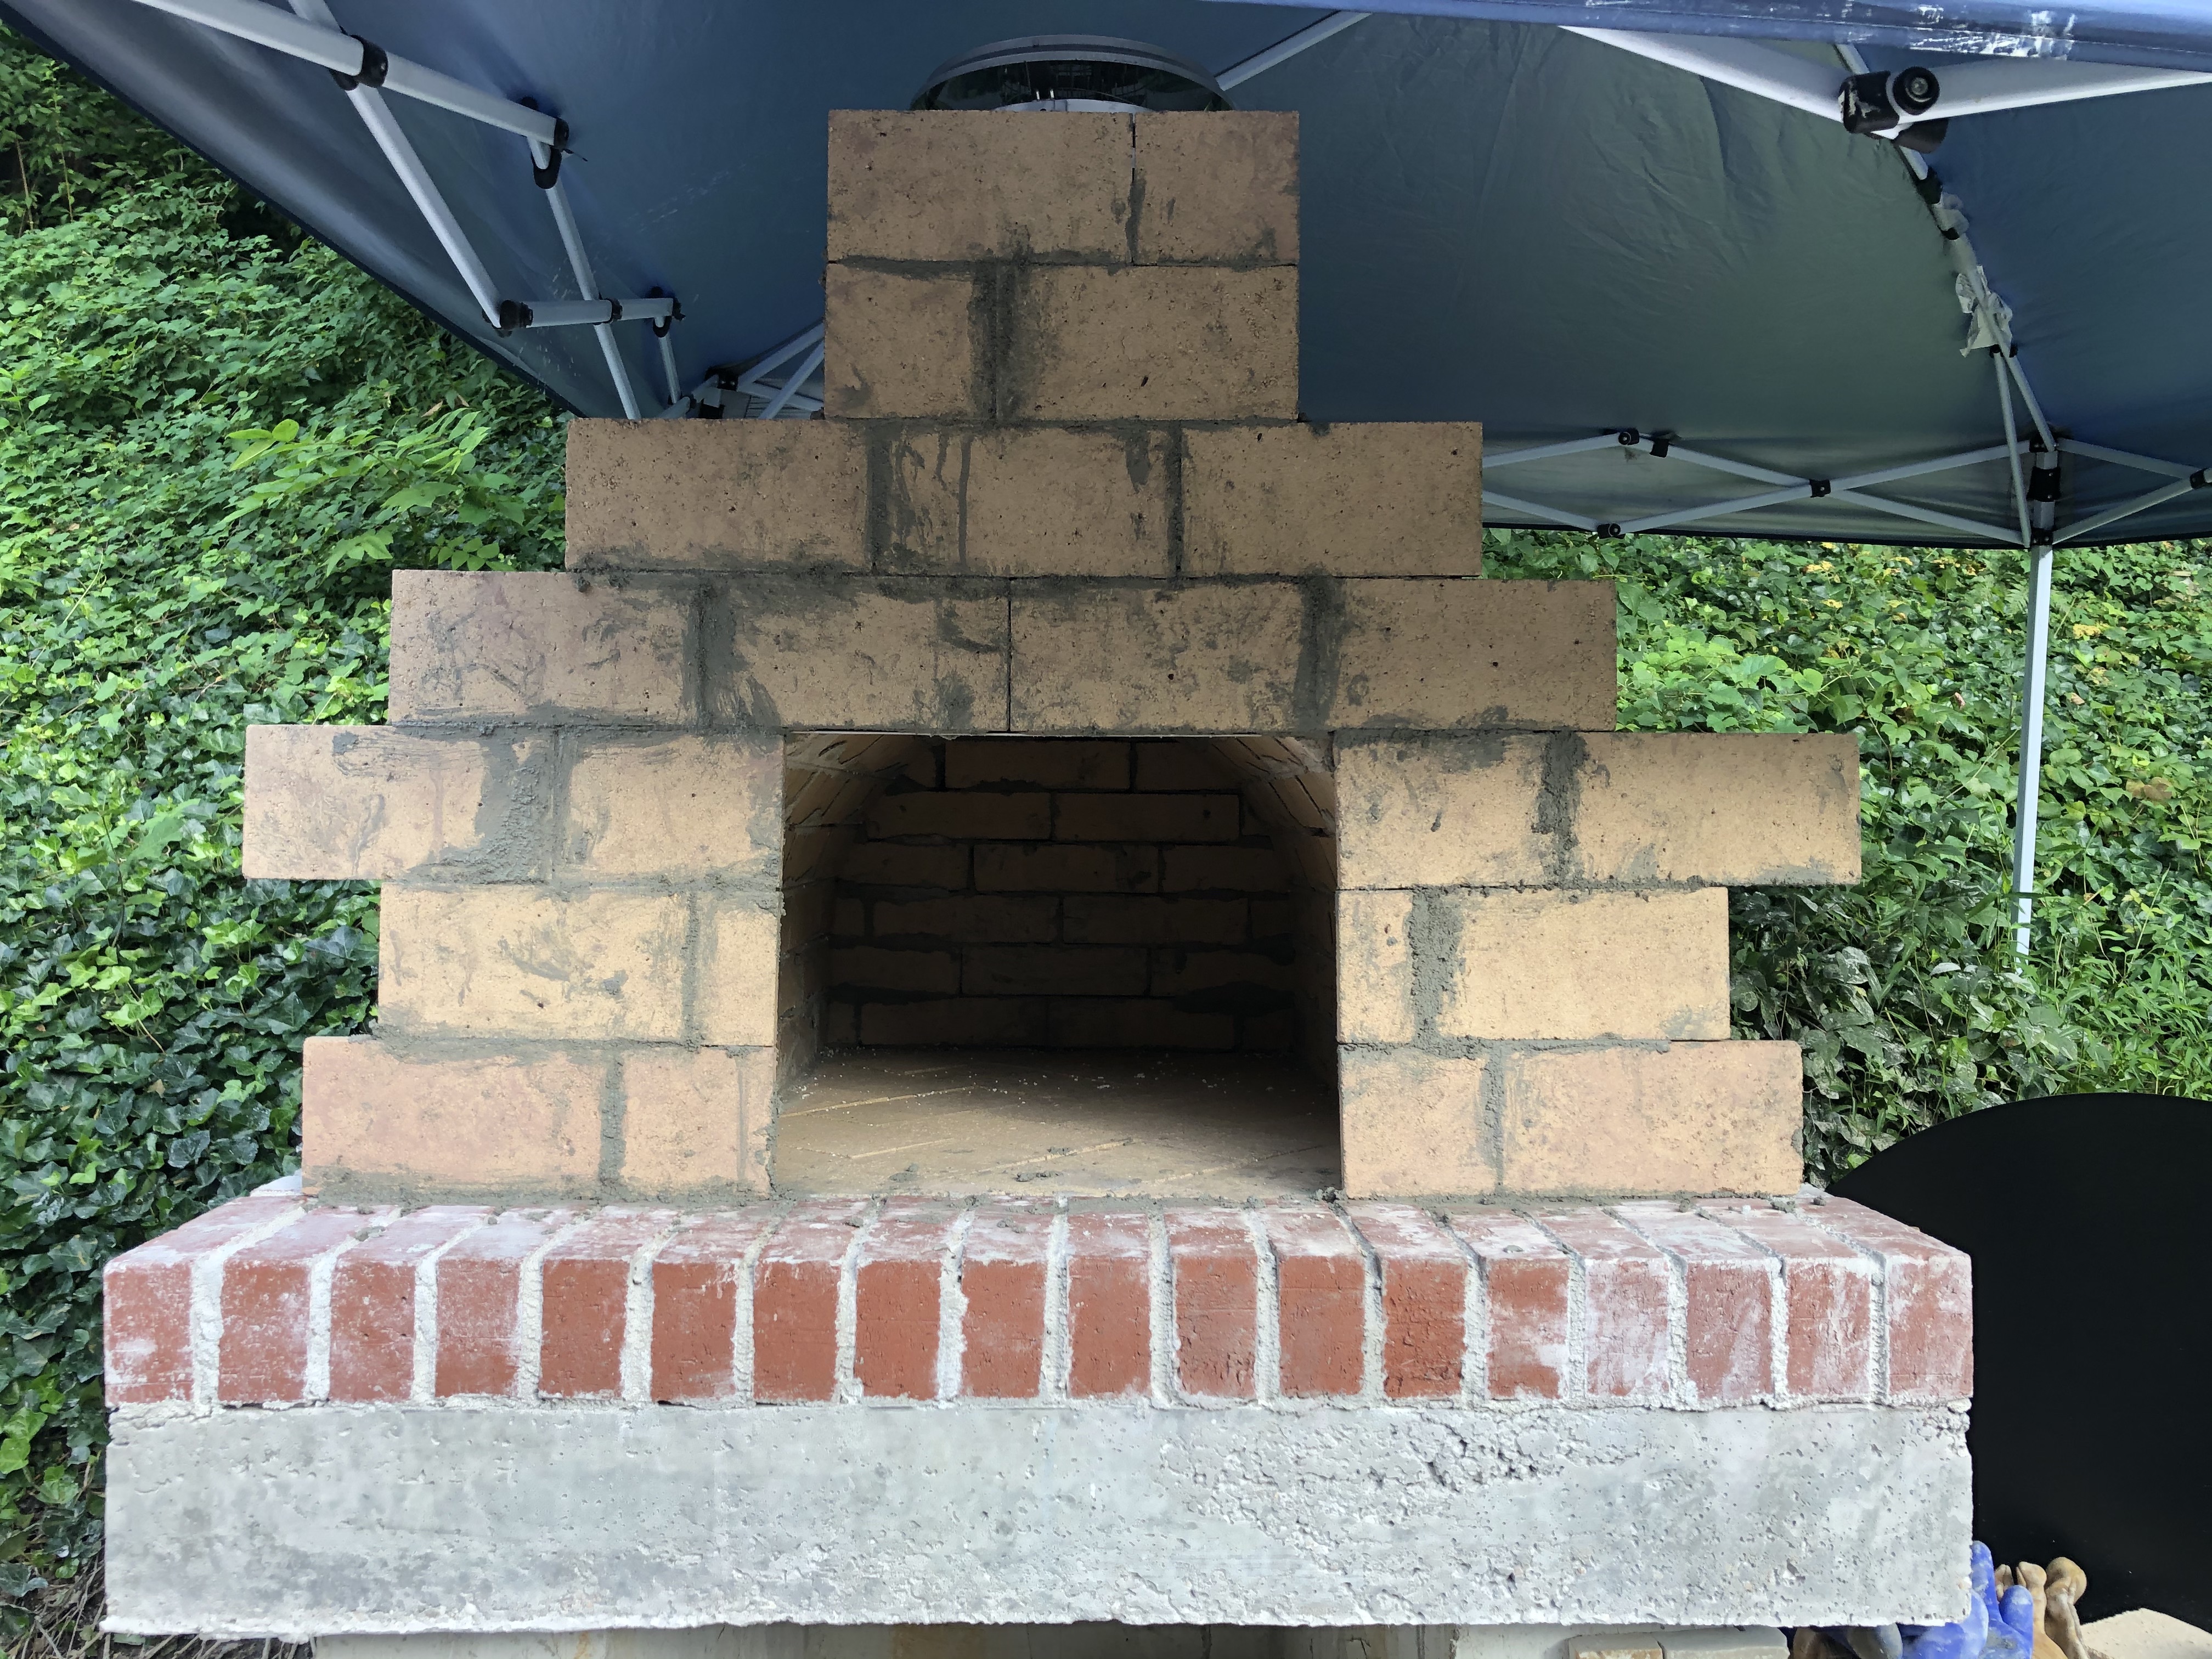
Finished the back (except for some trimming of bricks at the rear) and pulled out the form in chunks and crumbles.
It looks like an oven now!
Should I try and grind off those big mortar splotches?
Good work!
Don’t worry about the splotches. Eventually your oven interior will have a coating of soot or ash that will camouflage them. You also risk damaging the joint underneath them, or even chipping a firebrick, which is susceptible to that kind of damage.
Yeah, I left mine…looks kinda rustic
A burst of productivity
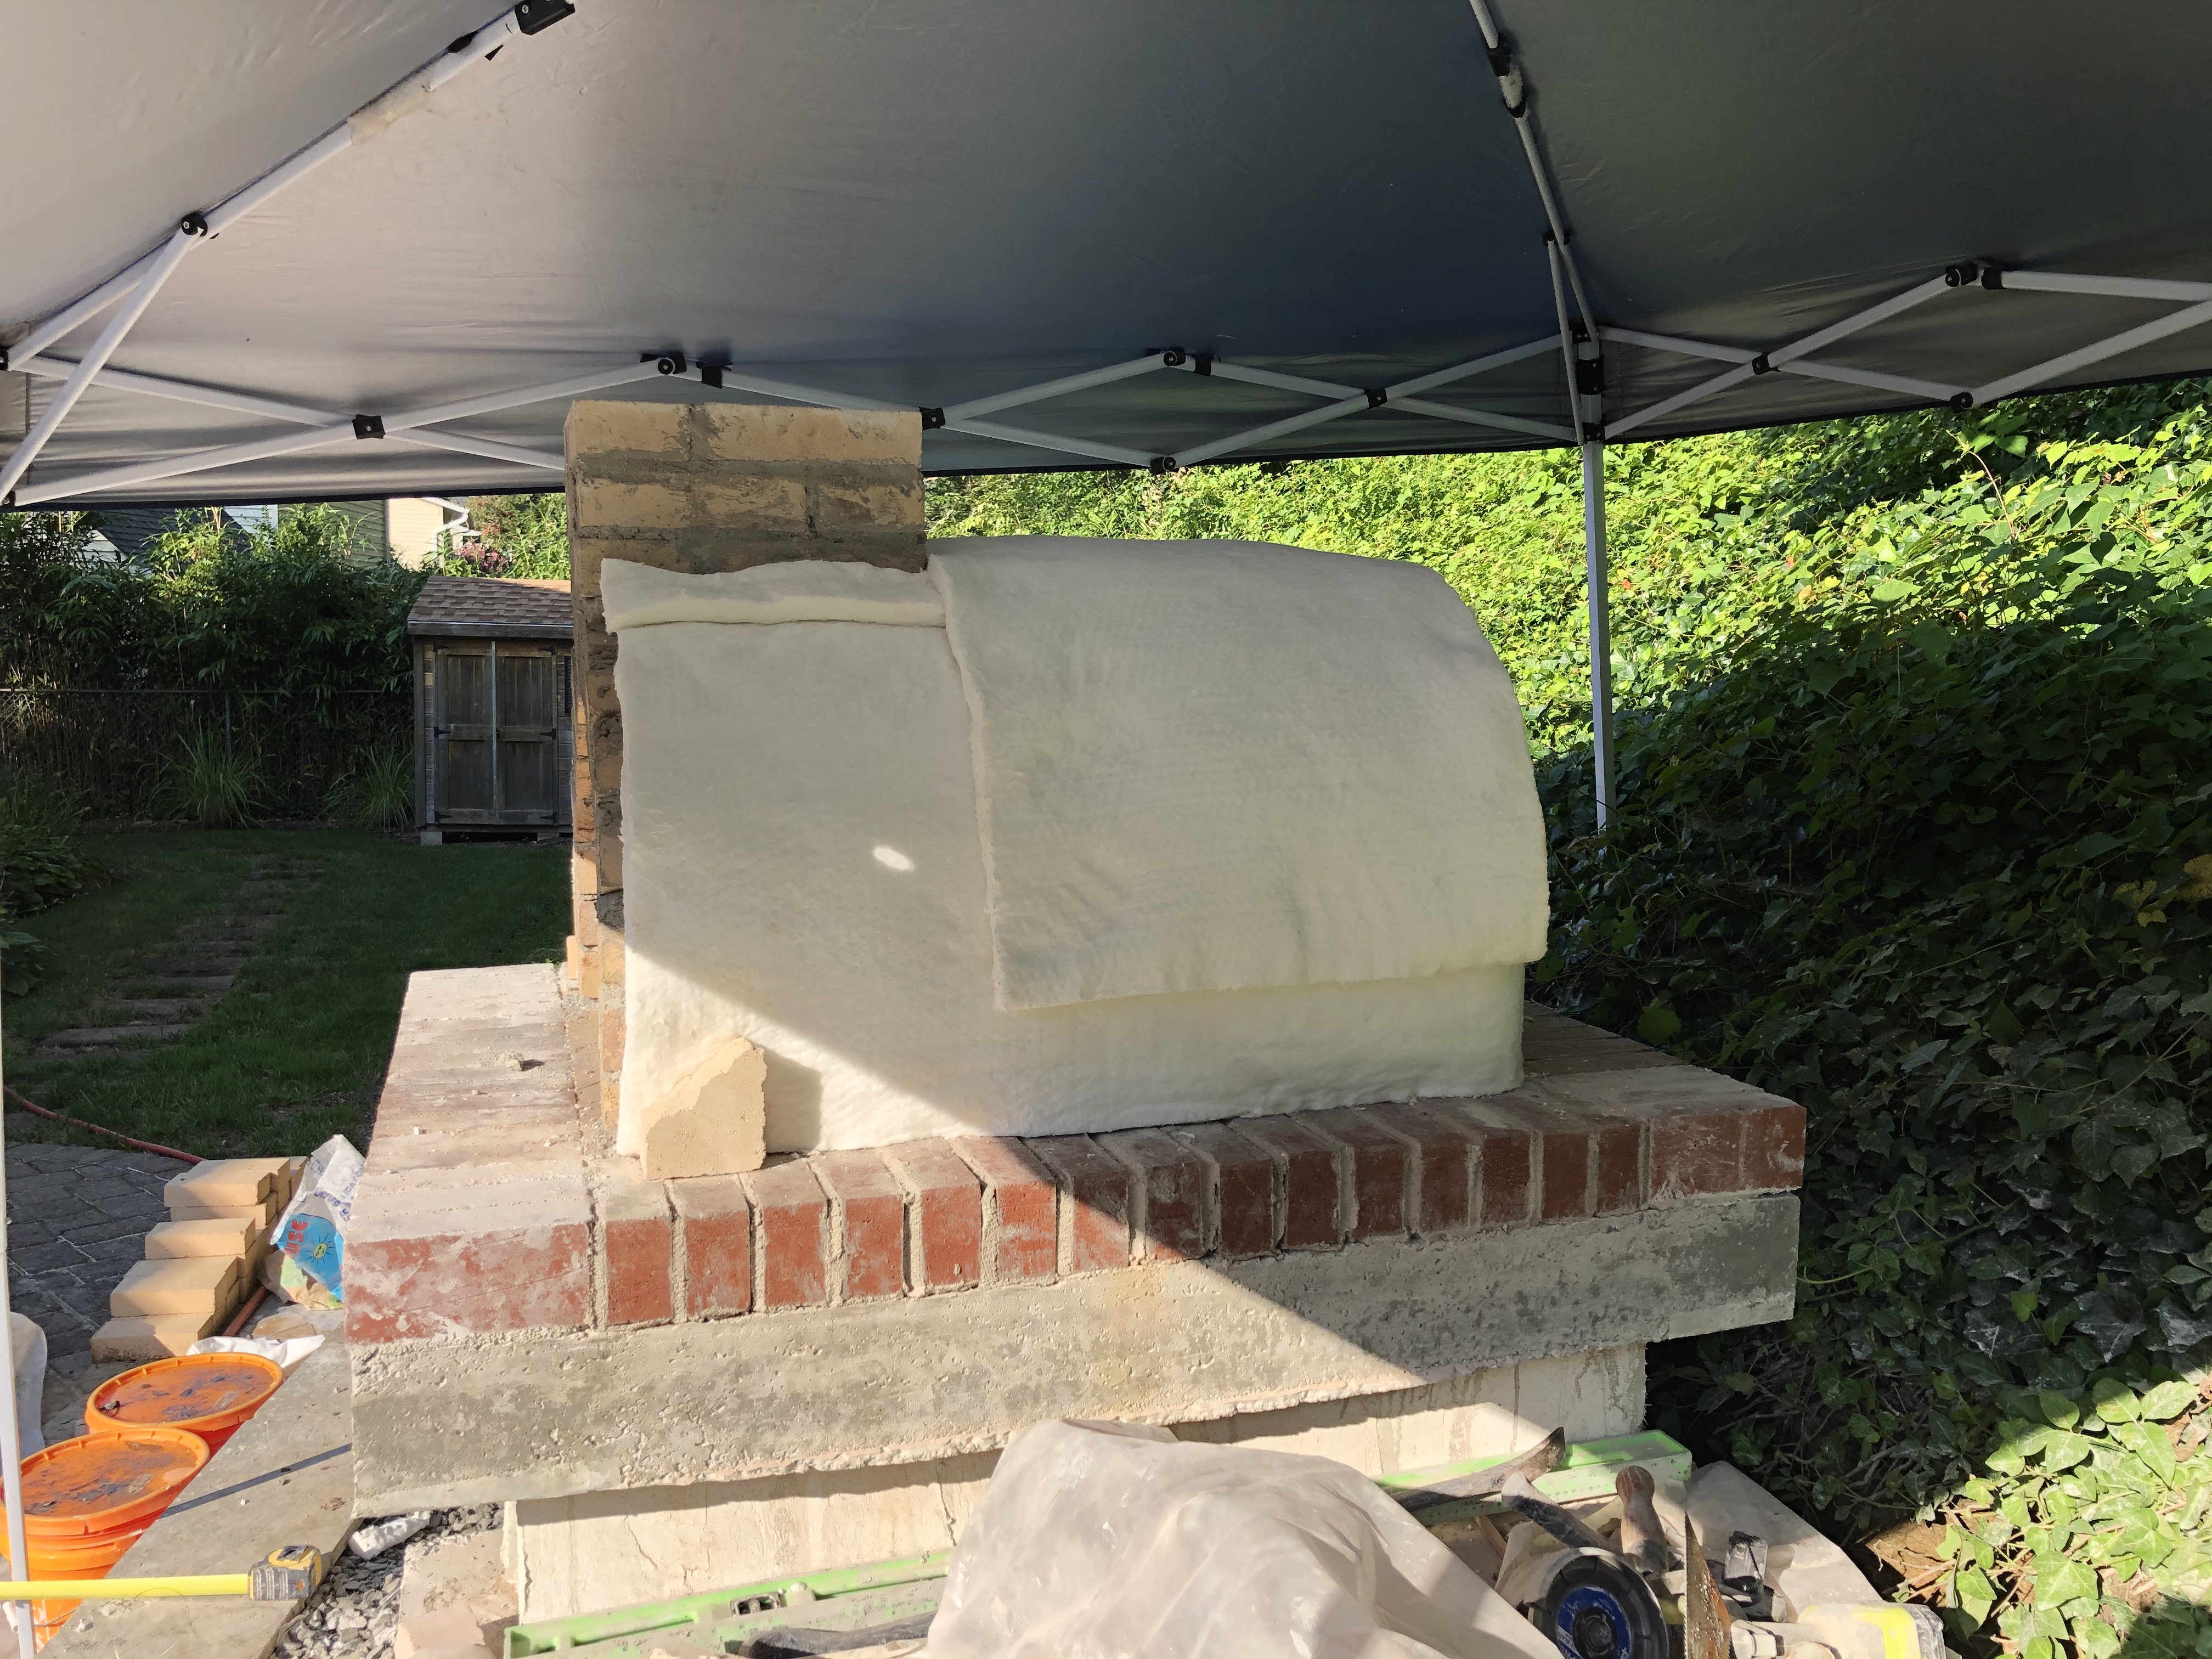
I had this extra section of ceramic blanket after a double wrap
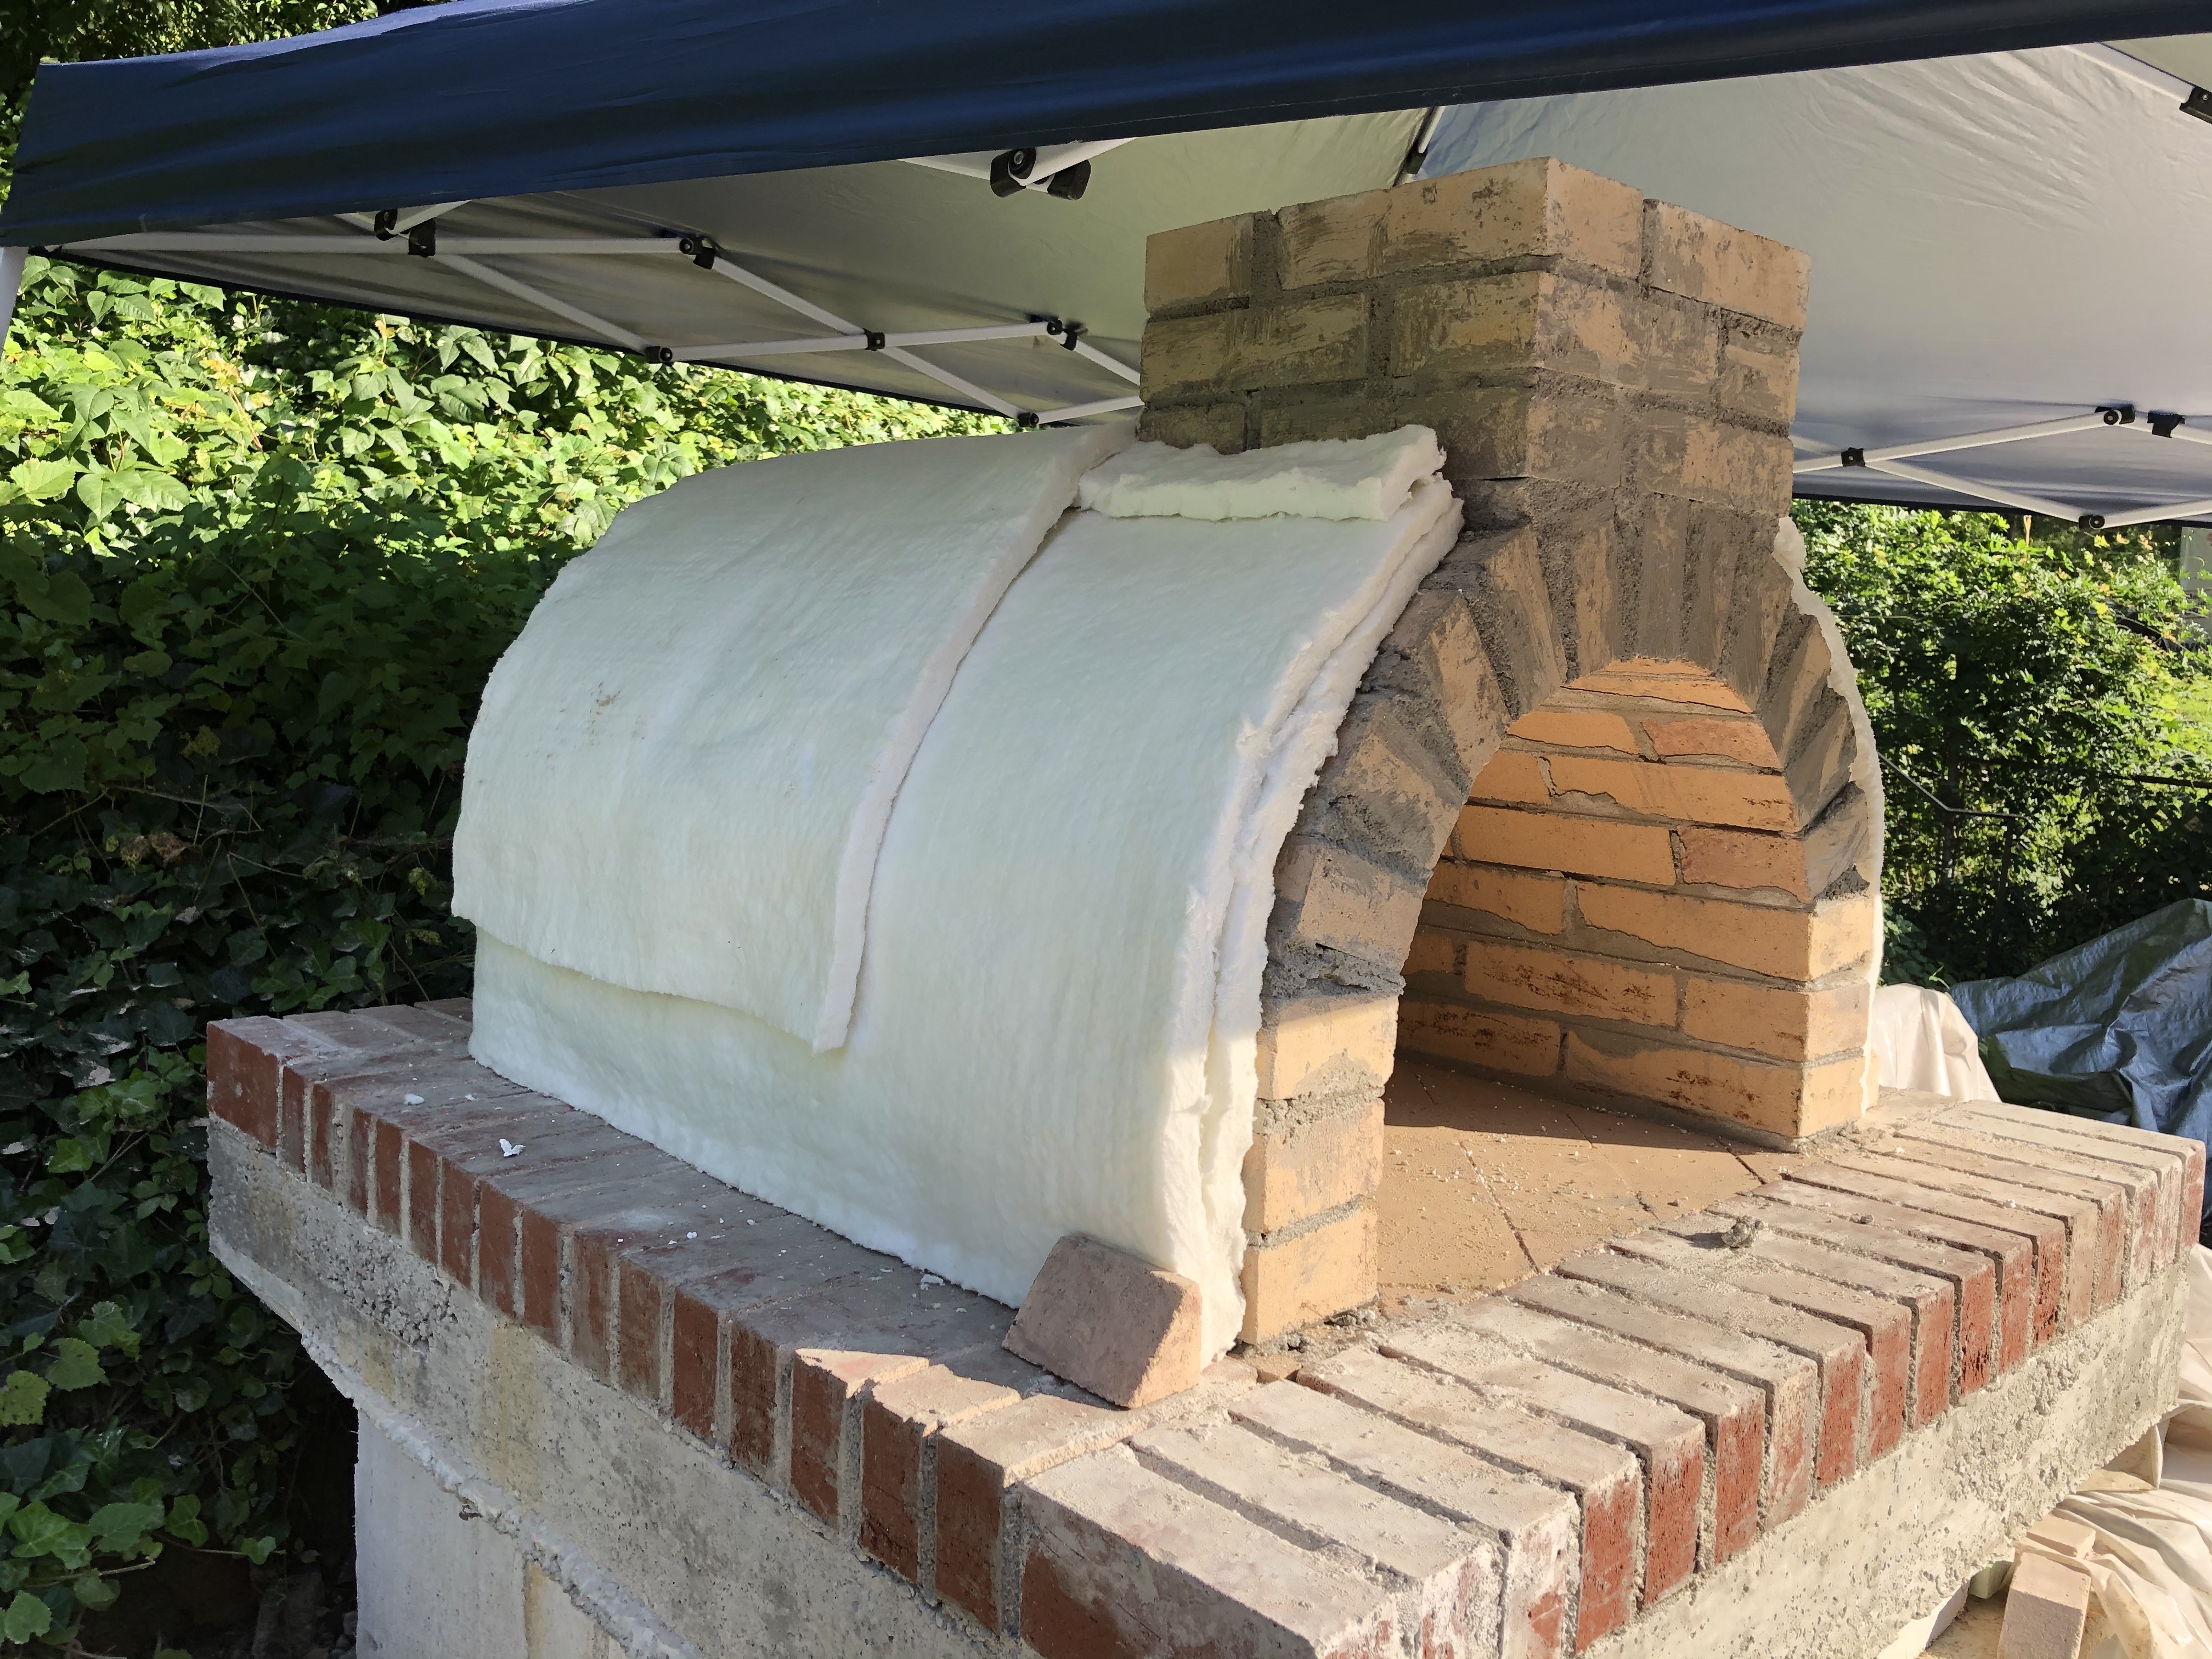
Is the extra insulation going to help or hurt?
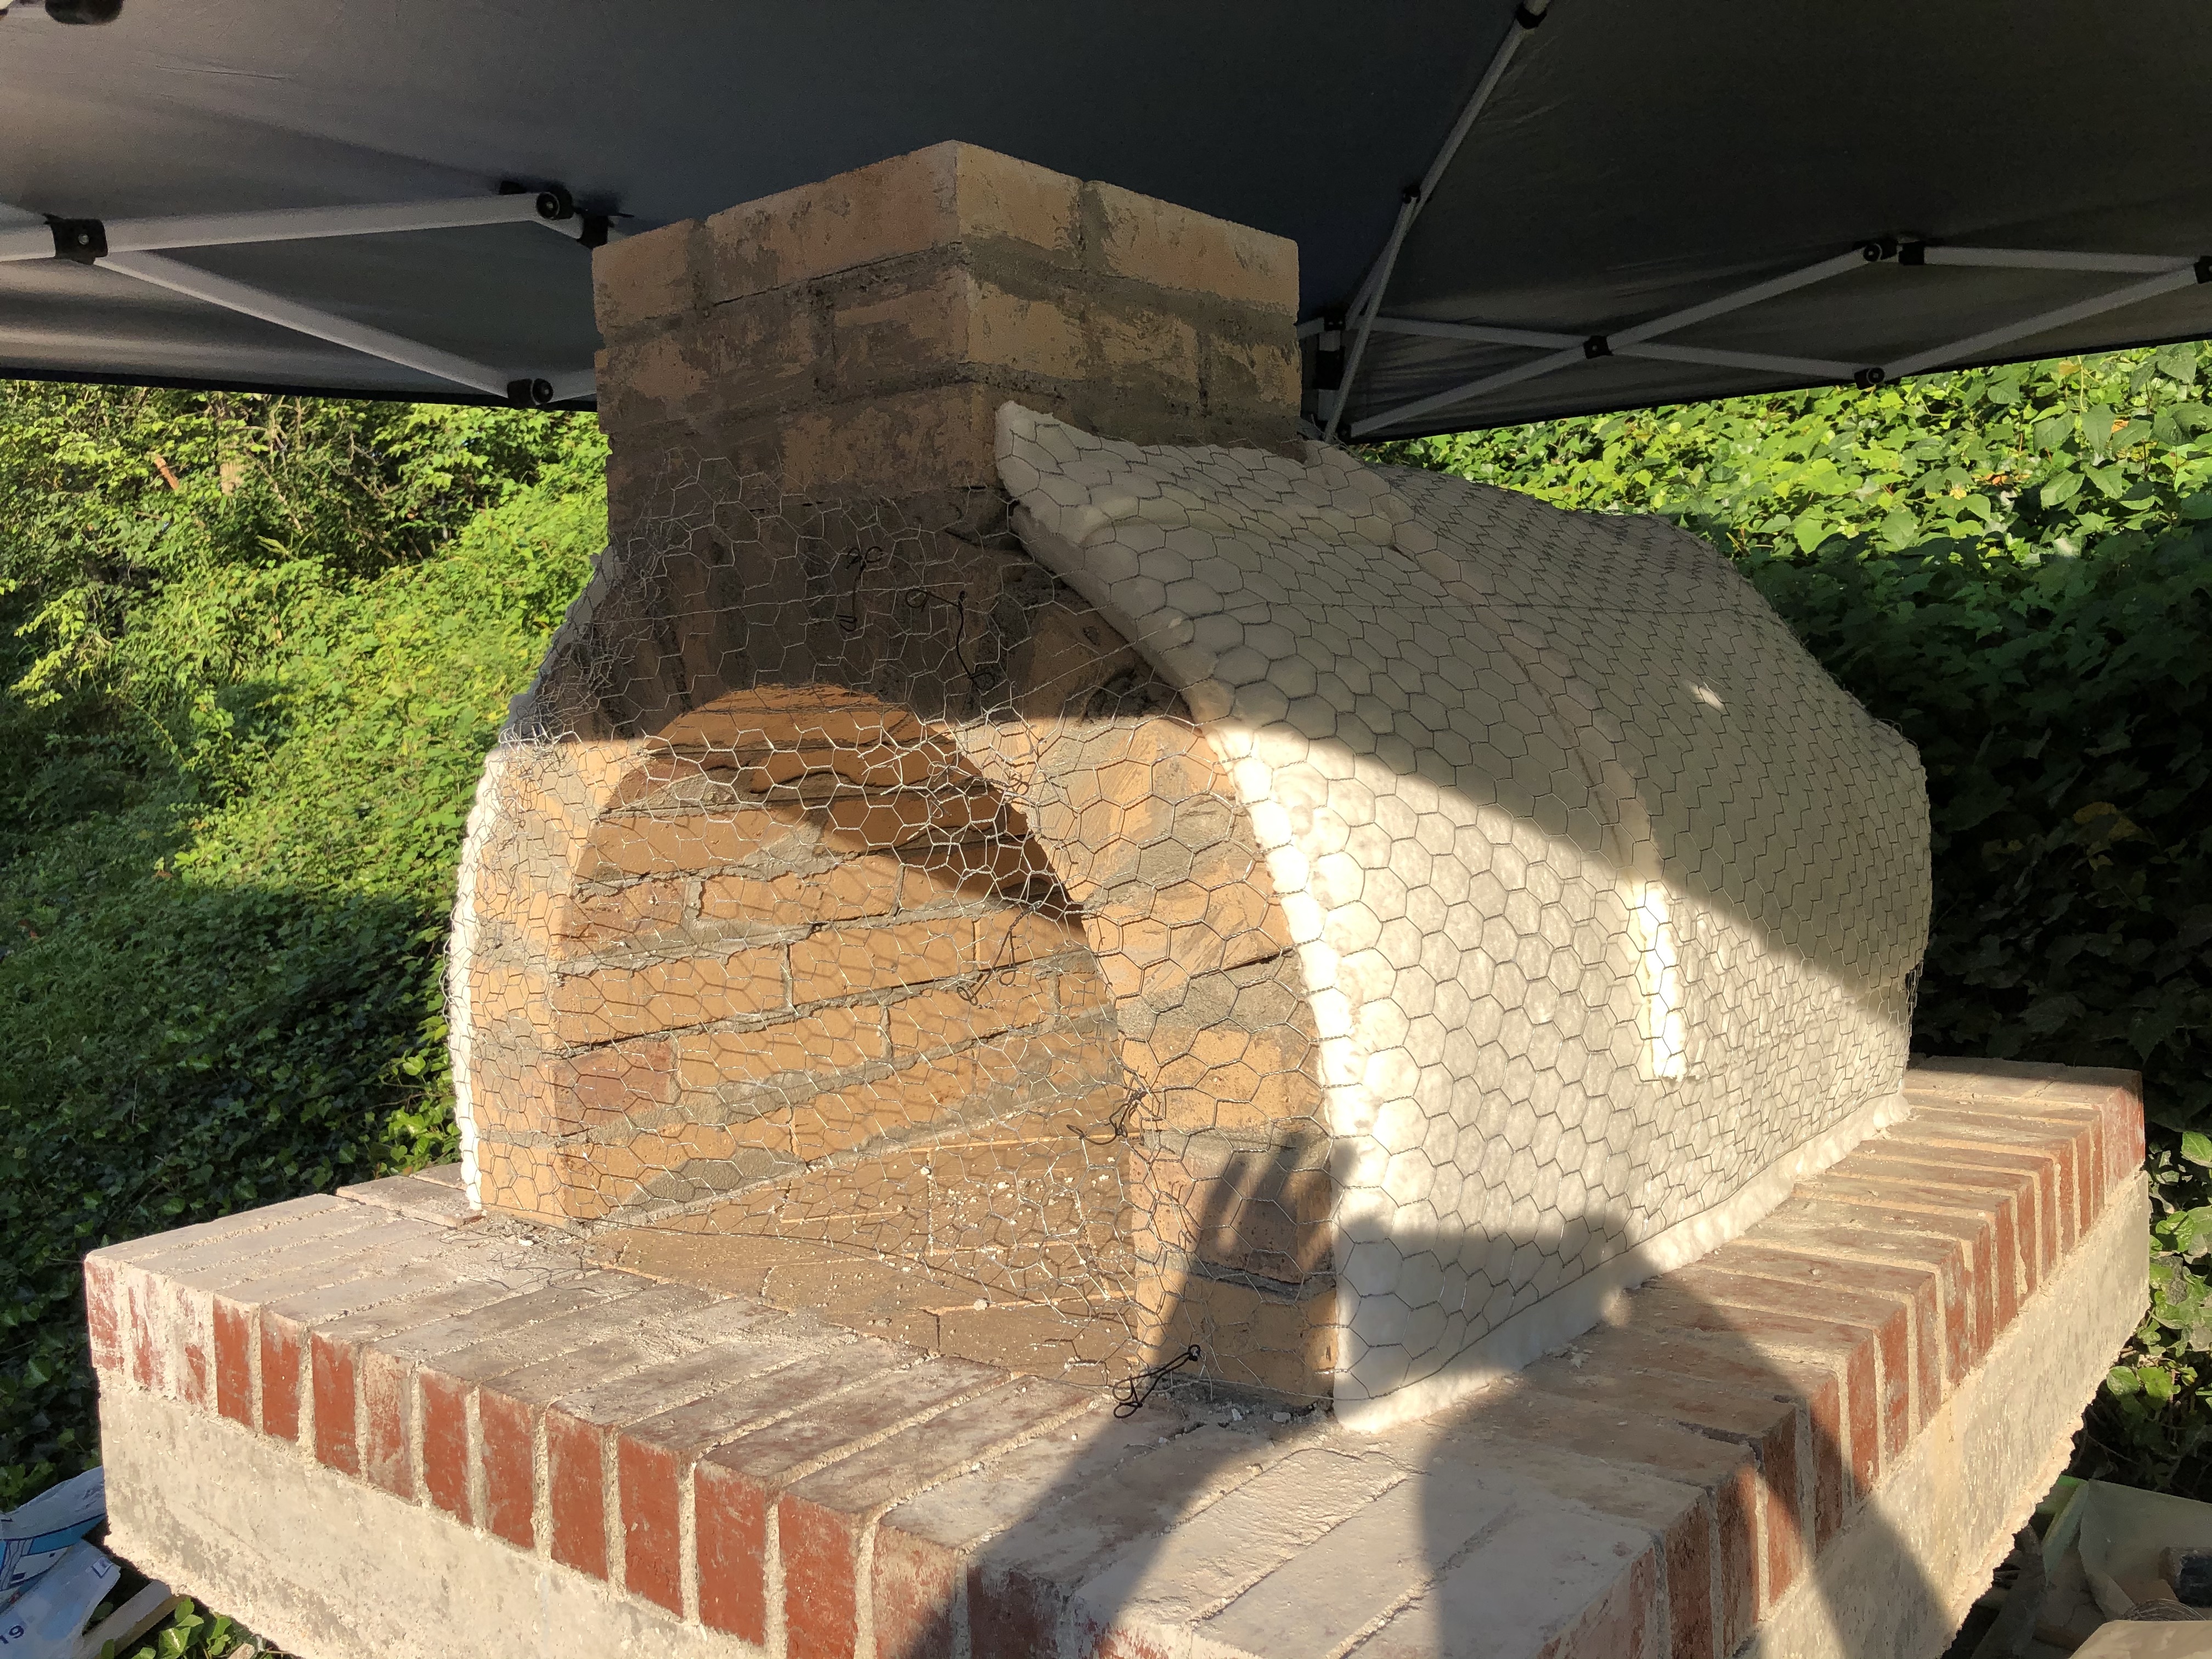
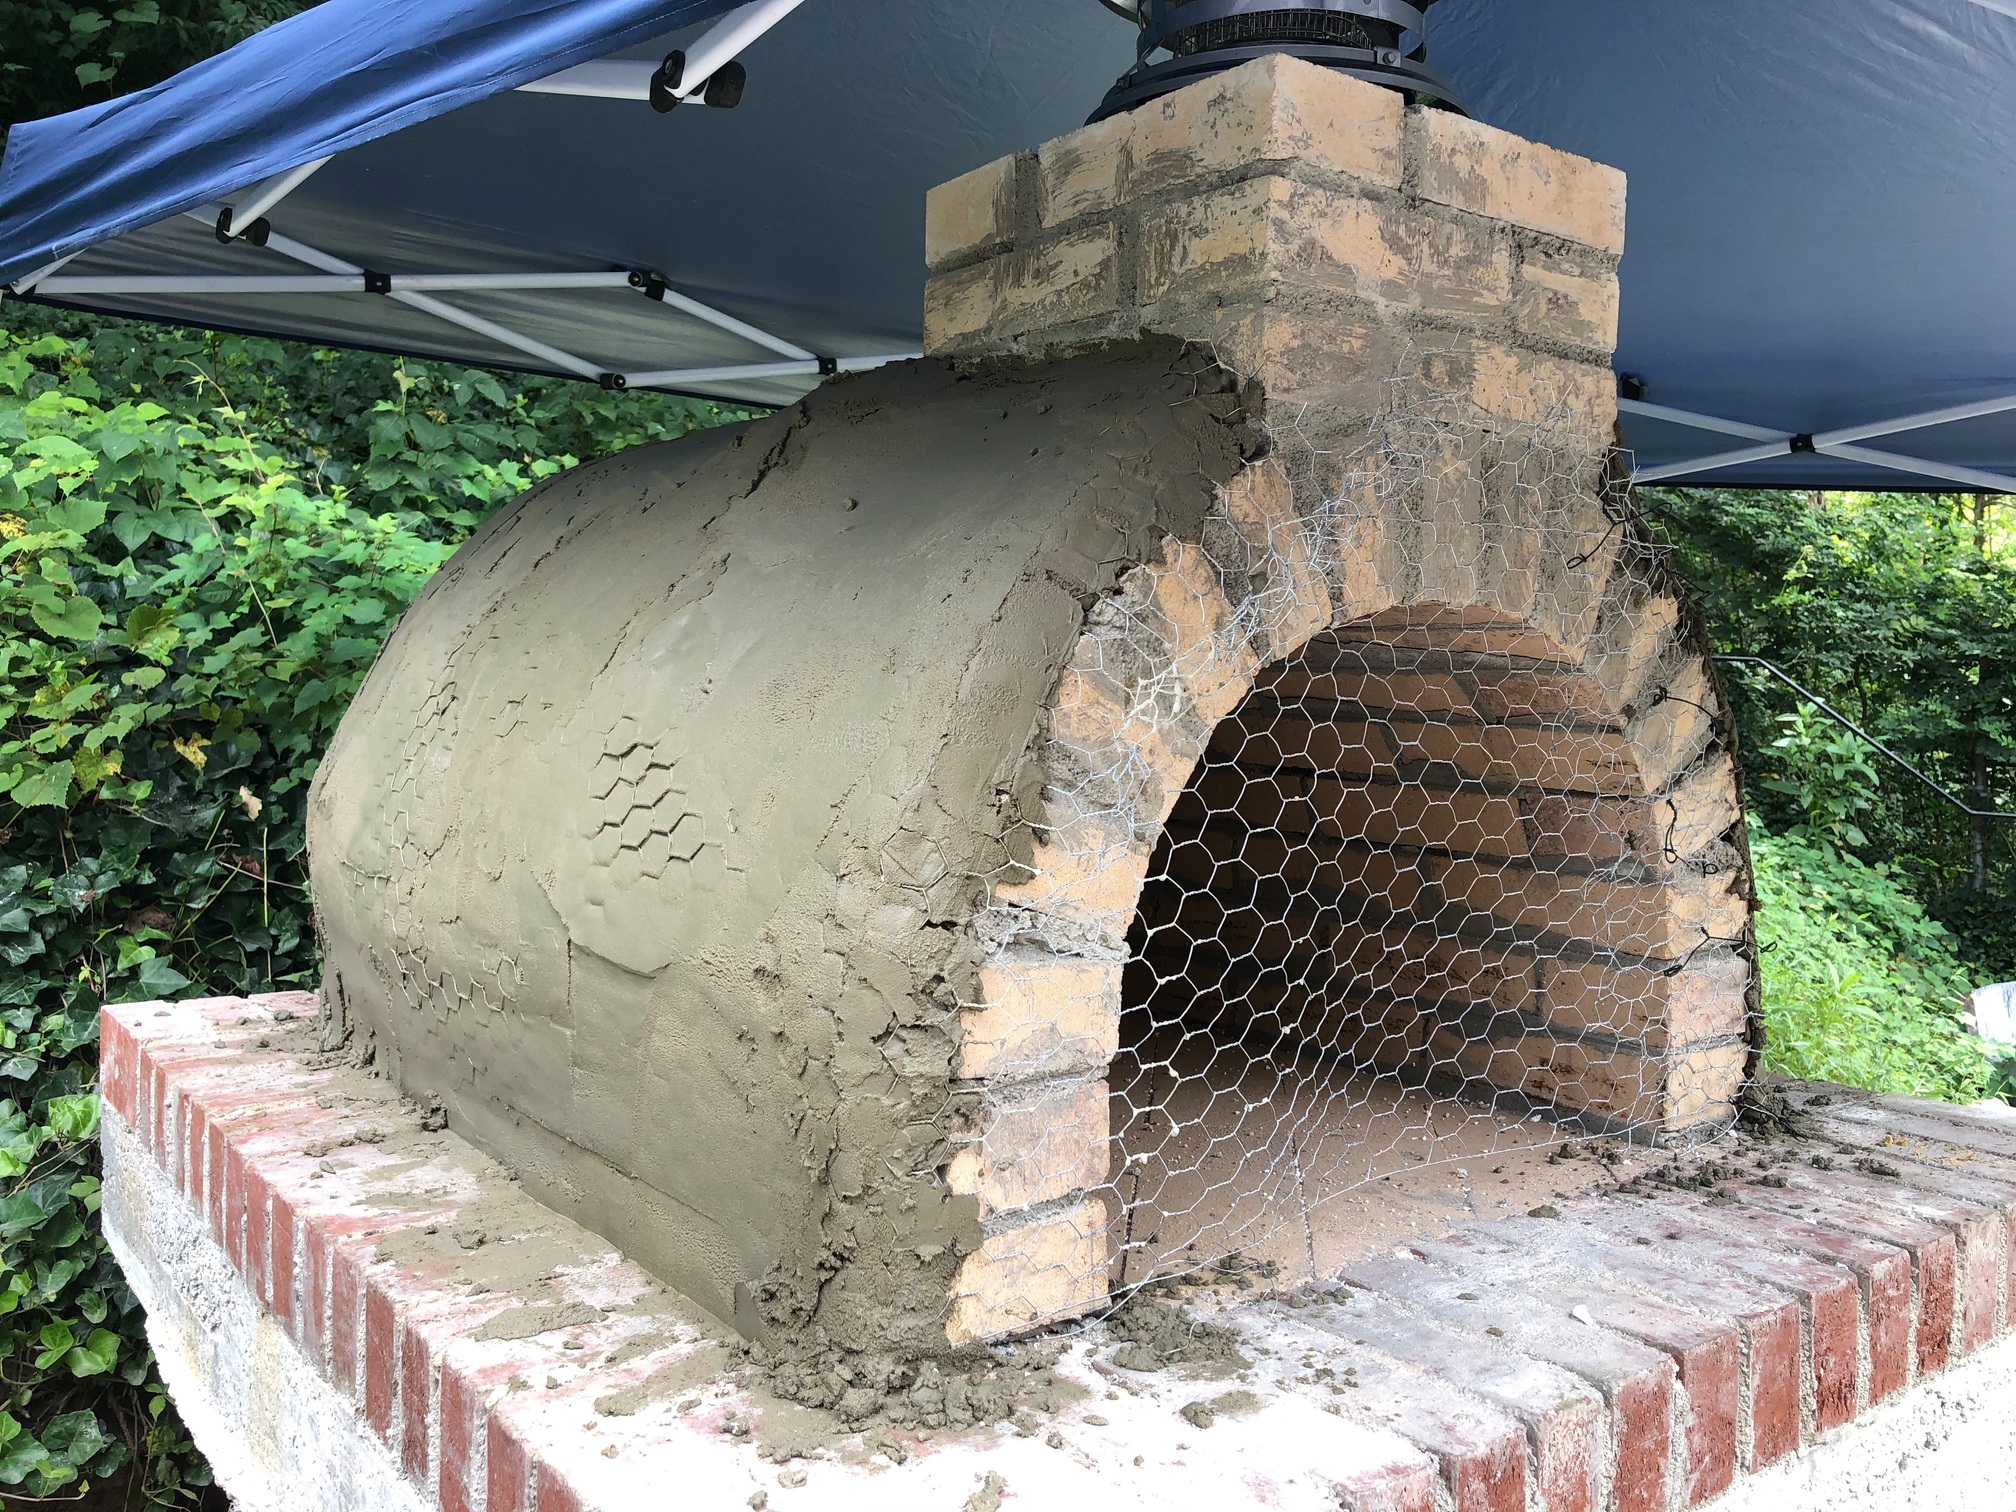
Chicken wire is not very friendly coming off of the roll
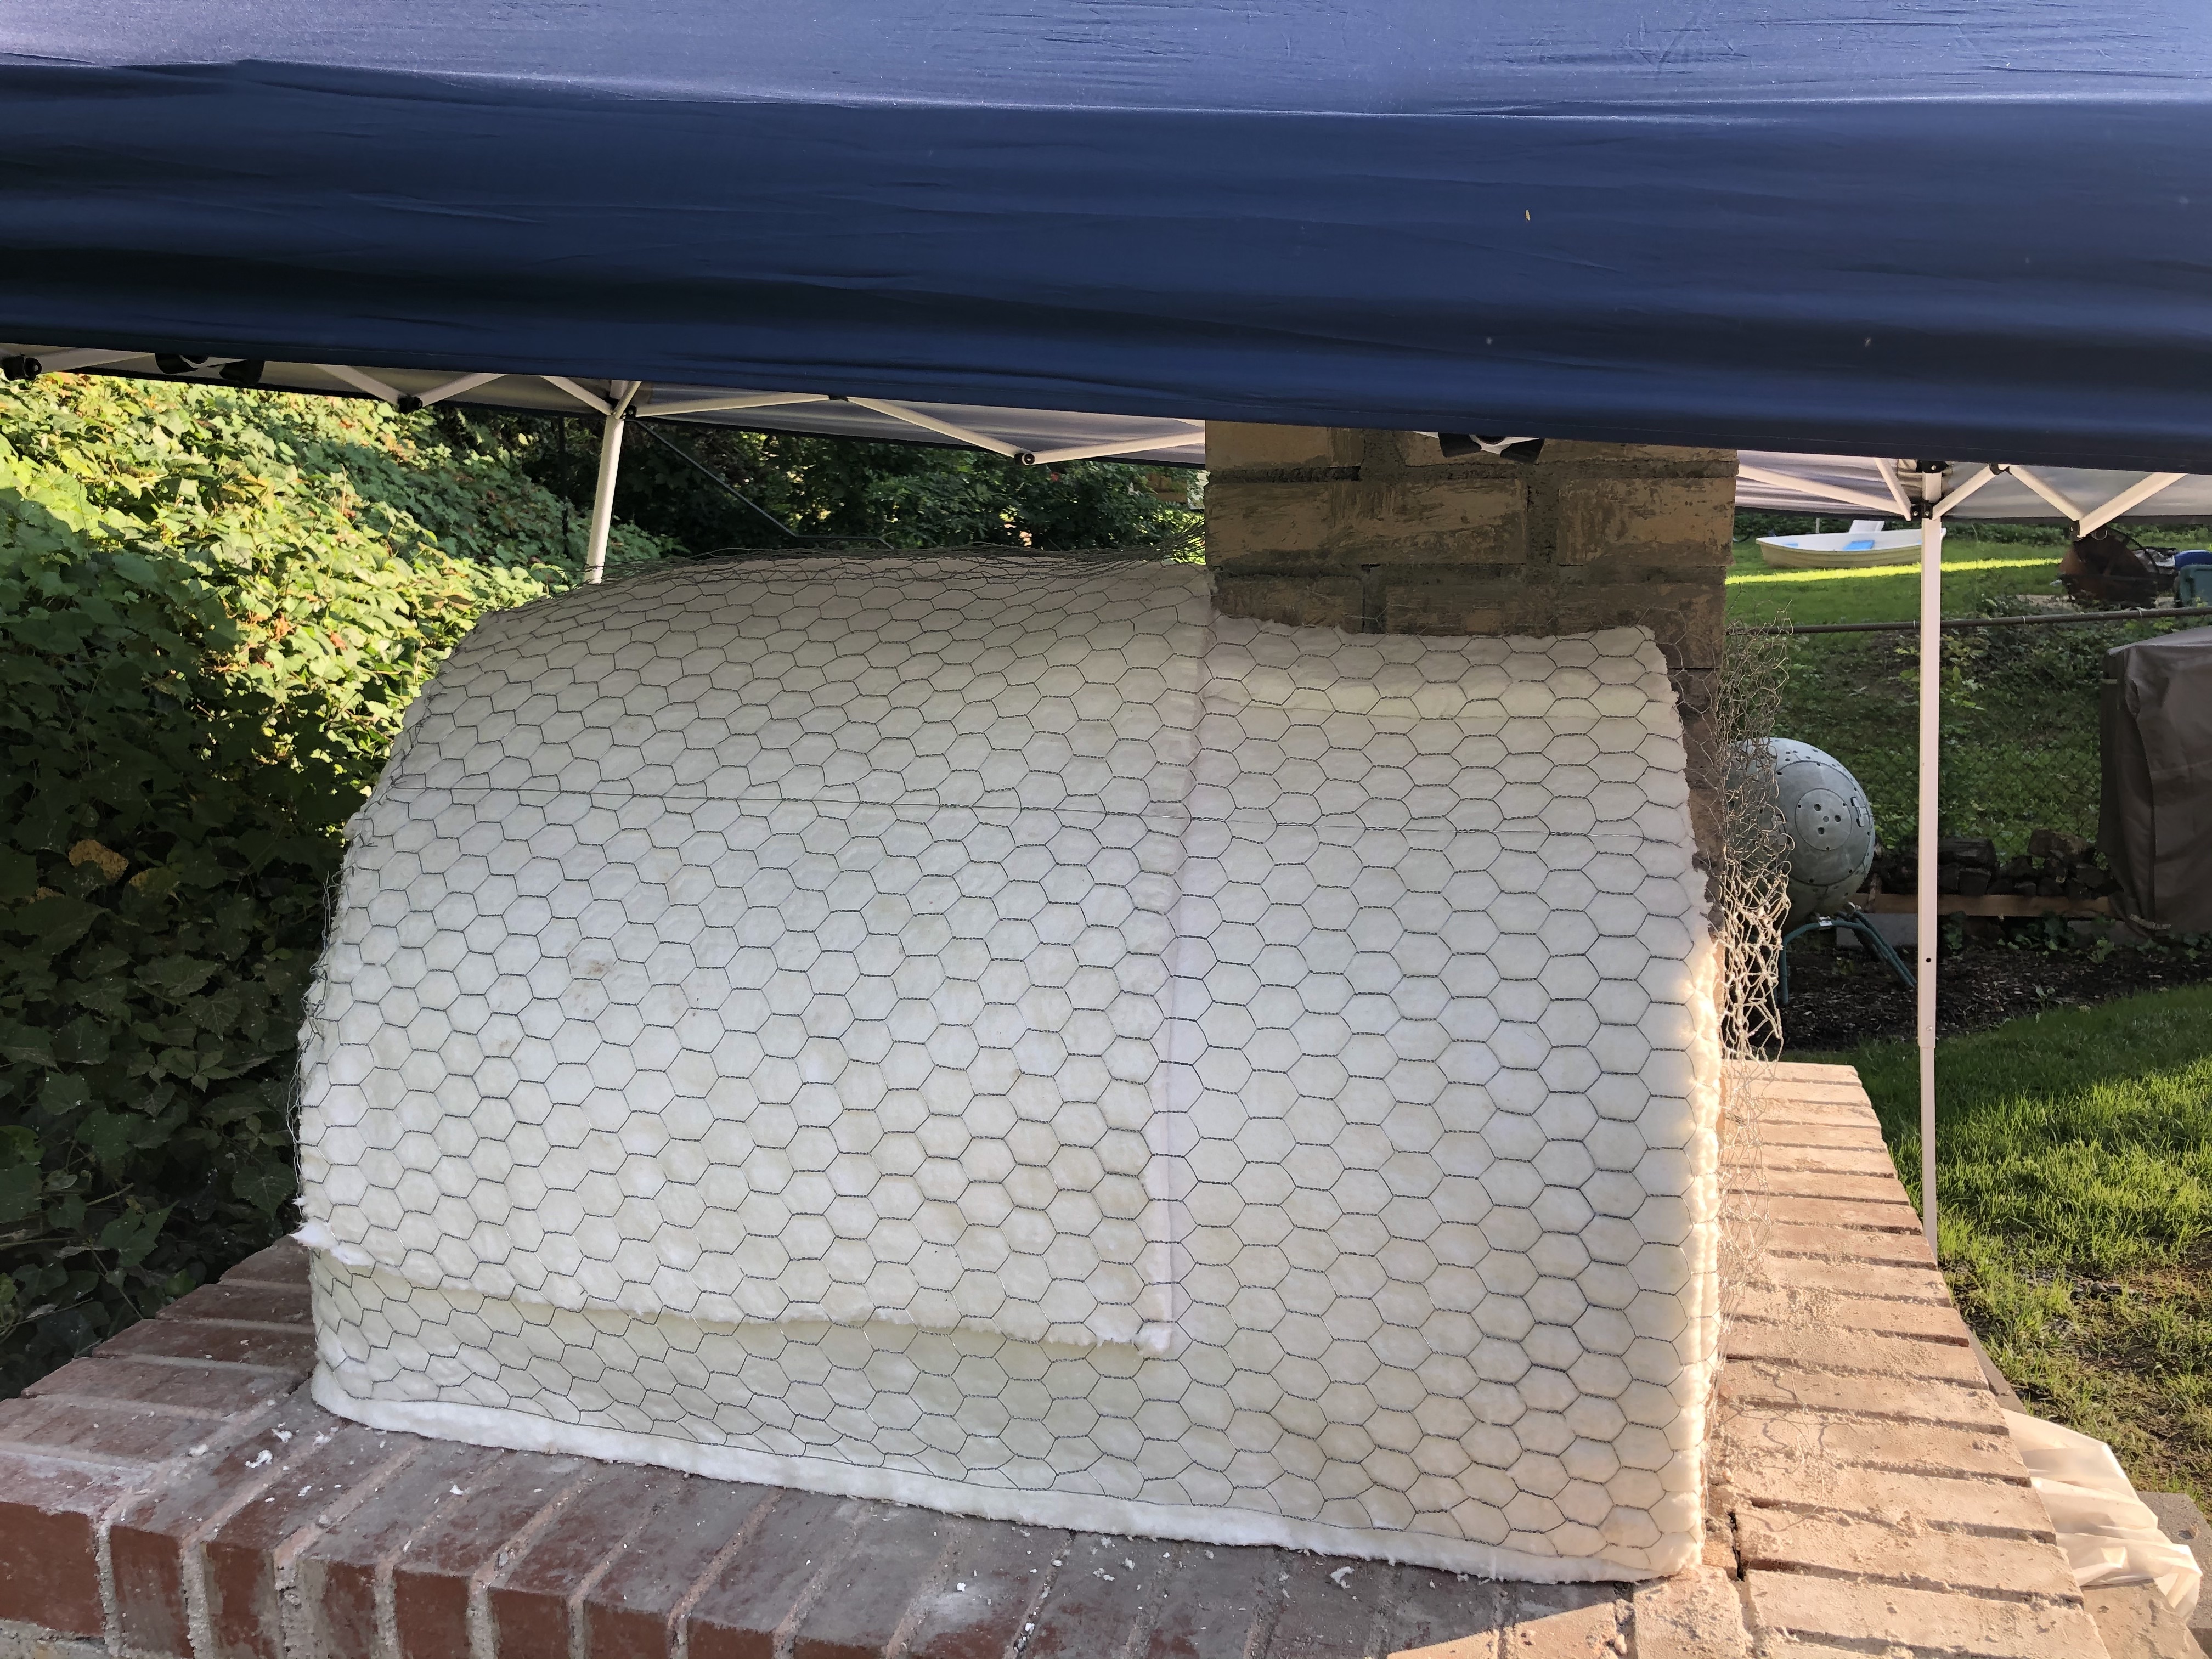
I got it as tight as I could
The first coat of mortar is on
It’s not very pretty now
But we’ll fix that in post…
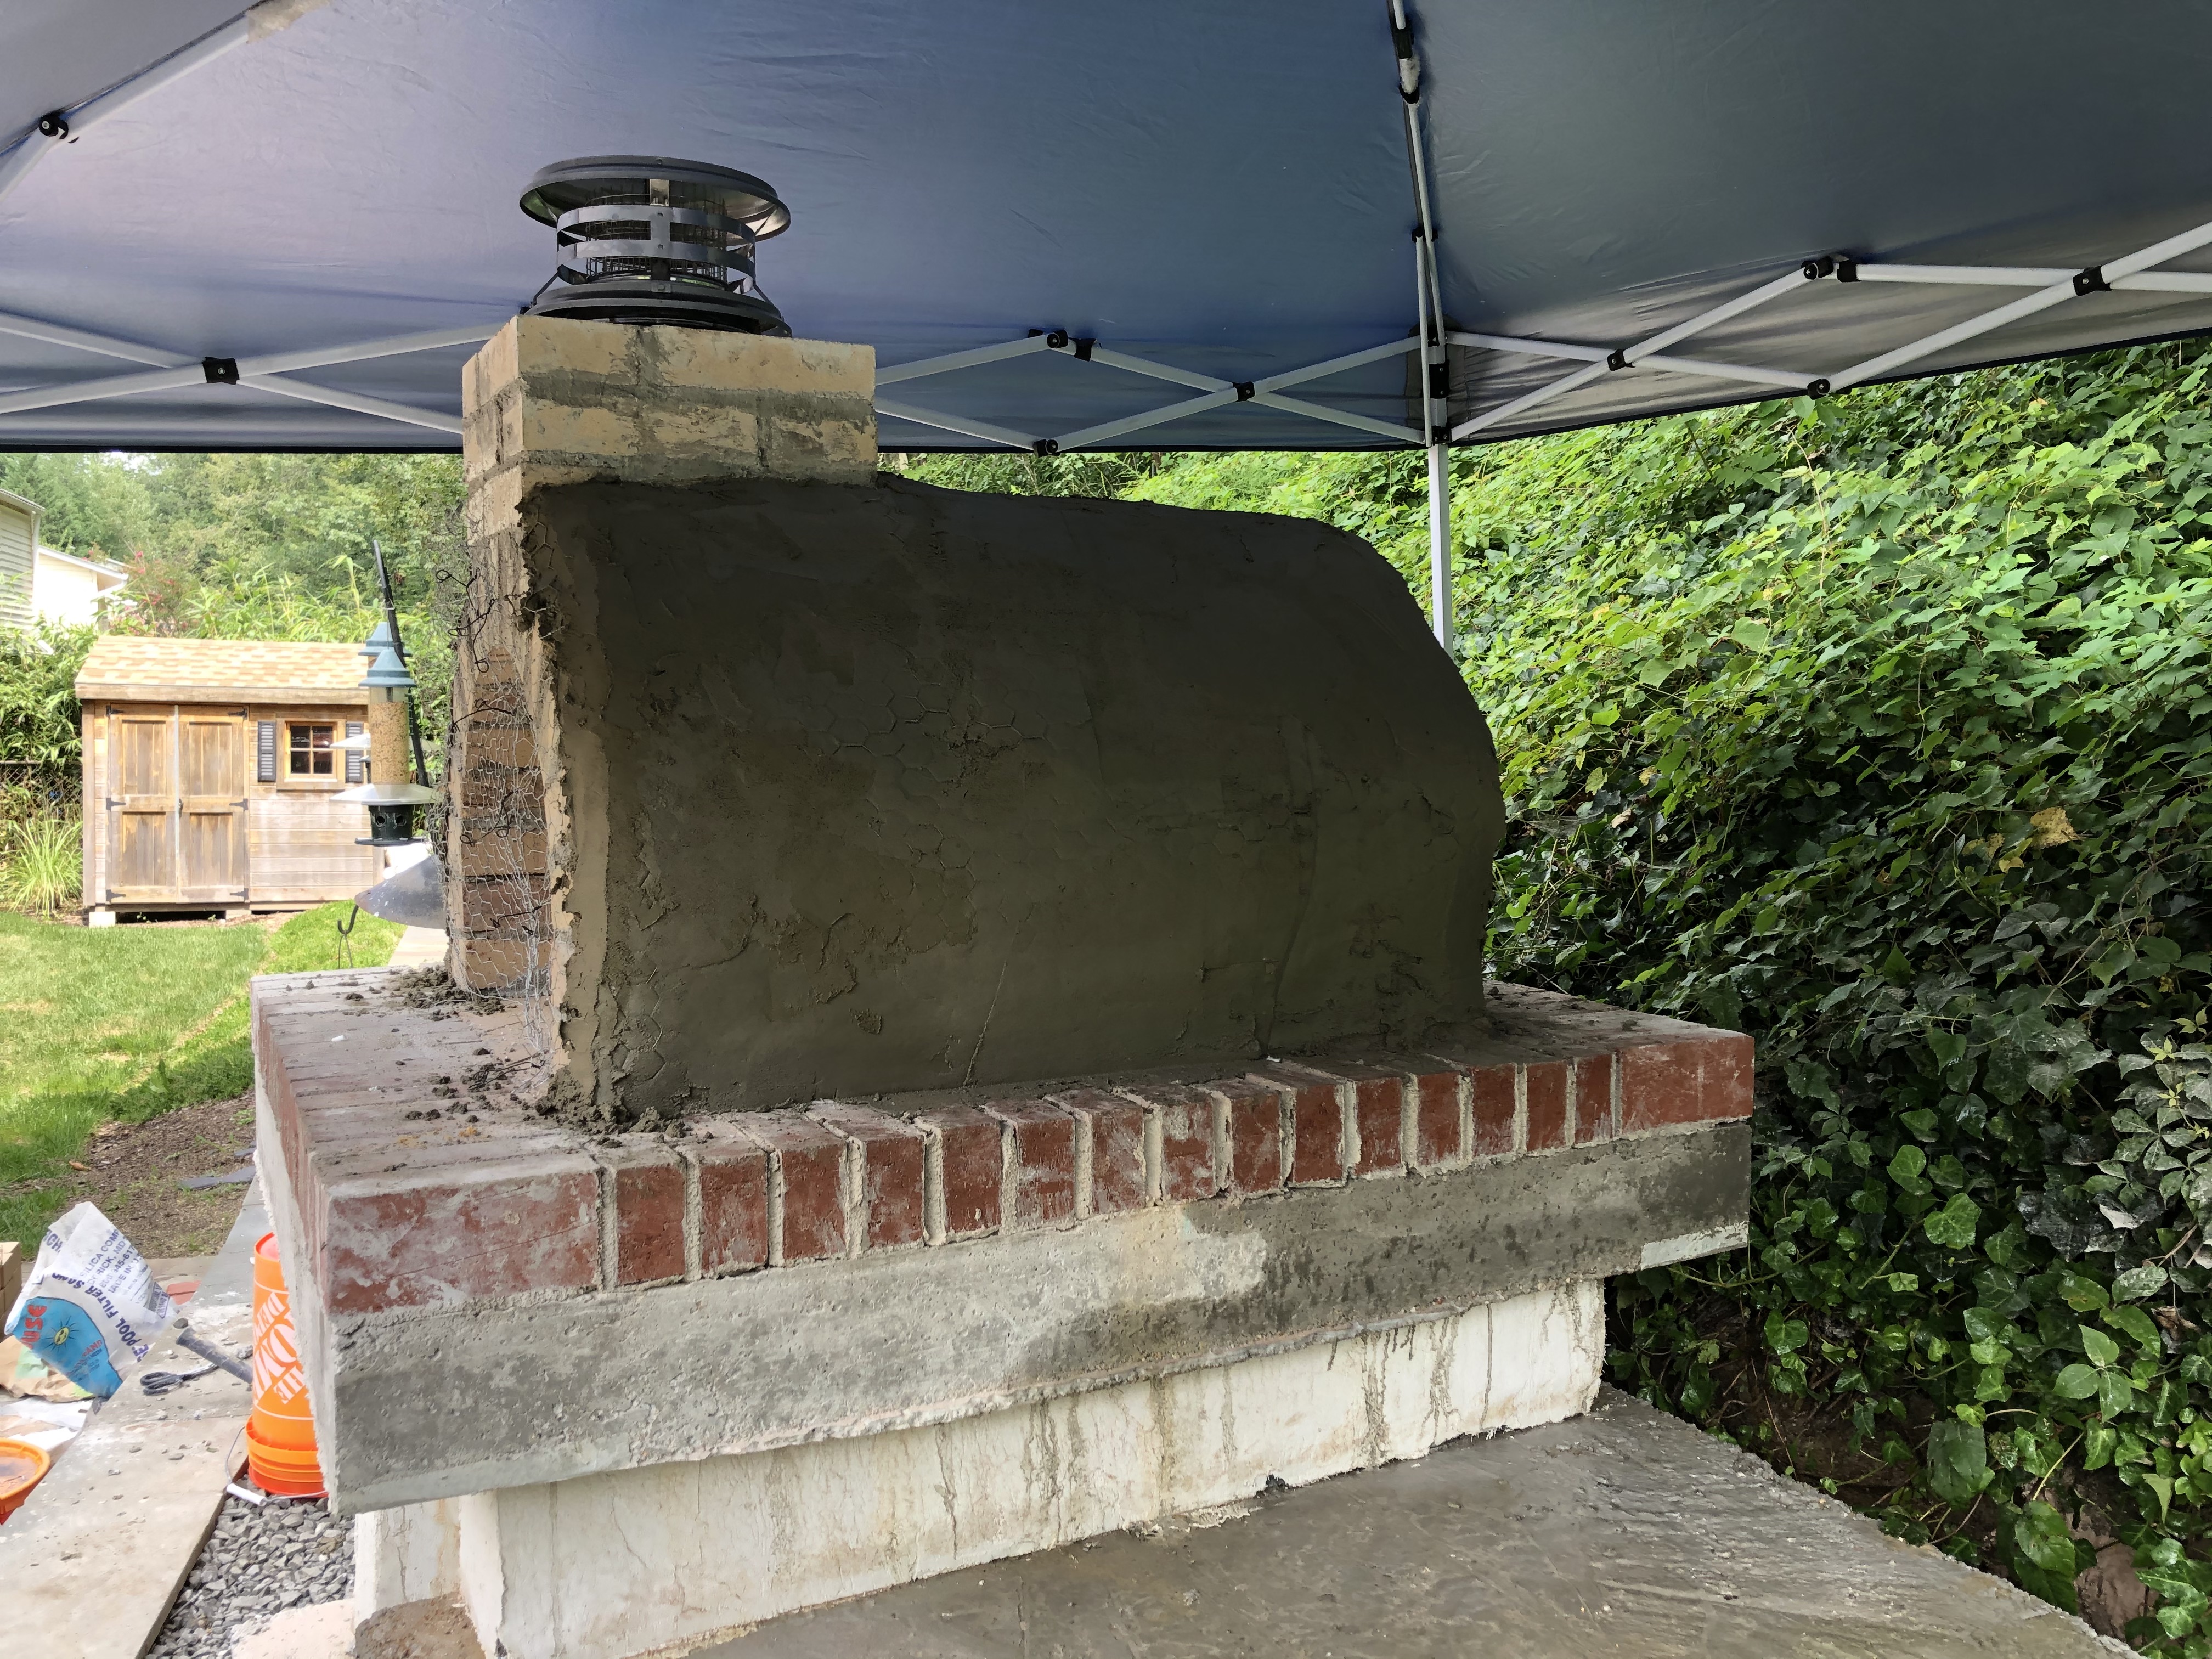
Today was a busy day

Final layer of surface bond cement
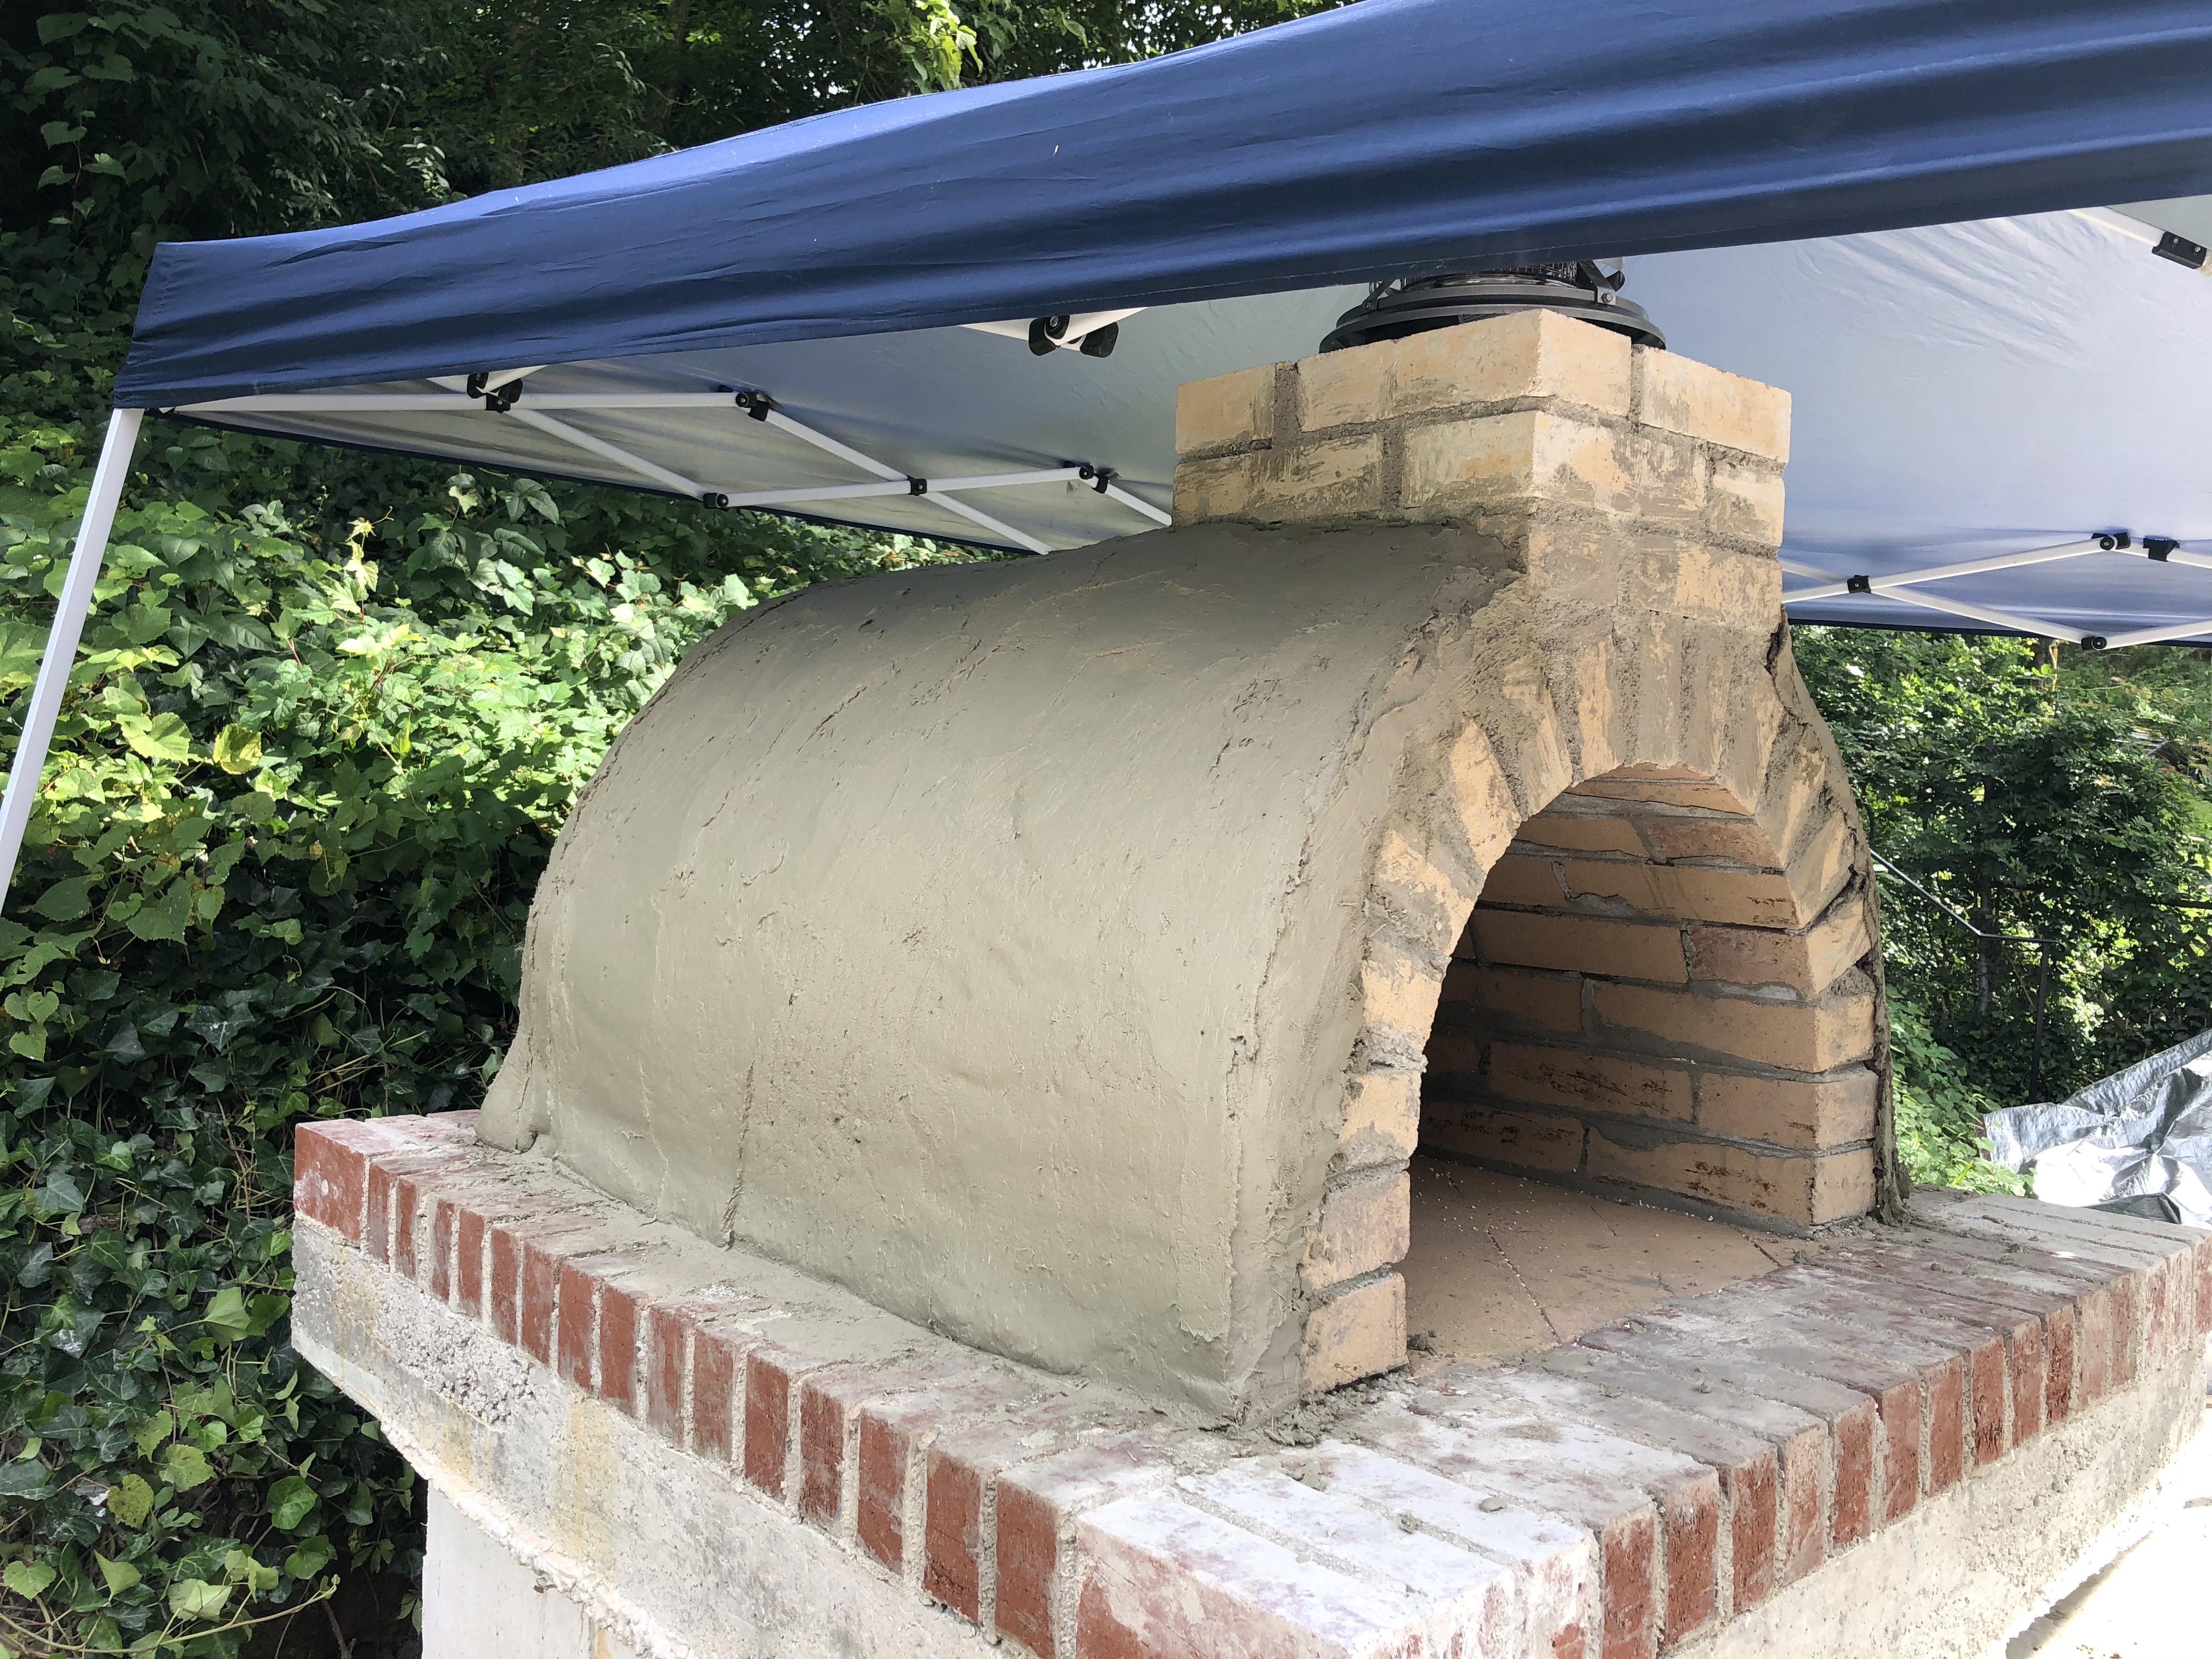
Looks ok on this side
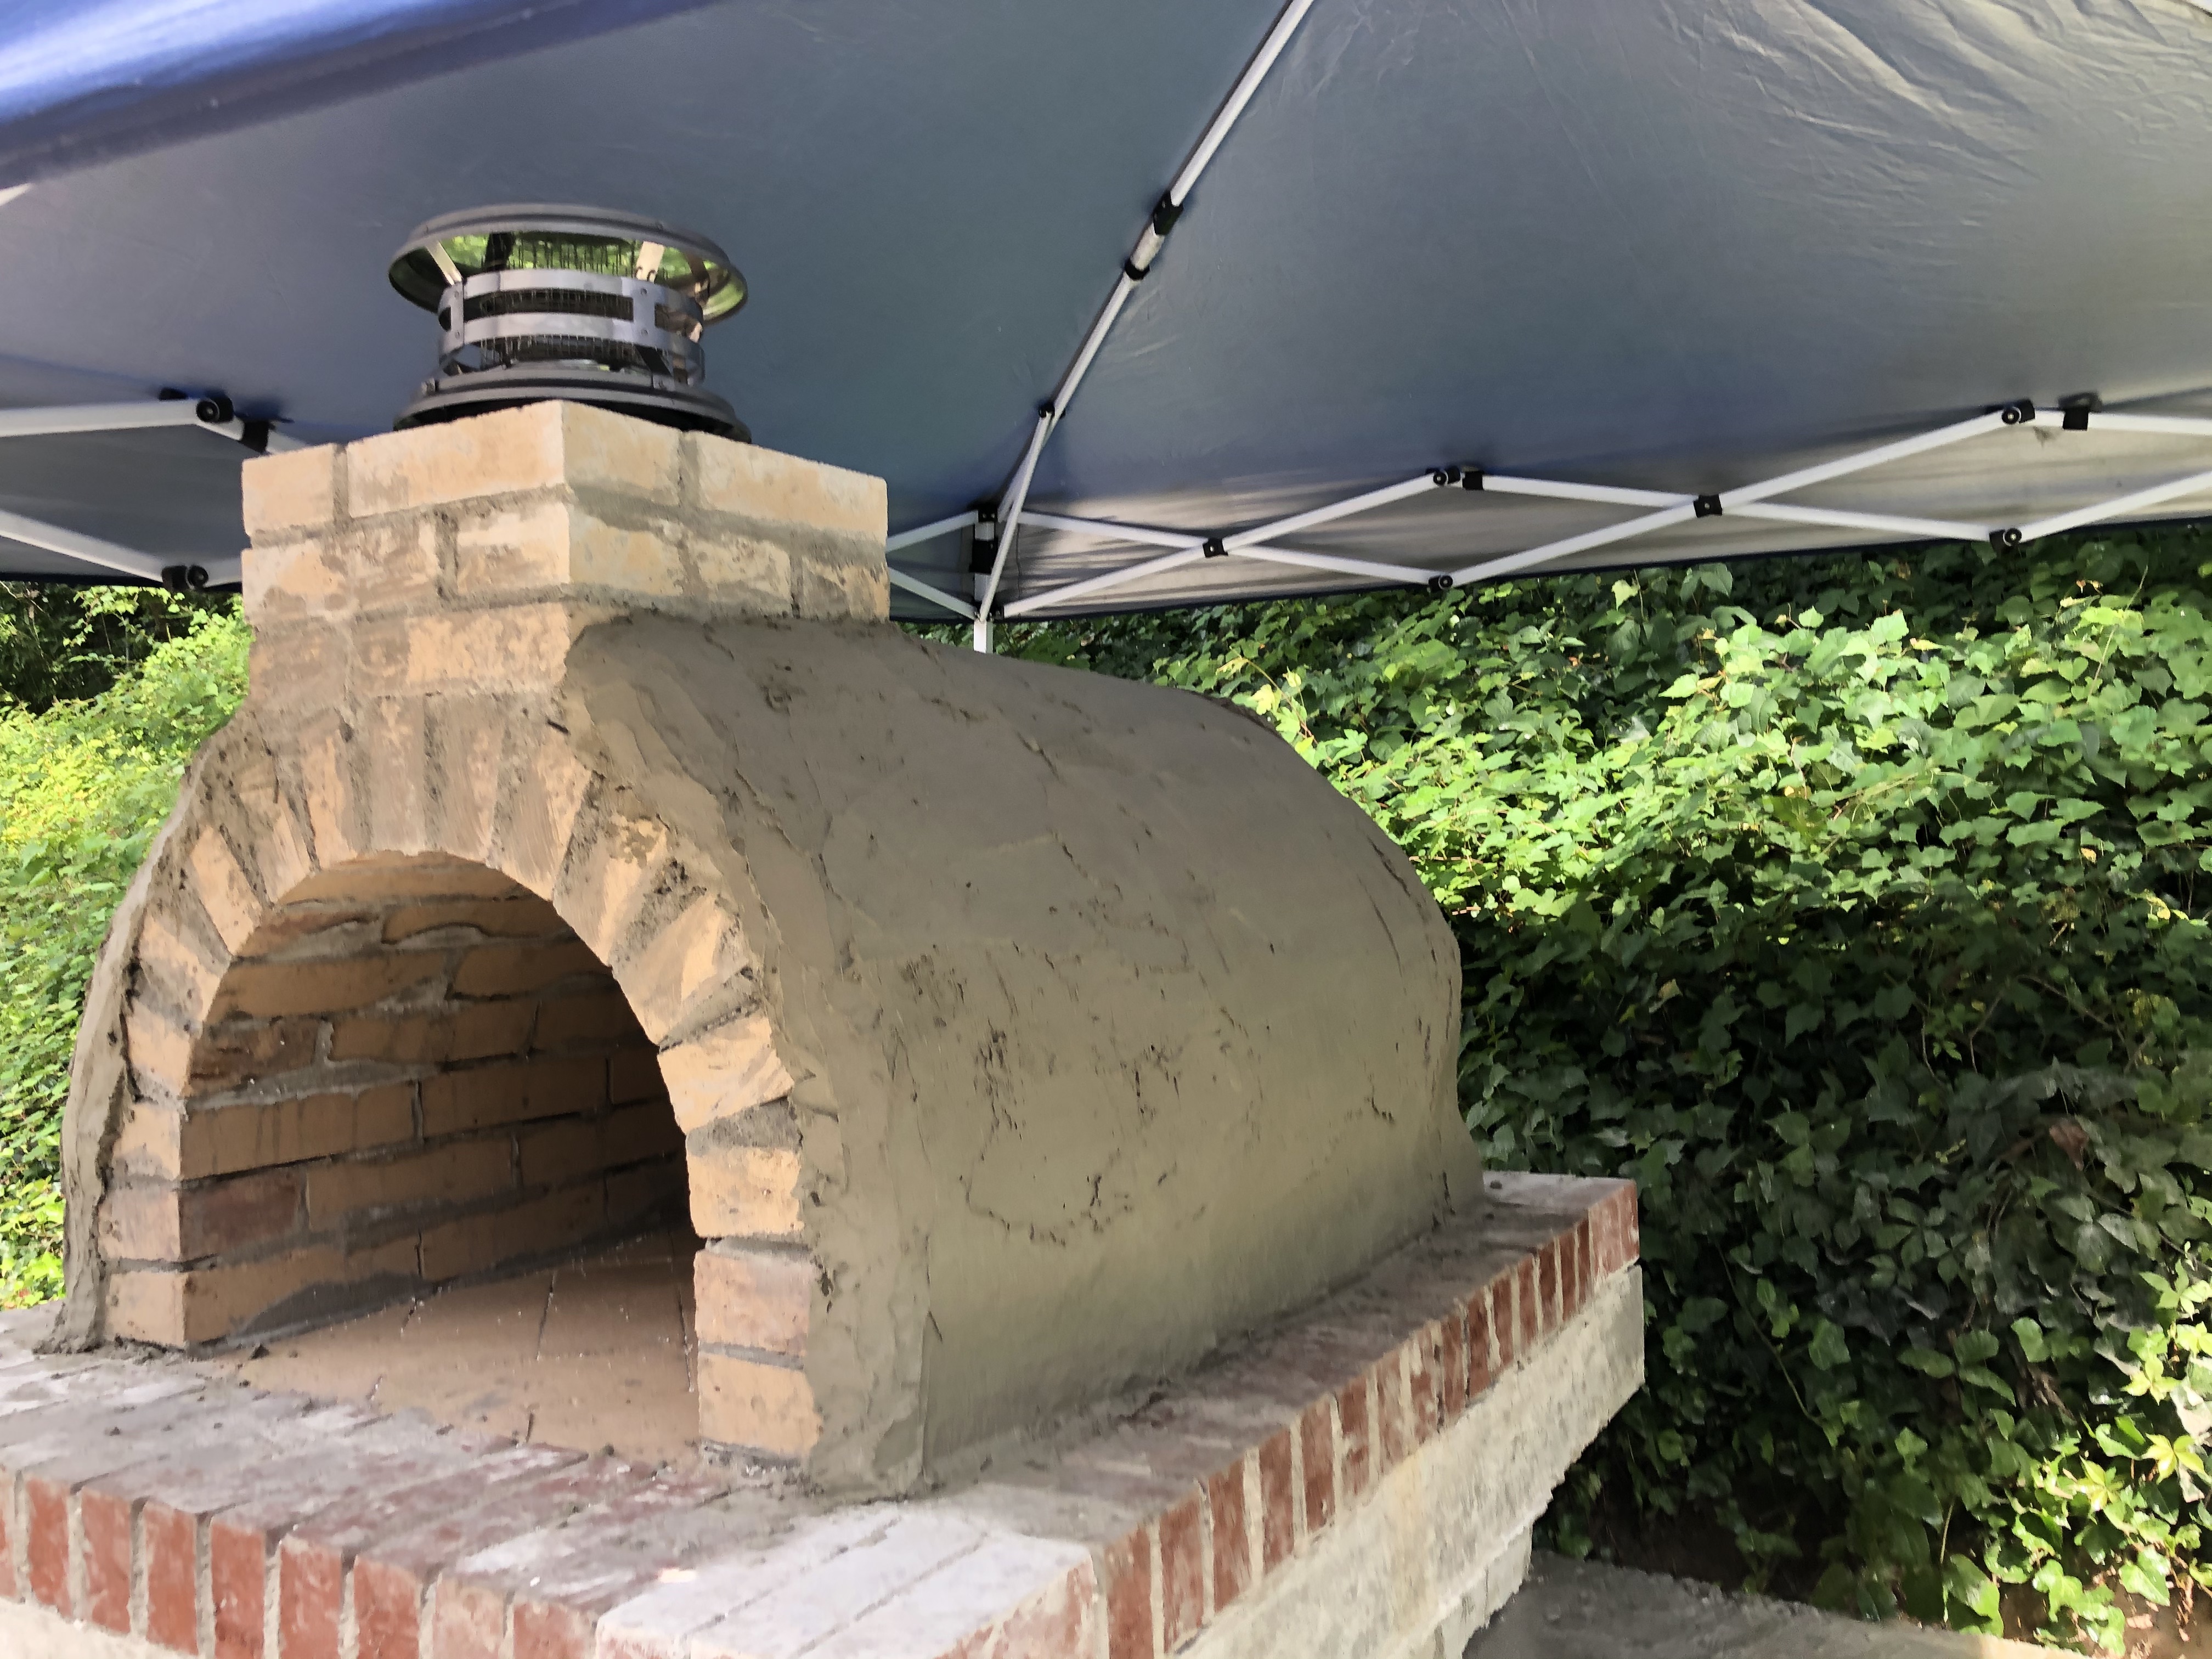
Looks a bit messy on this side
After waiting 45 minutes, I misted with water and gave it a brush finish with a masonry brush

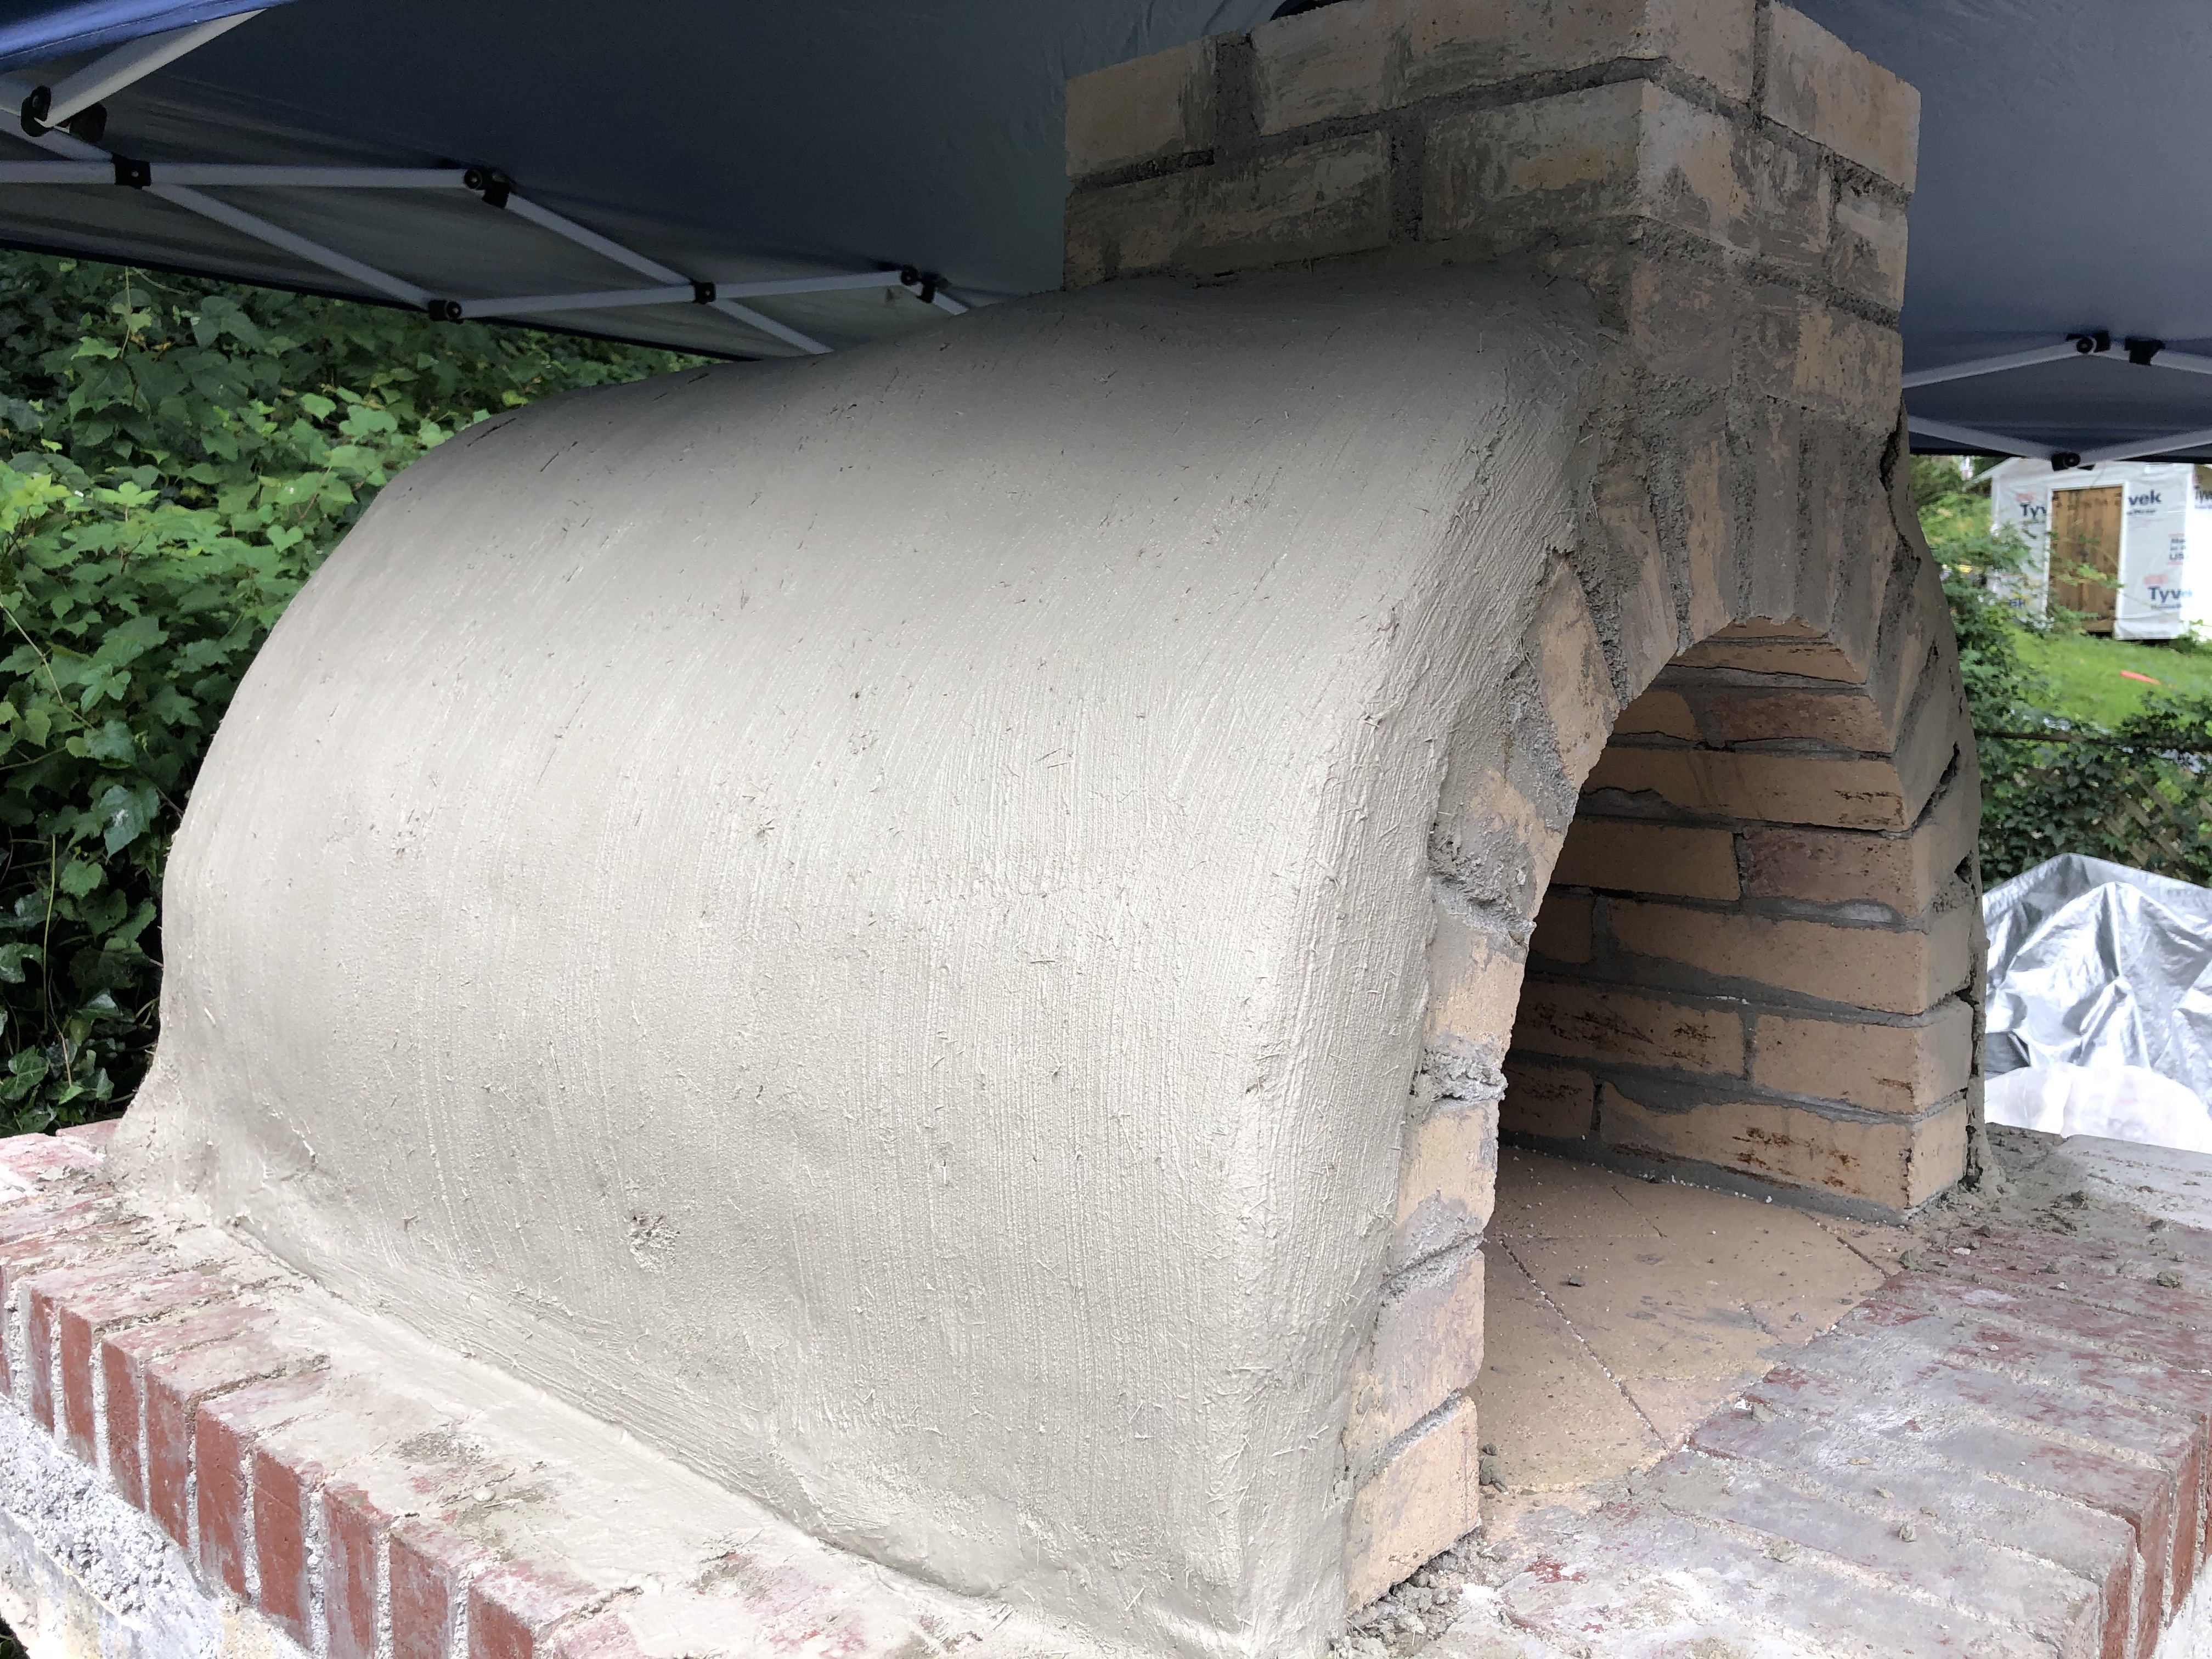
I think it looks pretty good from this side now.
And so begins the hard part of the build:
waiting 5 days before beginning the tempering fires…
We’re going to tile the outside of the barrel and close the opening, but those activities can be done after the tempering, right? We are also looking at a stacked stone treatment for the base, but we’ll see.
G
1 Like
Looks awesome! Your doing a great job. If your going to close the front that may be something you can do while you’re waiting for the stucco to cure. That way when you do the curing fires it all get cured at once. Just a suggestion.
Happy building!
1 Like
Got some smaller tasks done today
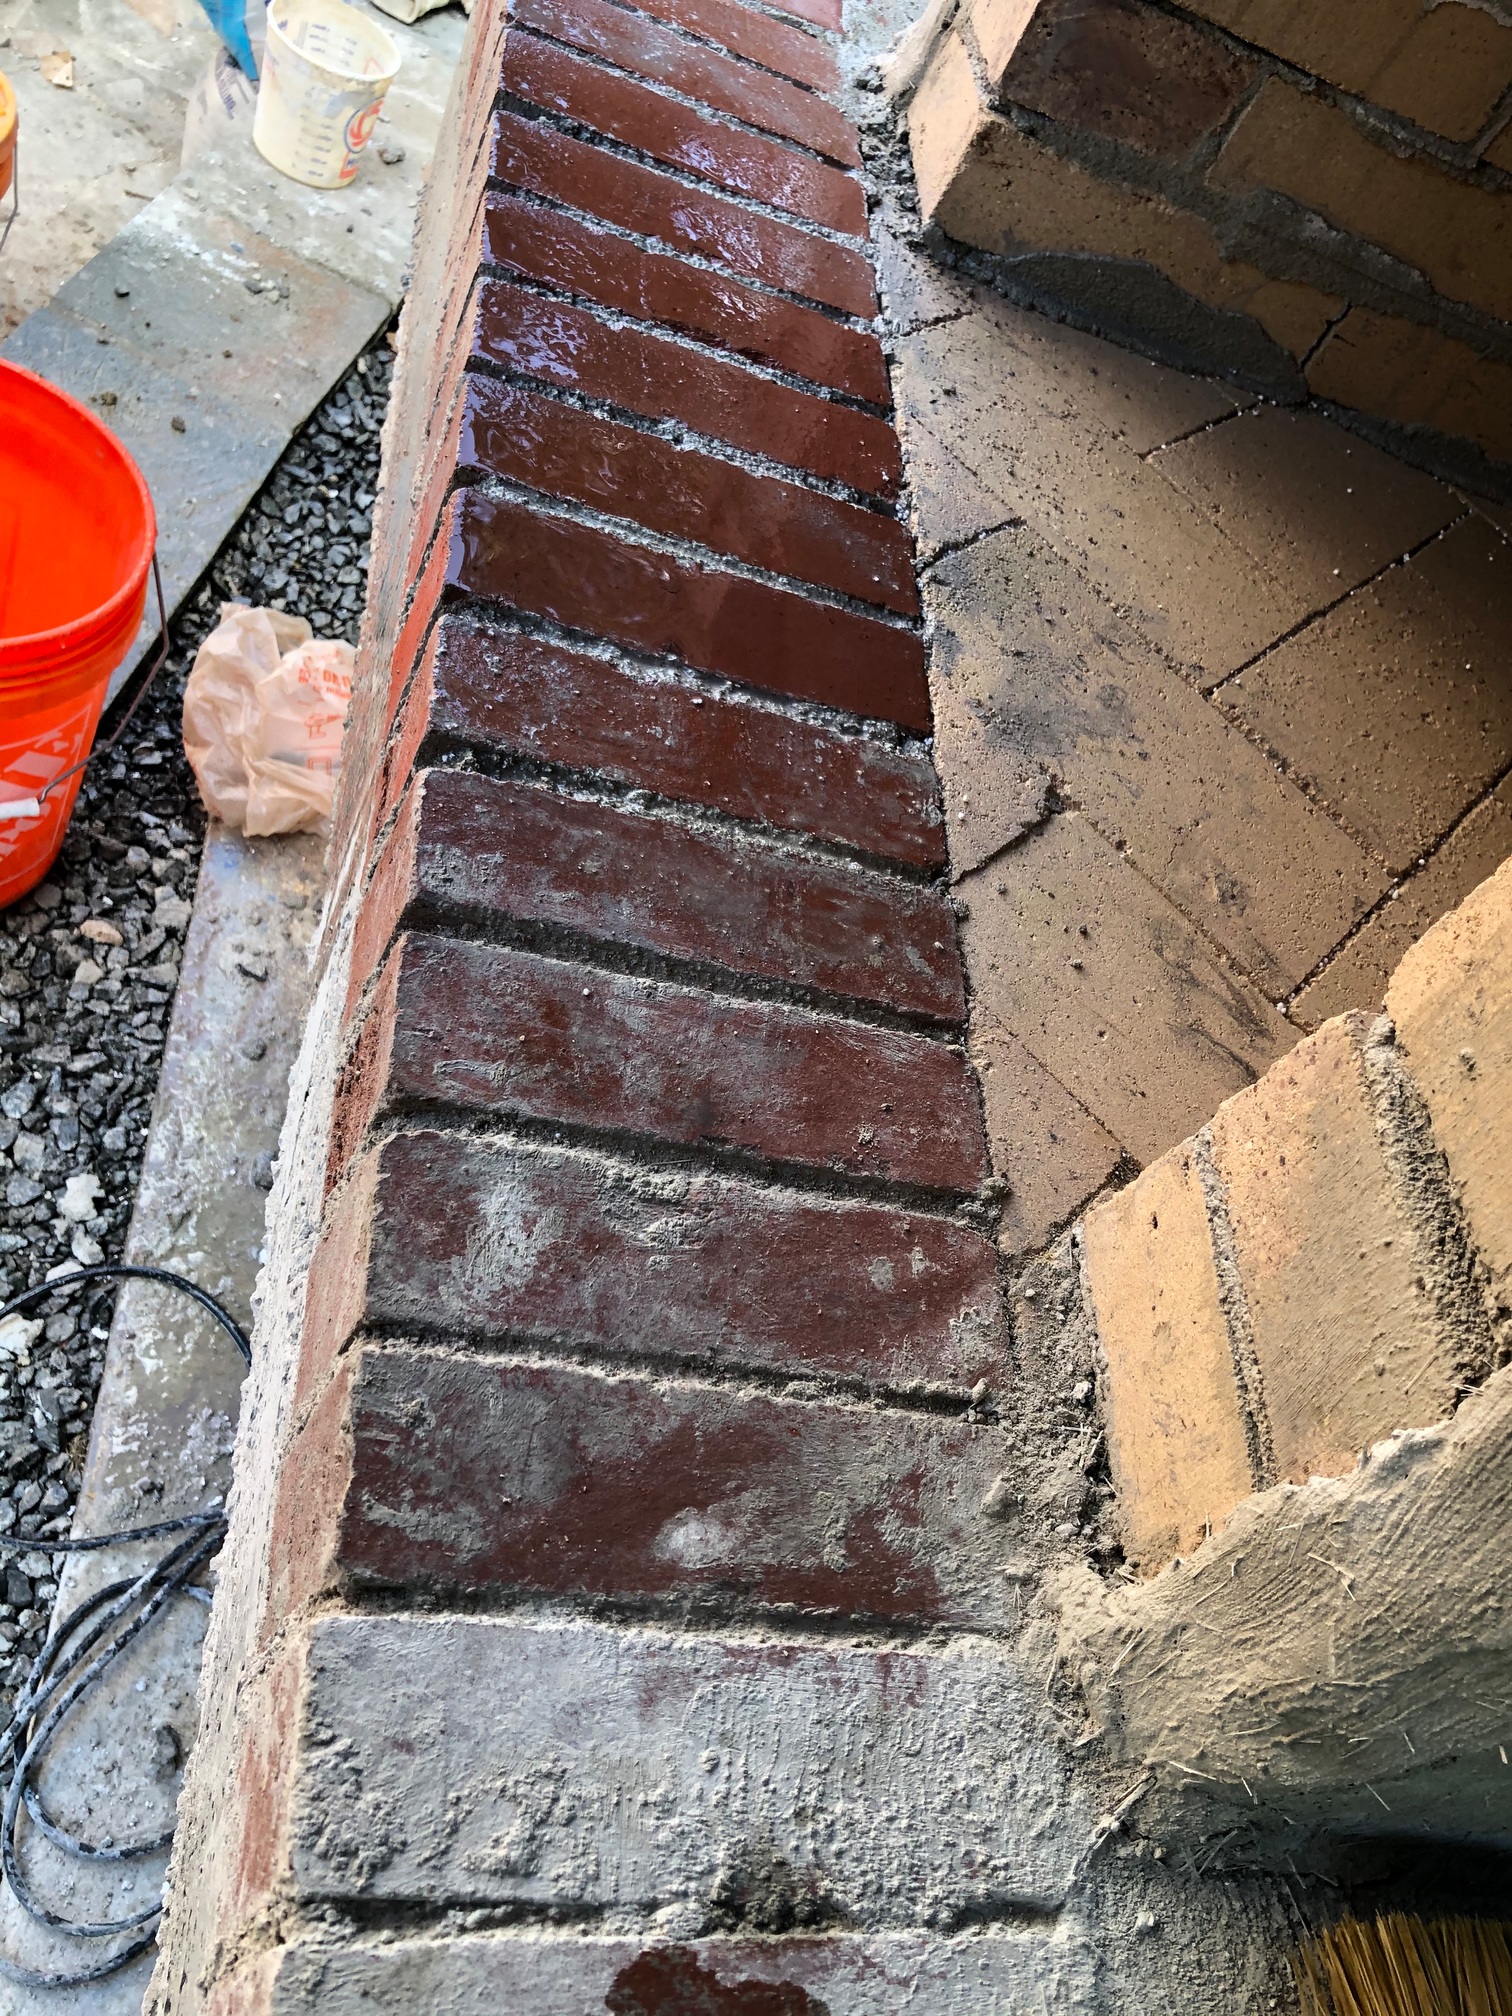
Cleaned the front row of bricks using very dilute muriatic acid and a wire brush. I think it turned out well.

Hung the holder for the peel and brush on the side of the house.
I will be cutting my leftover firebricks in half to use the finished faces to enclose the front of the oven. That should be happening this week.
Getting close to done!
G
3 Likes
Looking great! And good idea on cutting your leftover firebrick. Turning it over in my mind just a bit, and it will be thinner than standing them on edge (you definitely don’t want to lay them on their bases because it would be way too thick and wouldn’t leave enough of a ledge for the door). But I believe it will do the job.
1 Like
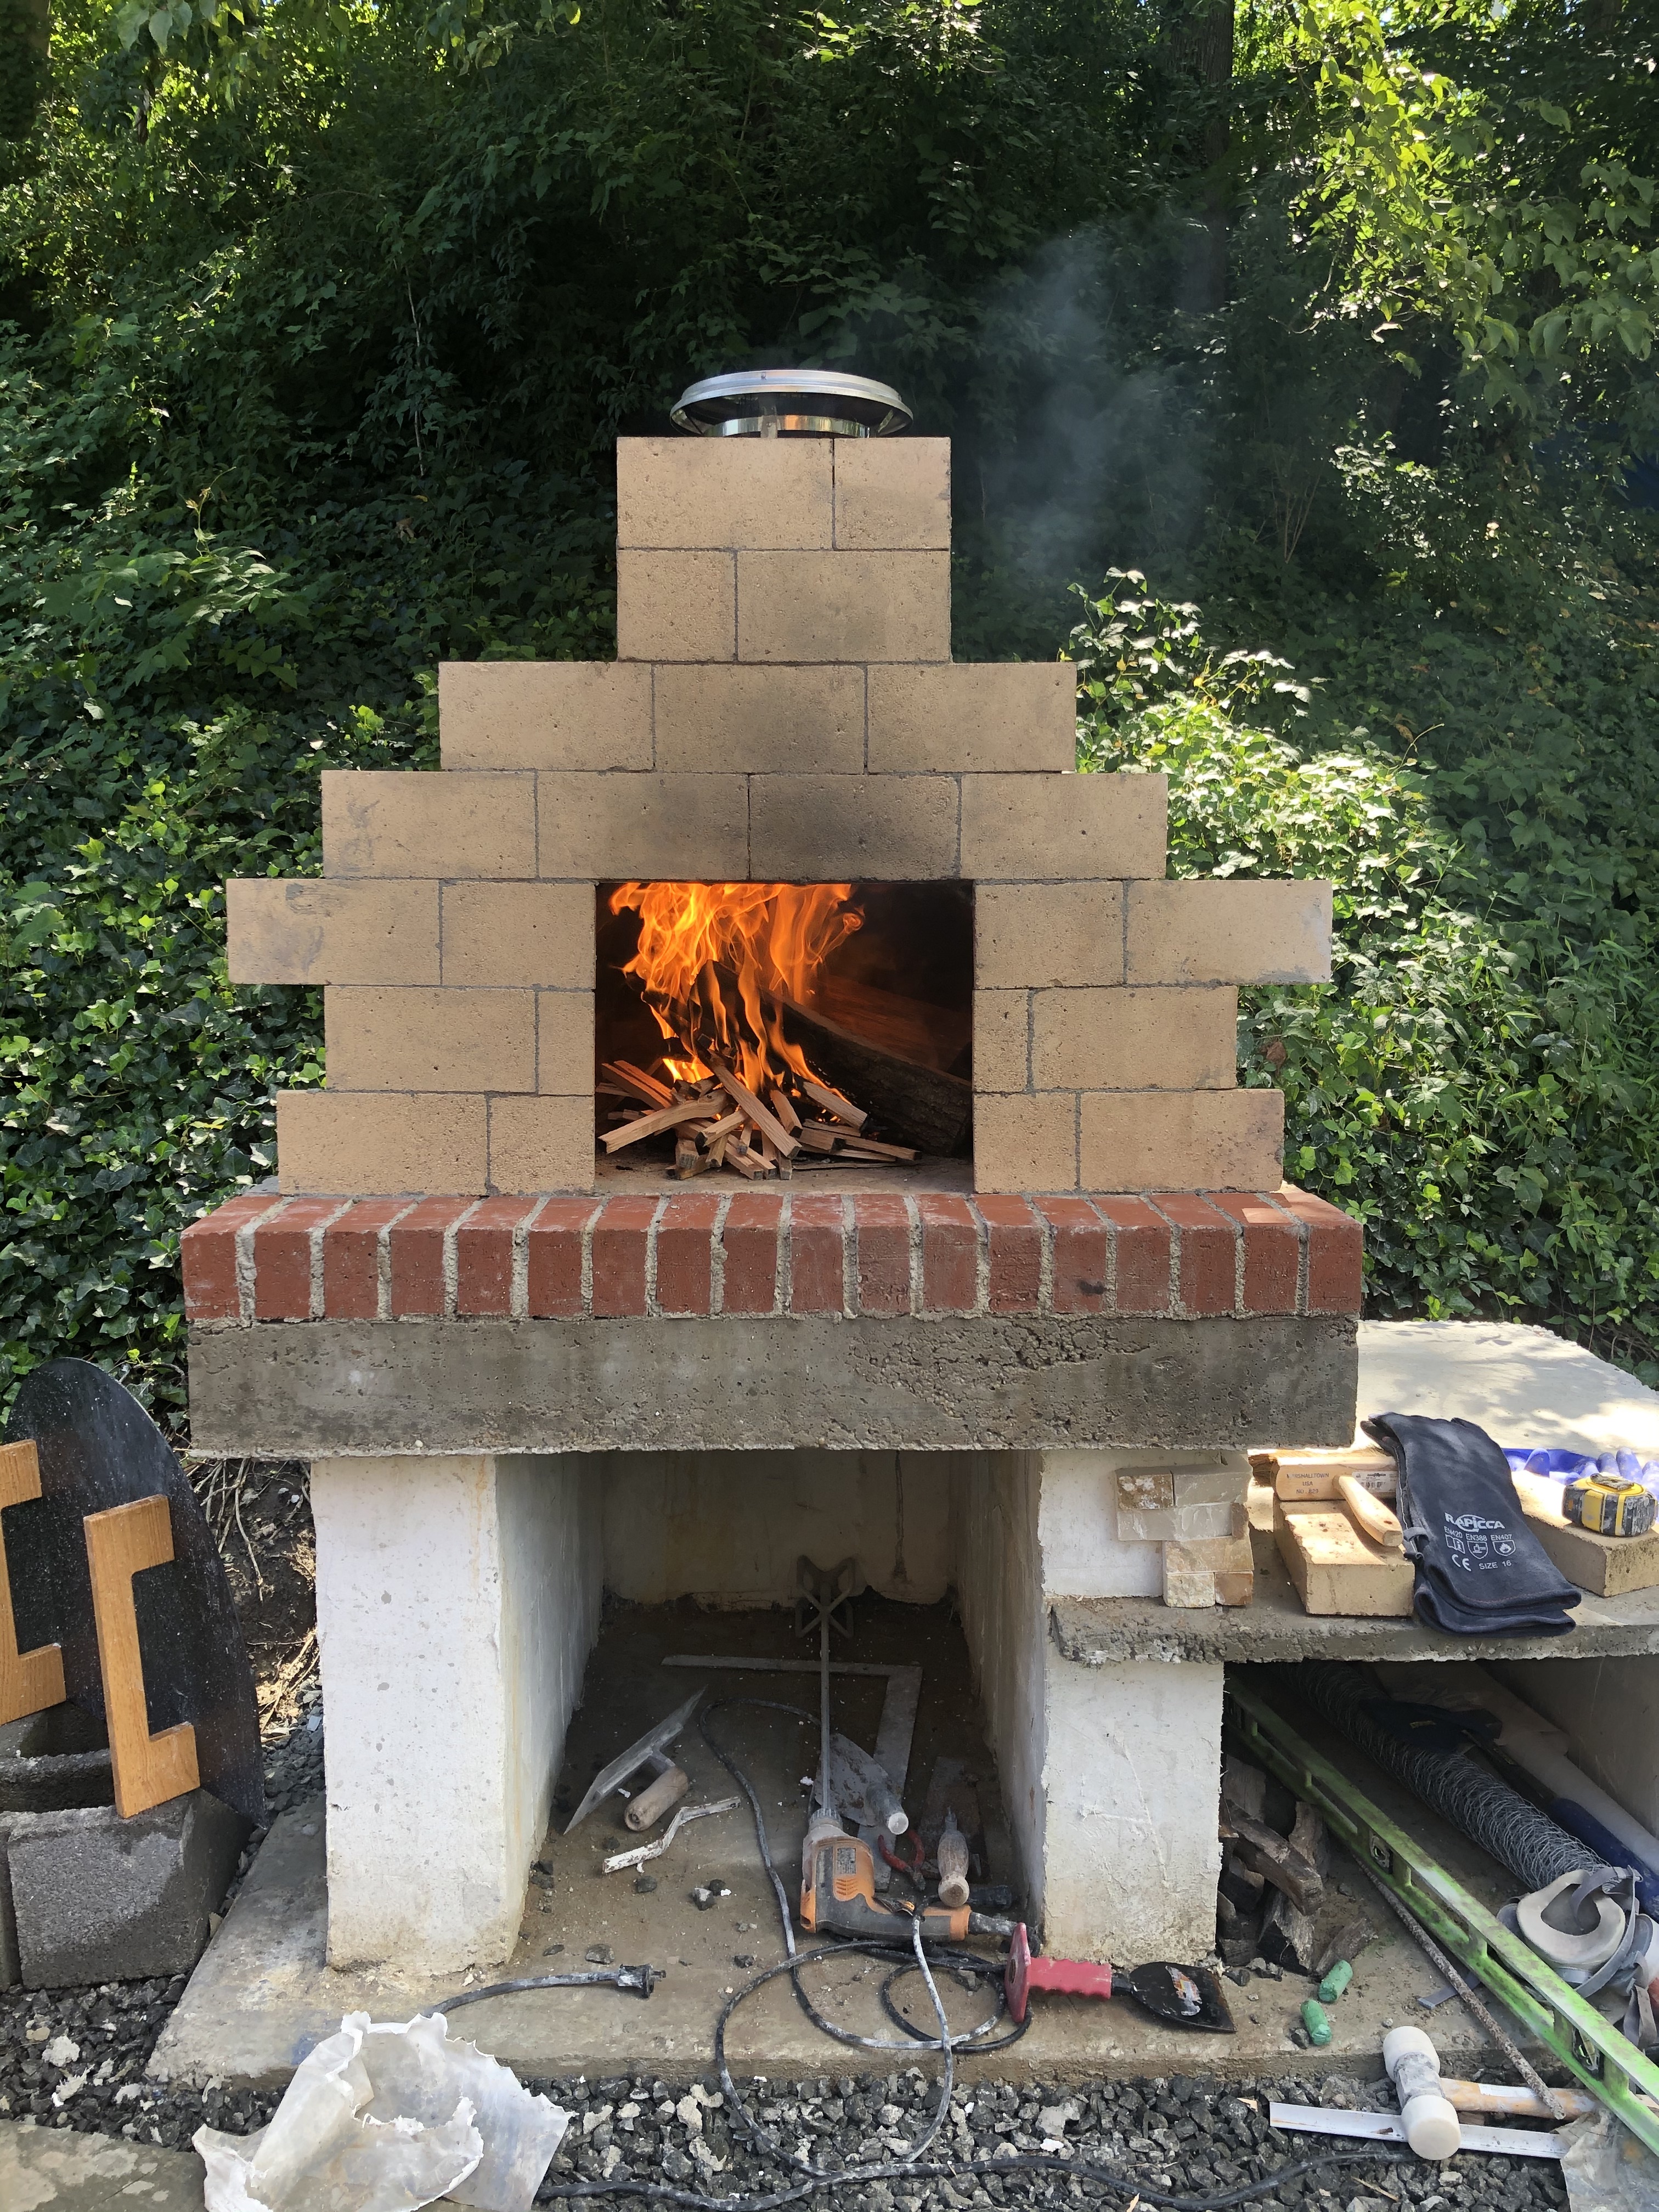
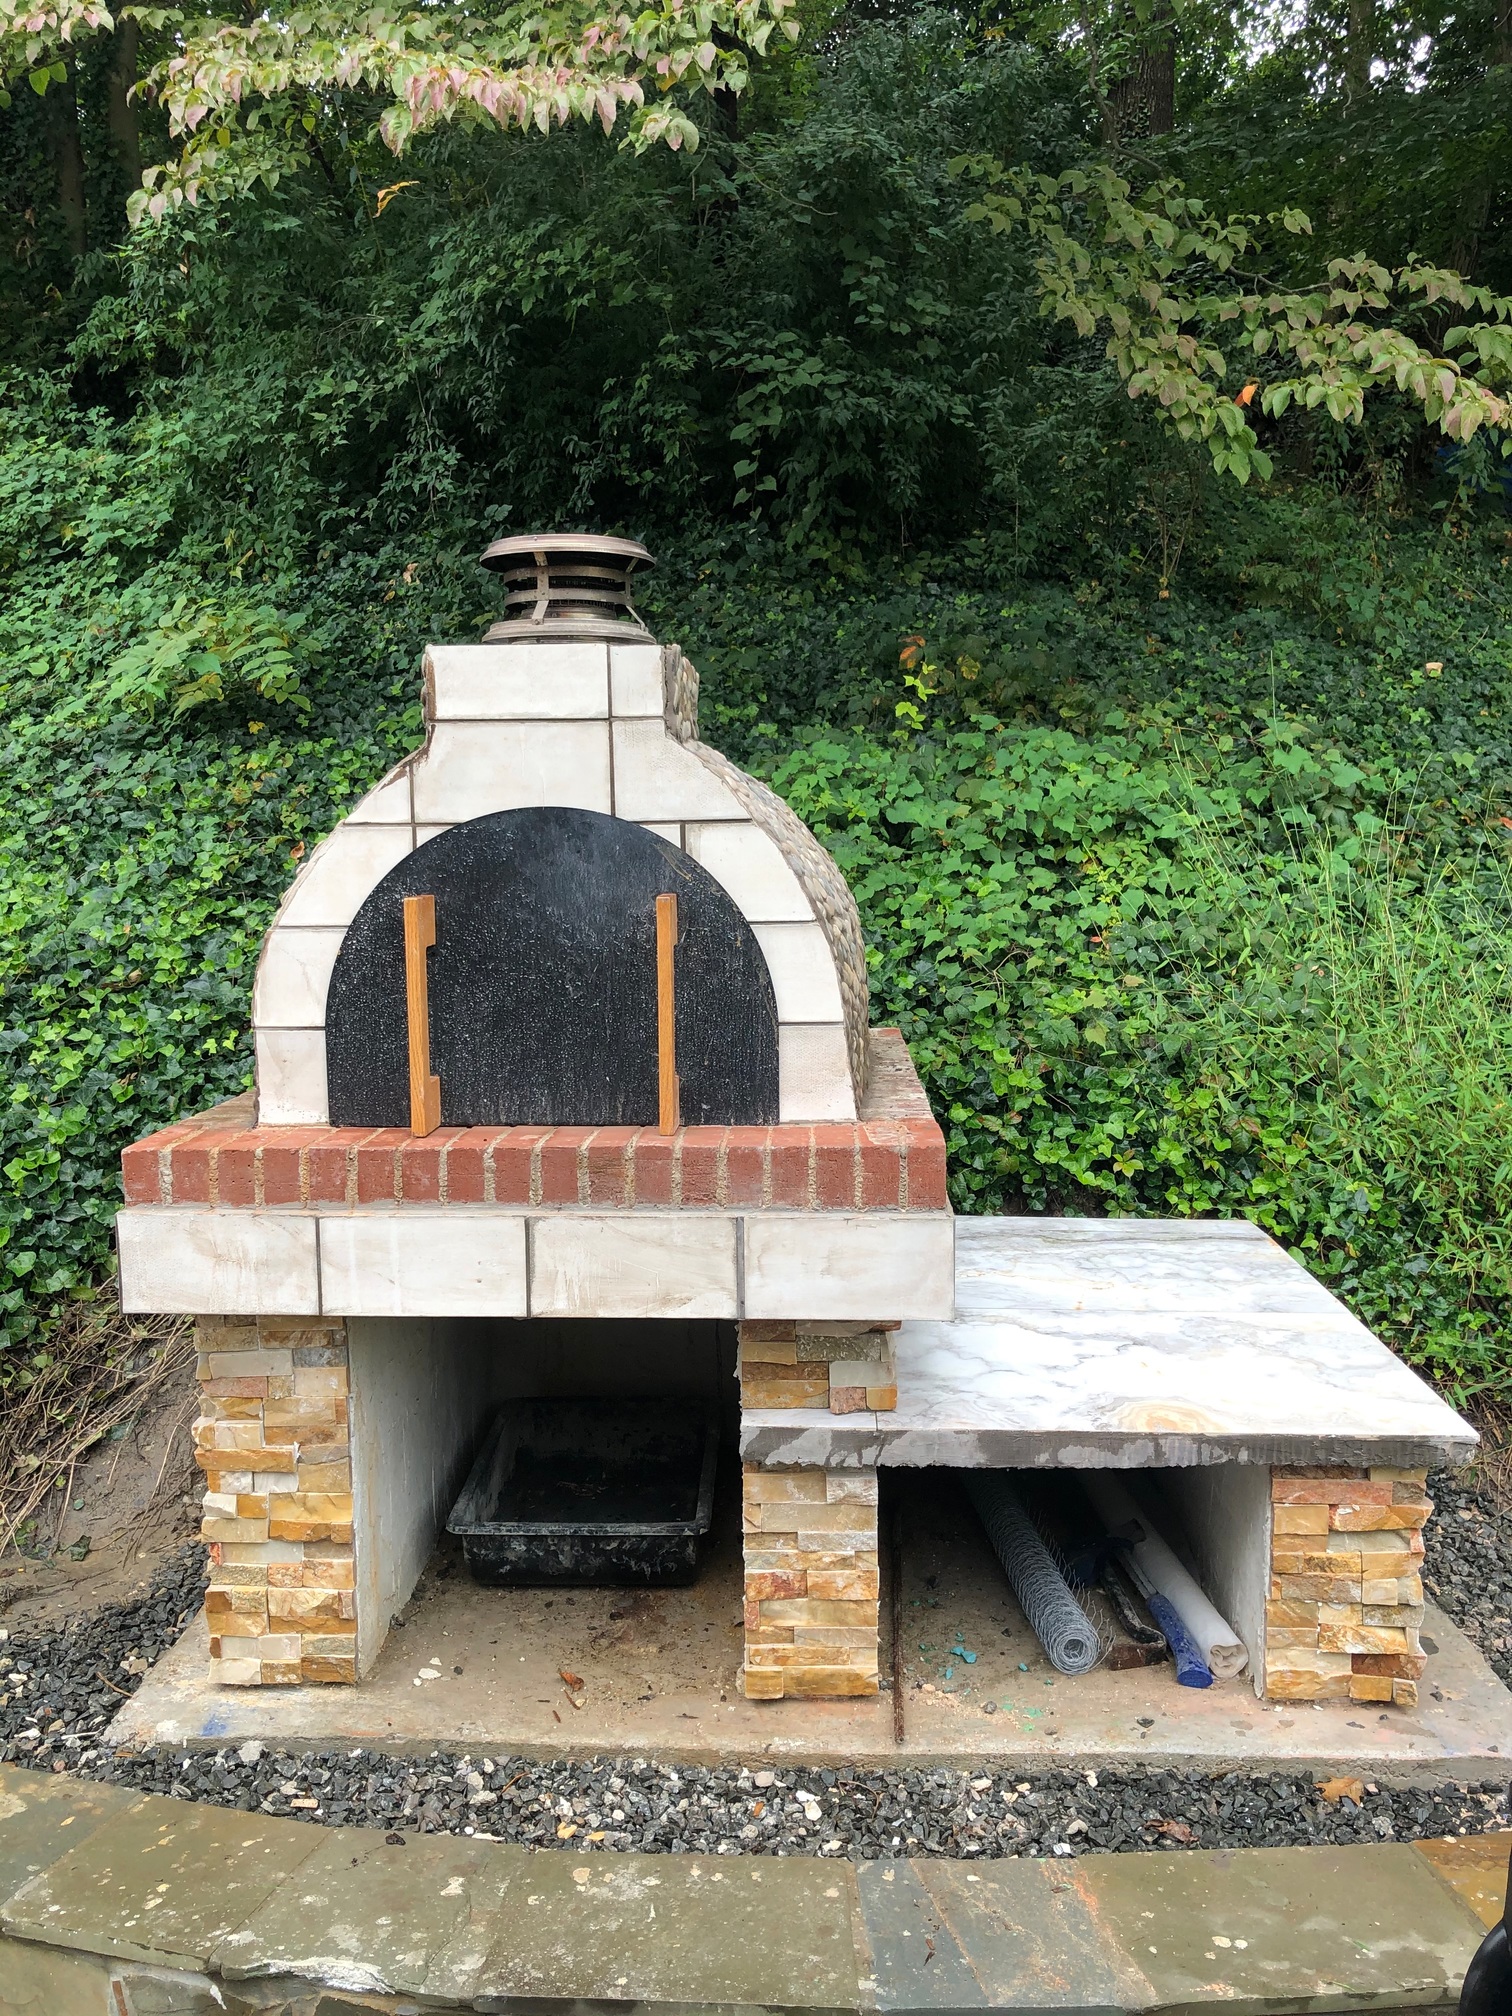
Got the front on, and did some of the burns
Closed off the front with thin slices of the firebrick faces
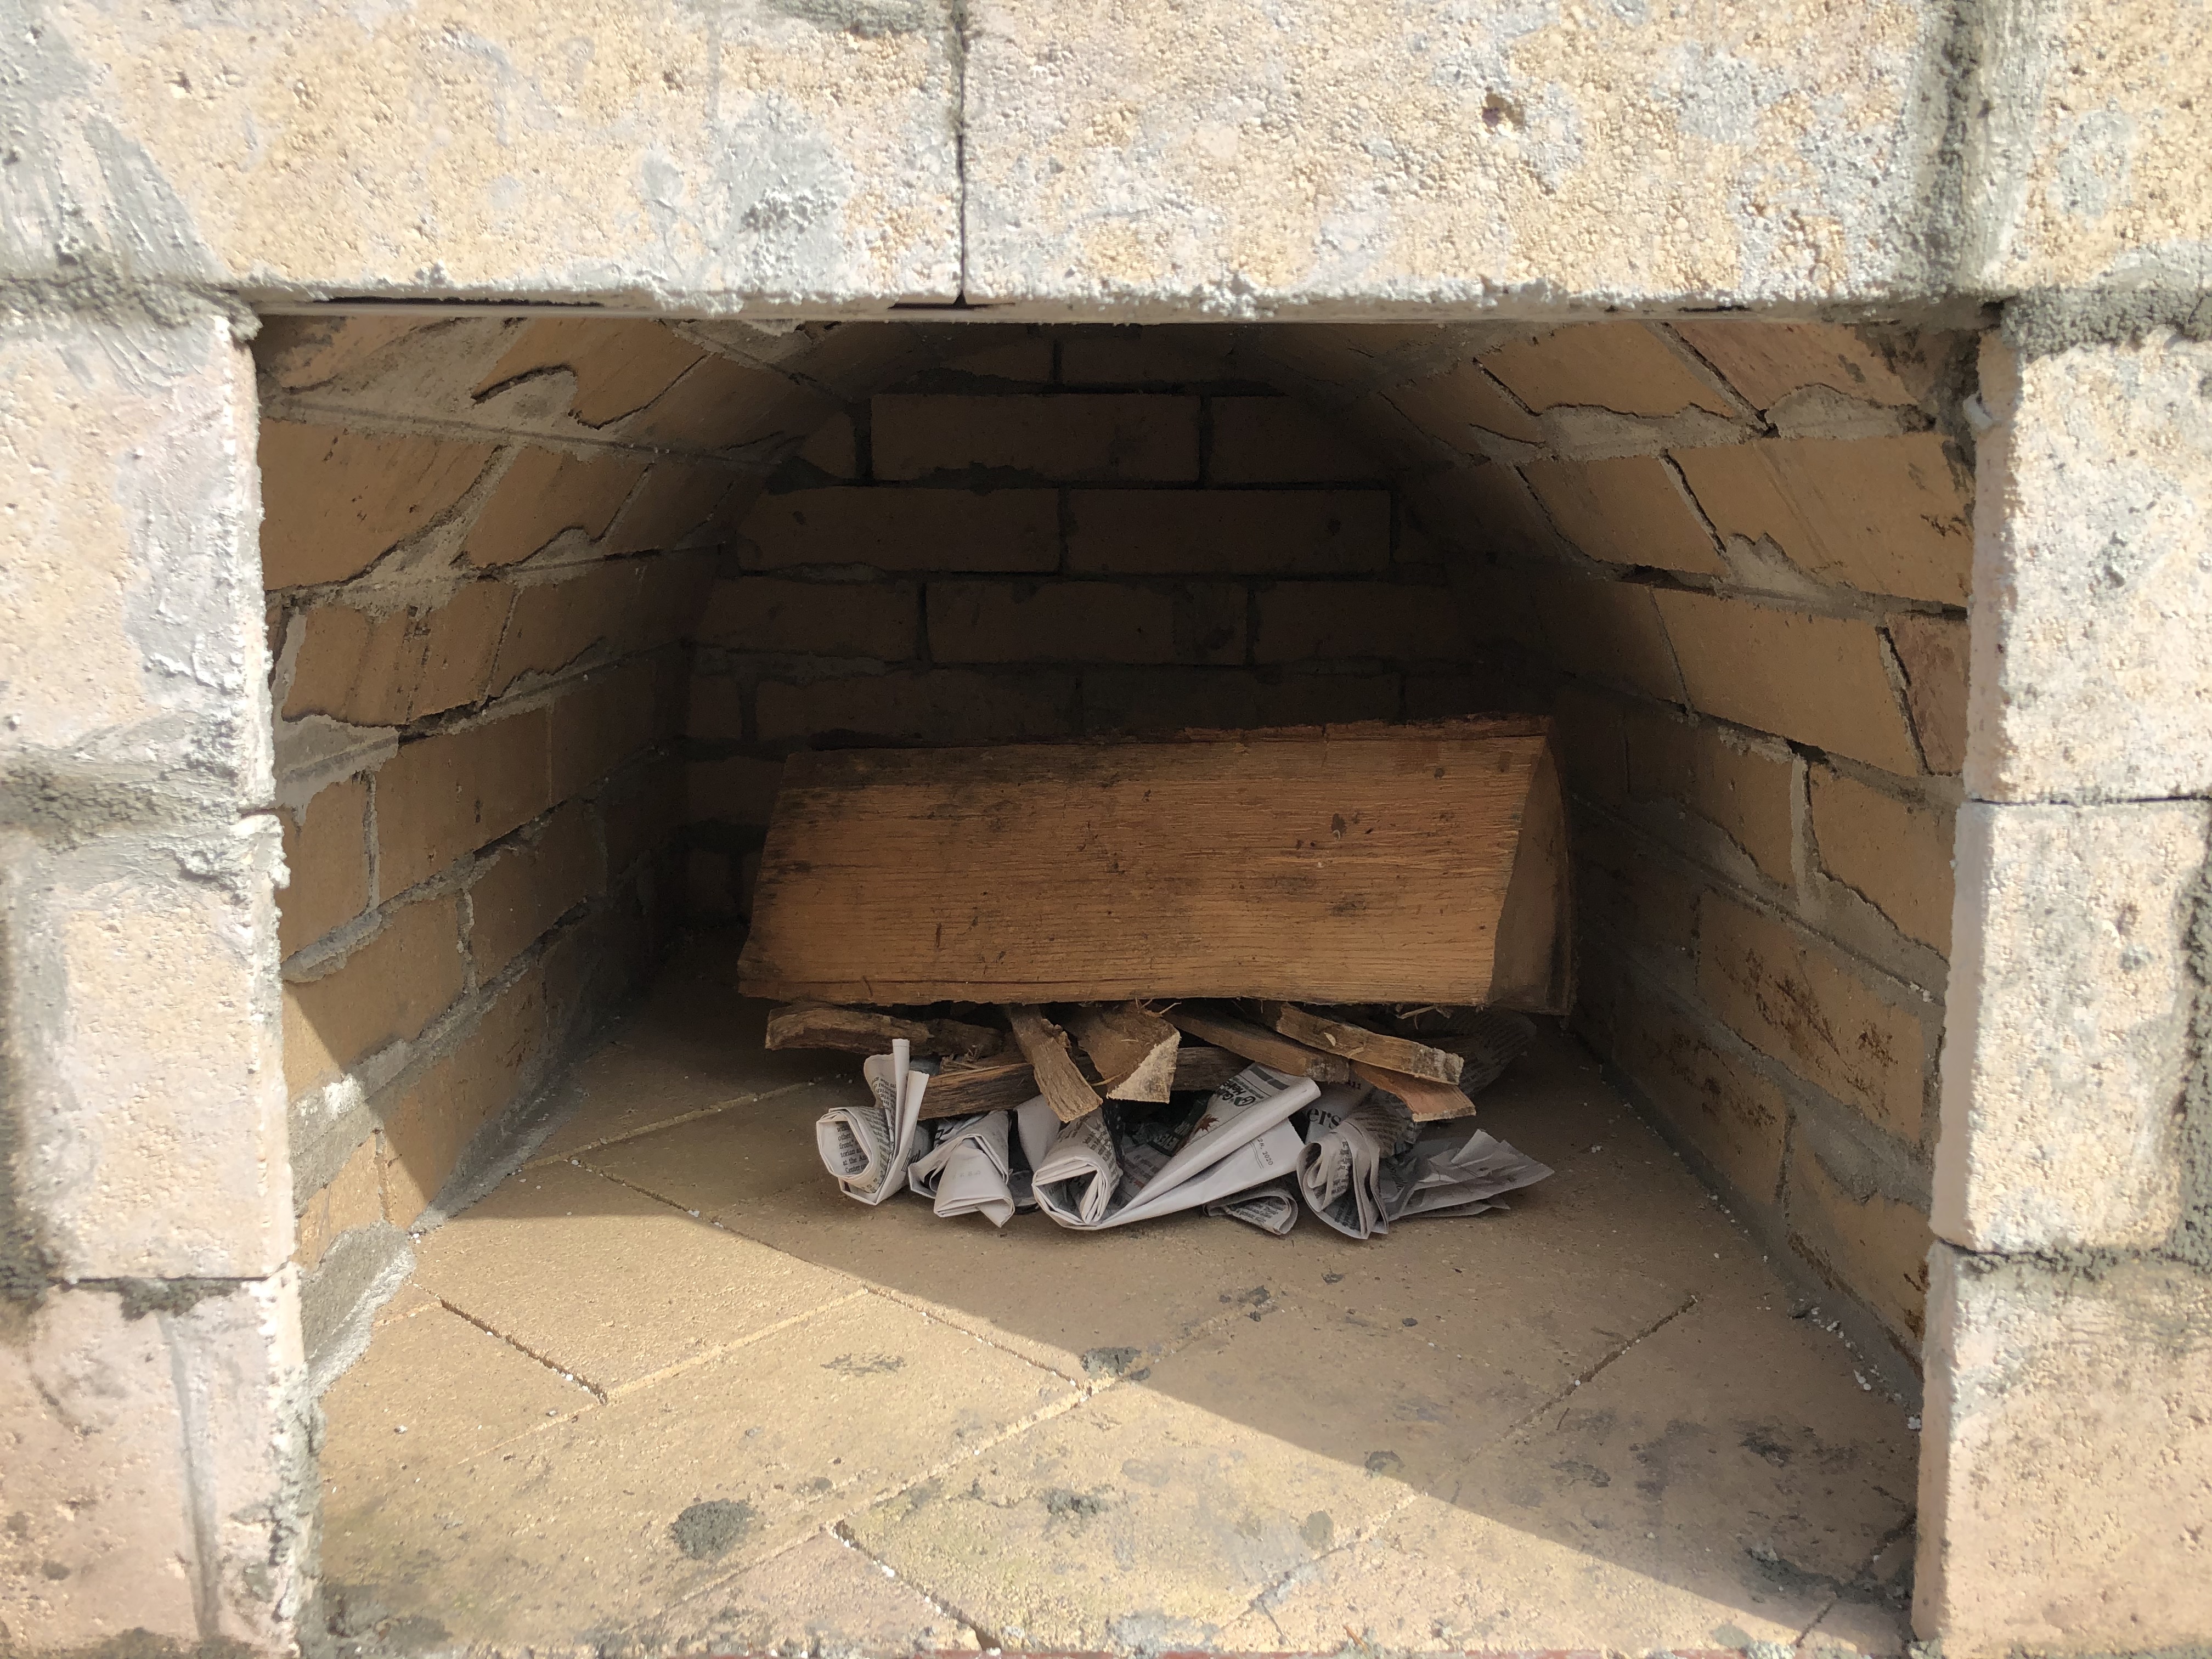
Laid out a nice matrix of paper, kindling and the first log to start my fires
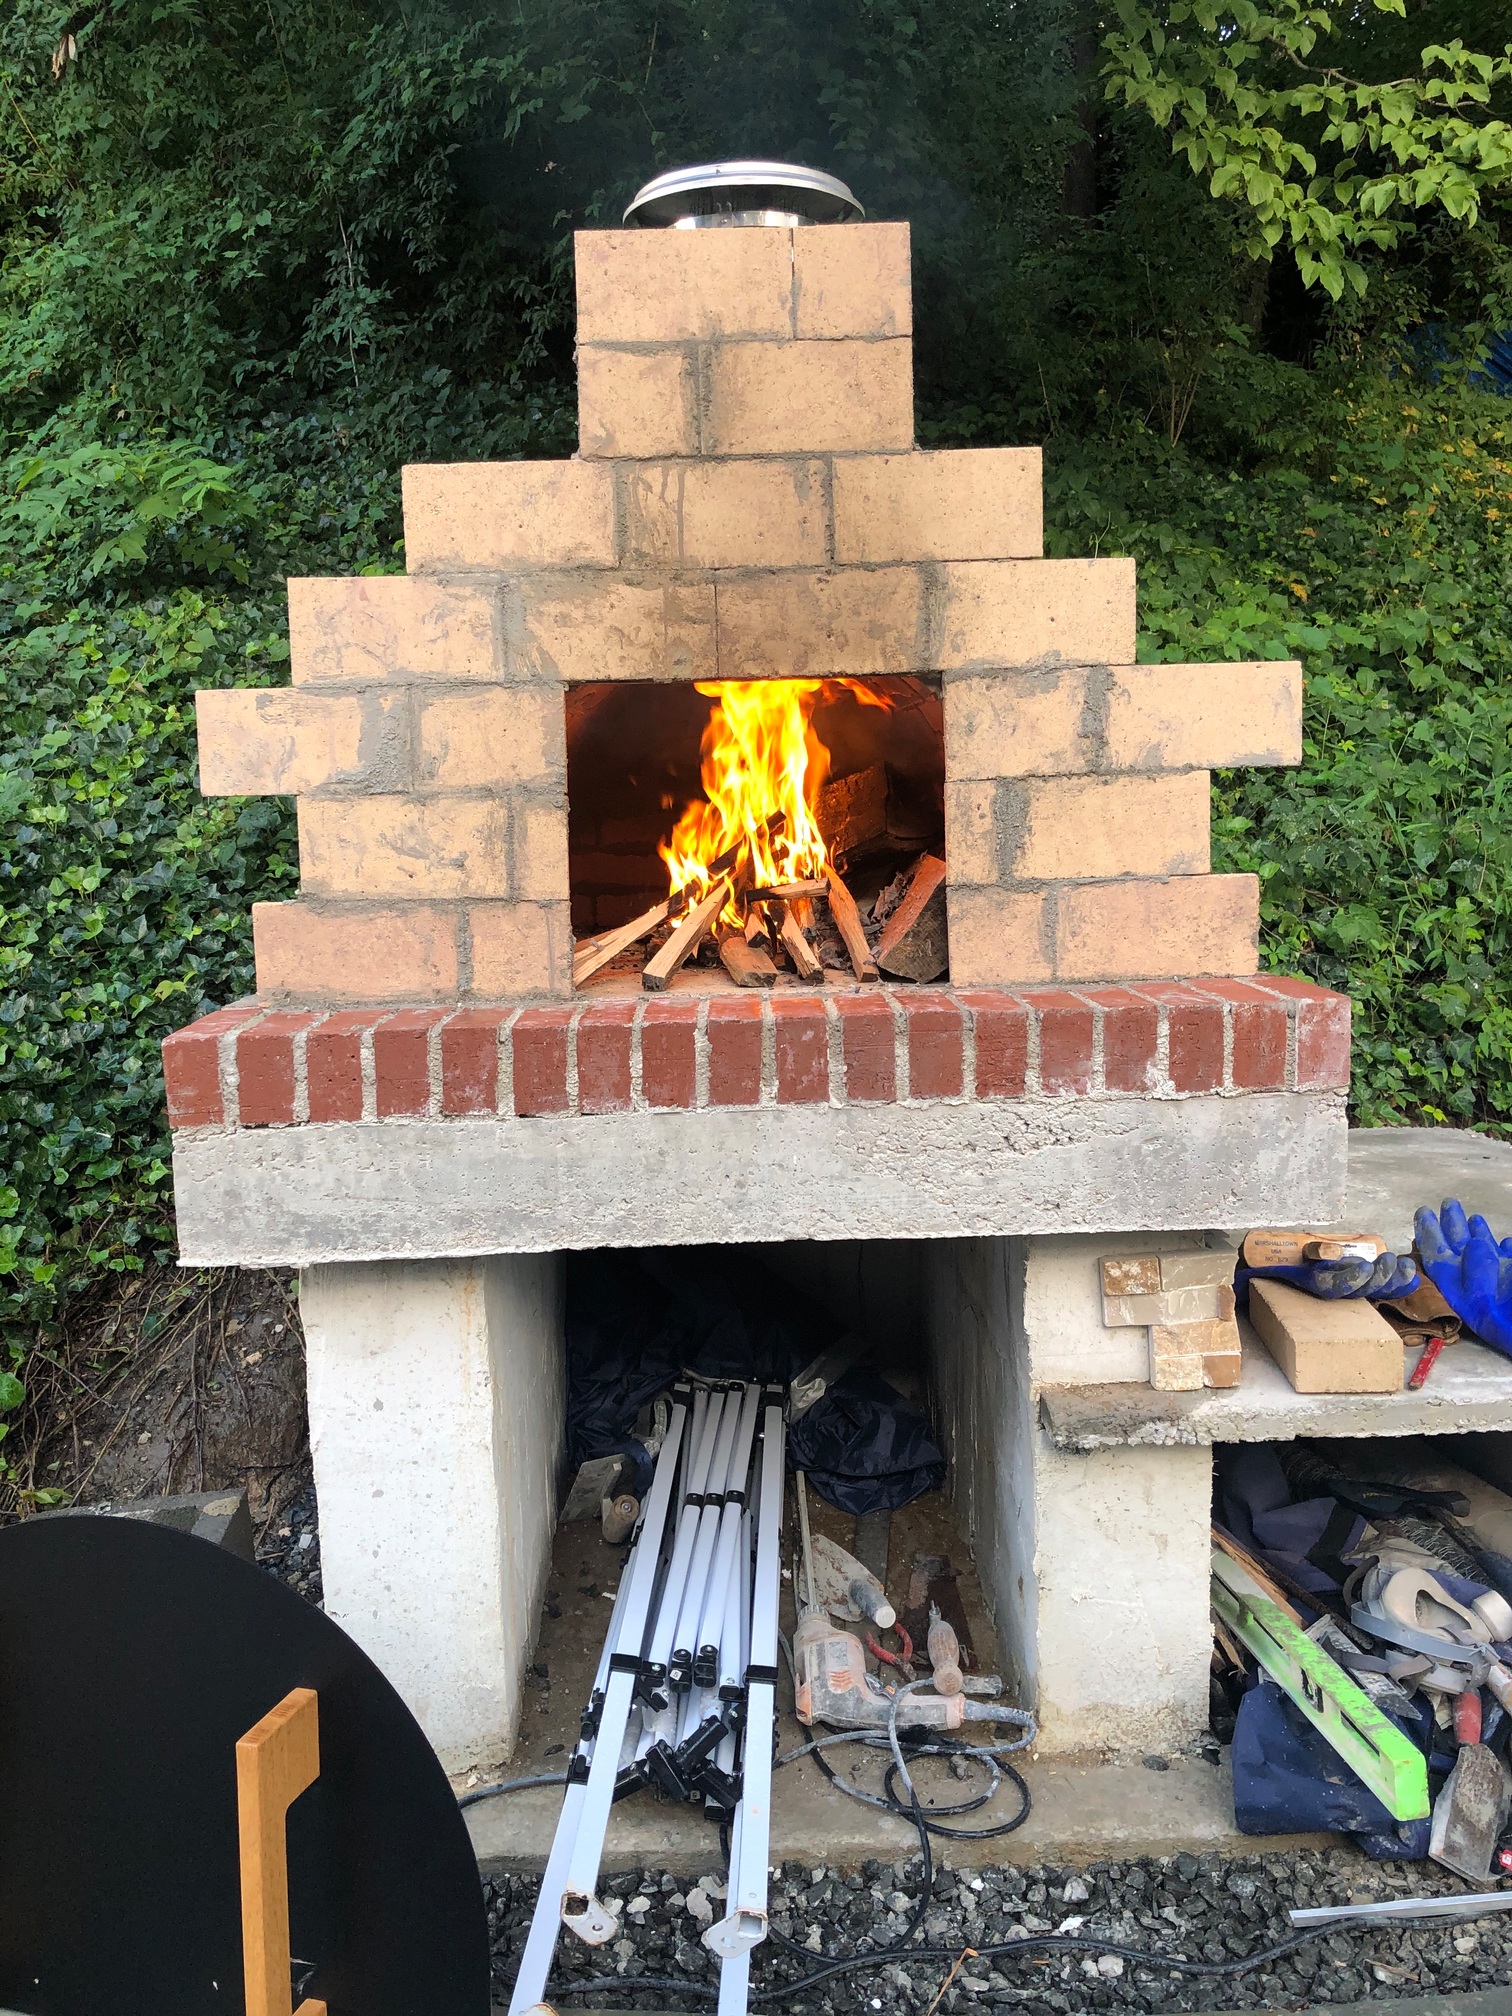
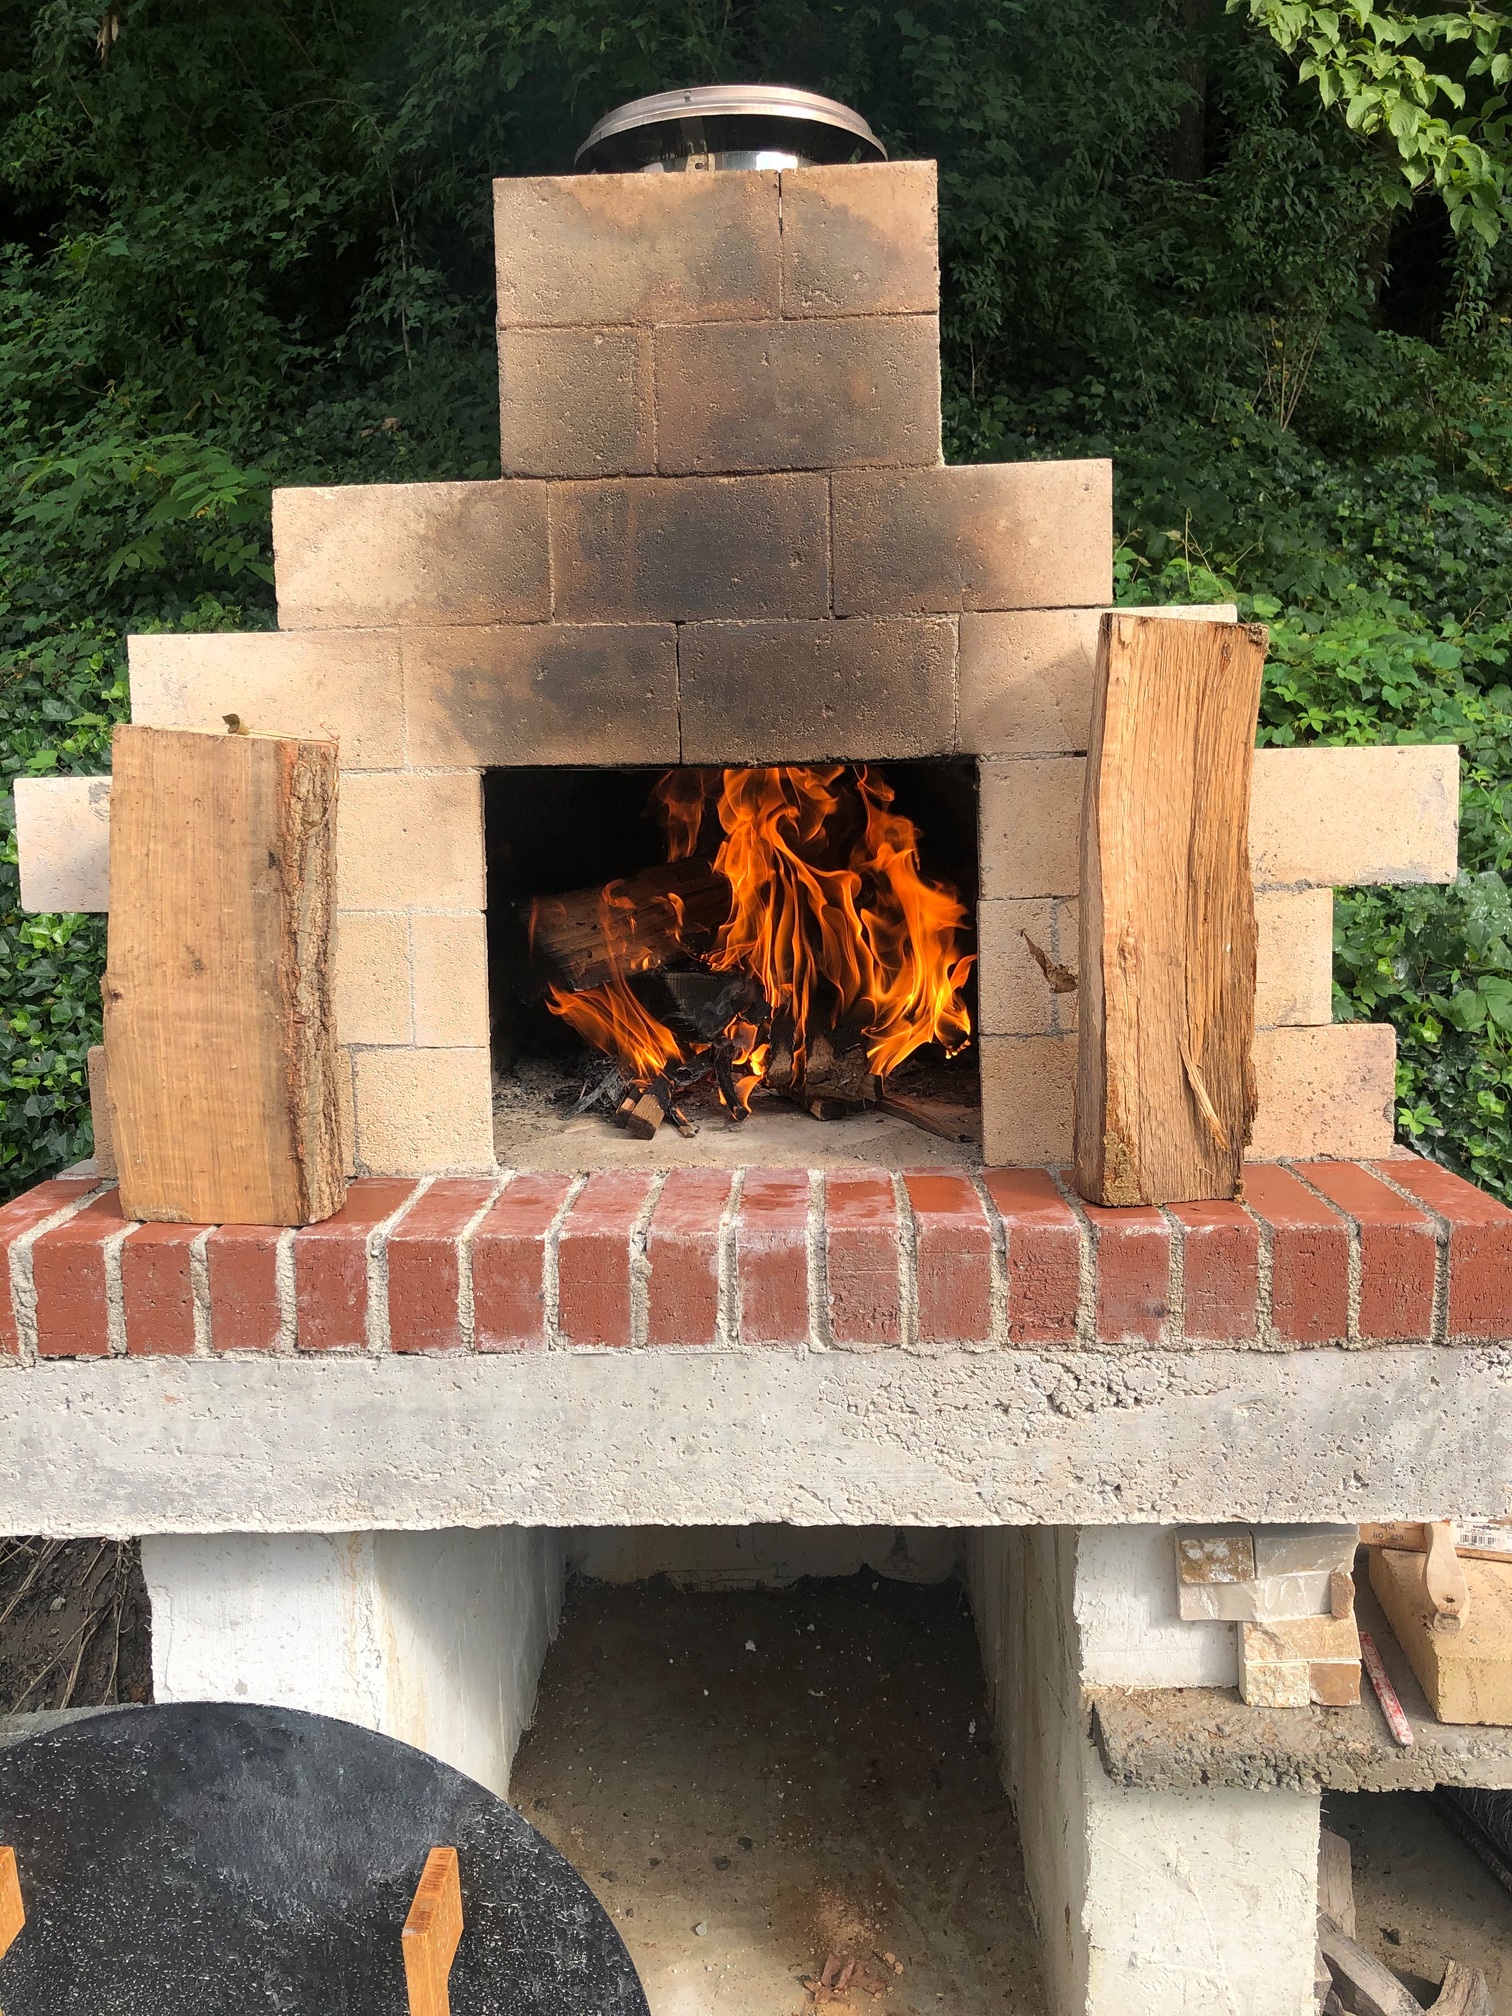
Second fire burning brightly
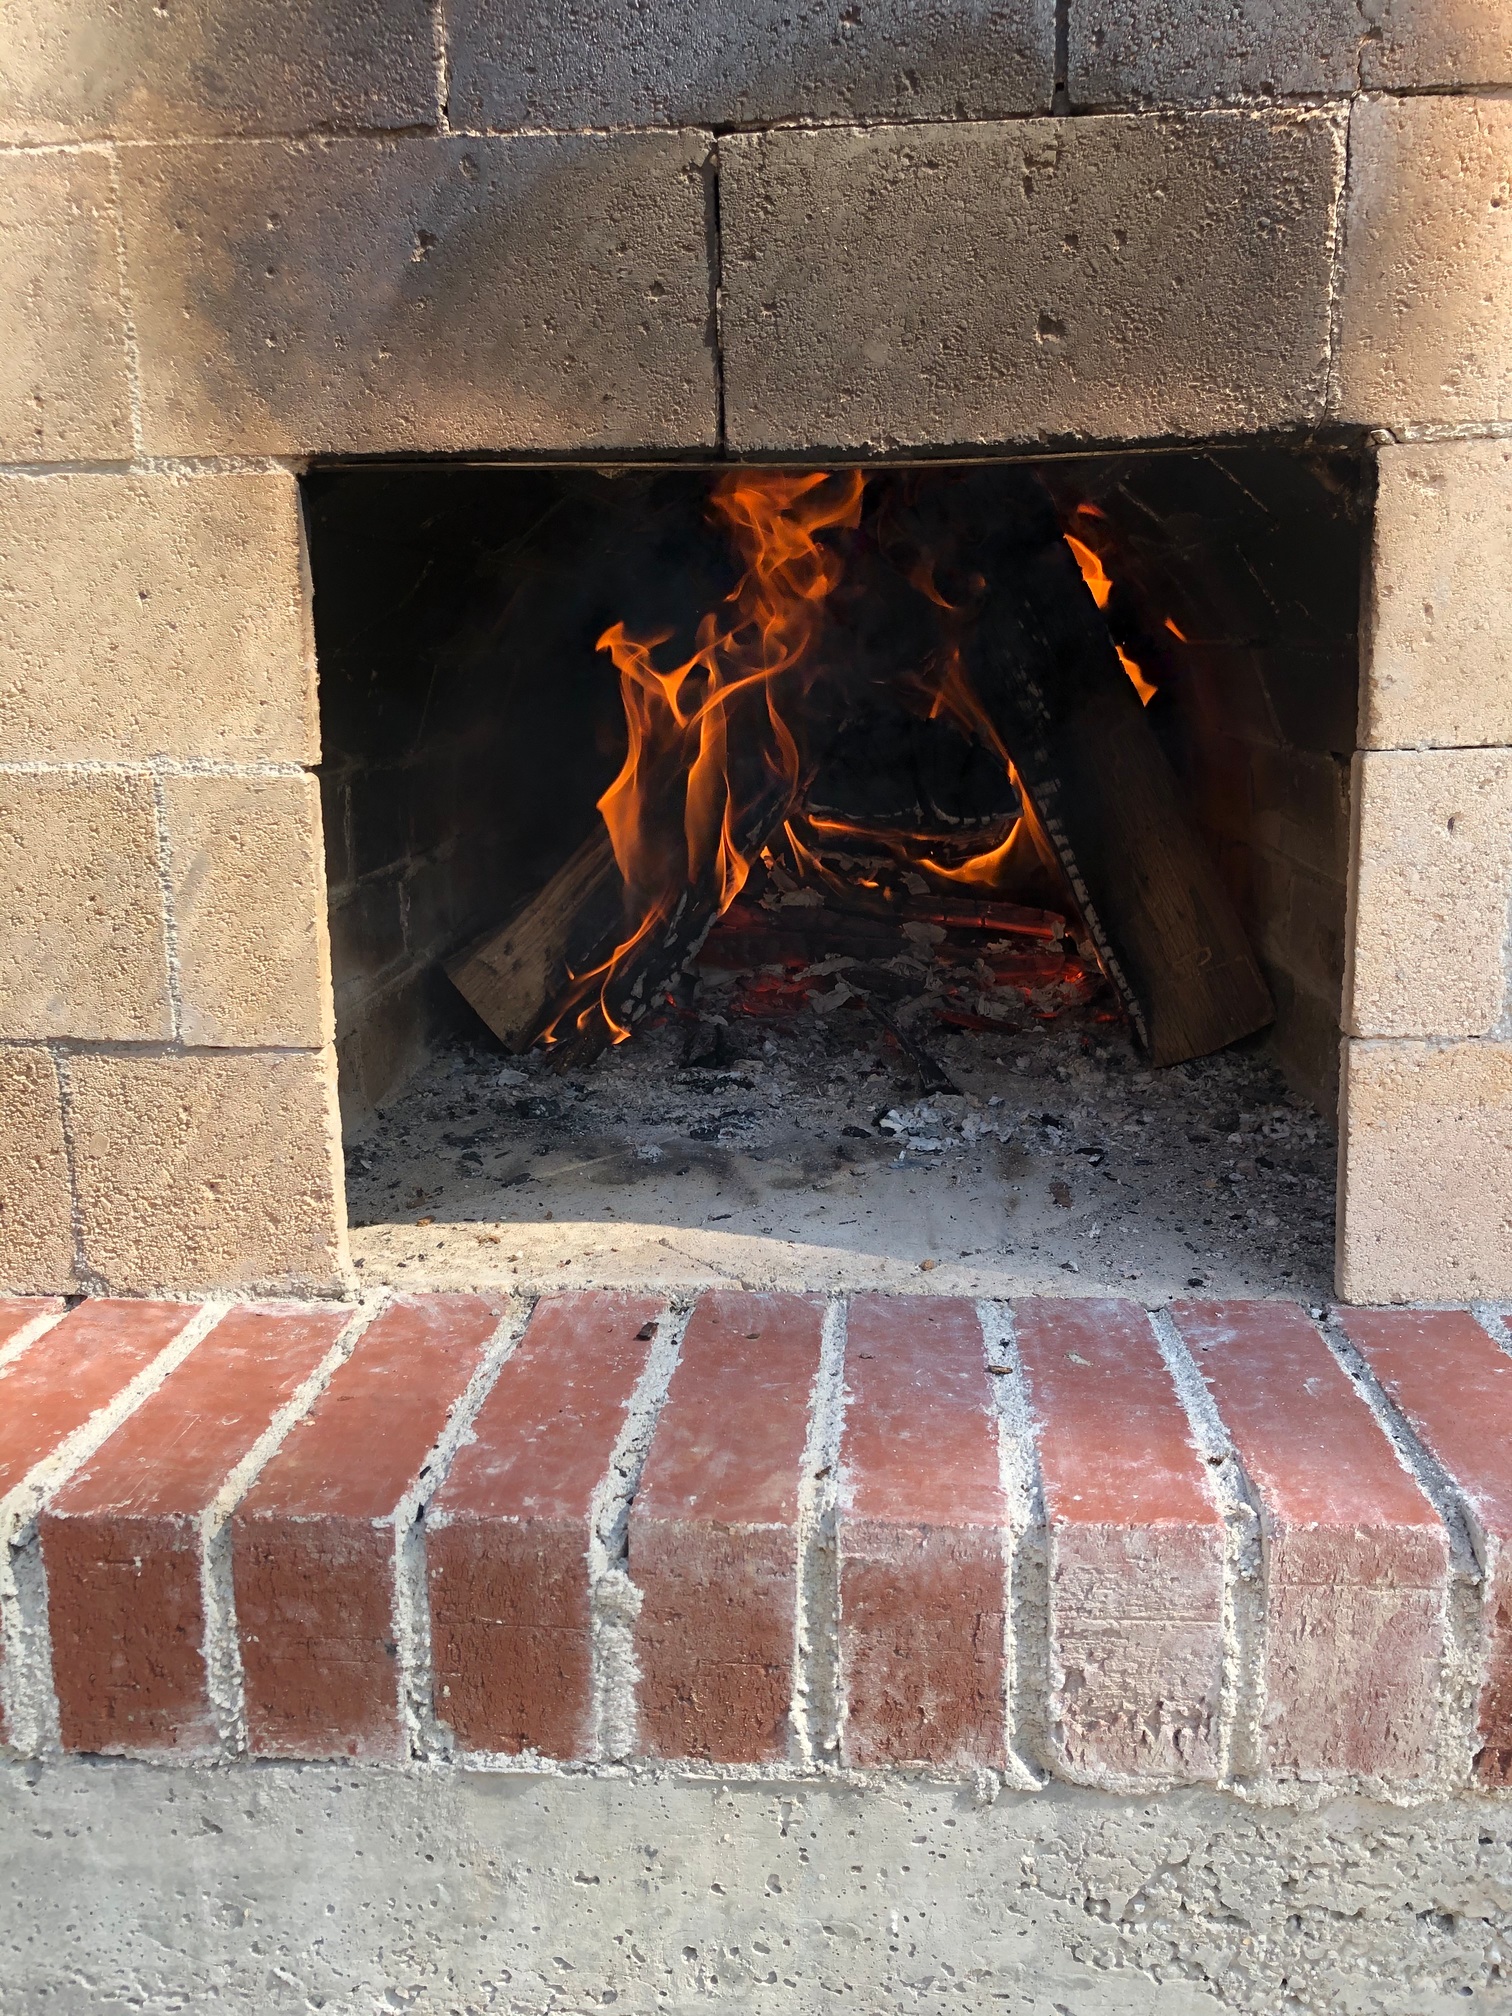
Third fire, after cleaning off the front of the oven
Three more fires to go before we start cooking, and Thursday we will go get the veneer materials and I will do my best to make the outside pretty…
G
Been doing stuff since I last posted.
Fifth seasoning fire ablaze.
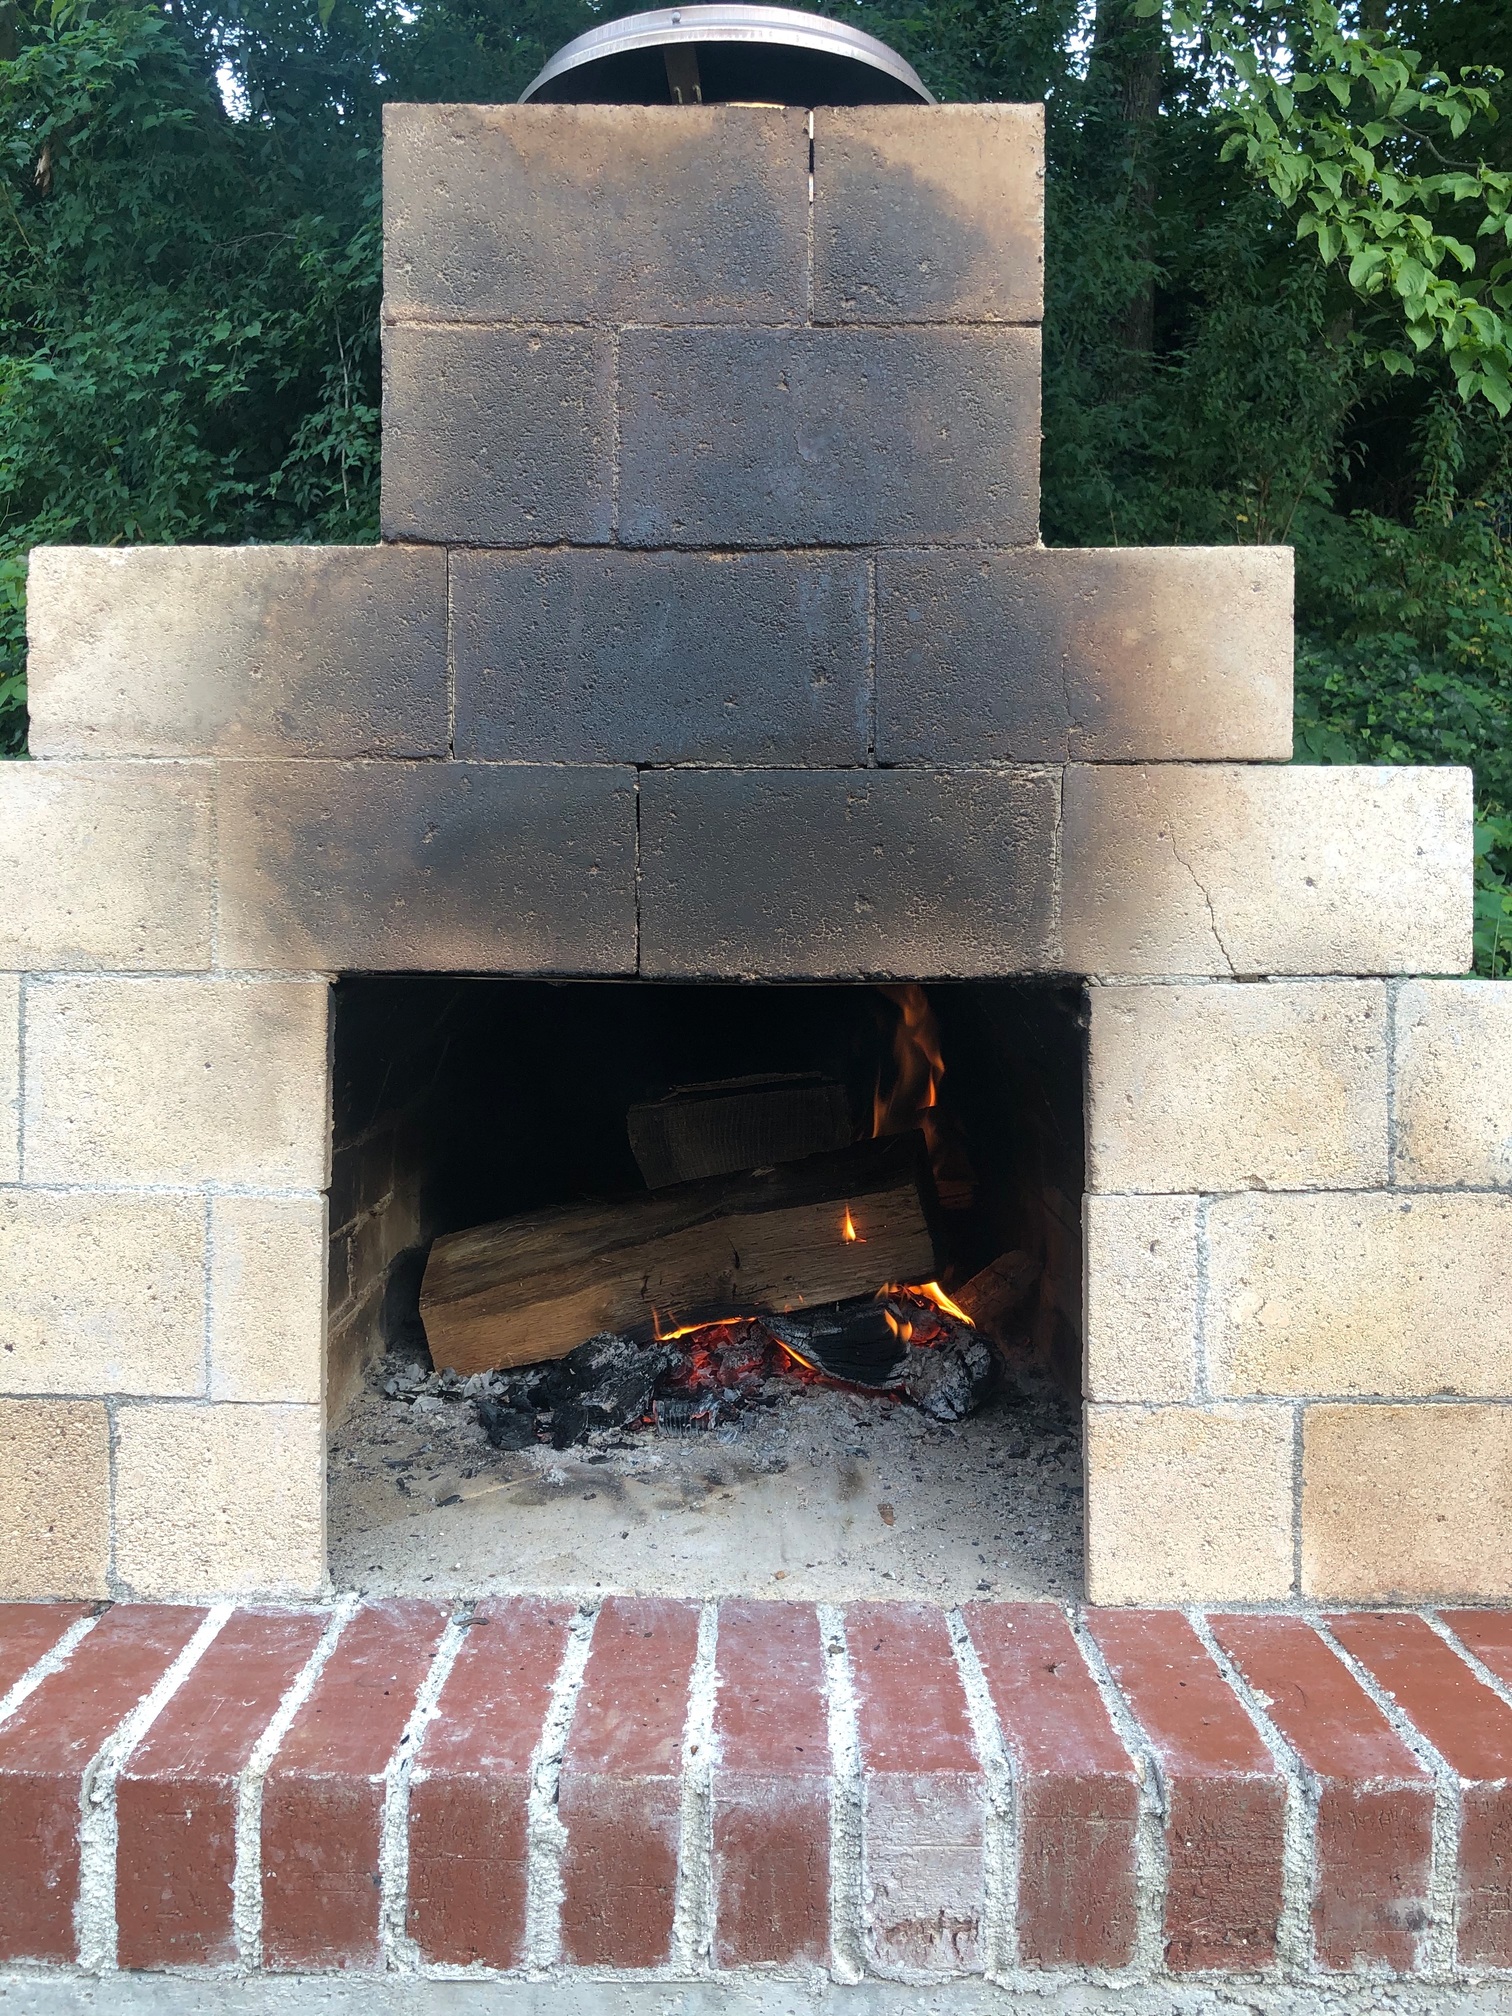
Sixth and final seasoning fire burning down
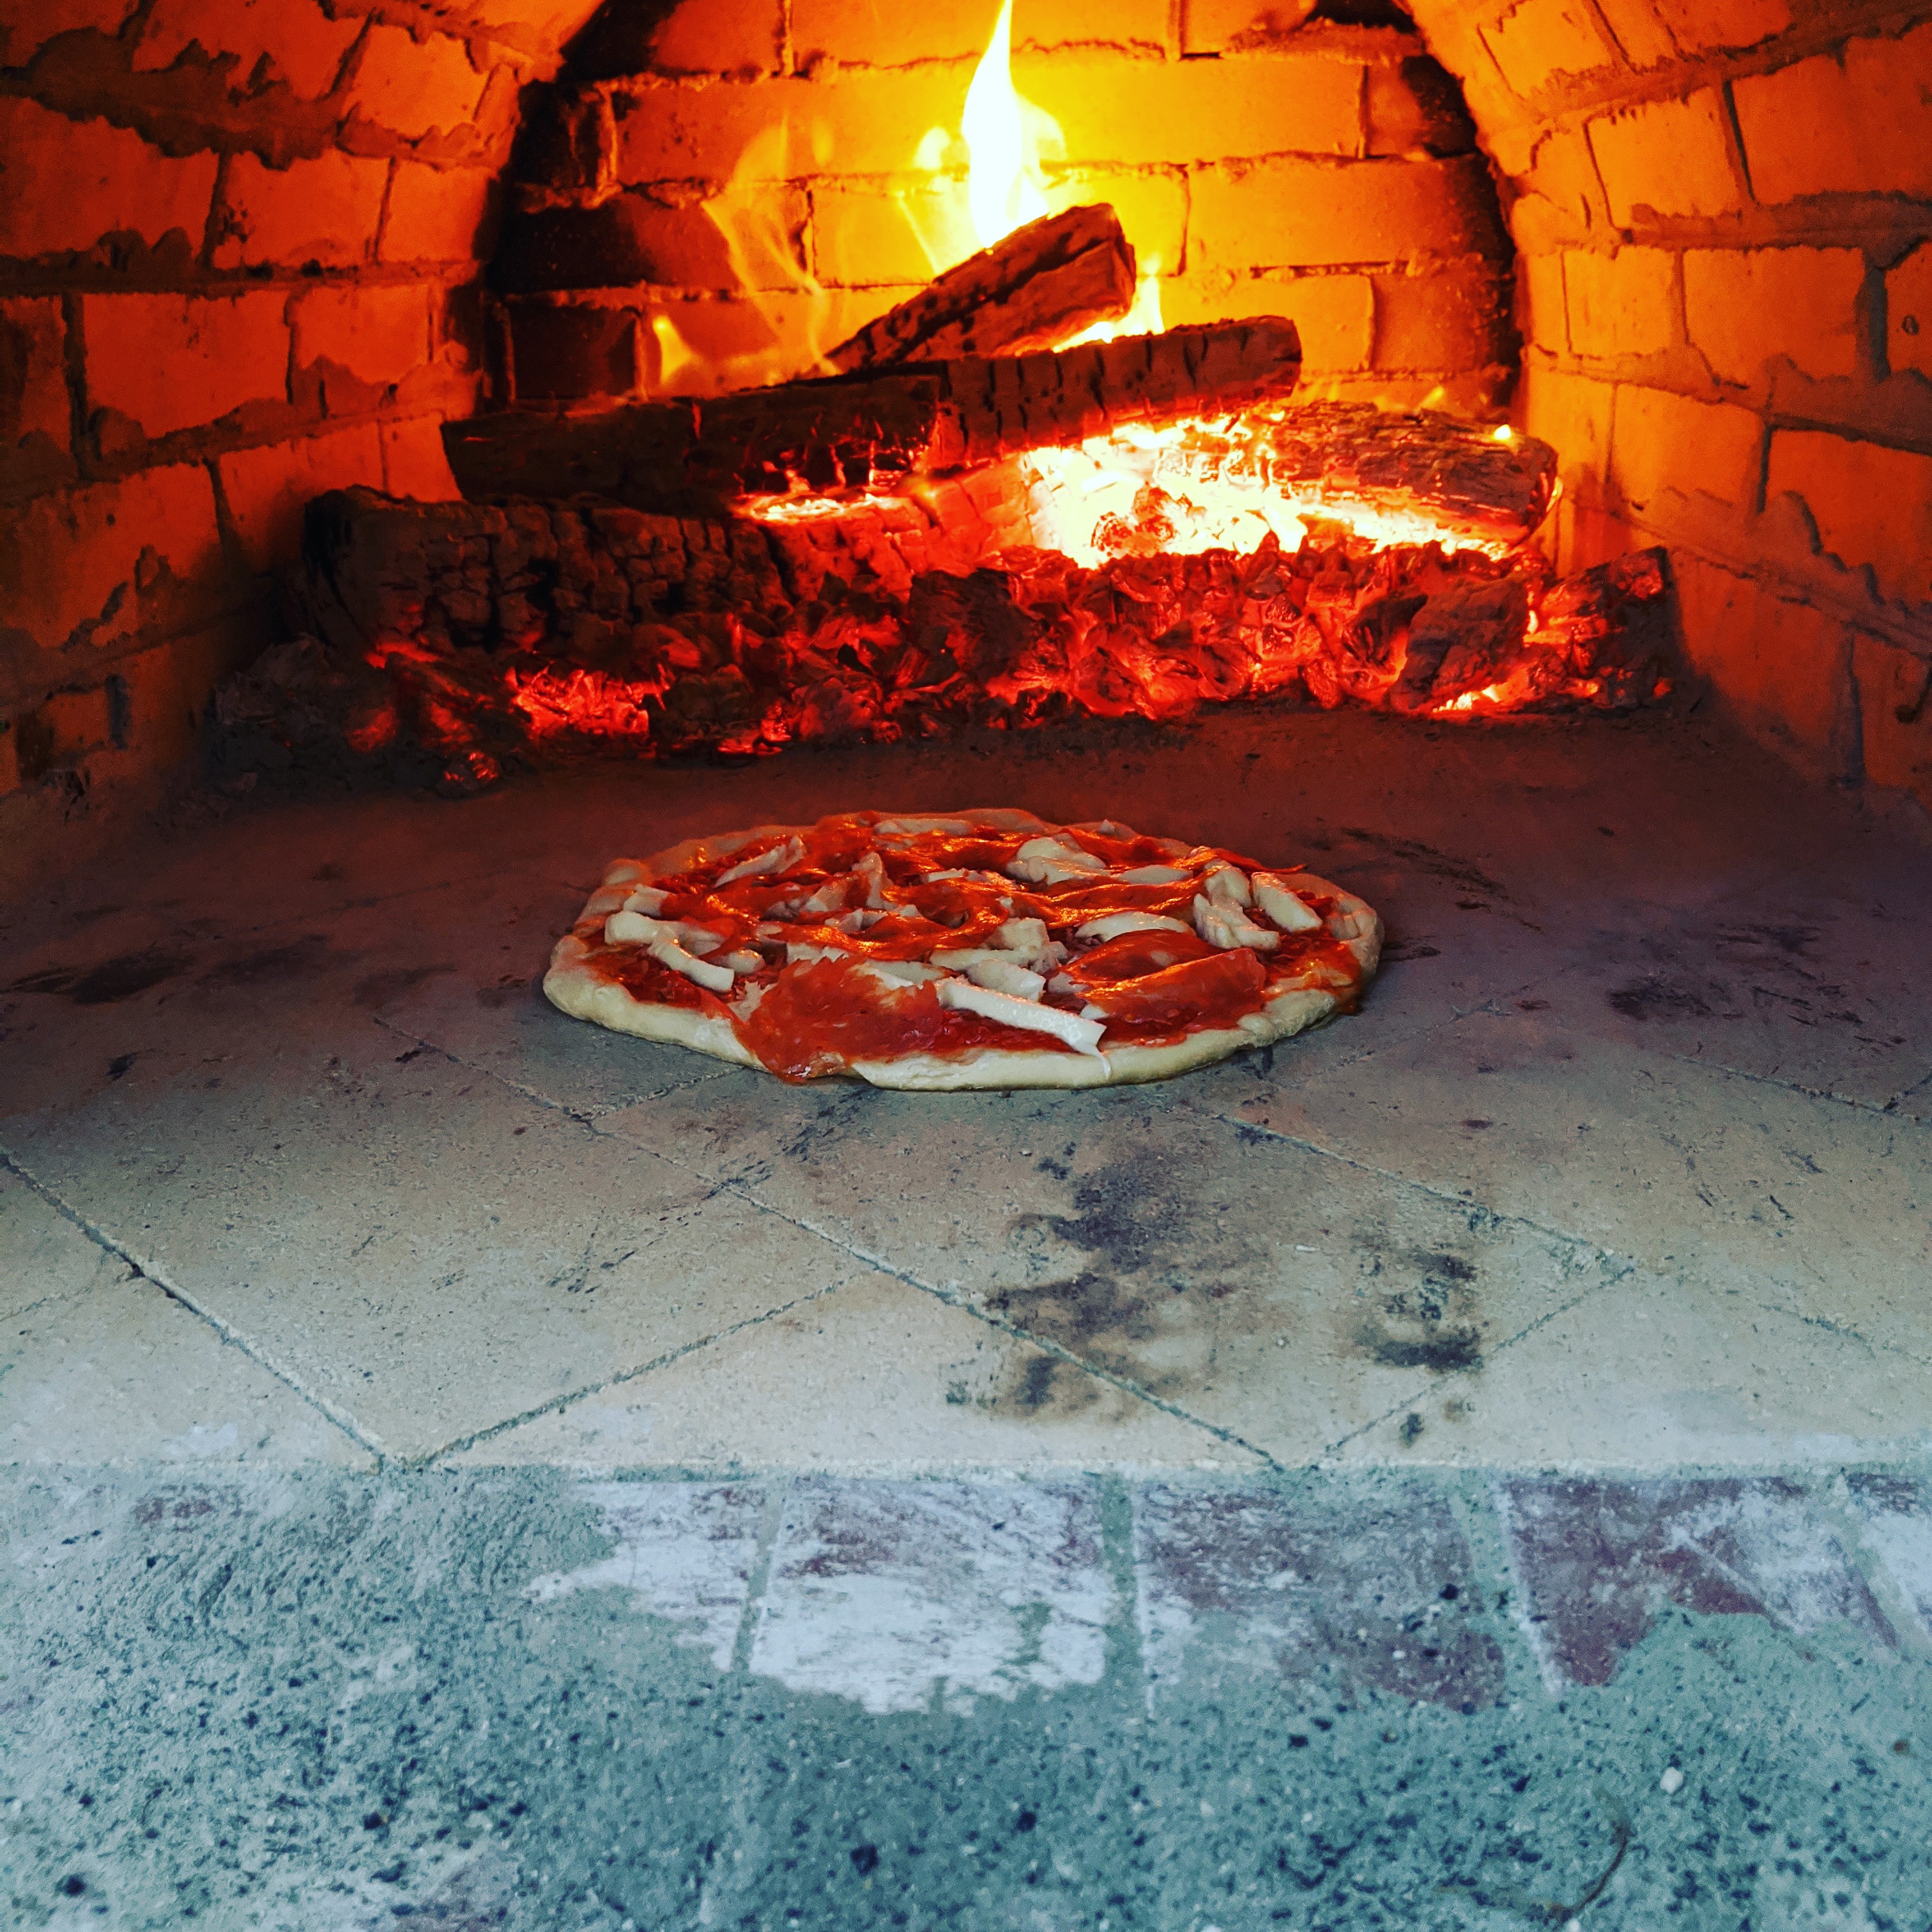
Waiting for the first cooking fire to burn down
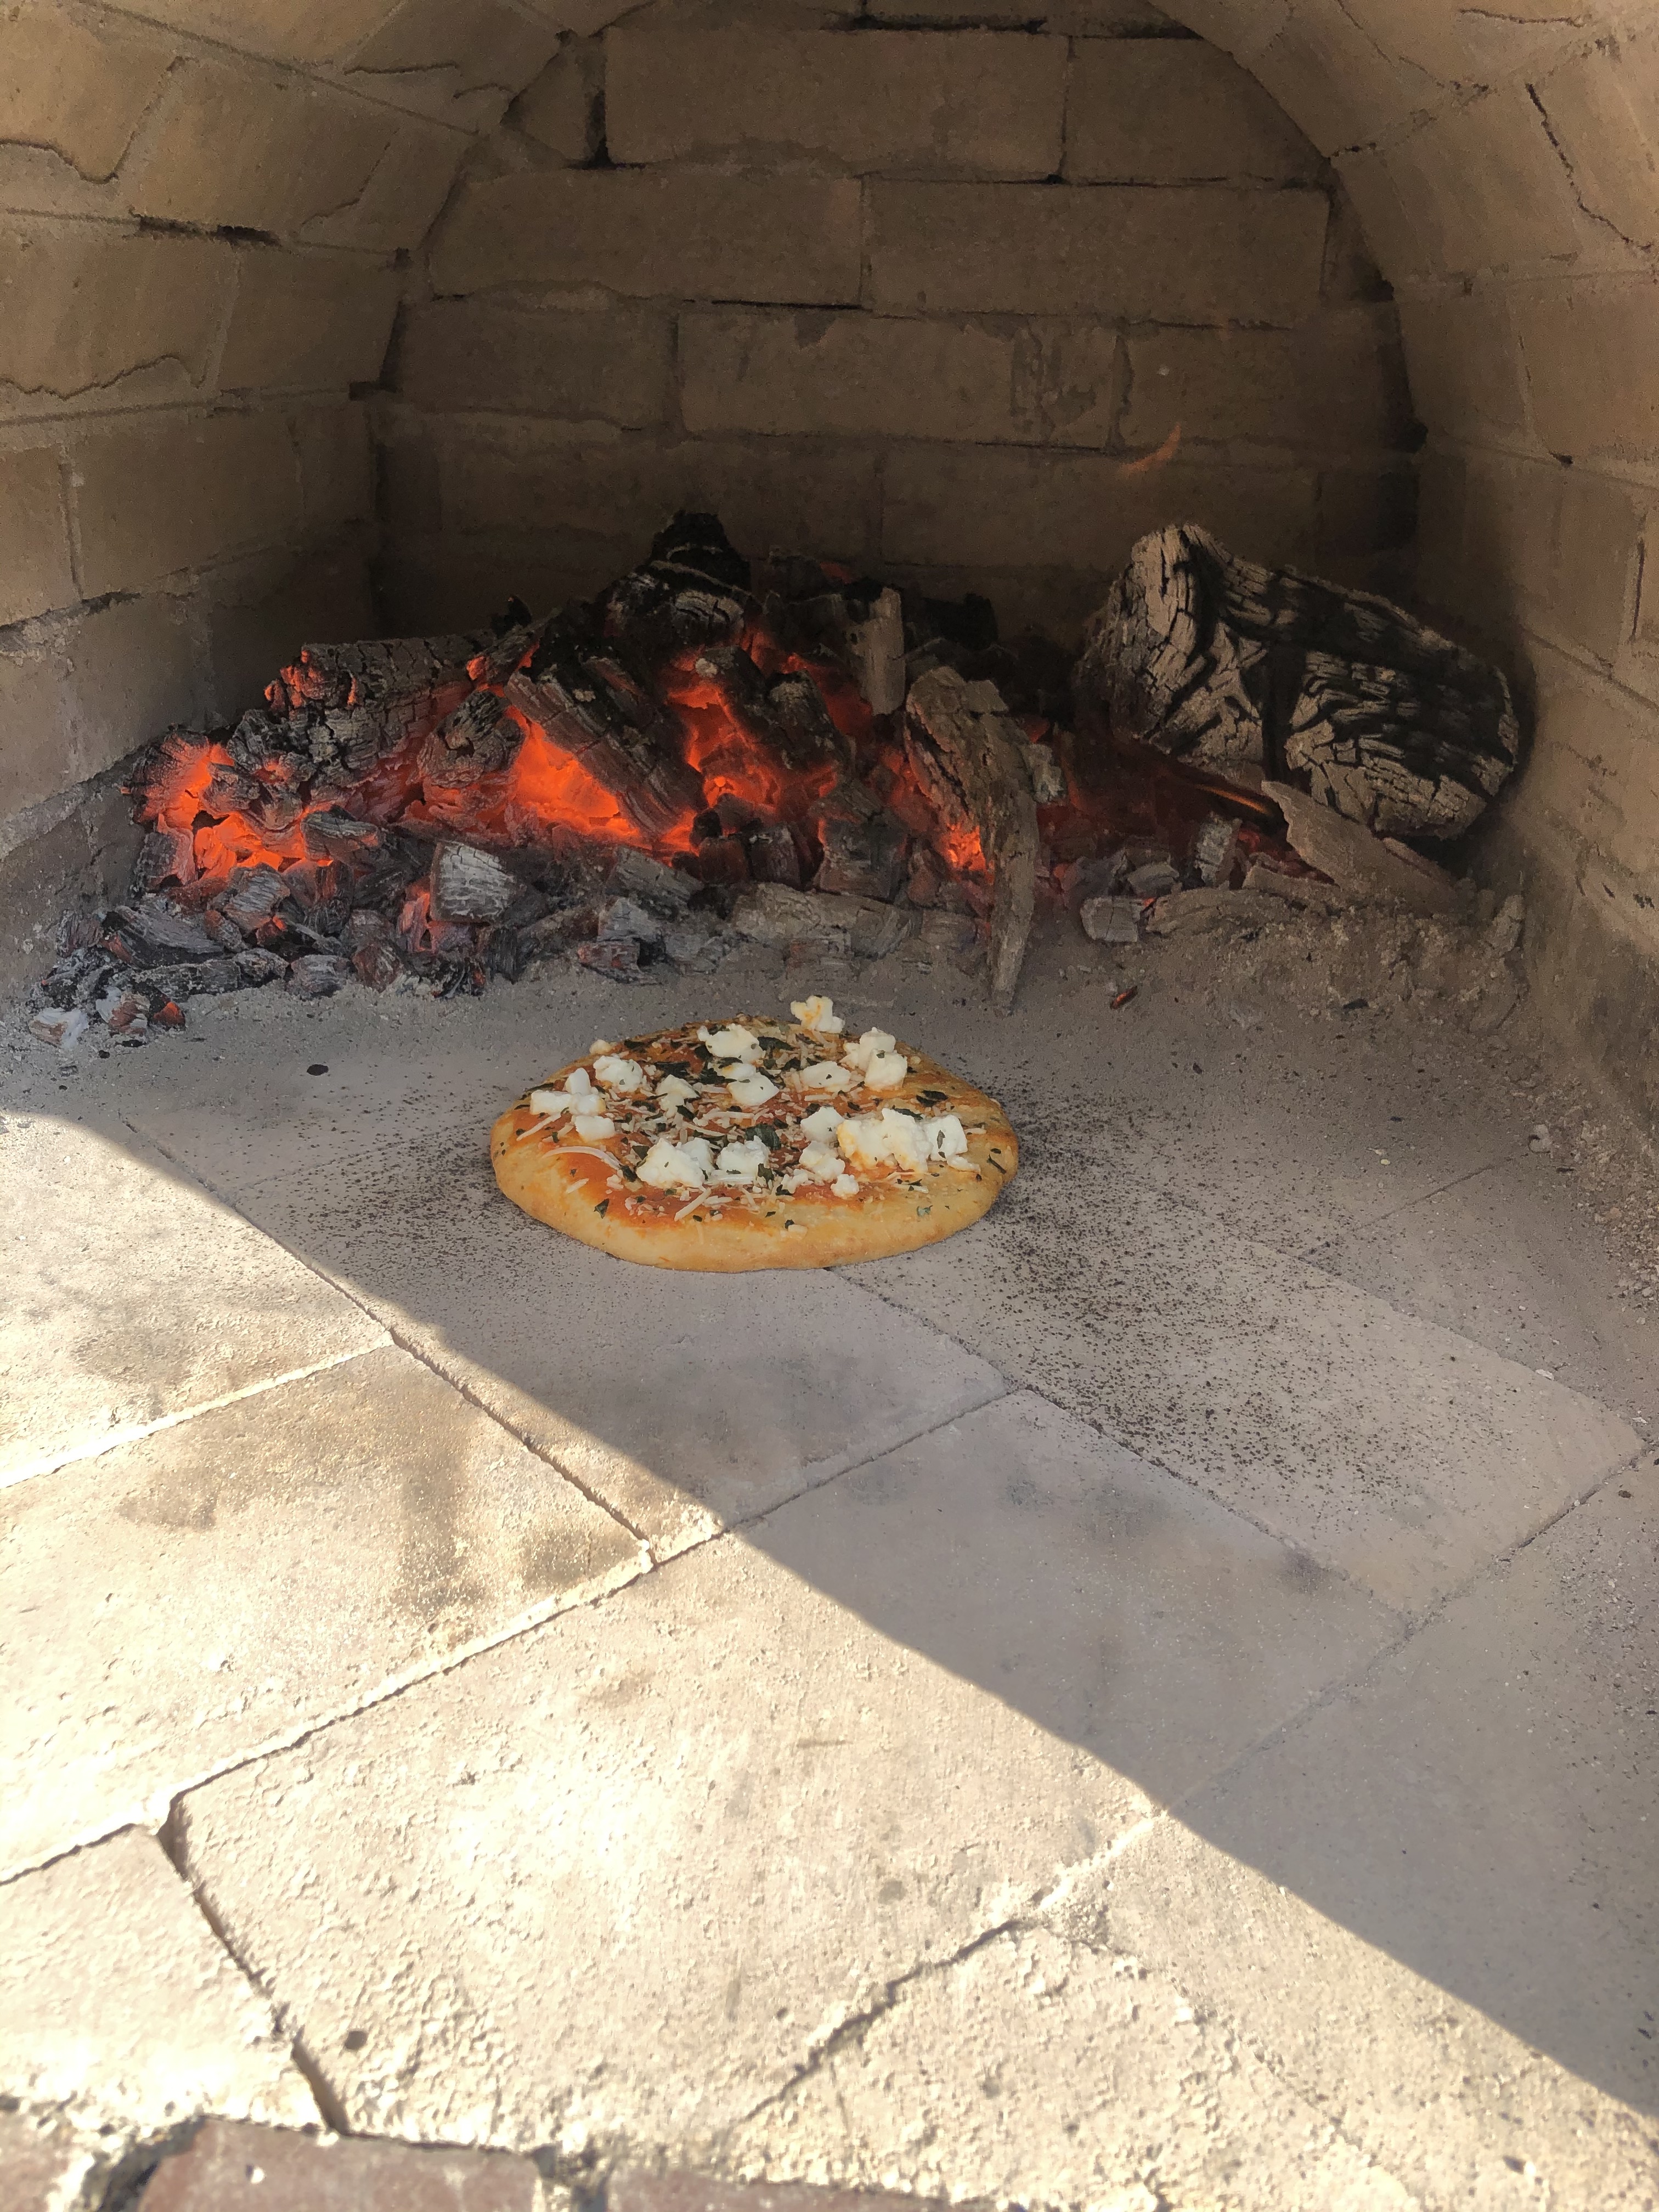
First frozen pizza, came out a bit charred
This pizza, from Trader Joe’s dough, came out great!
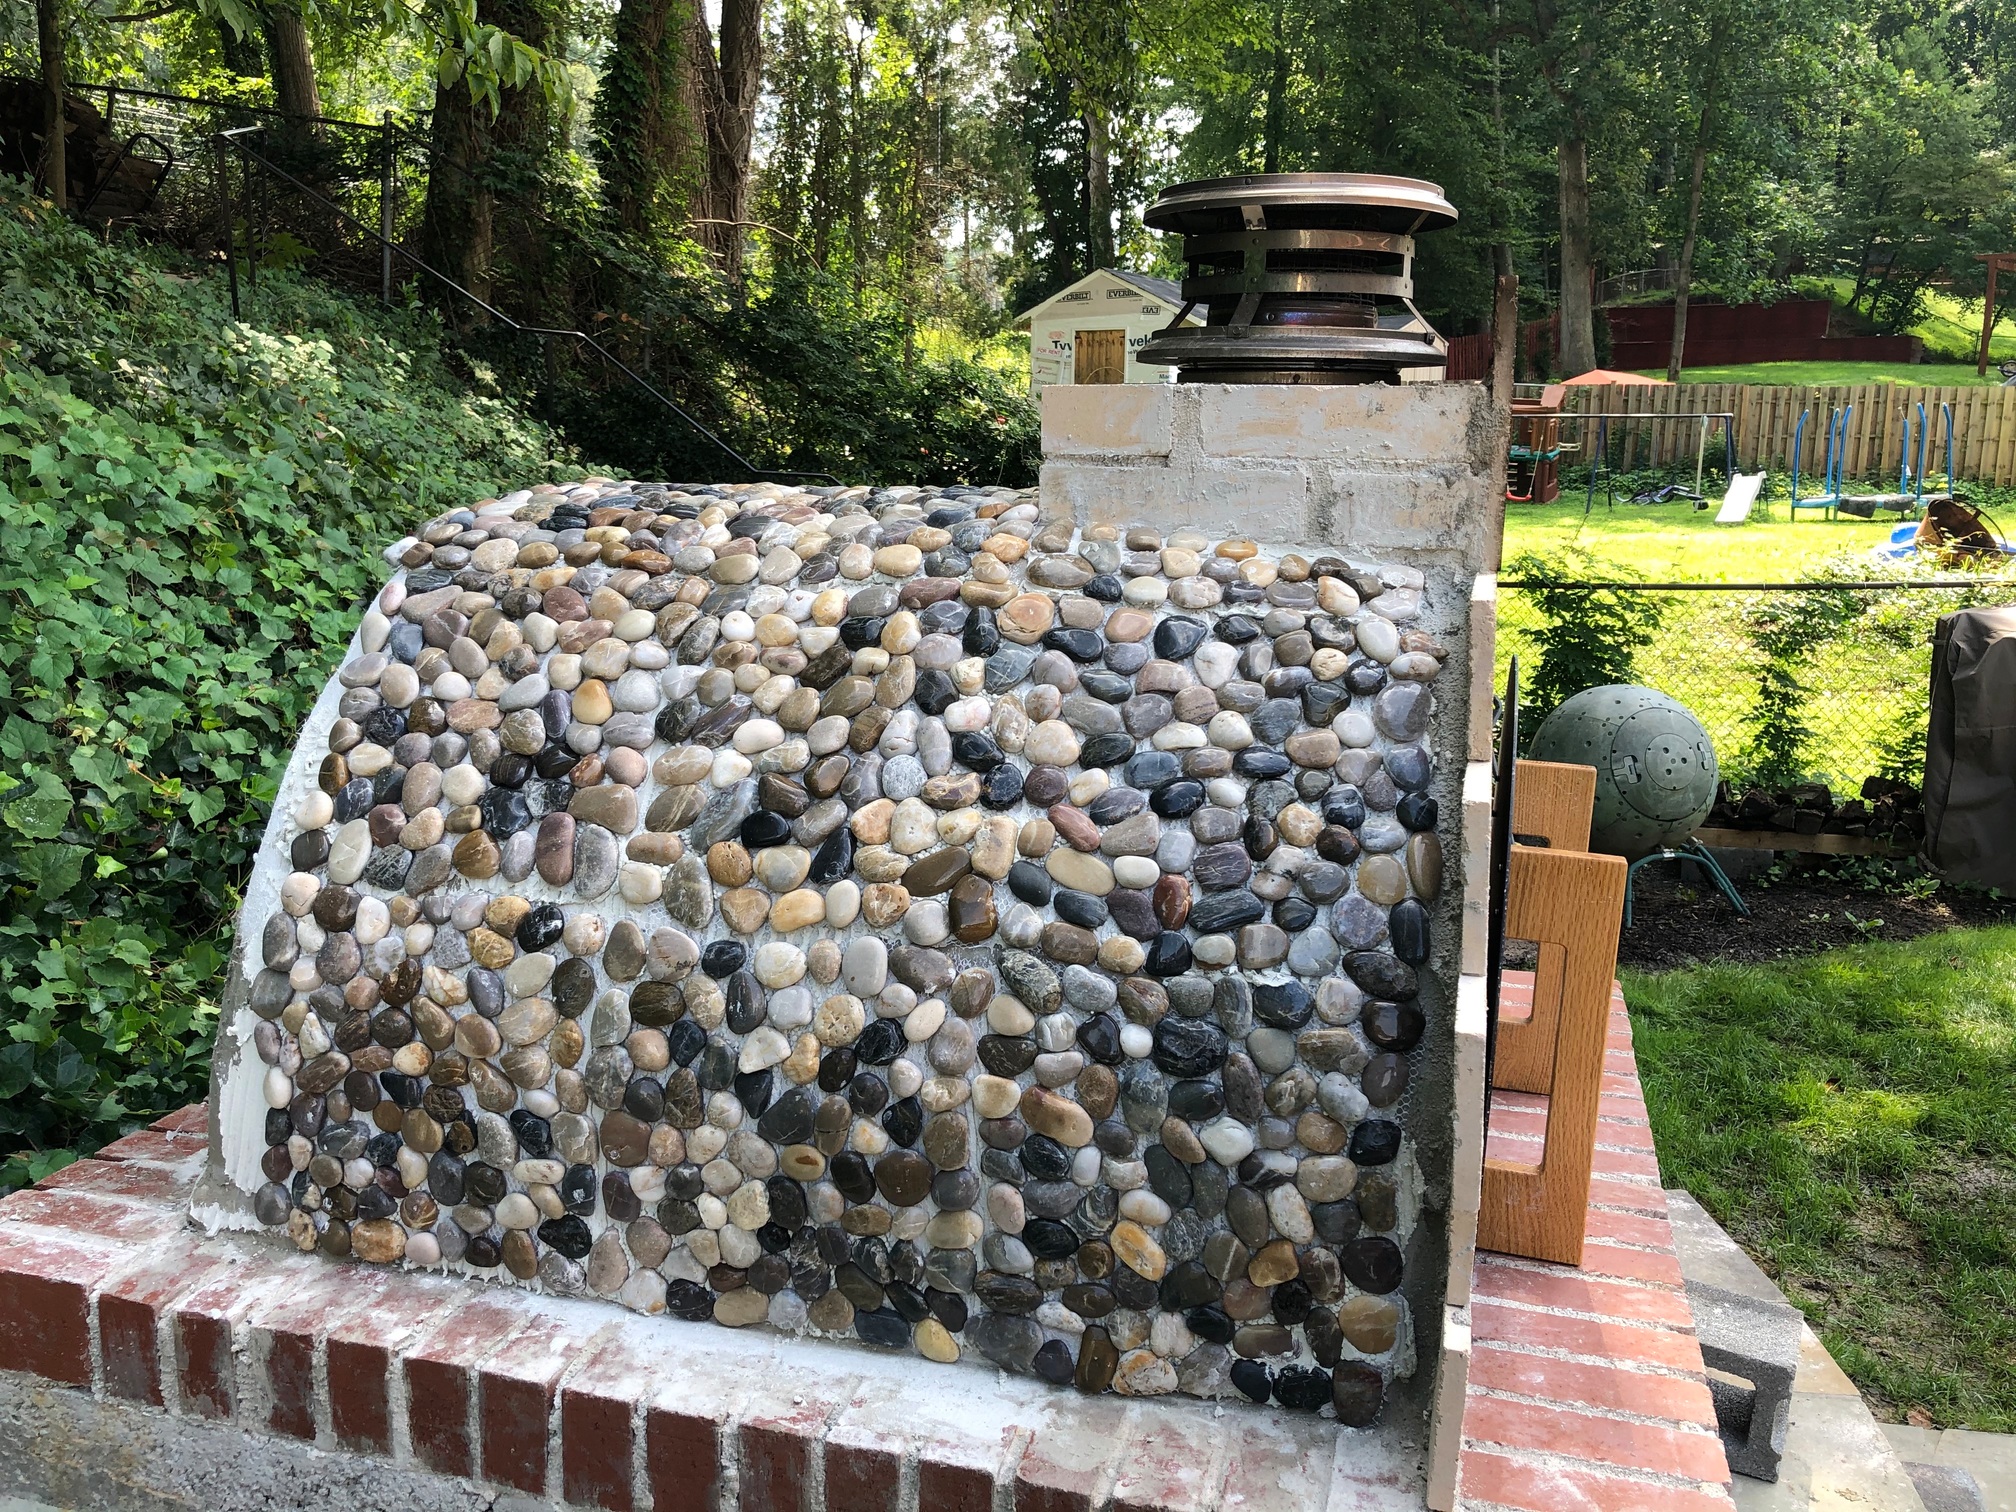
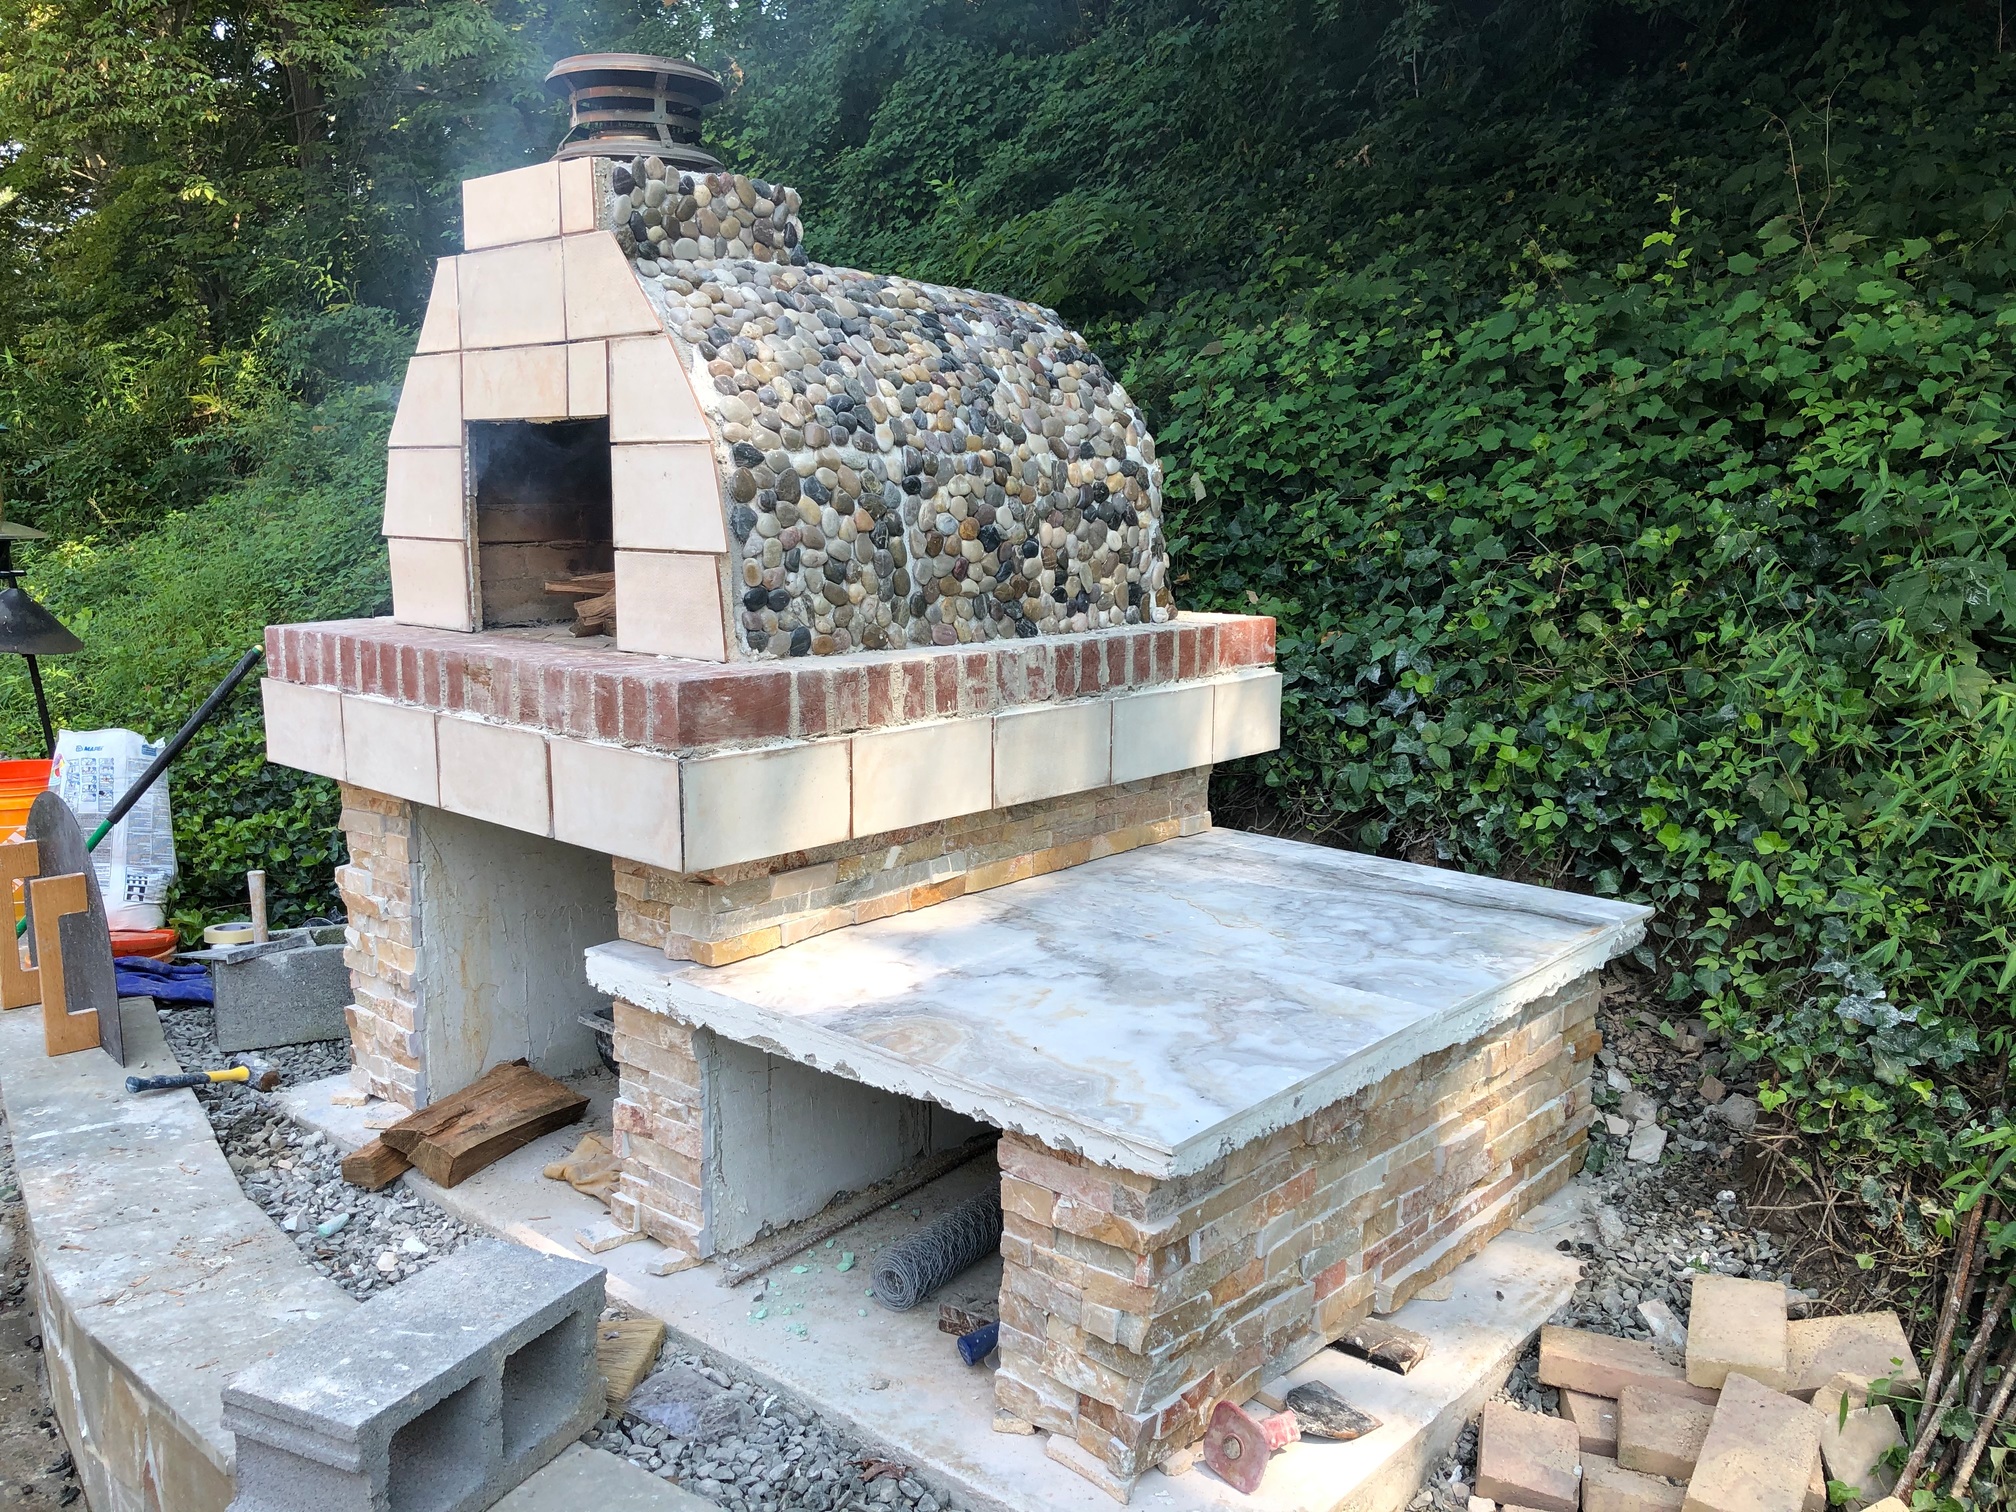
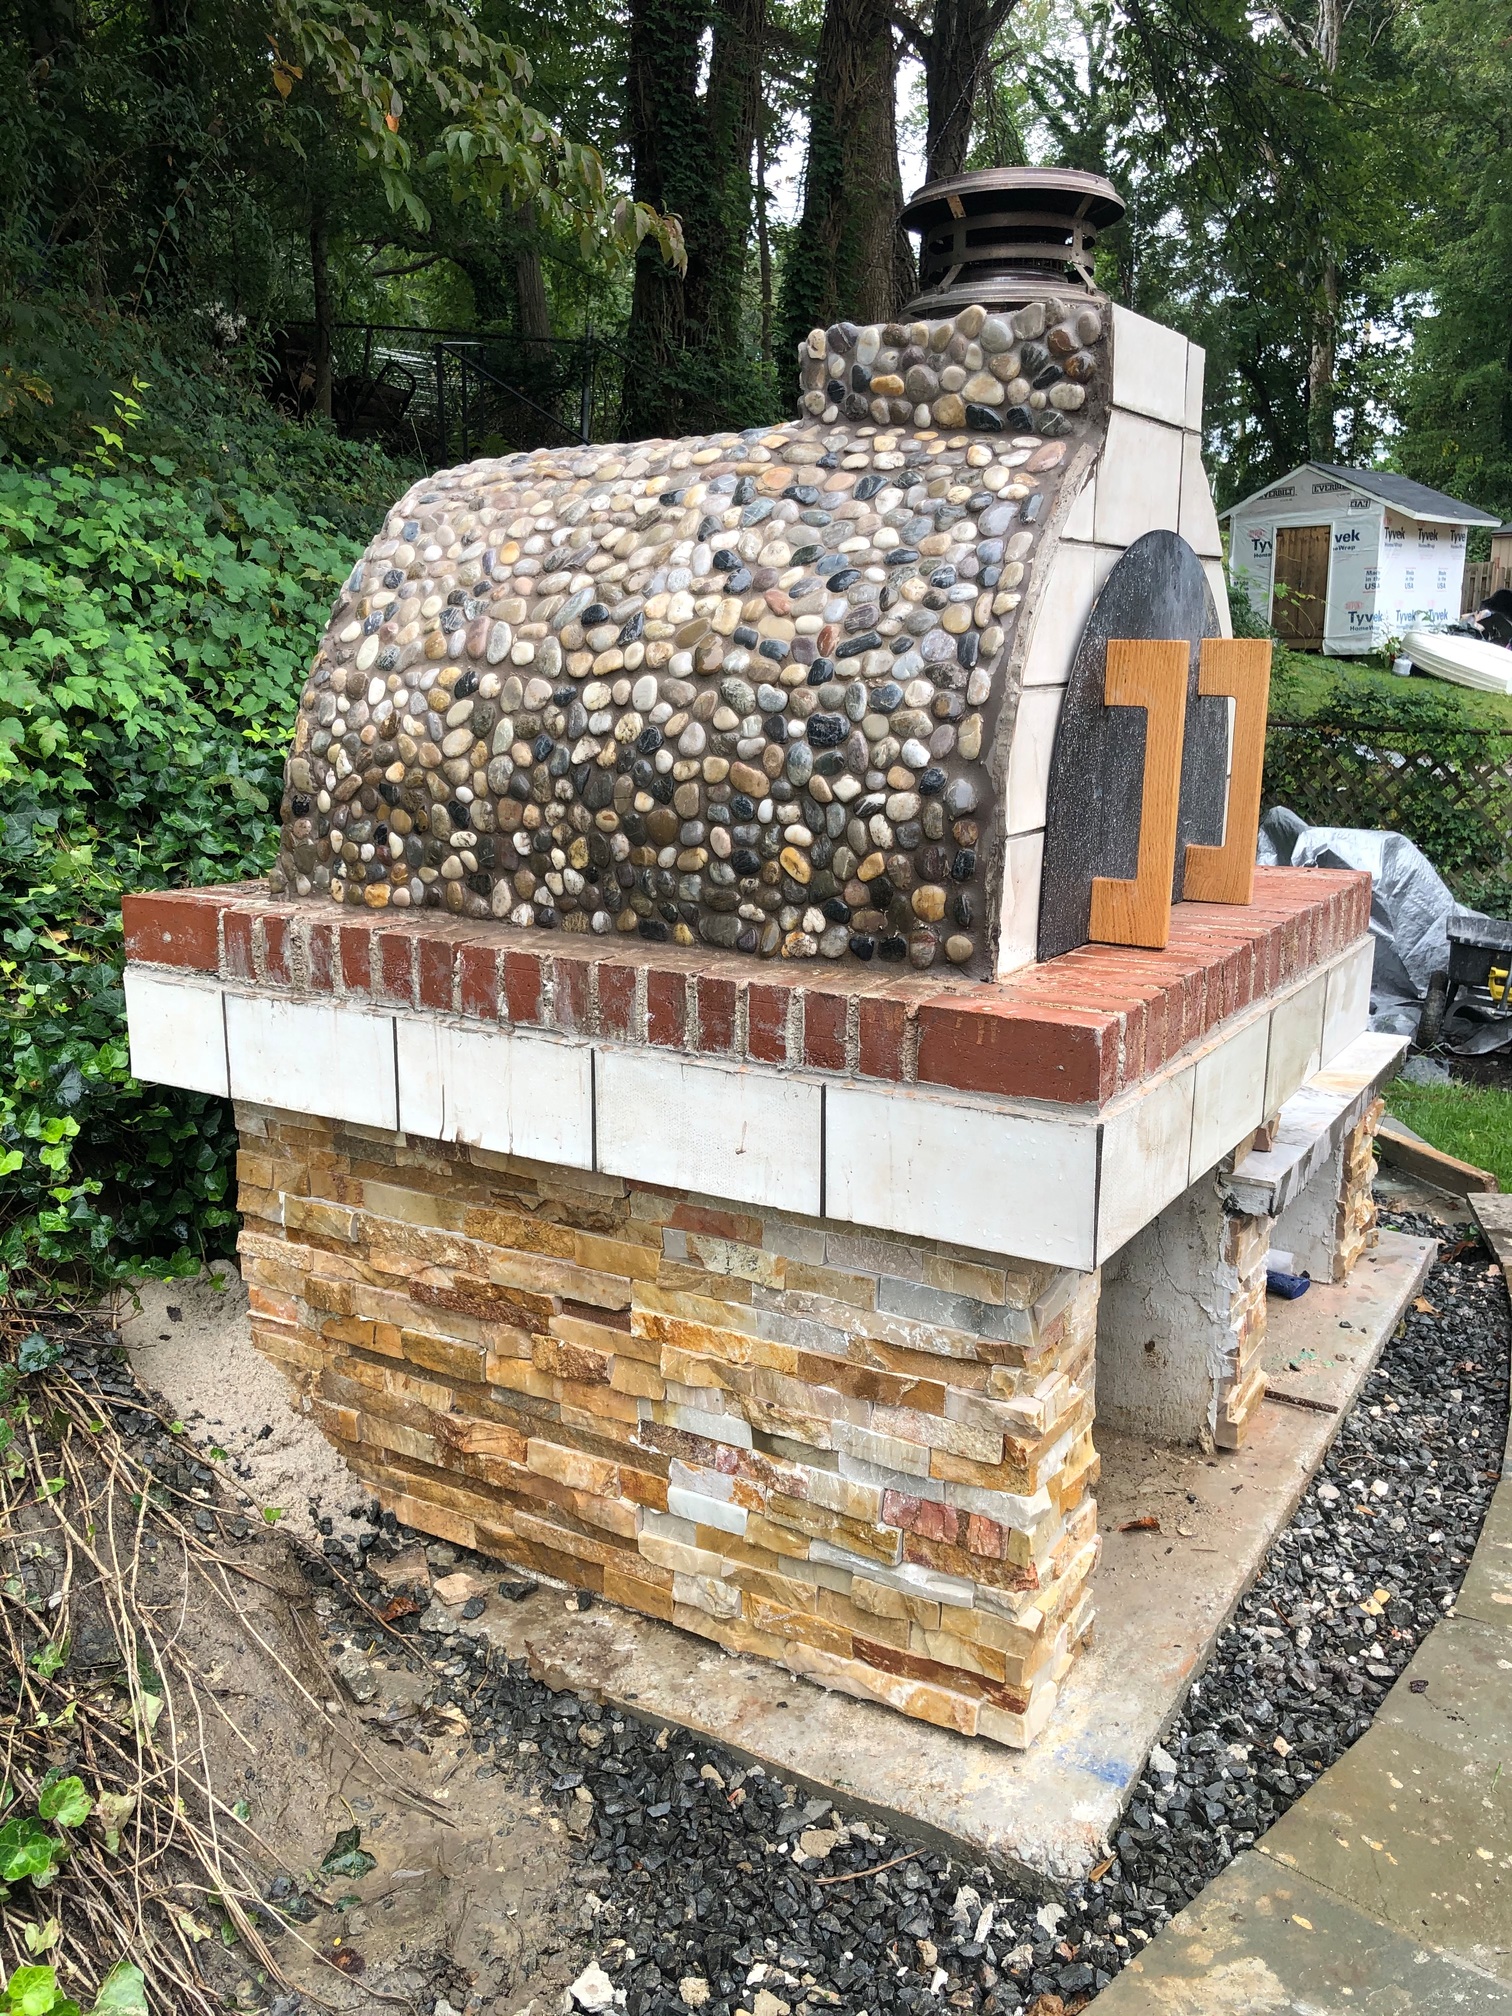
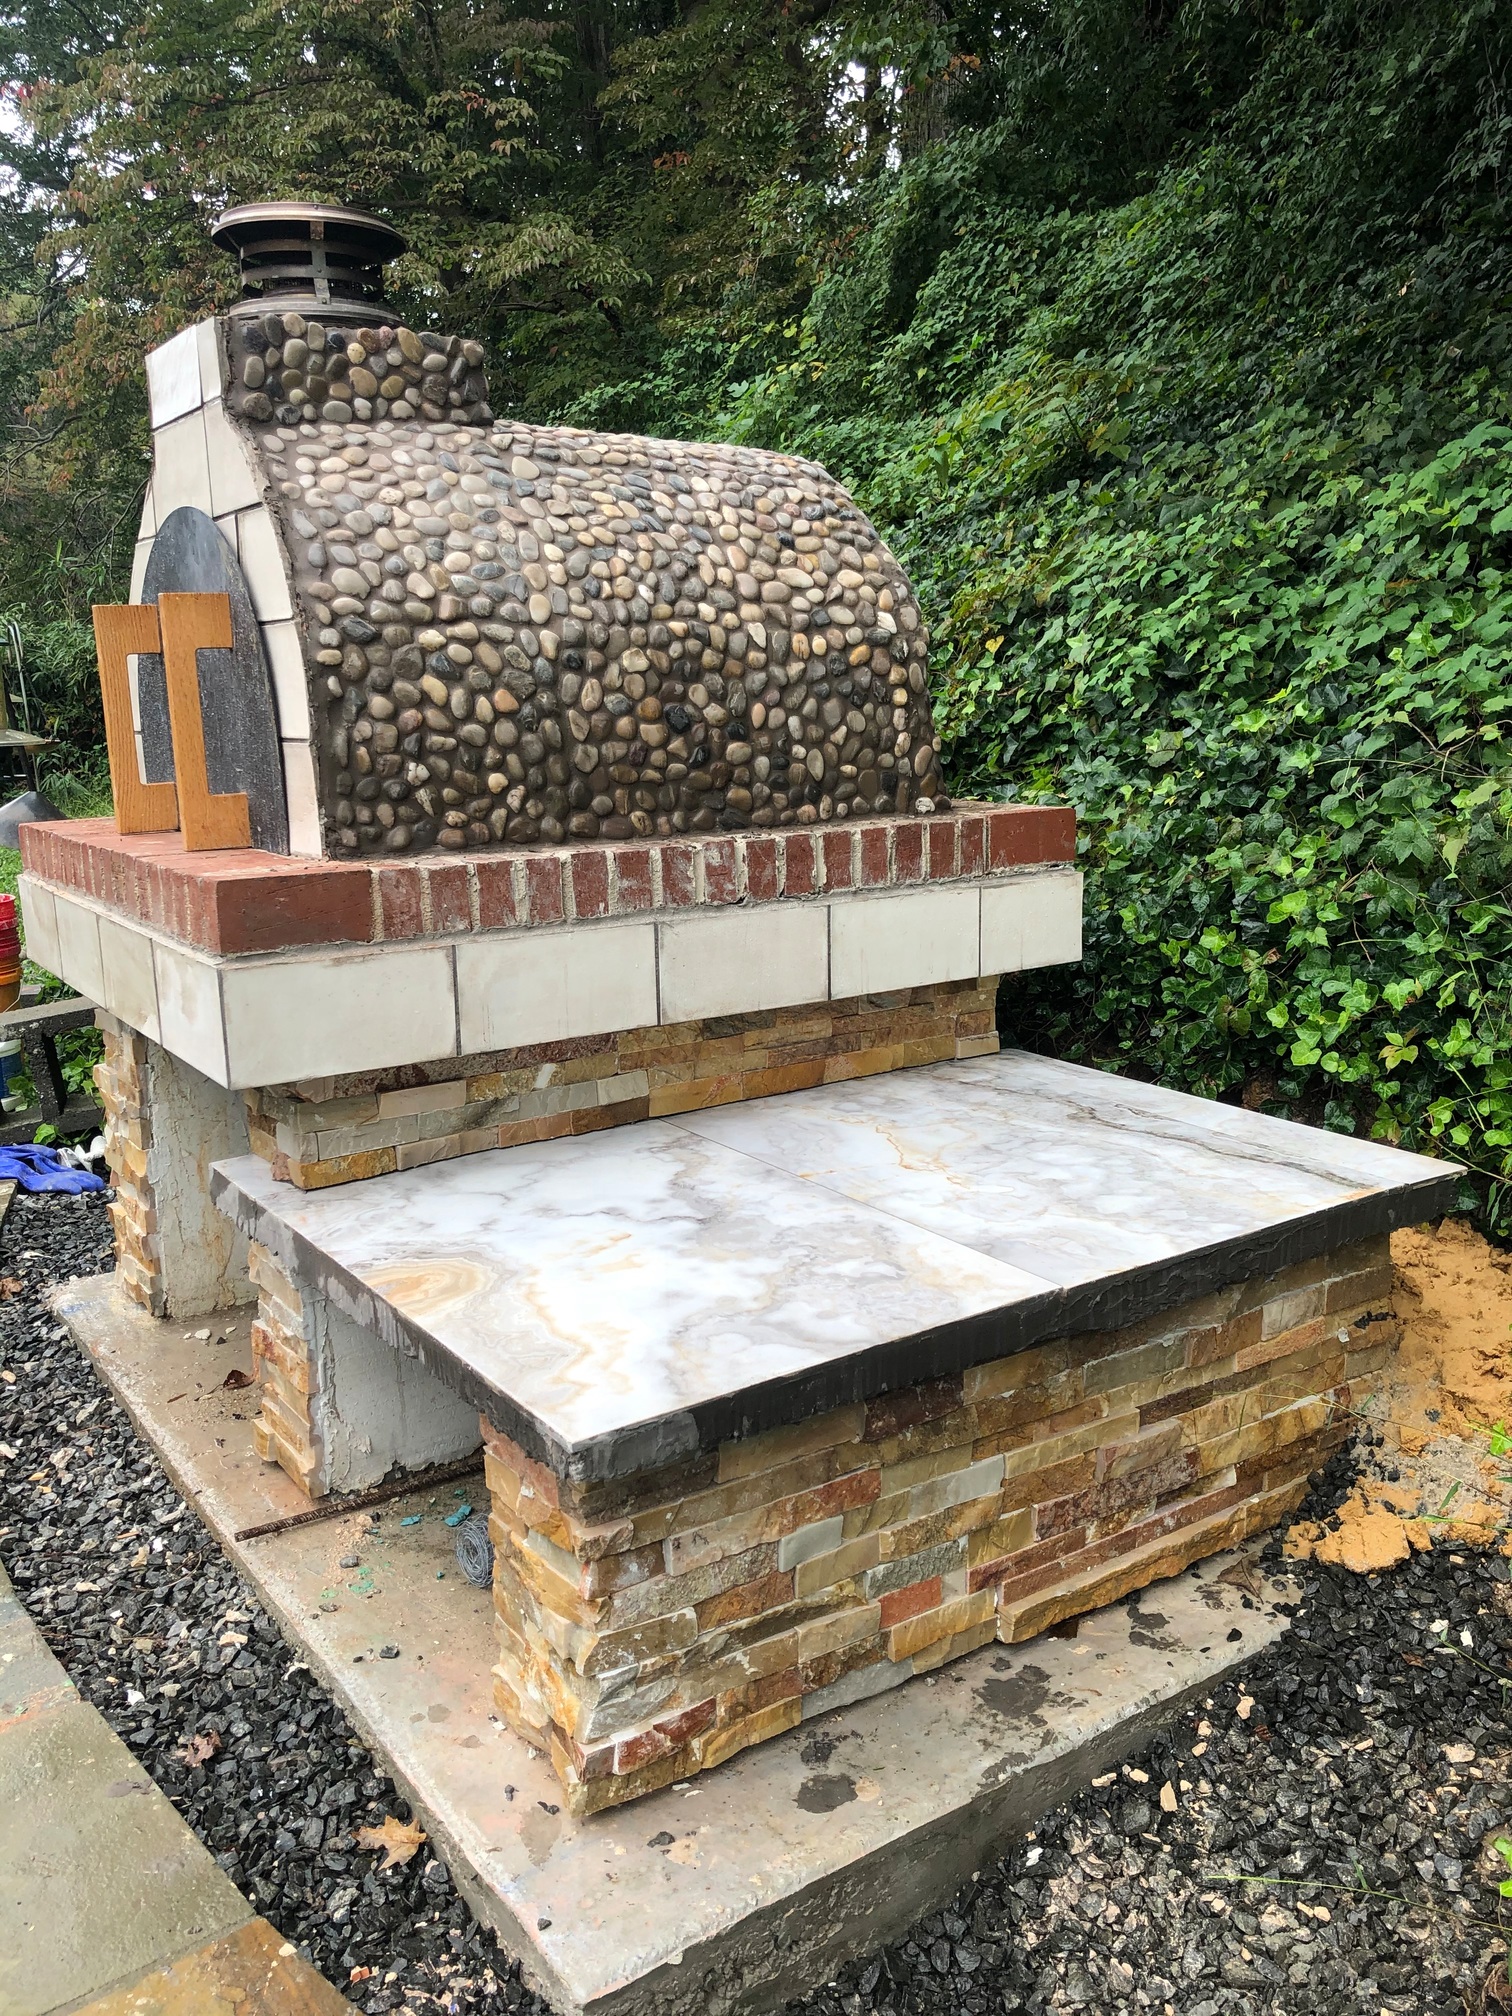
Applied veneer to the barrel of the oven
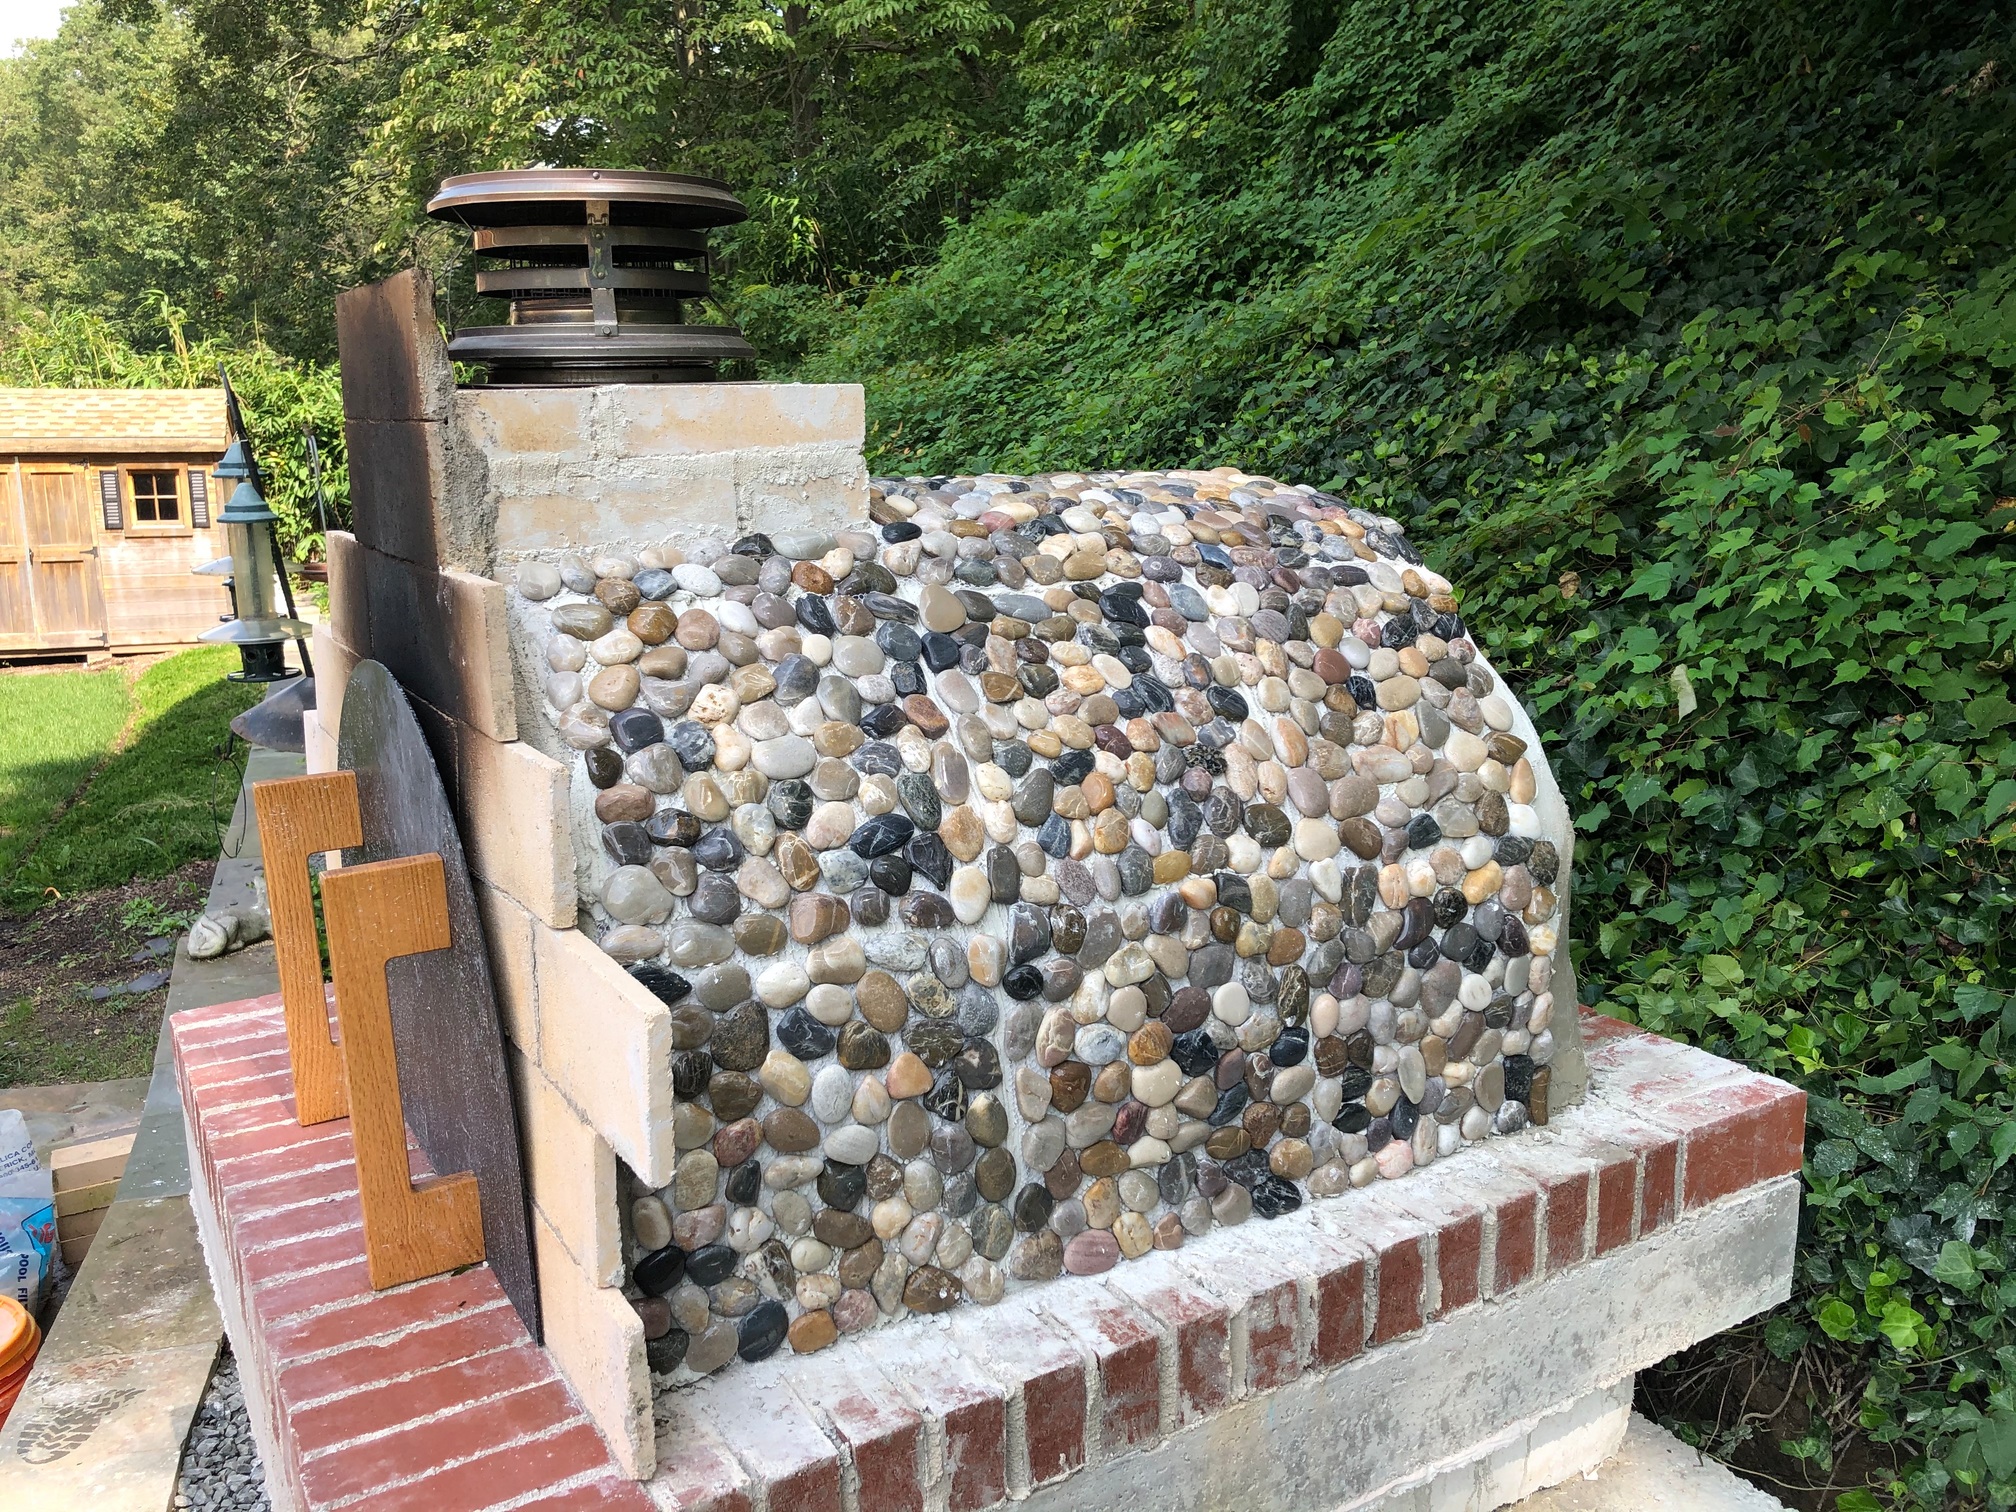
I like the look of the stones
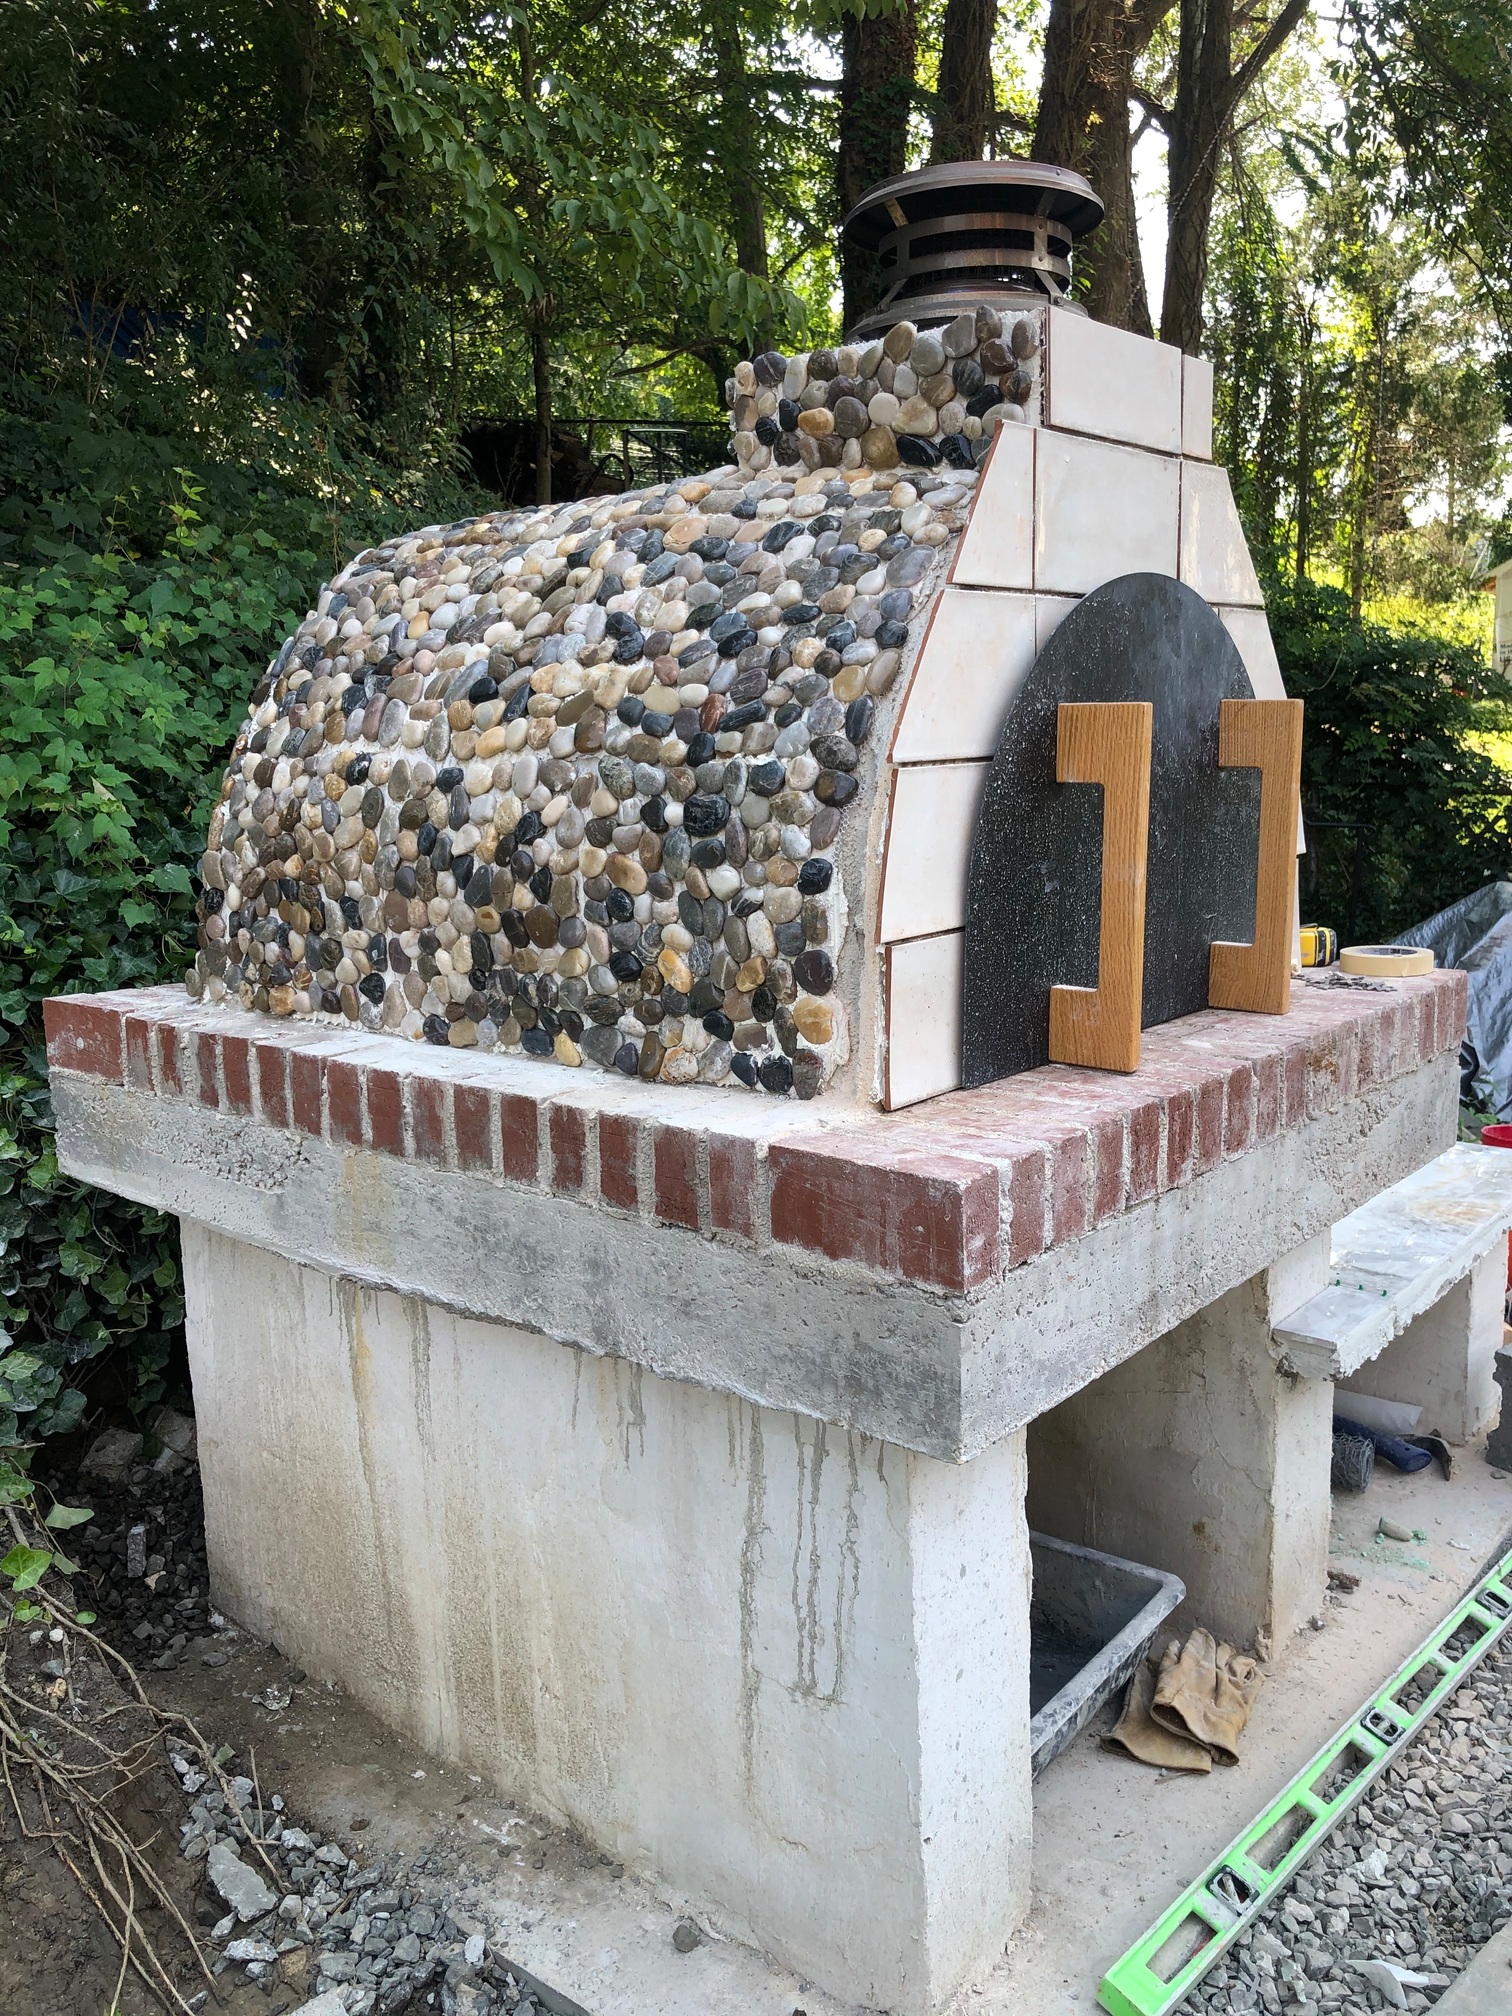
I wrapped the sides and back of the chimney with the stones as well, and added tiles to the front of the oven
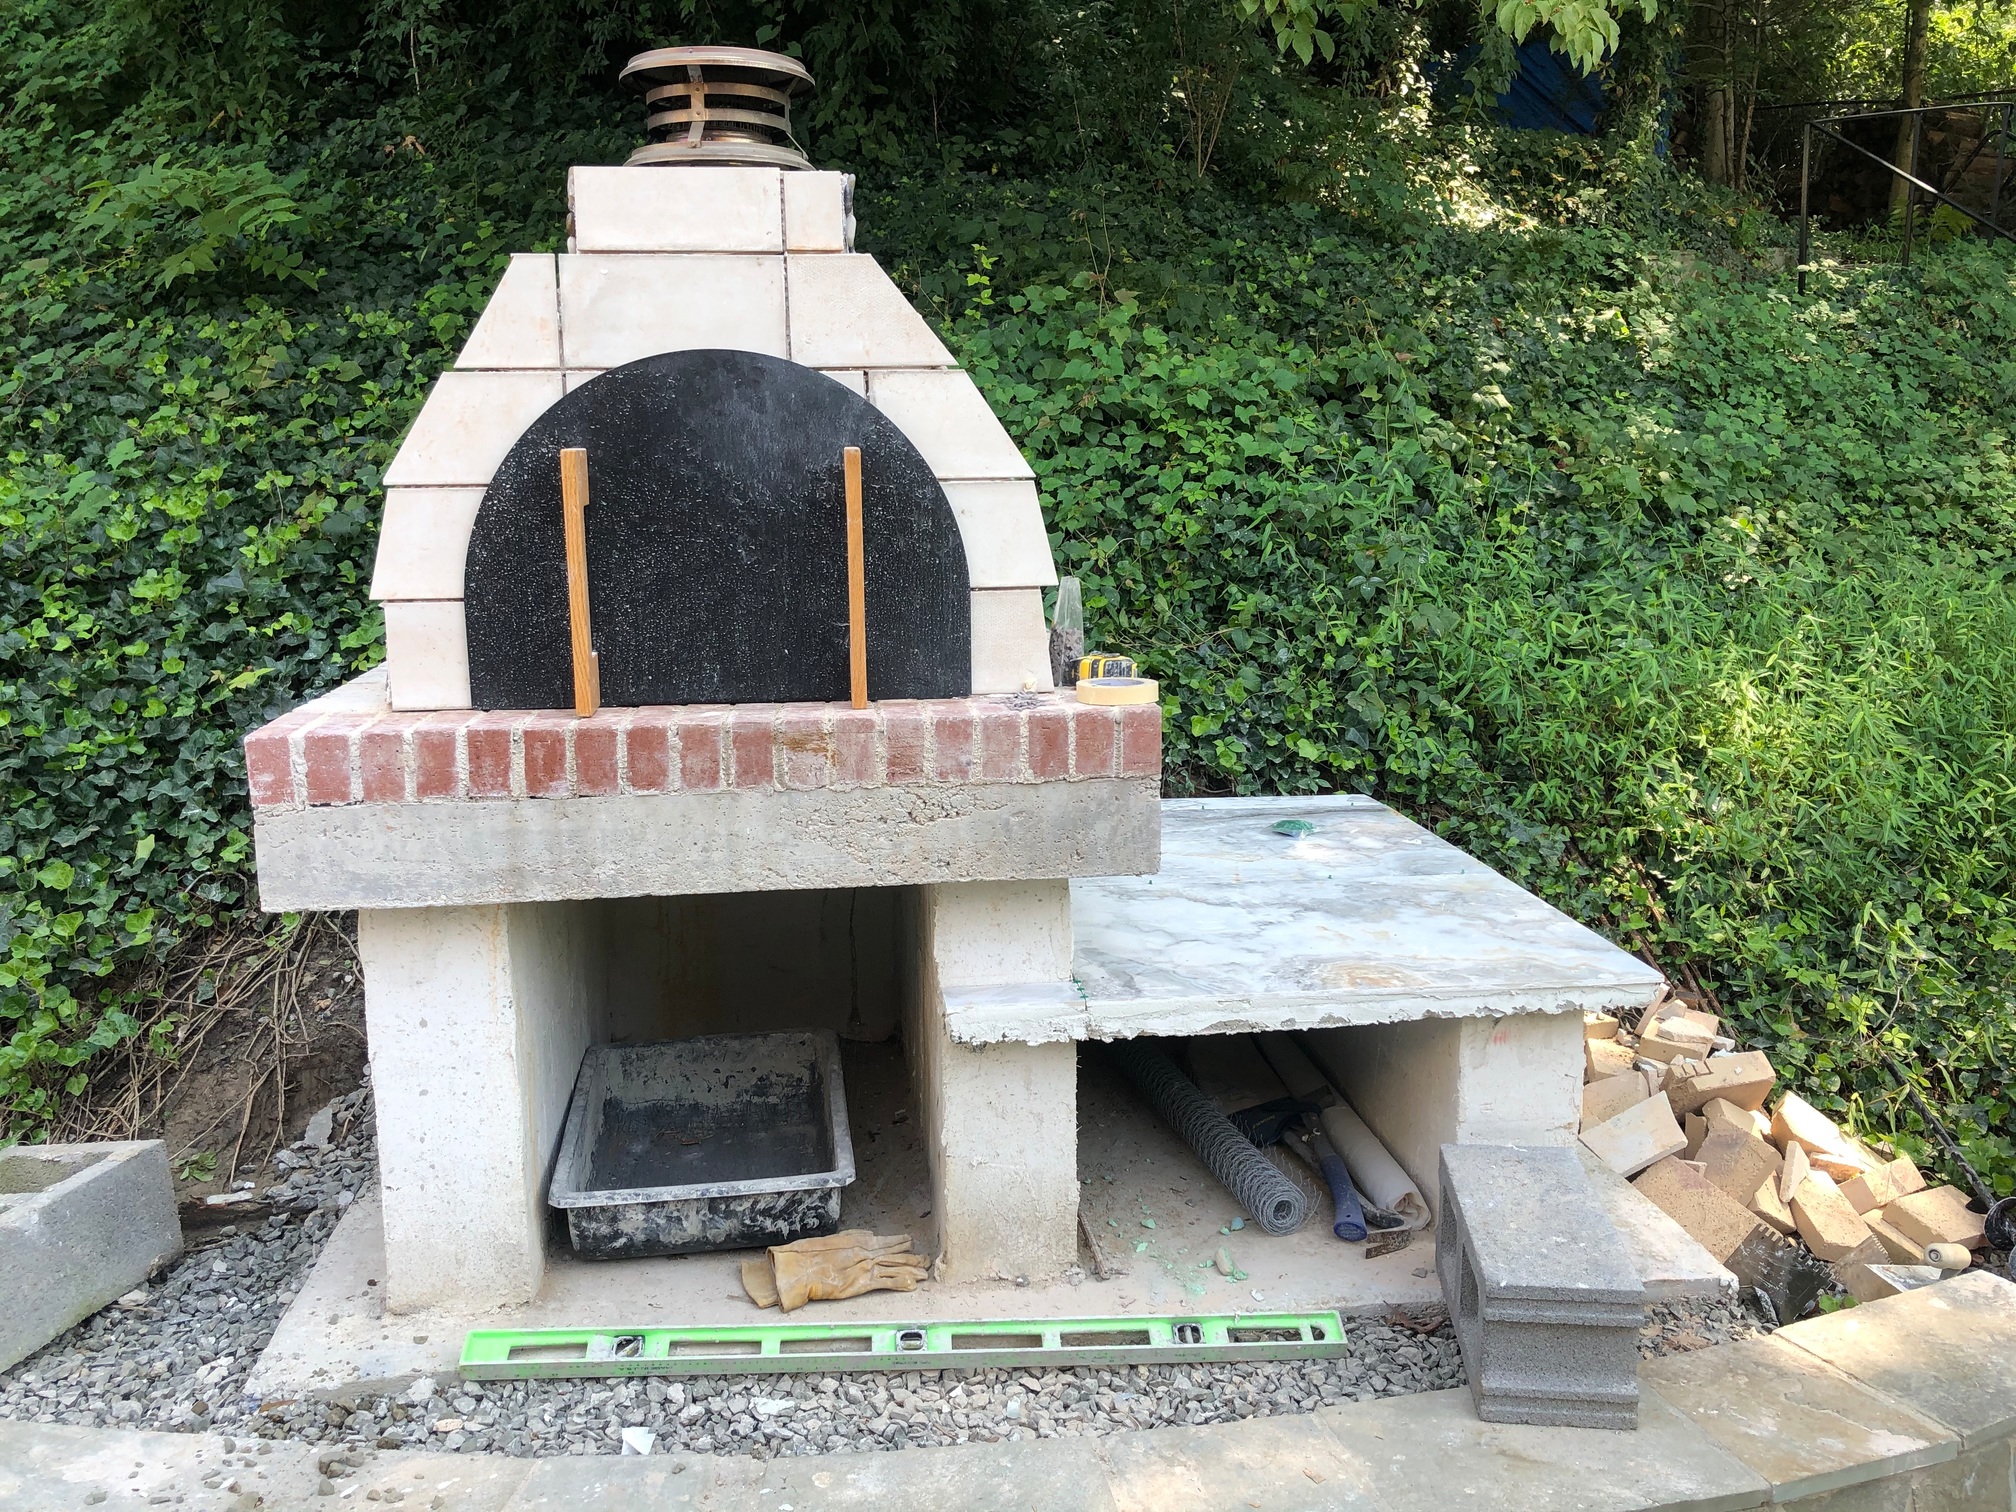
I think they’ll look much better trimmed and grouted
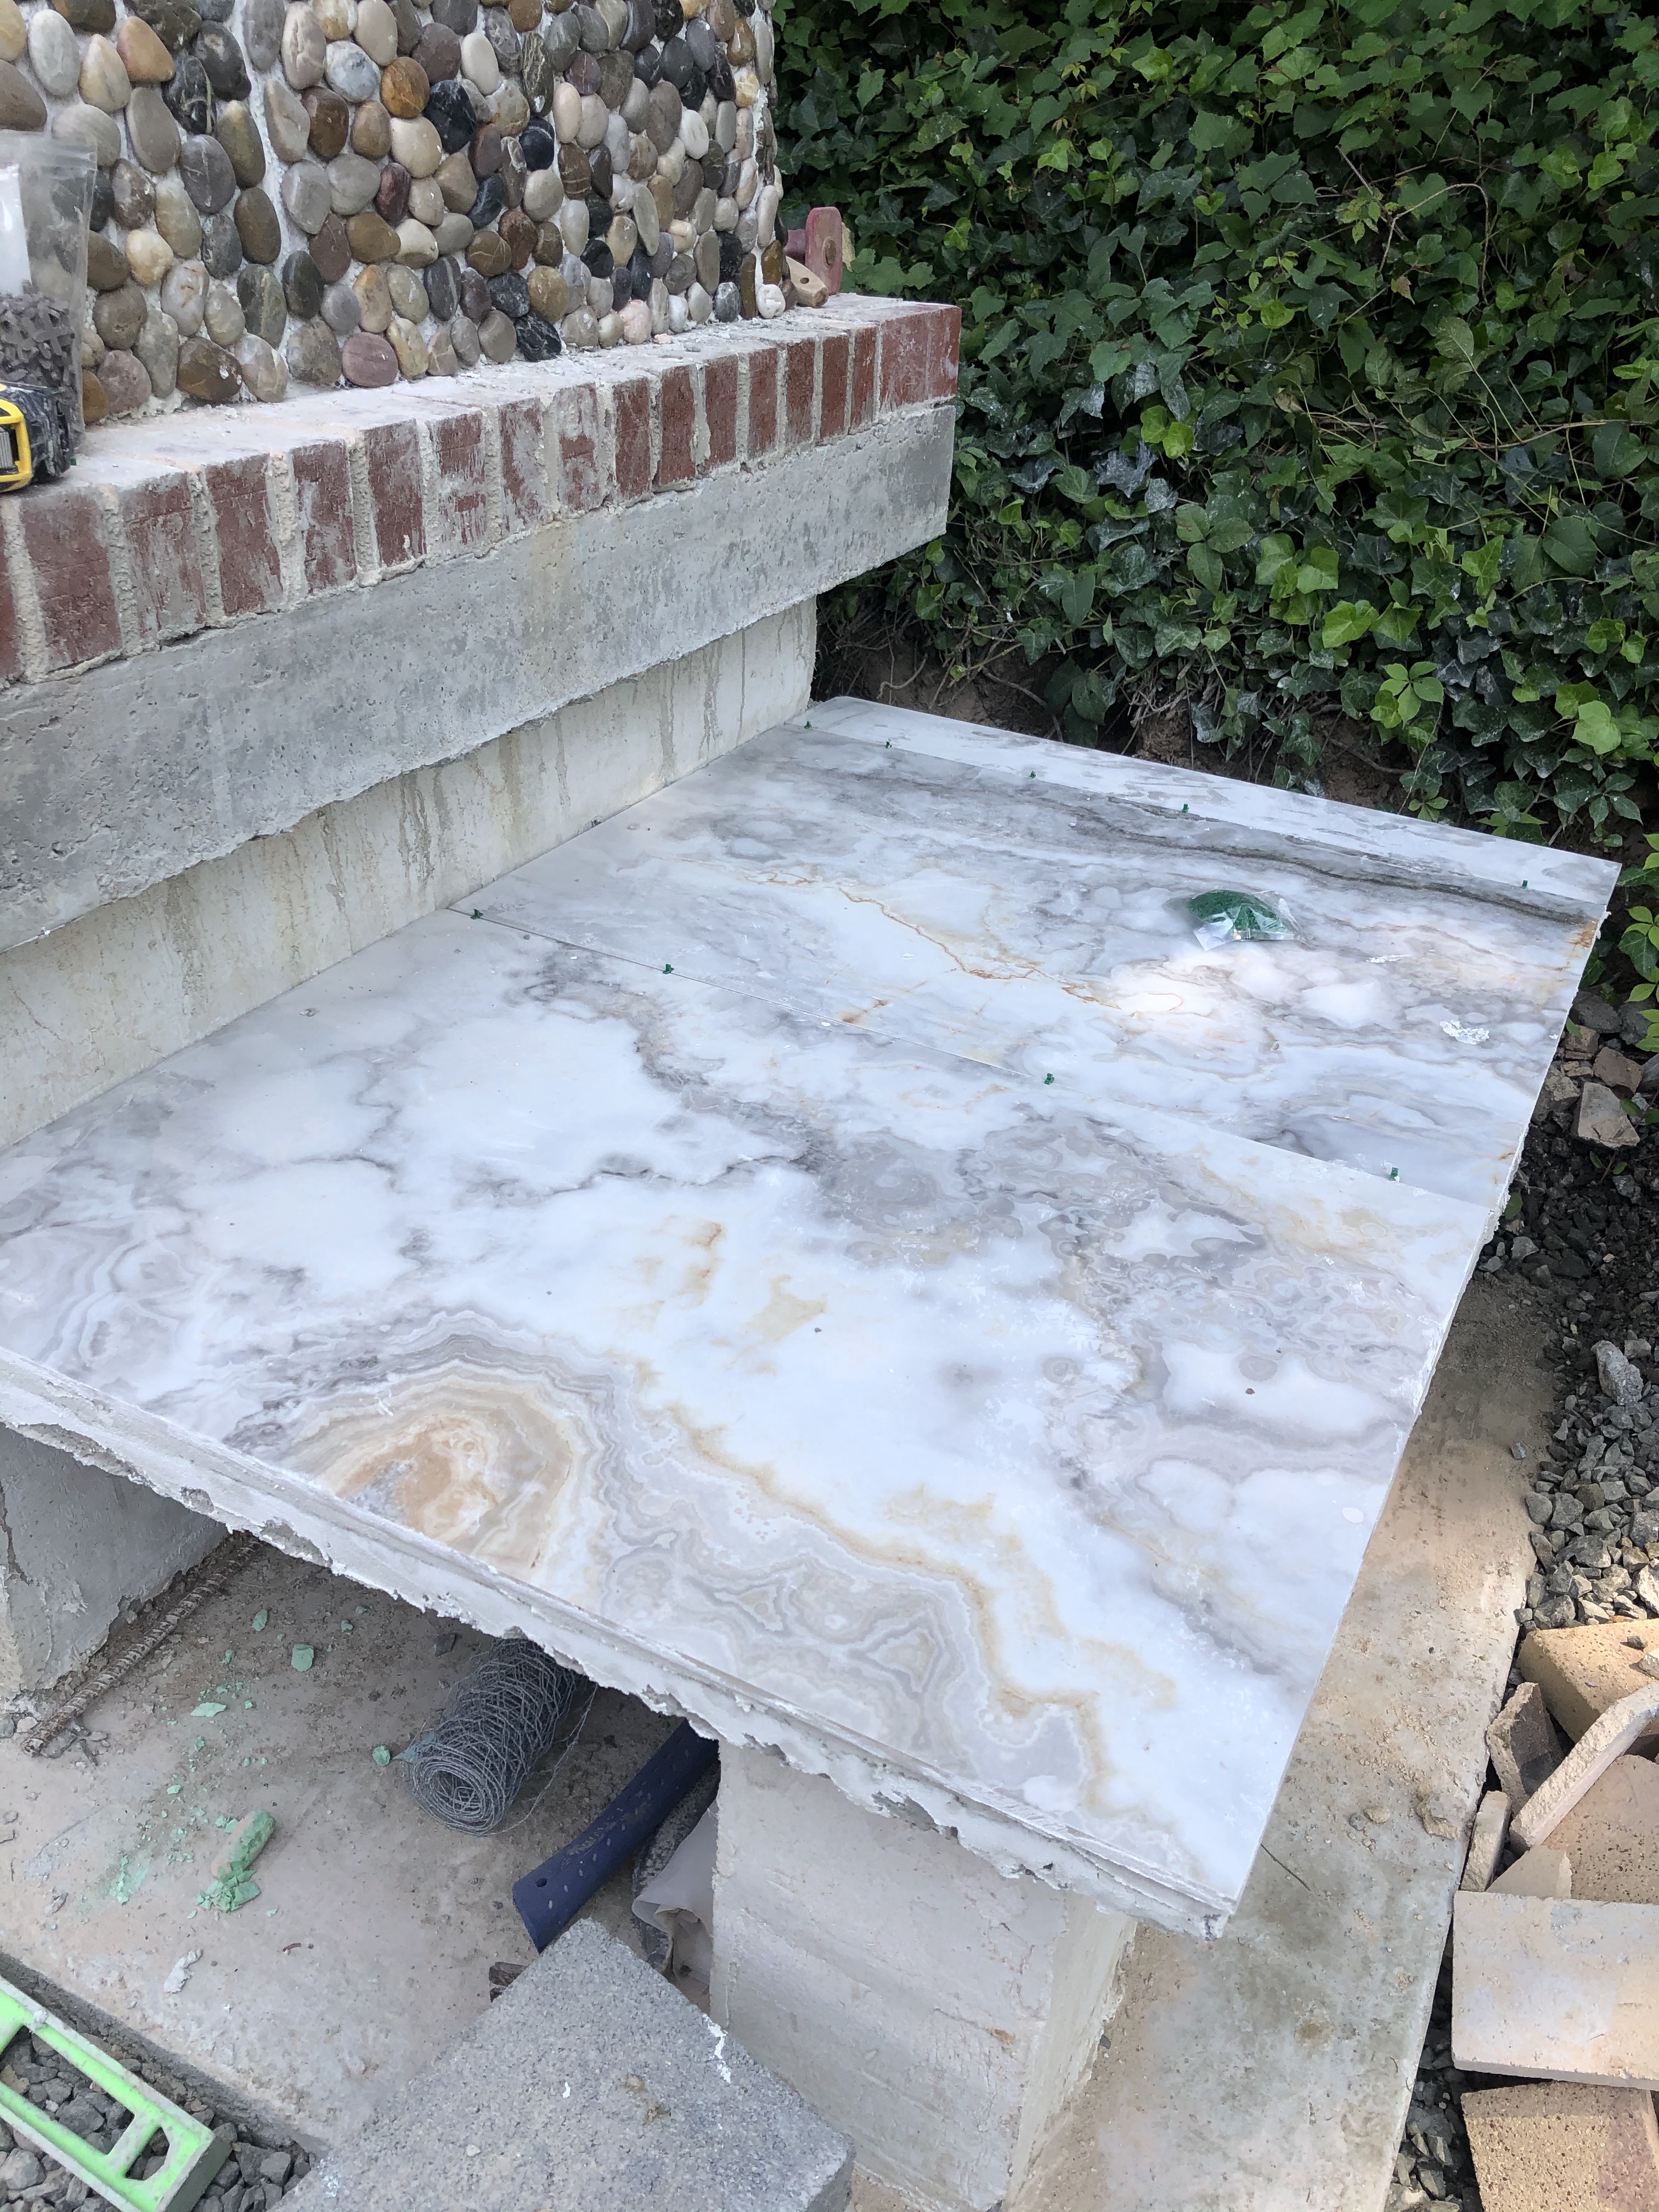
The tiles on the food prep surface came out great!
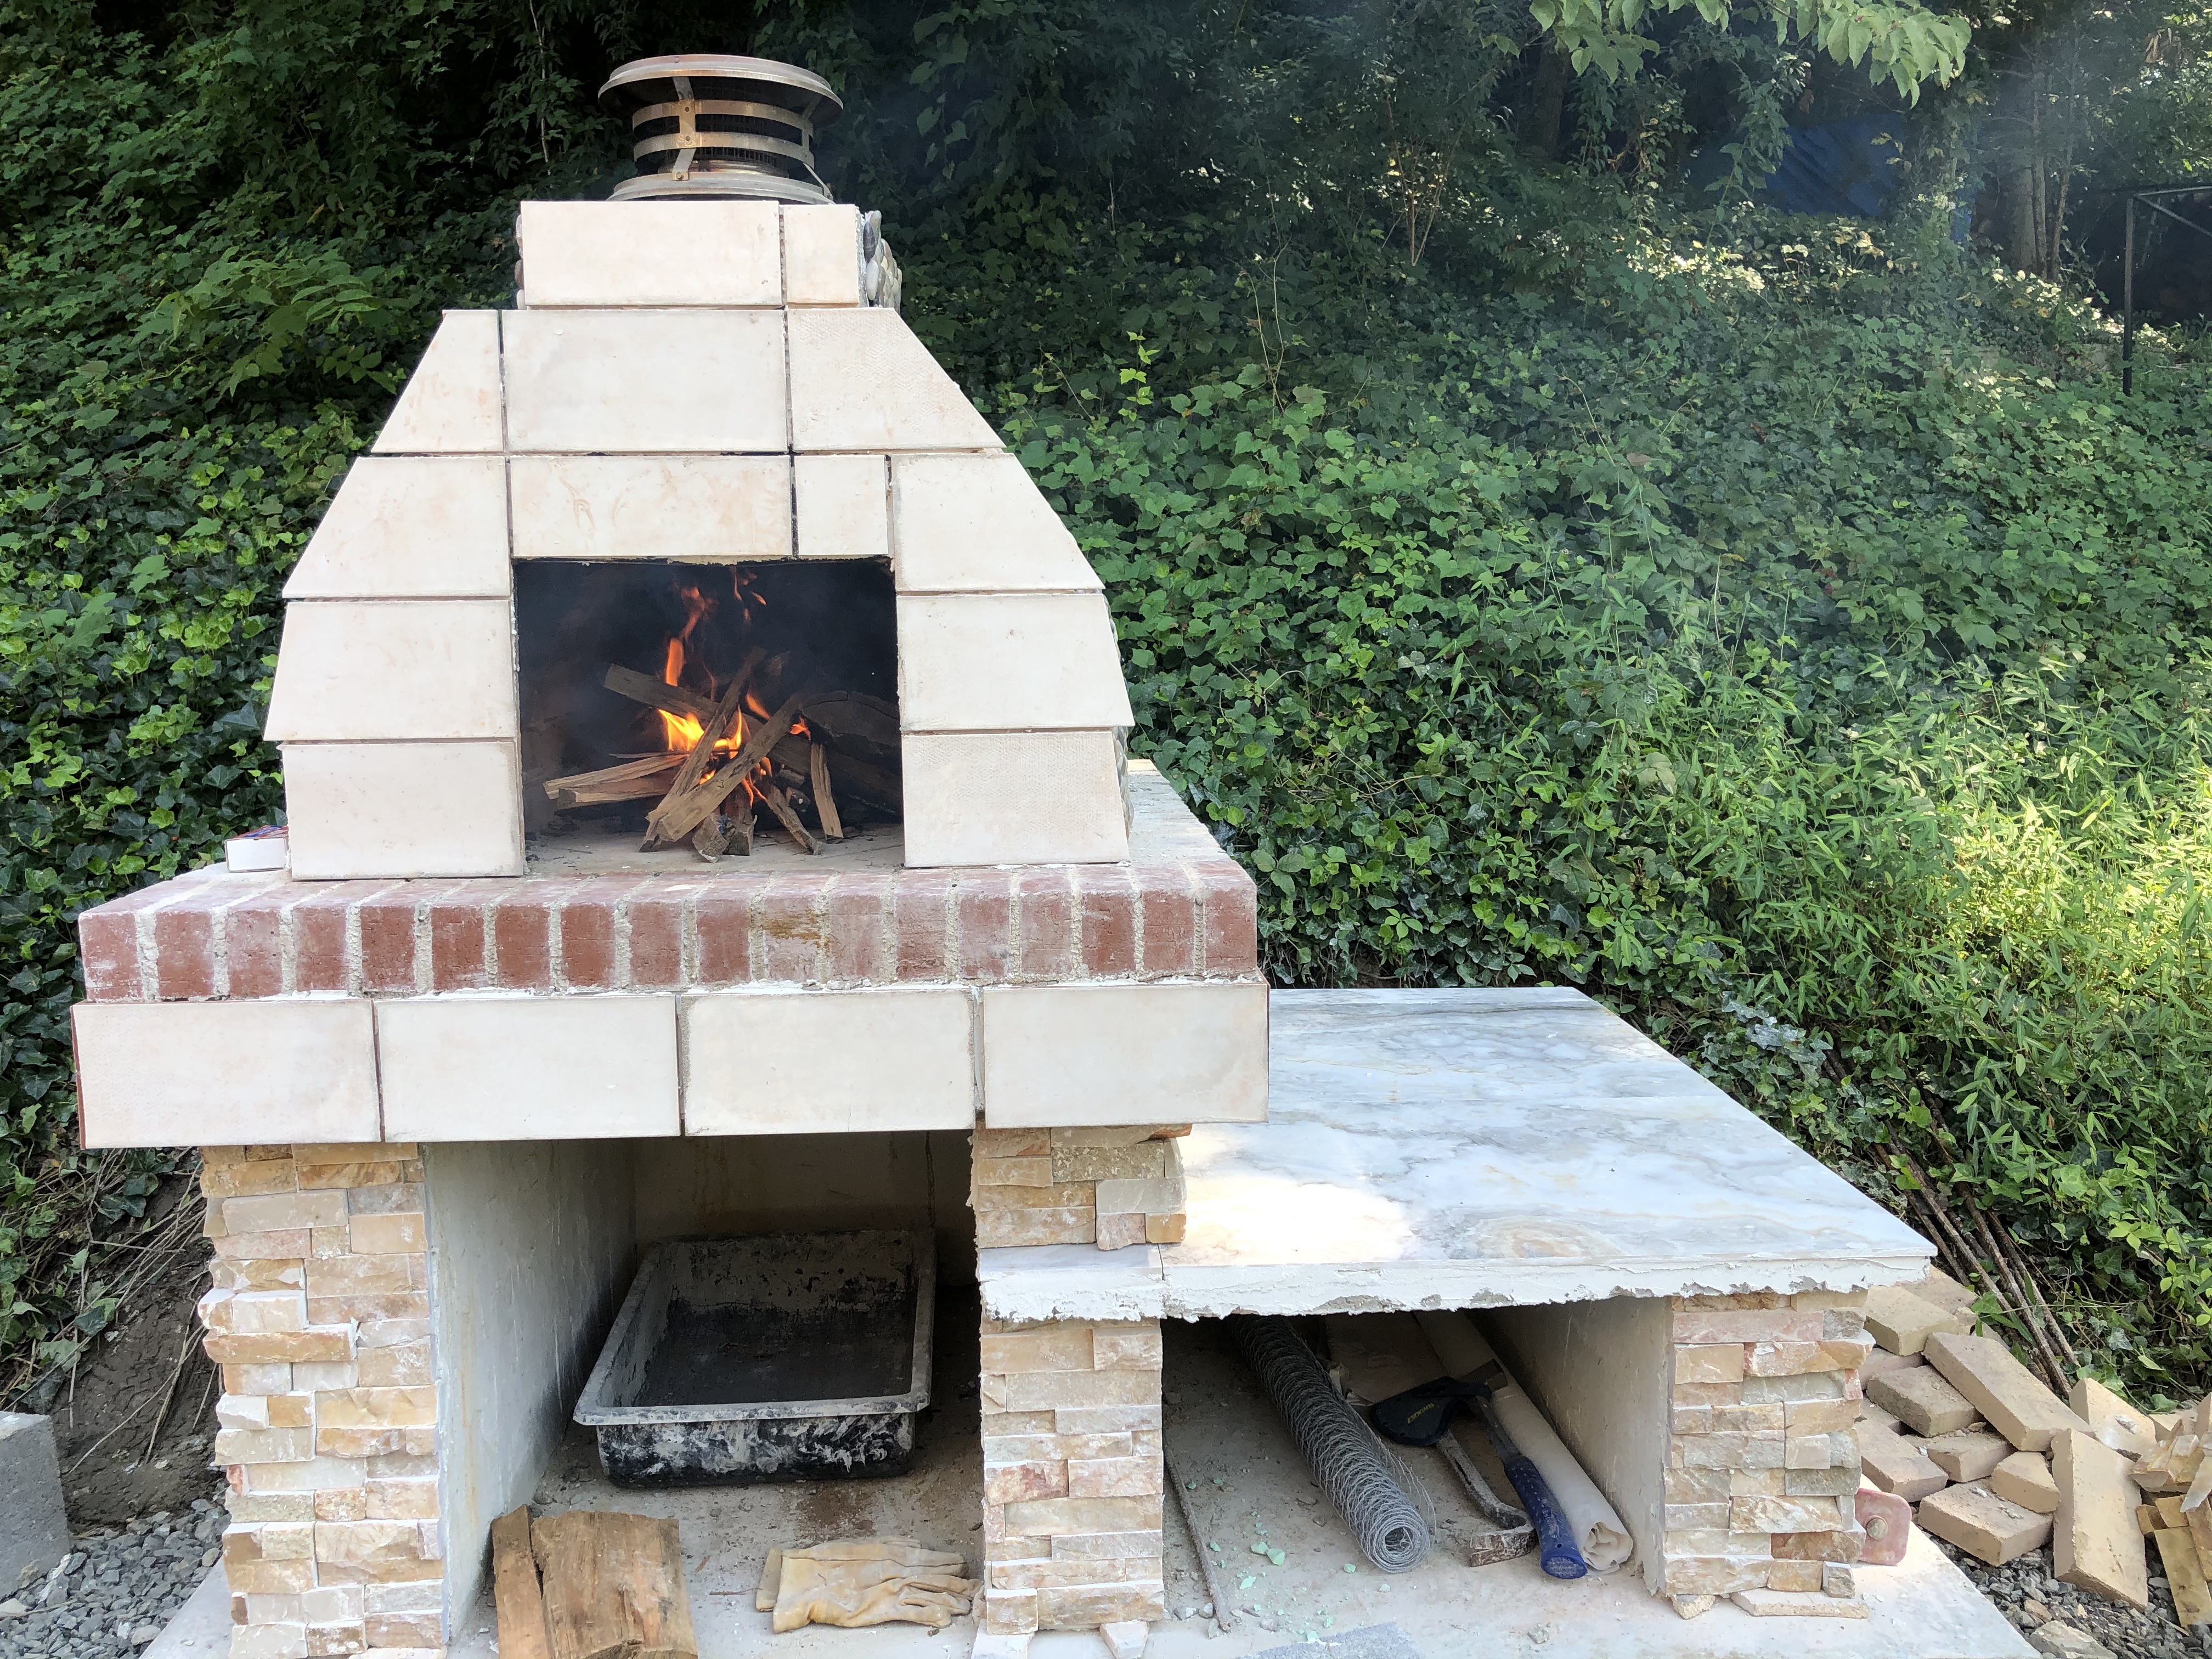
Tomorrow I apply stacked stone veneer to the base outsides and front, and maybe the tiles to mask the front edge of the hearth slab.
Grout next weekend, and I got the stuff with integrated sealant, so I don’t have to deal with sealer.
Getting close to the finish line!
G
1 Like
Labor day lived up to its name…
Stacked stone veneer on the base, and tile around the hearth slab.
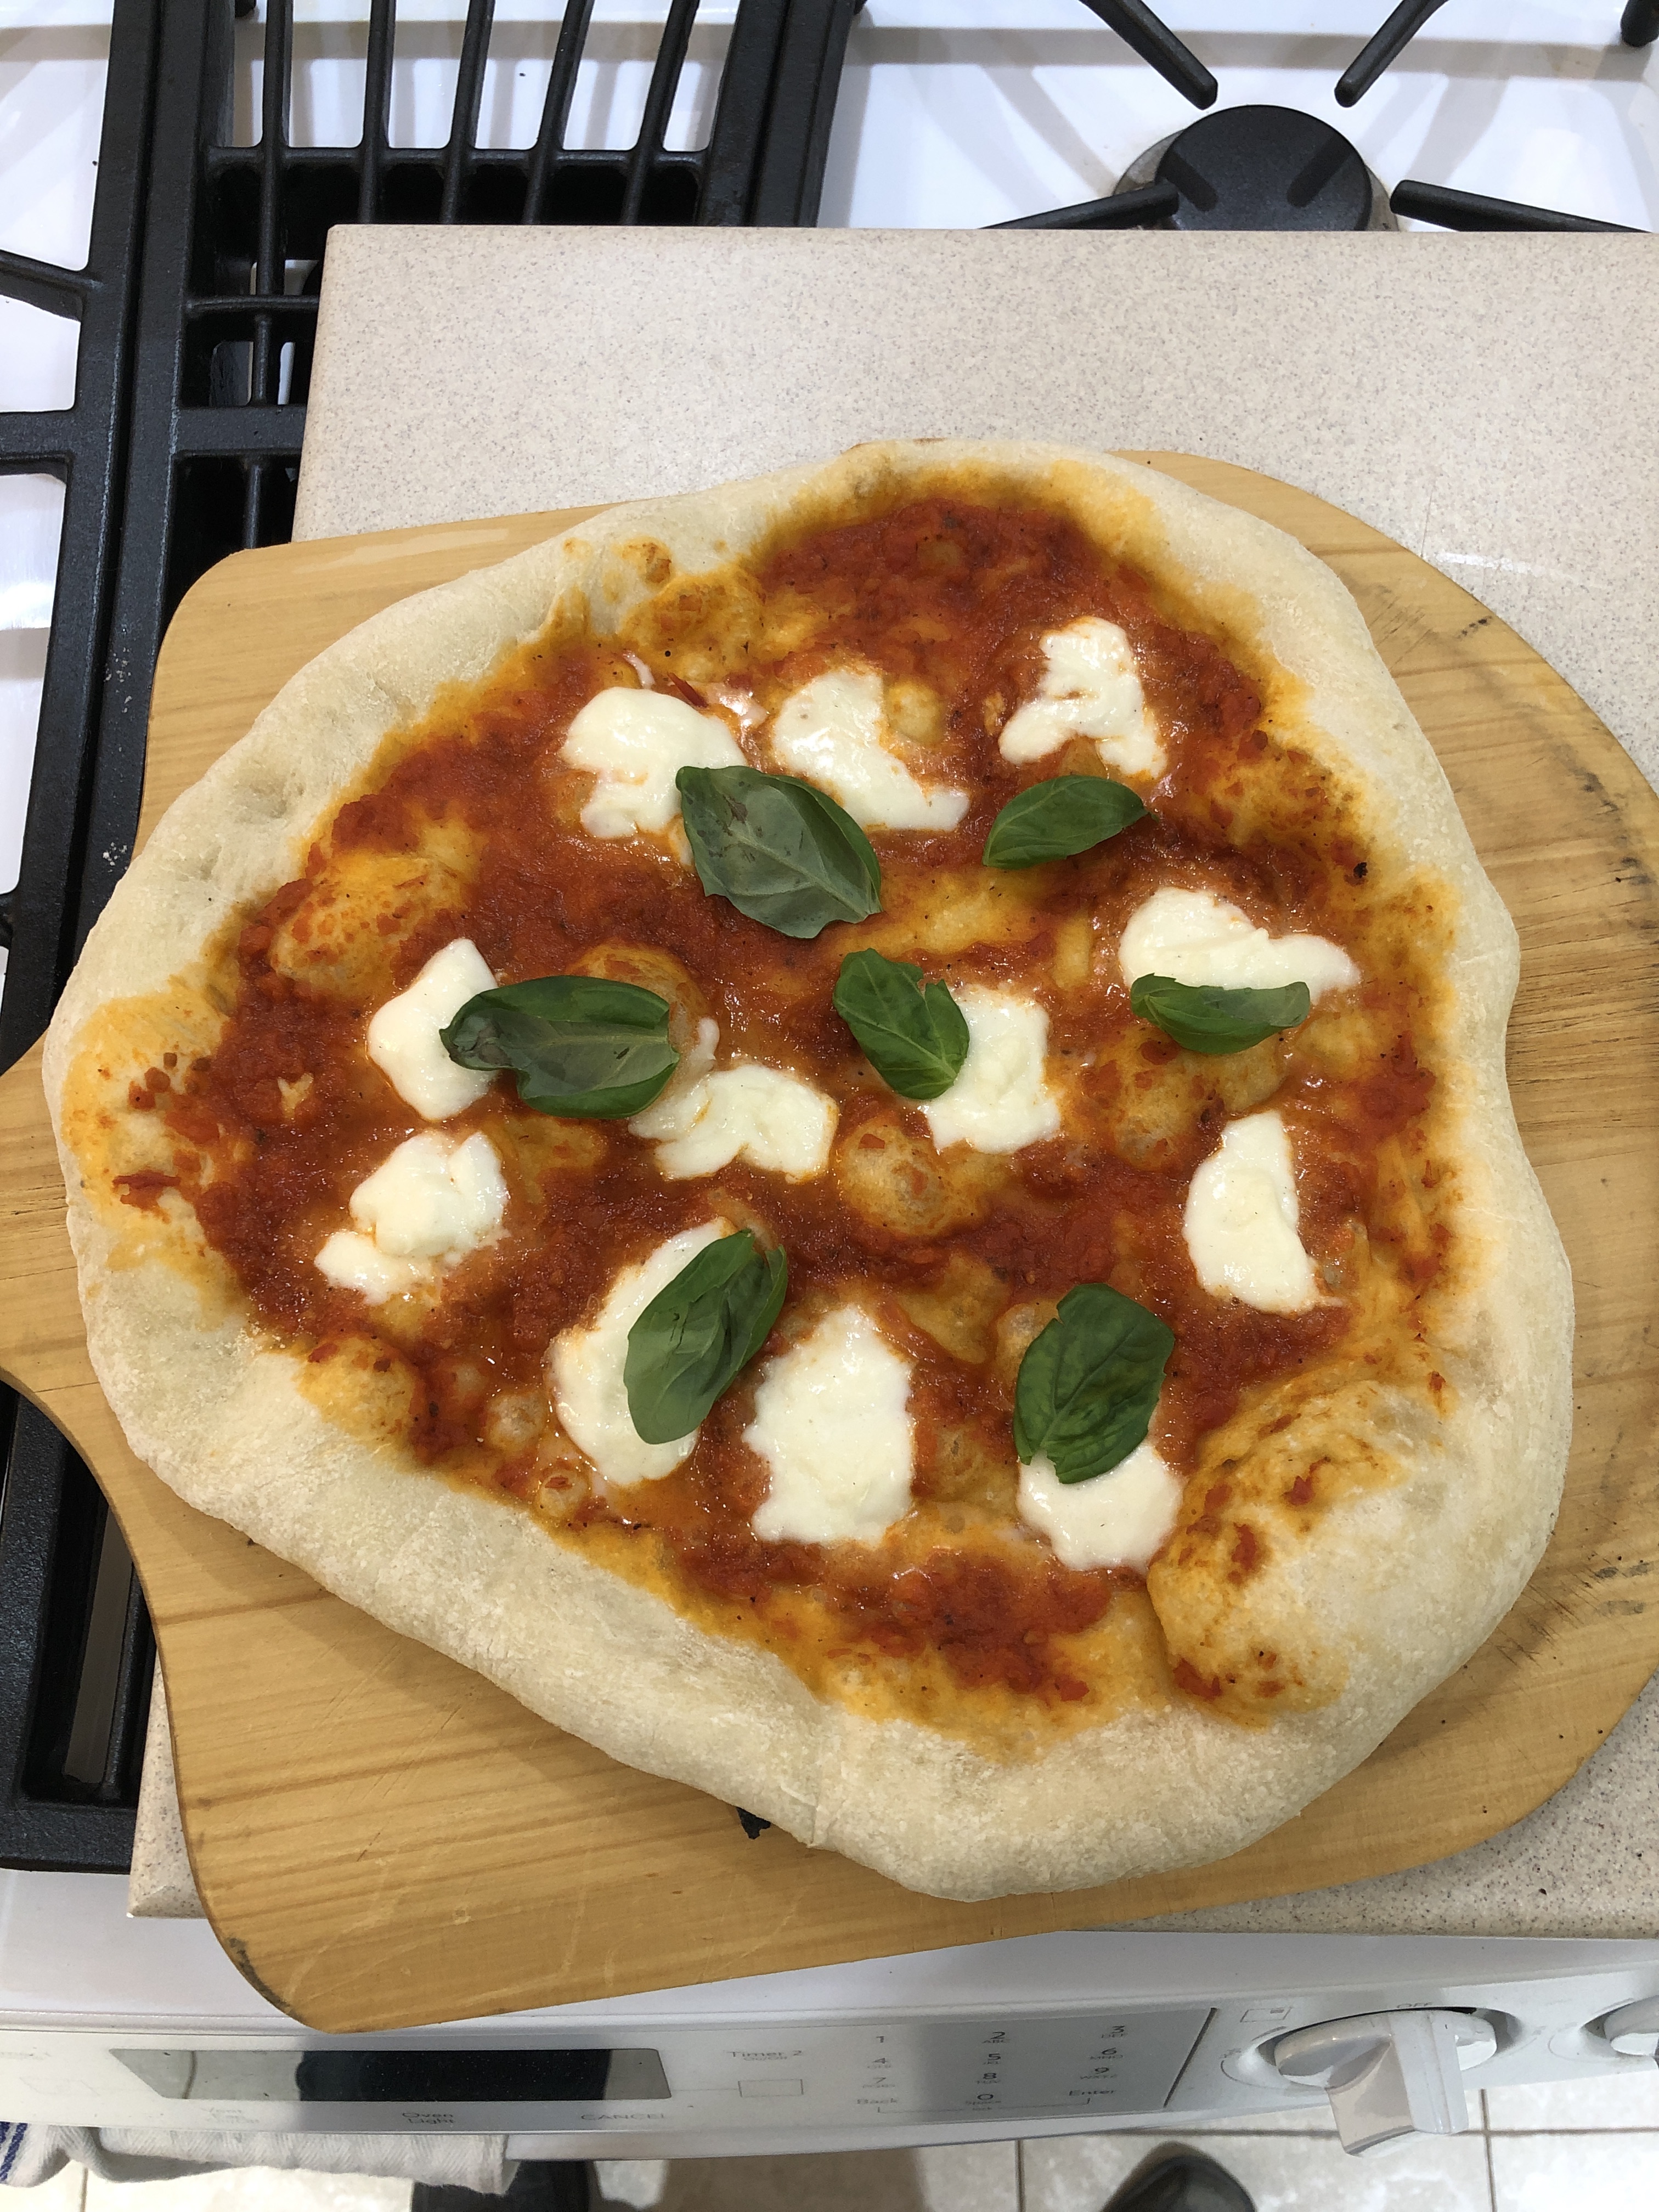
I think I did a pretty good job, all things considered, and tonight is the first homemade dough pizza - Onions, peppers and mushrooms
G
2 Likes
Am I the only one who gets mildly depressed when a project is finished?

I’m proud of how it turned out. My wife is thrilled, and now I’m teaching myself oven fire management. But still, there’s that little feeling of loss knowing I’m done working on the oven.
On a different note, how do I post this build diary to the Brickwood Gallery?
G
1 Like
Nope…you’re not alone. I get a bit of the “sad’s” as well…
Not at all. You poured a lot of yourself (not to mention base rock, concrete, and mortar) into that beautiful oven. There is something stimulating about thinking through a project and having to pull together every step, every time you work on it.
You’ll be happy to know that my spouse (who has a large say in the veneer choices) was thinking something very similar to what you’ve done, and absolutely flipped over these photos!
You just had to wish it. ![]() @BrickWood has added it to the Photo & Video Gallery for everyone to see.
@BrickWood has added it to the Photo & Video Gallery for everyone to see.
Congratulations on your build and many happy days of fire management (and pizza consumption) to you!
1 Like
Beautiful Oven!
I love the river rock veneer and the matching tile… And you are going to LOVE having the prep-table right next to your oven. River Rock is a tough veneer to work with - and you ROCKED it! Be sure to keep the oven sealed - you don’t want any water puddling. BEAUTIFUL JOB! I’ve always loved river rock! Great choice!
I’m looking forward to seeing more pics of this oven! To submit more pics (and any videos if you have some) - please visit Submit Pictures and Videos of your BrickWood Ovens Project
1 Like