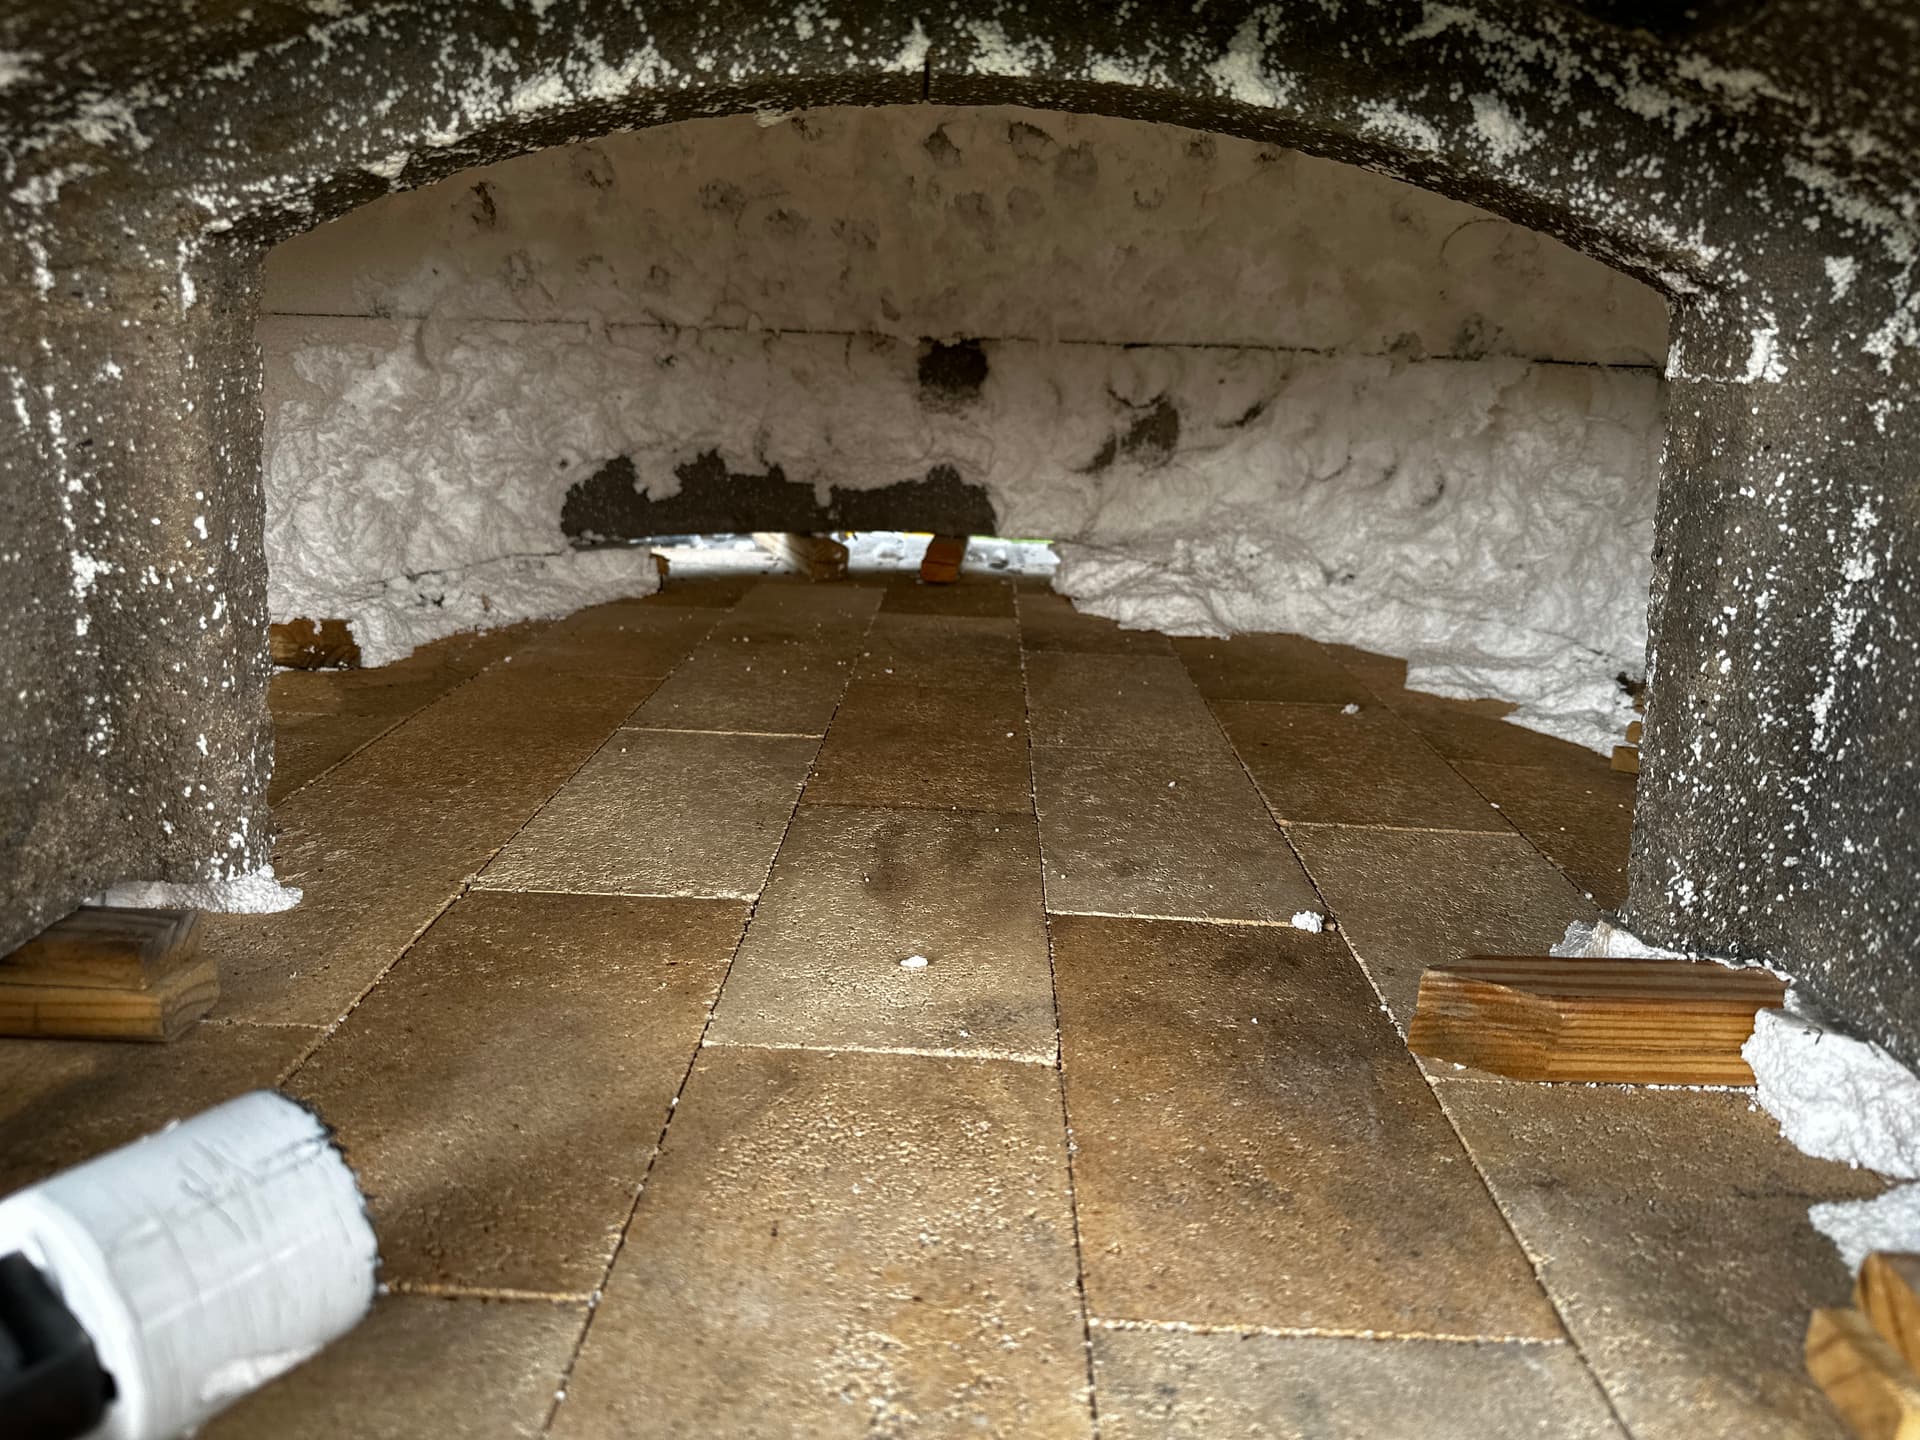
Matt, do you have any suggestions on removing the foam from the oven’s interior? Wow! It’s a ton of work. It’ll take a week at least, more likely longer. The foam is so dense. I’m using a reciprocating saw, large auger bit on a big drill motor, a stiff painter’s scraper, a tree limb saw and a large flat blade screwdriver. The 36” is also a long way in there chock FOF, full of foam.
That foam is one tough mother. It has to be to hold up to your pour.
You are definitely on the right track. In my Mattone Barile I found a combination of the Sawzall, the flat blade, and my 6 foot iron breaker bar were the ticket.
Here is BrickWood’s post on the topic.
What I found most effective in the end was using the Sawzall to make a number of cuts at the thickest points and slowly breaking down the strength of the form. You have a tremendous amount of “stiction” between the surfaces, and the key is to destroy the structure of the foam without damaging your poured shell.
I know, it’s frustrating and challenging, but it can be done. As BrickWood always says, do not use flames or torches to burn the foam, as it’s a recipe for disaster and will ruin your oven for cooking before you ever see the cast form.
Thanks for the gentle nudge Matt!!!
And a BIG THANKS for your continued support on the forum!
The foam is a bit of a booger to remove, but when you’re dealing with $1000+ in Castable Refractory… and an $800 form, we need to make sure that foam will NOT break. So we use super dense foam (3000PSI).
Once you remove the entire front end of the foam form, you will see the foam (dome) is actually made in 2 pieces. Remove the BOTTOM piece first as it is NOT glued in. It is actually loose - and is designed to pull out (with a little elbow grease and maybe a rubber mallet).
The foam is designed / cut so the bottom keyway will slide out of the front. These pictures will better explain the design.
BUT - I made this design change about a year ago, so hopefully you got your dome w/in the past year. Otherwise, the Sawzall (and a hired hand off Craigslist) will make short work of that foam.

1 Like
Makes a total mess but a side grinder with a wire wheel has allowed me to hope that I will get all the styrofoam out. Week two of trying so far with all the recommended utensils…
1 Like
There is a tool I had not considered. It would definitely work, as you’re proving.
Additional hopeful fact is that I’ve never seen anyone declare that the foam was permanently in place and they were going to consider it a sculpture rather than an oven. ![]()
Offered in the spirit of encouragement, Tim!
1 Like
Mine’s still not completely removed. I have yet to crawl in to the oven completely to reach the back wall of the 36" oven. This late in the year the sauna project take precedent… It’s obviously a slow process for me
Mine was slow, too. You’ll get there.
The core was really jammed in there. When I finally figured out what I needed to do, it suddenly dropped down and popped out all at once.
Still have 1/3 of the styrofoam out. Also, it seems pretty fused to the inside of the dome. My release agent seems to have completely failed.
I can’t seem the reach the back of the 36” oven and I don’t fit through the opening to clime in a bit to extend my access to the back of the oven.
Your oven is looking GREAT! And like Matt said - you’re almost there!
If you’re having trouble getting that last part out - simply rip that section out with an 18" crowbar with a hook end. Dig the crowbar in, and apply pressure to the sides of the bar - and the chunks will come off.
Now - It’s best to get all the foam out, but if you have some small sections in there, you can burn them out during the curing fires. NOT large chunks - but the small, finger-tip sizes that are sticking to the foam.
That foam HAS to be rock hard so the frame won’t bend / break during construction. If one of those sides broke - all that refractory would come pouring out (not only would it be an expensive loss - but the clean-up would be quite the chore).
Think of how much money you are saving by building your 36" oven vs. buying a pre-built oven! That will make you feel a bit better as you’re chipping that last 1/3 of oven foam away.
1 Like
Psst!…don’t tell @BrickWood … but with much care and a canvas tarp cushioning my newly laid hearth, I used my 6 foot steel breaker bar to push as far back as I could and pry down the remaining foam. As I said upthread, it took a while to get it to the point where it released and popped out.
IF you use this method, in addition to protecting your hearth, be extremely cautious. I was very conservative and left myself a little cushion rather than trying to jam the bar into the space between the foam and the firebrick shell. Just a little bit at a time…easy does it…and don’t try to force the foam out. Just think of it as gradually deconstructing the foam core itself until it loses its structural strength.
I know this part can be discouraging, because mine was (and there was that darned hurricane that came through between the time my shell was finished and it was time to remove the foam). But I’ve never yet seen a post from someone who just flat out abandoned their oven because the form wouldn’t come out. There’s always, always a way, and I know you’ll find it.
Okay, @BrickWood , you can read again. ![]()
1 Like
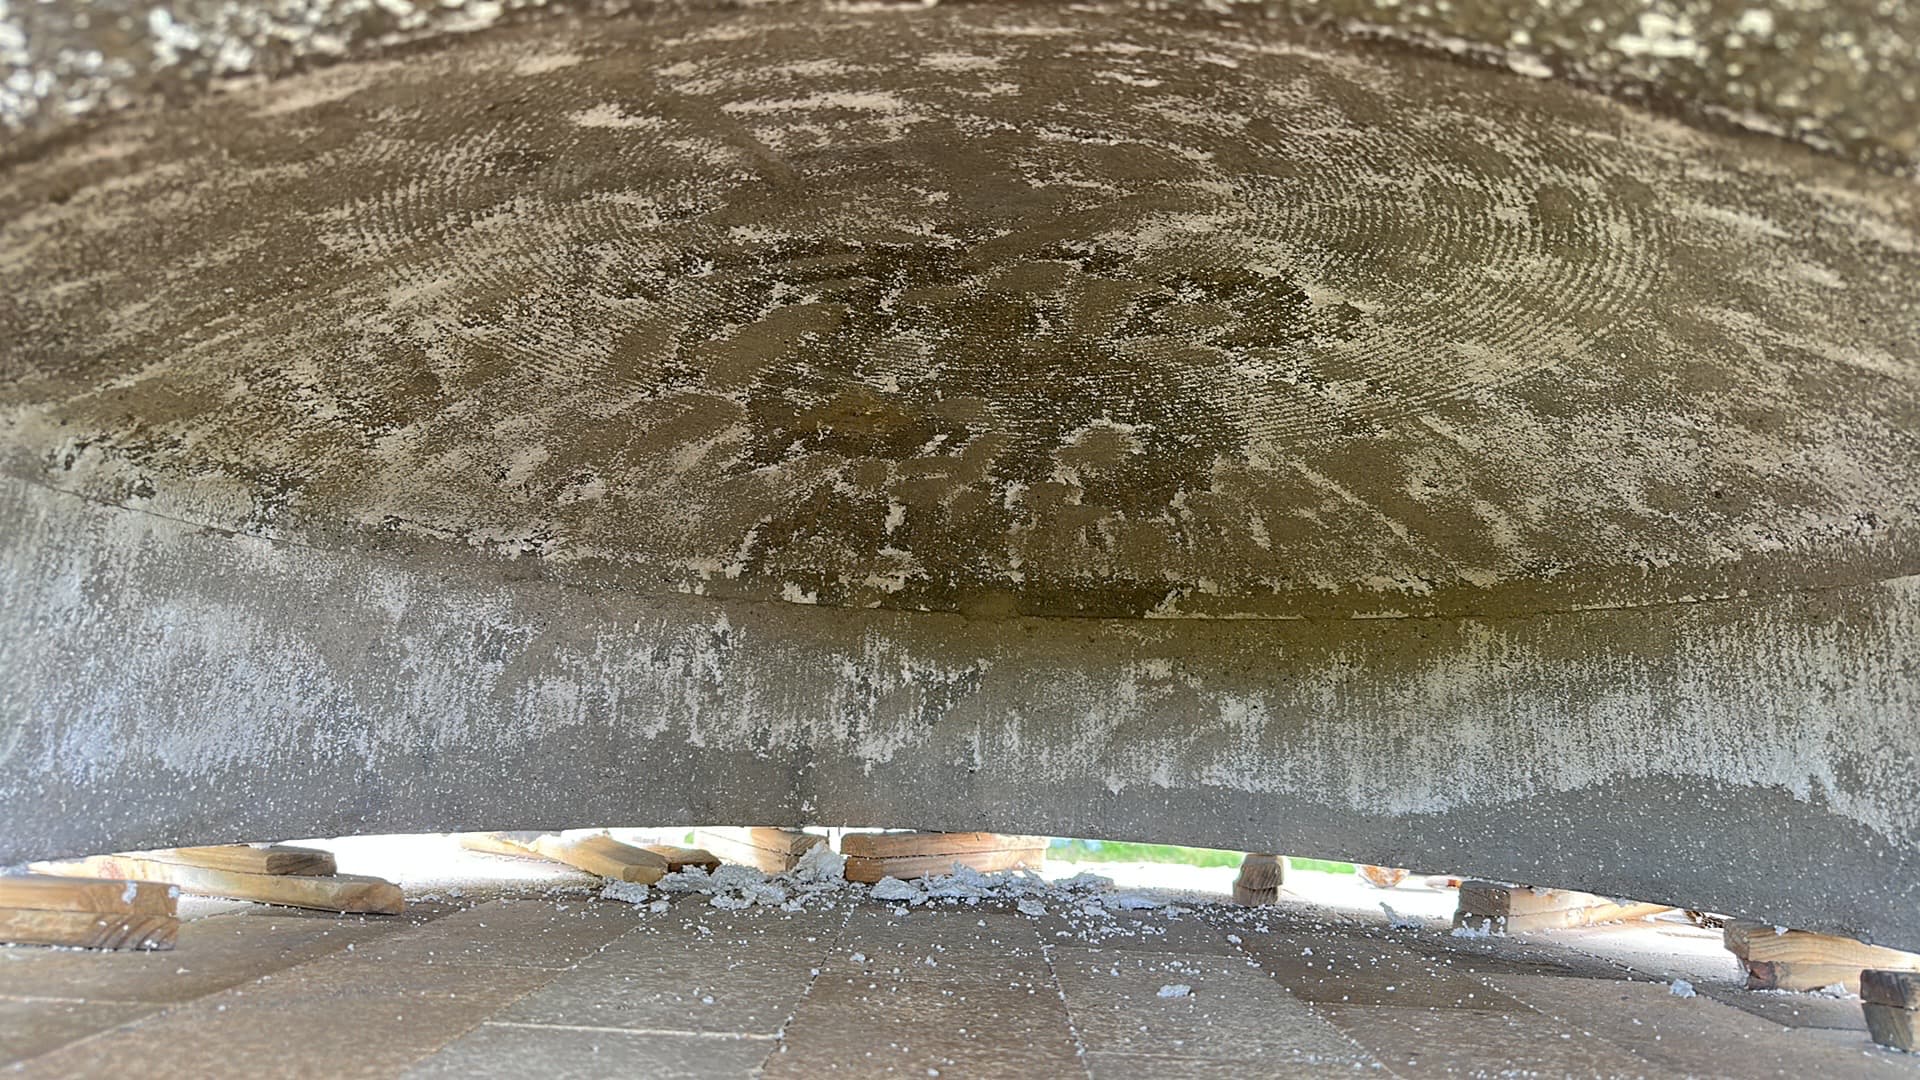
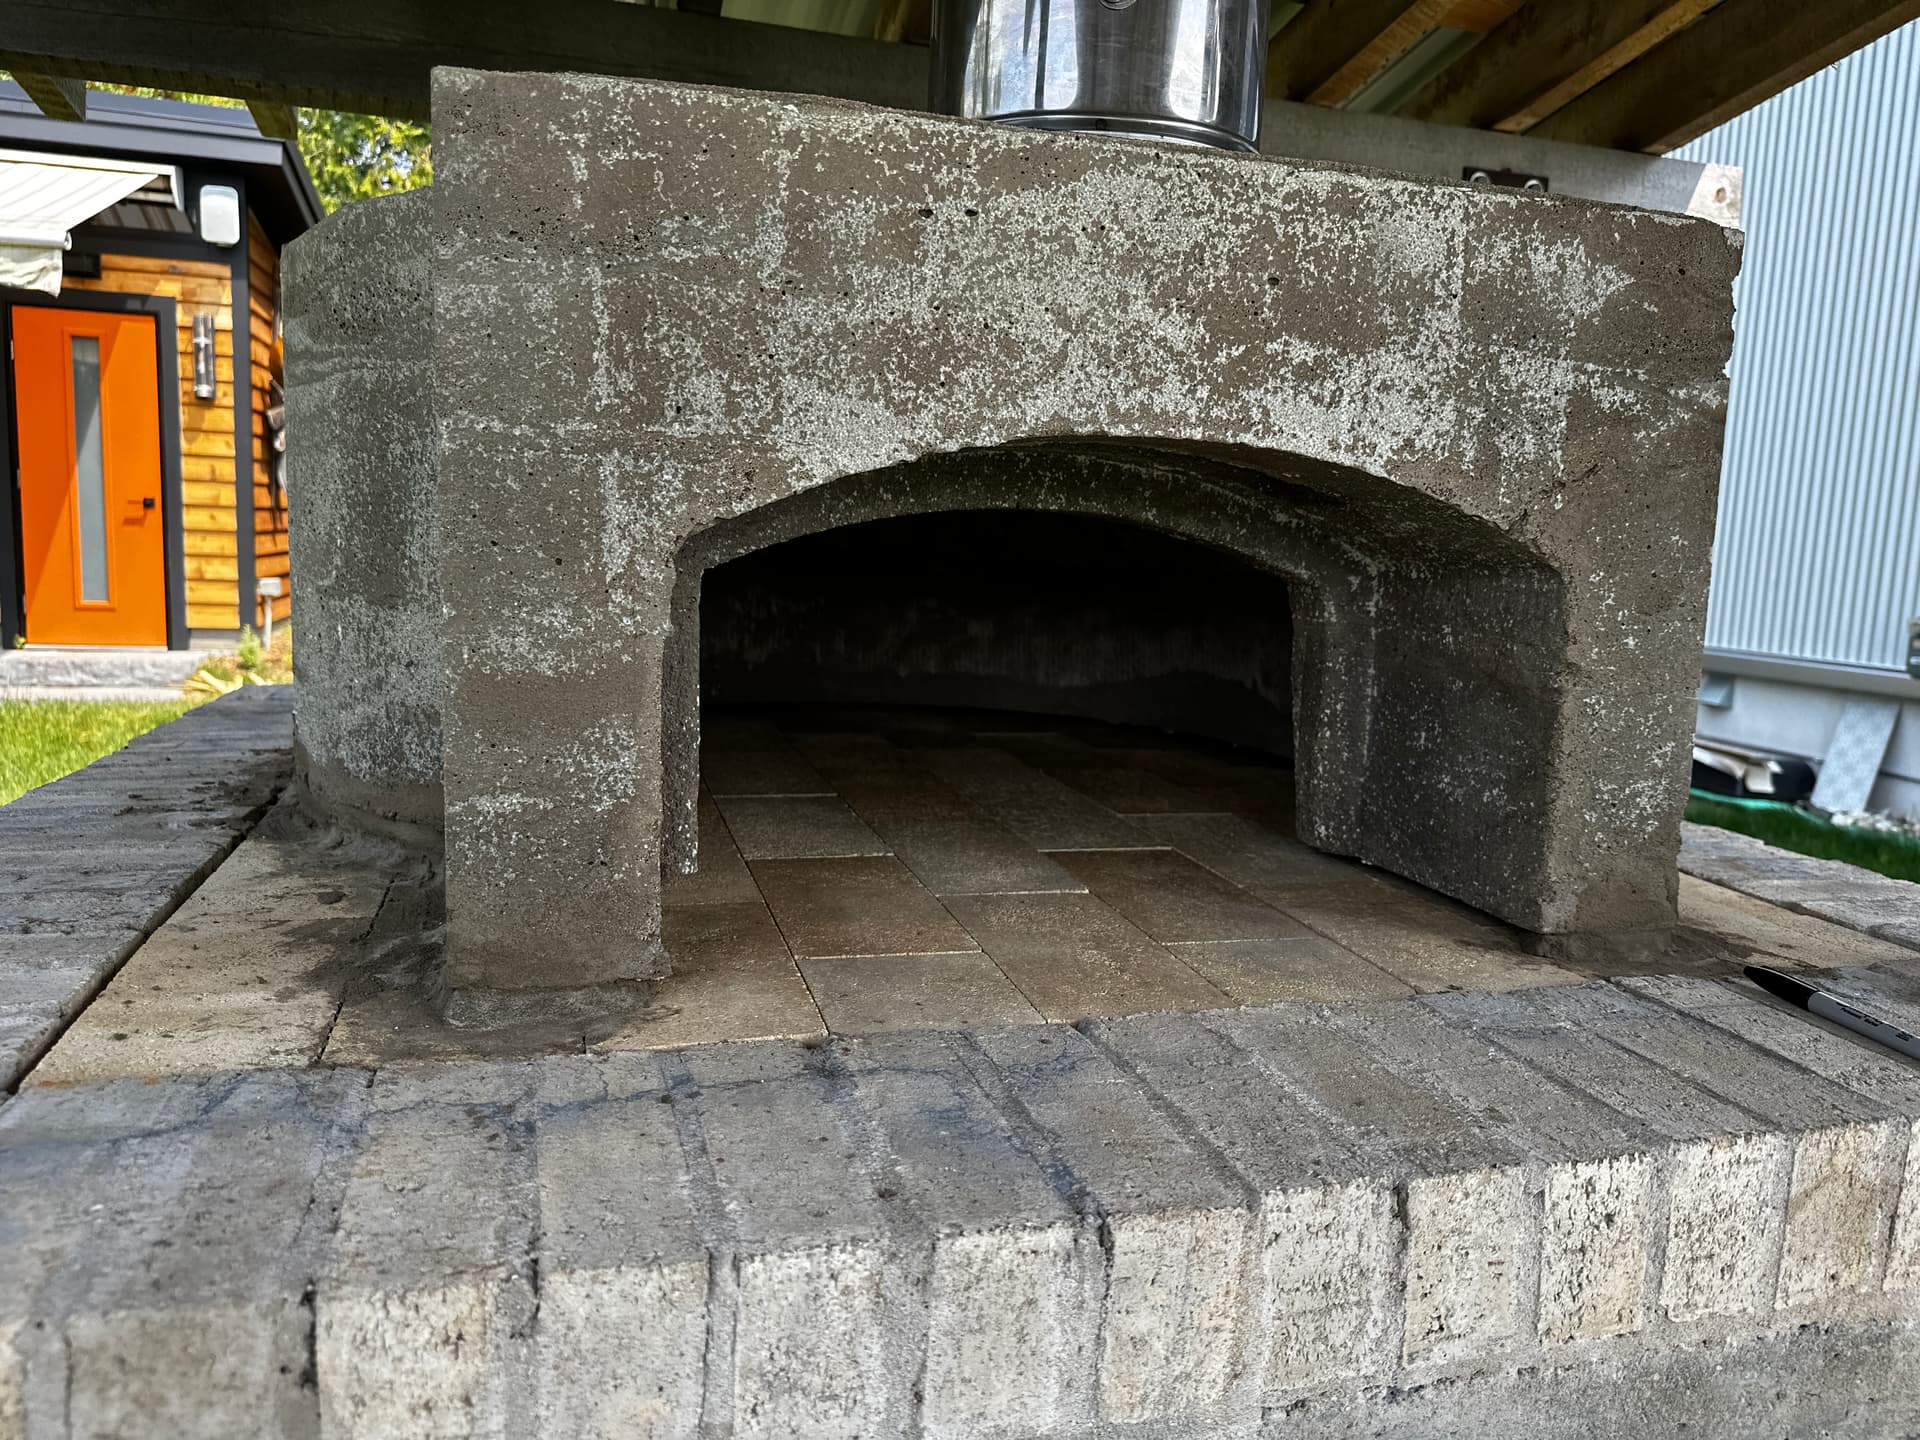
Hole saw with the center bit removed, drill with a wire wheel and the angle grinder with a wire wheel got it done! I spent way too much time past my shoulder into the oven in all sorts of contoured positions.
Ceramic blanket and wire mesh next.
I’m off to purchase the sand, mortar and cement to make plaster today…
1 Like
You, sir, are a champion! I know from experience that some removals are just plain hard work and persistence, but now that oven will cook!
Congratulations!
1 Like
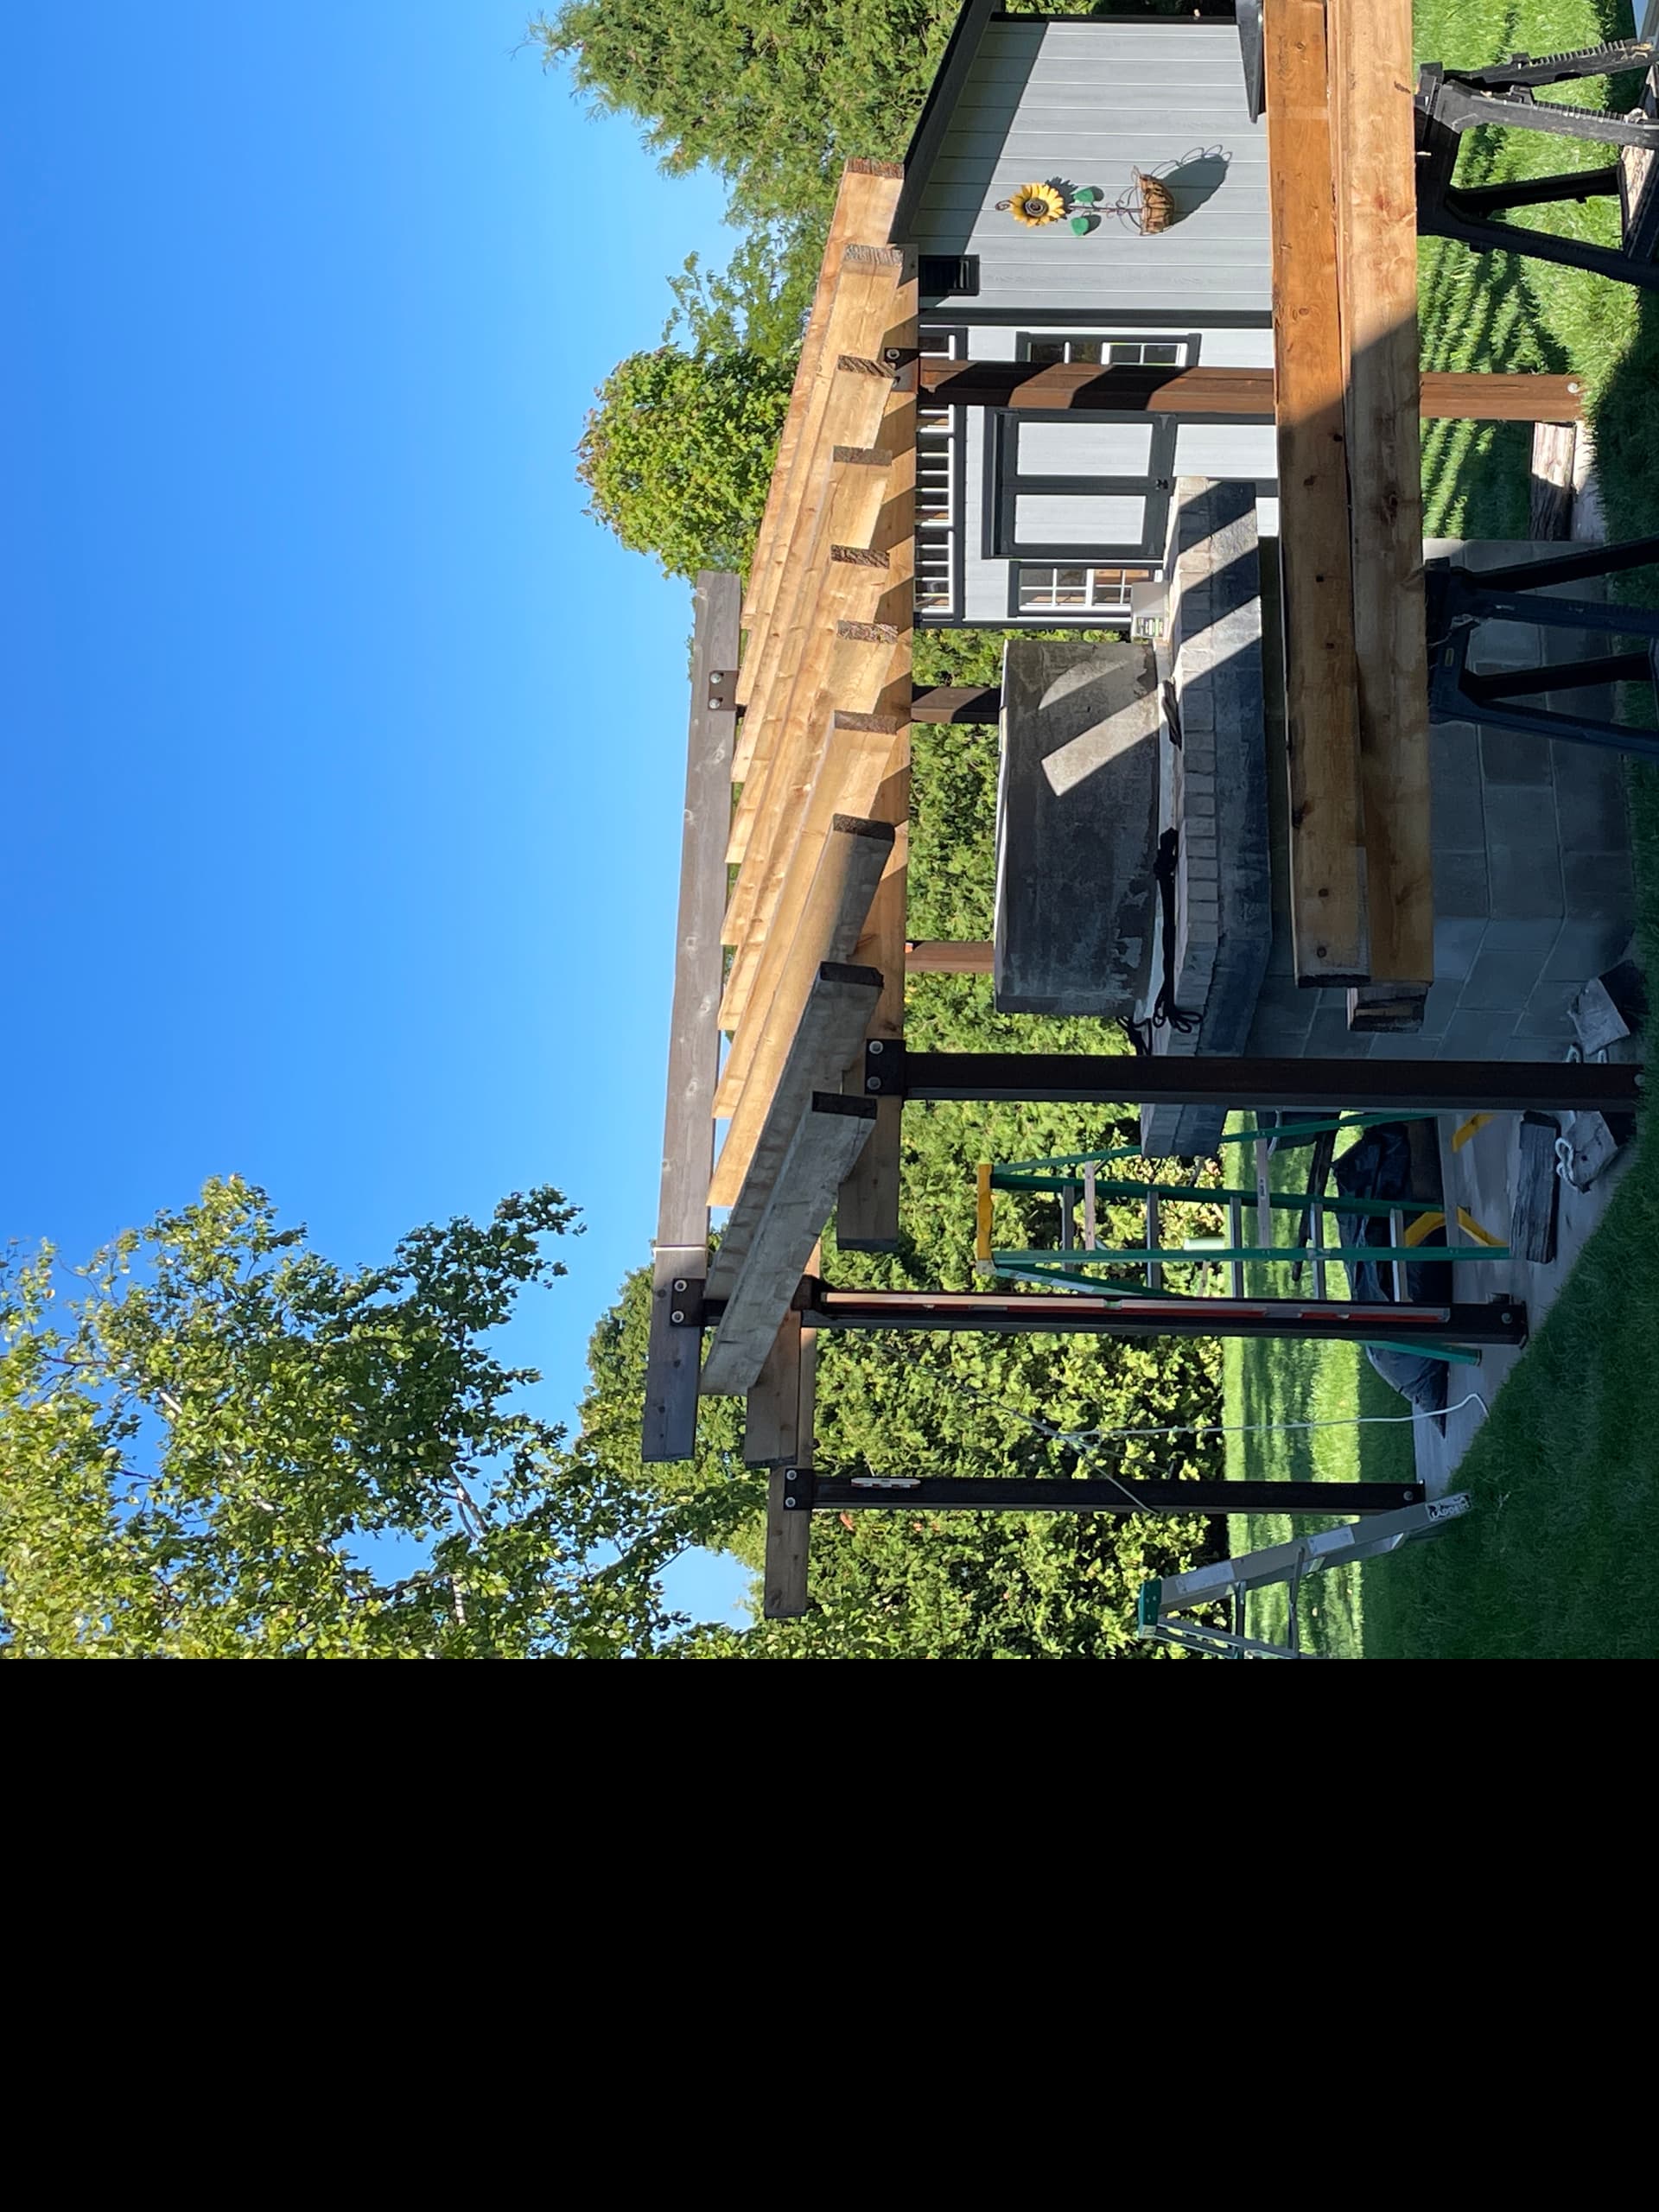
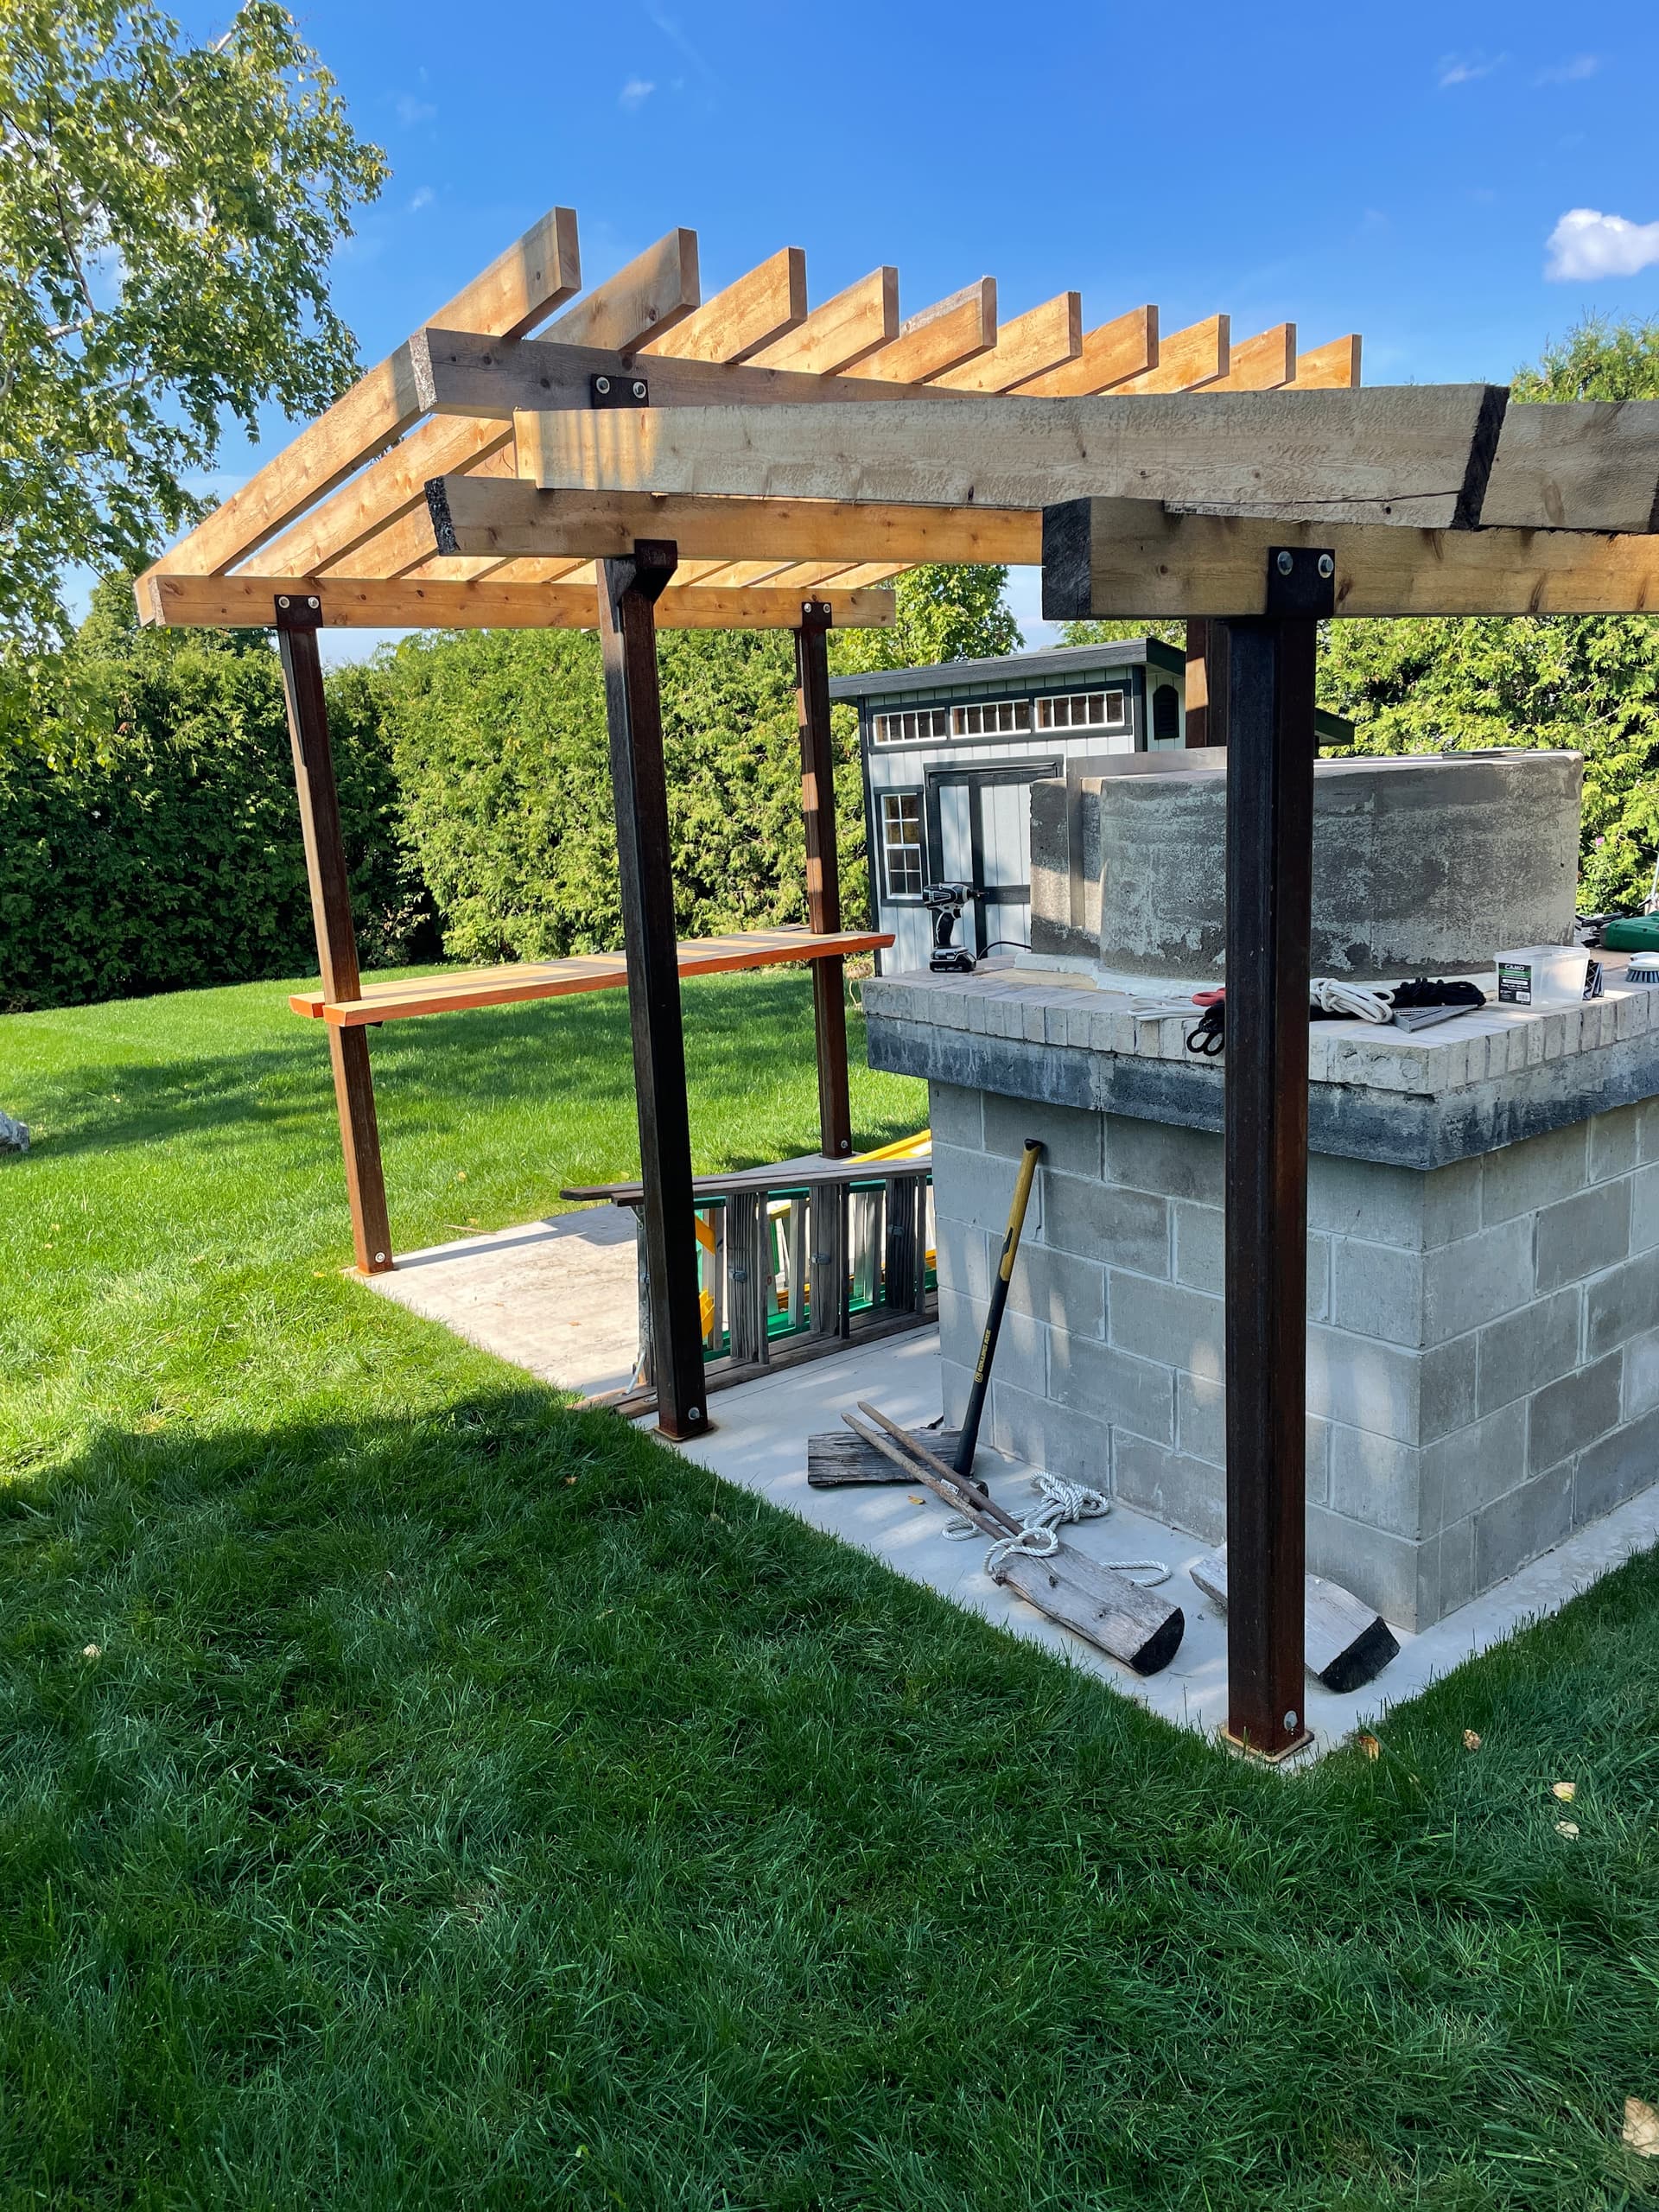
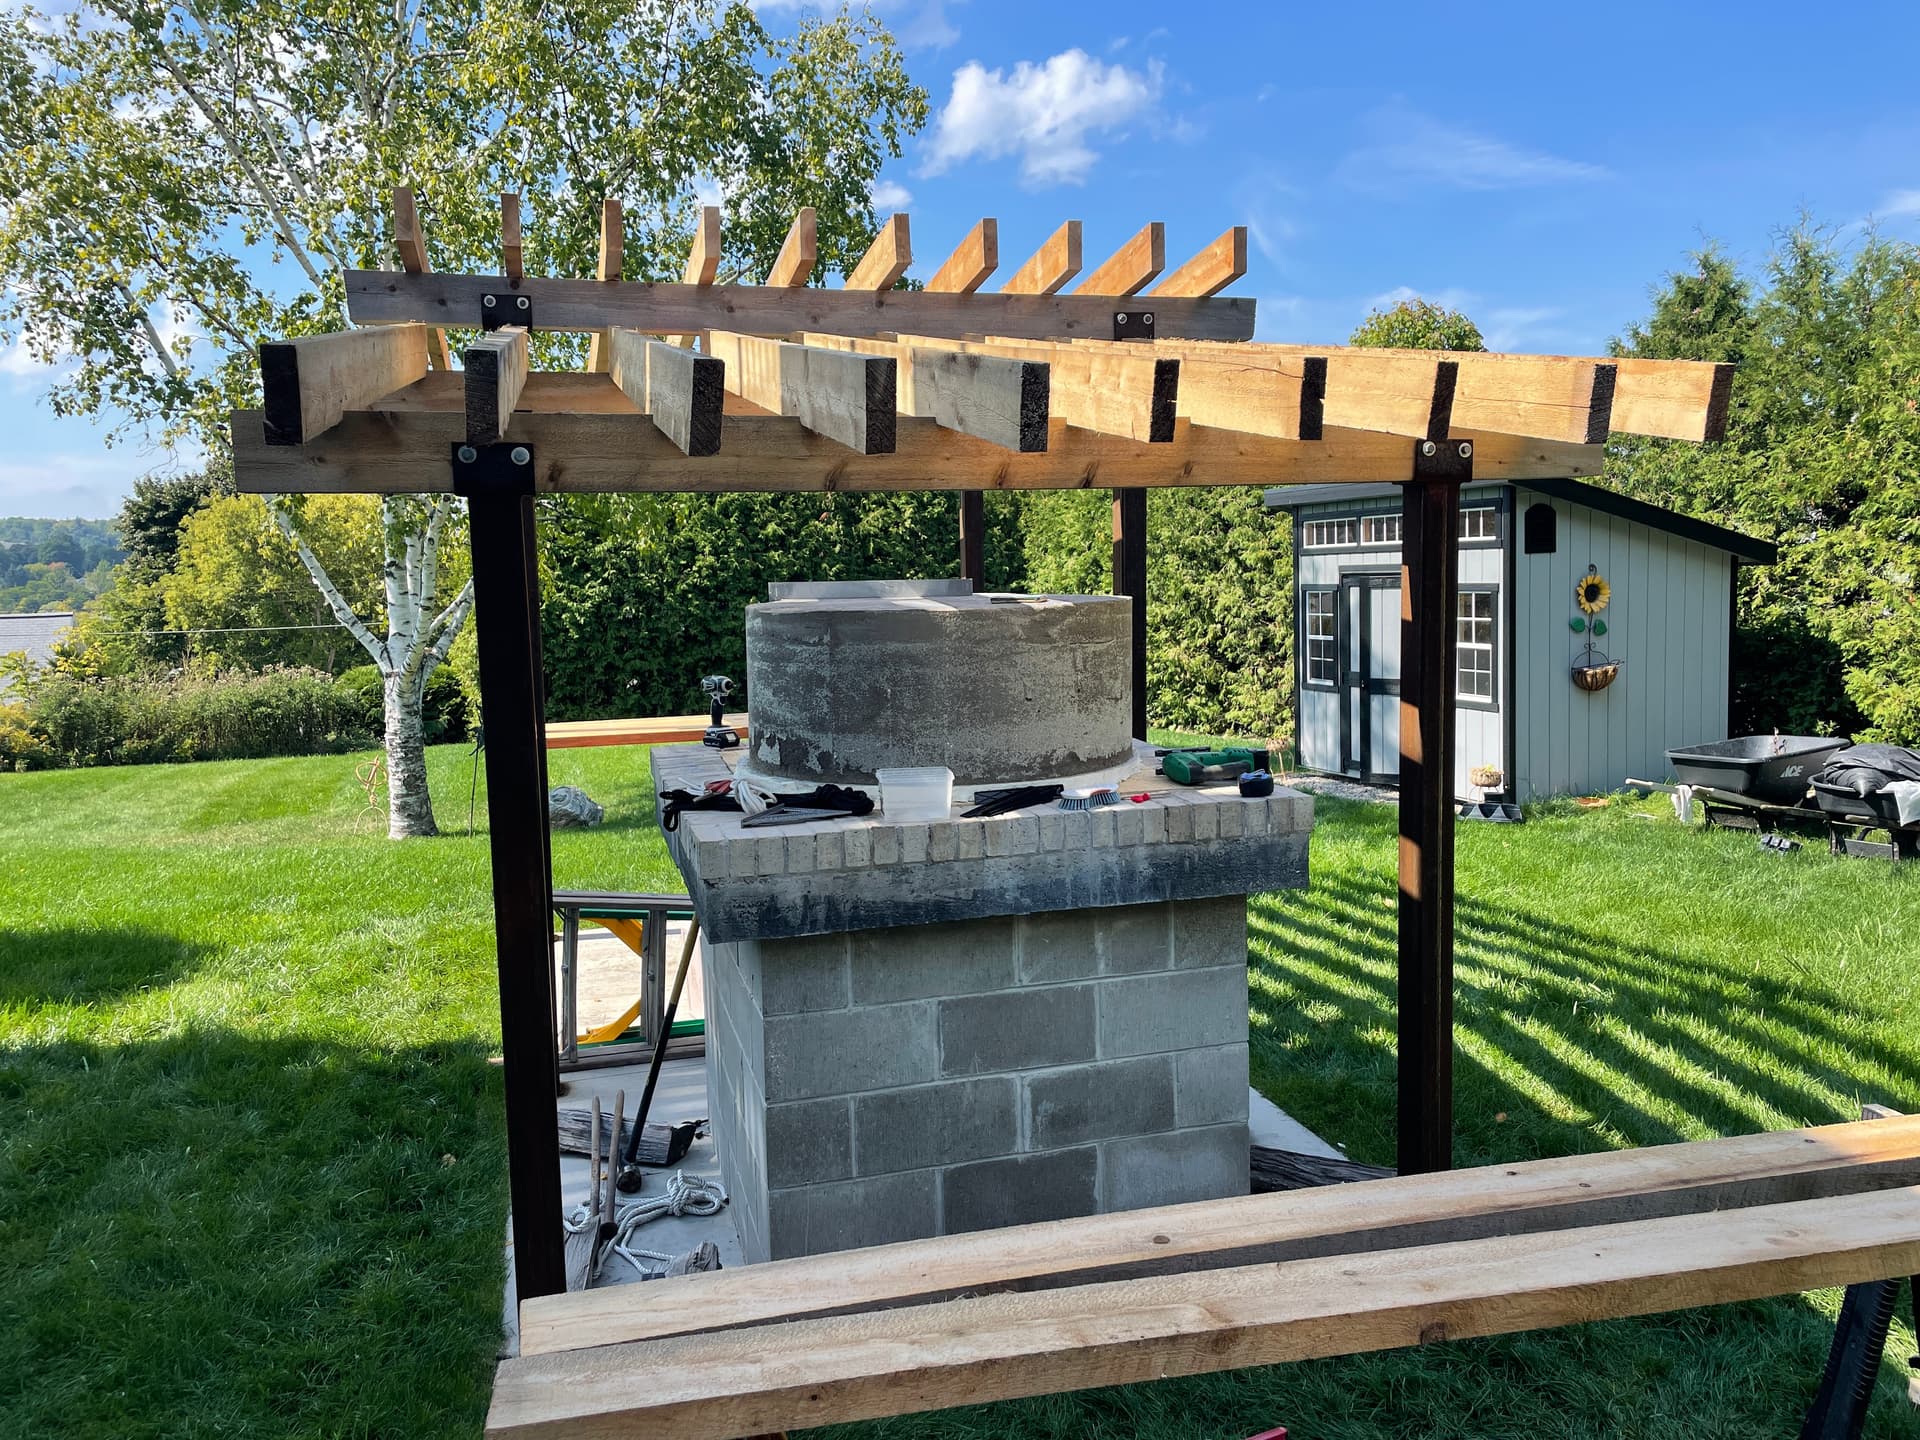
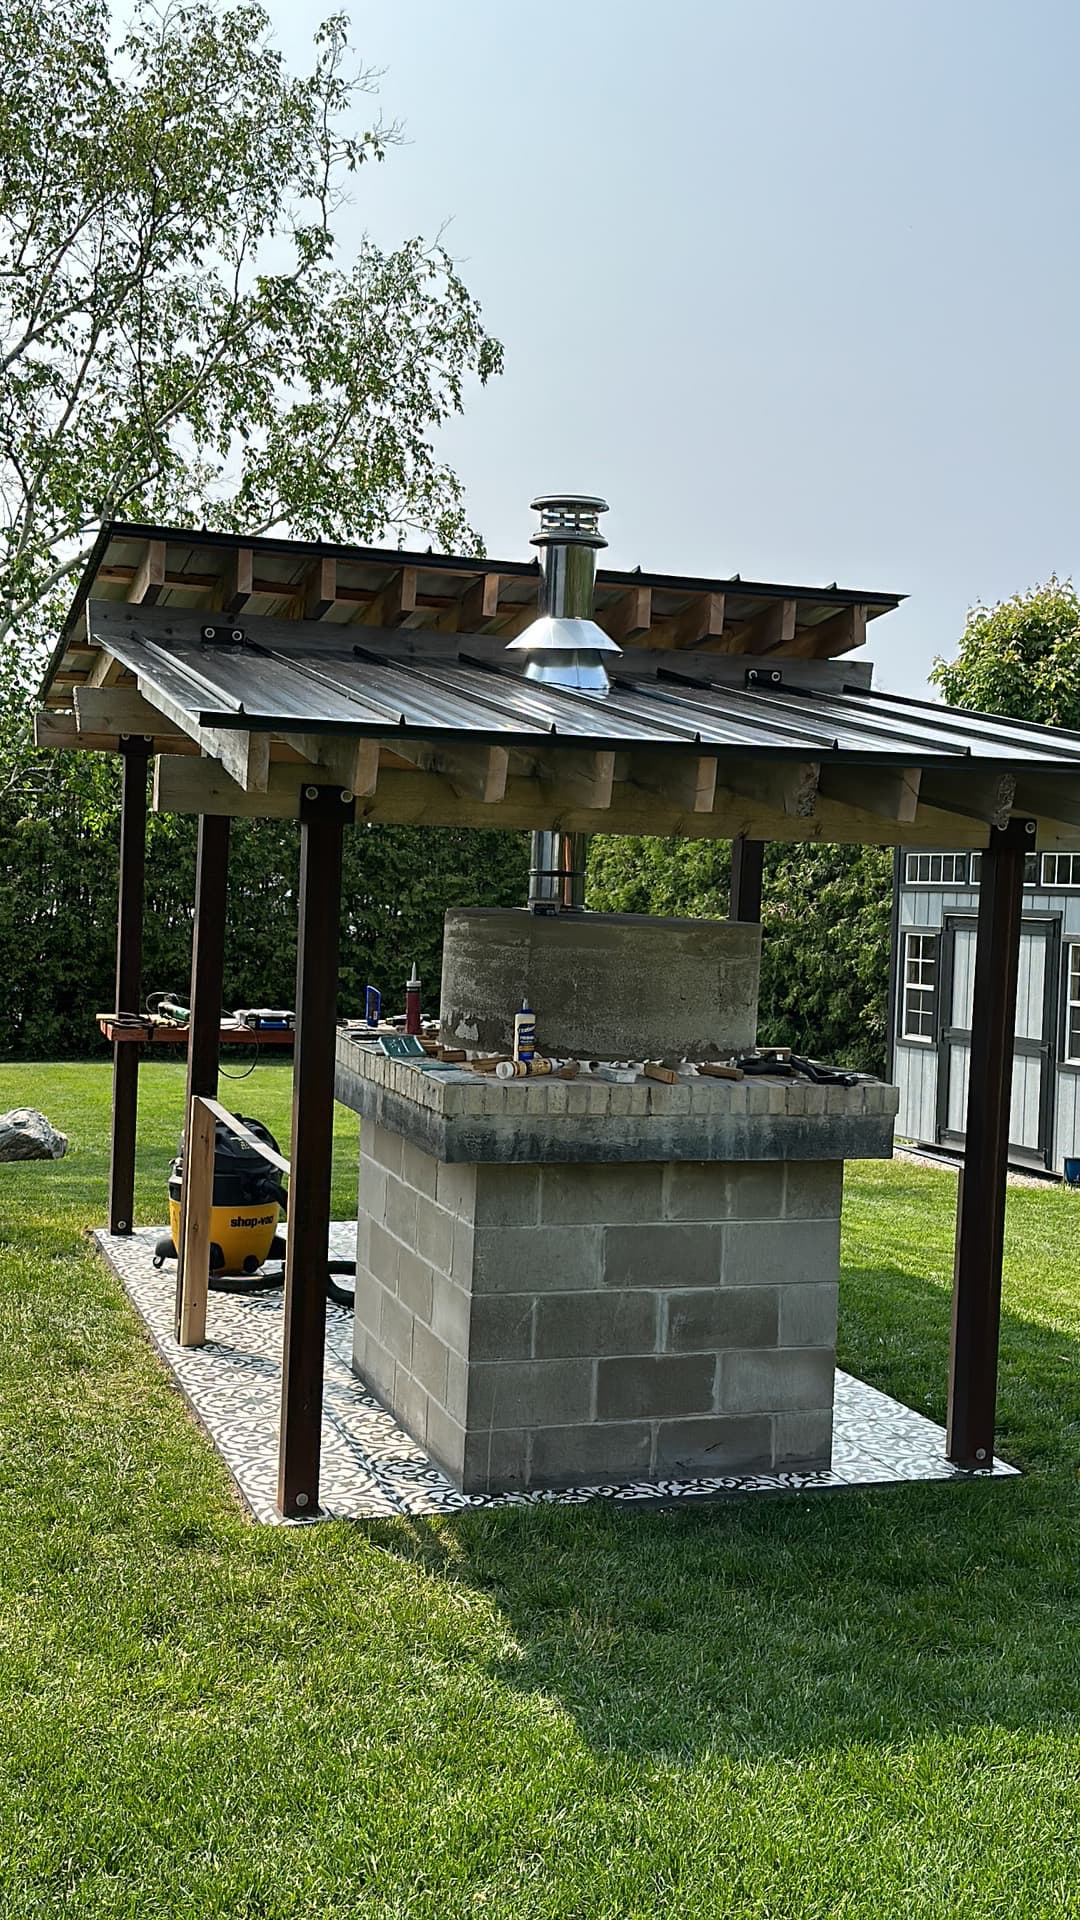
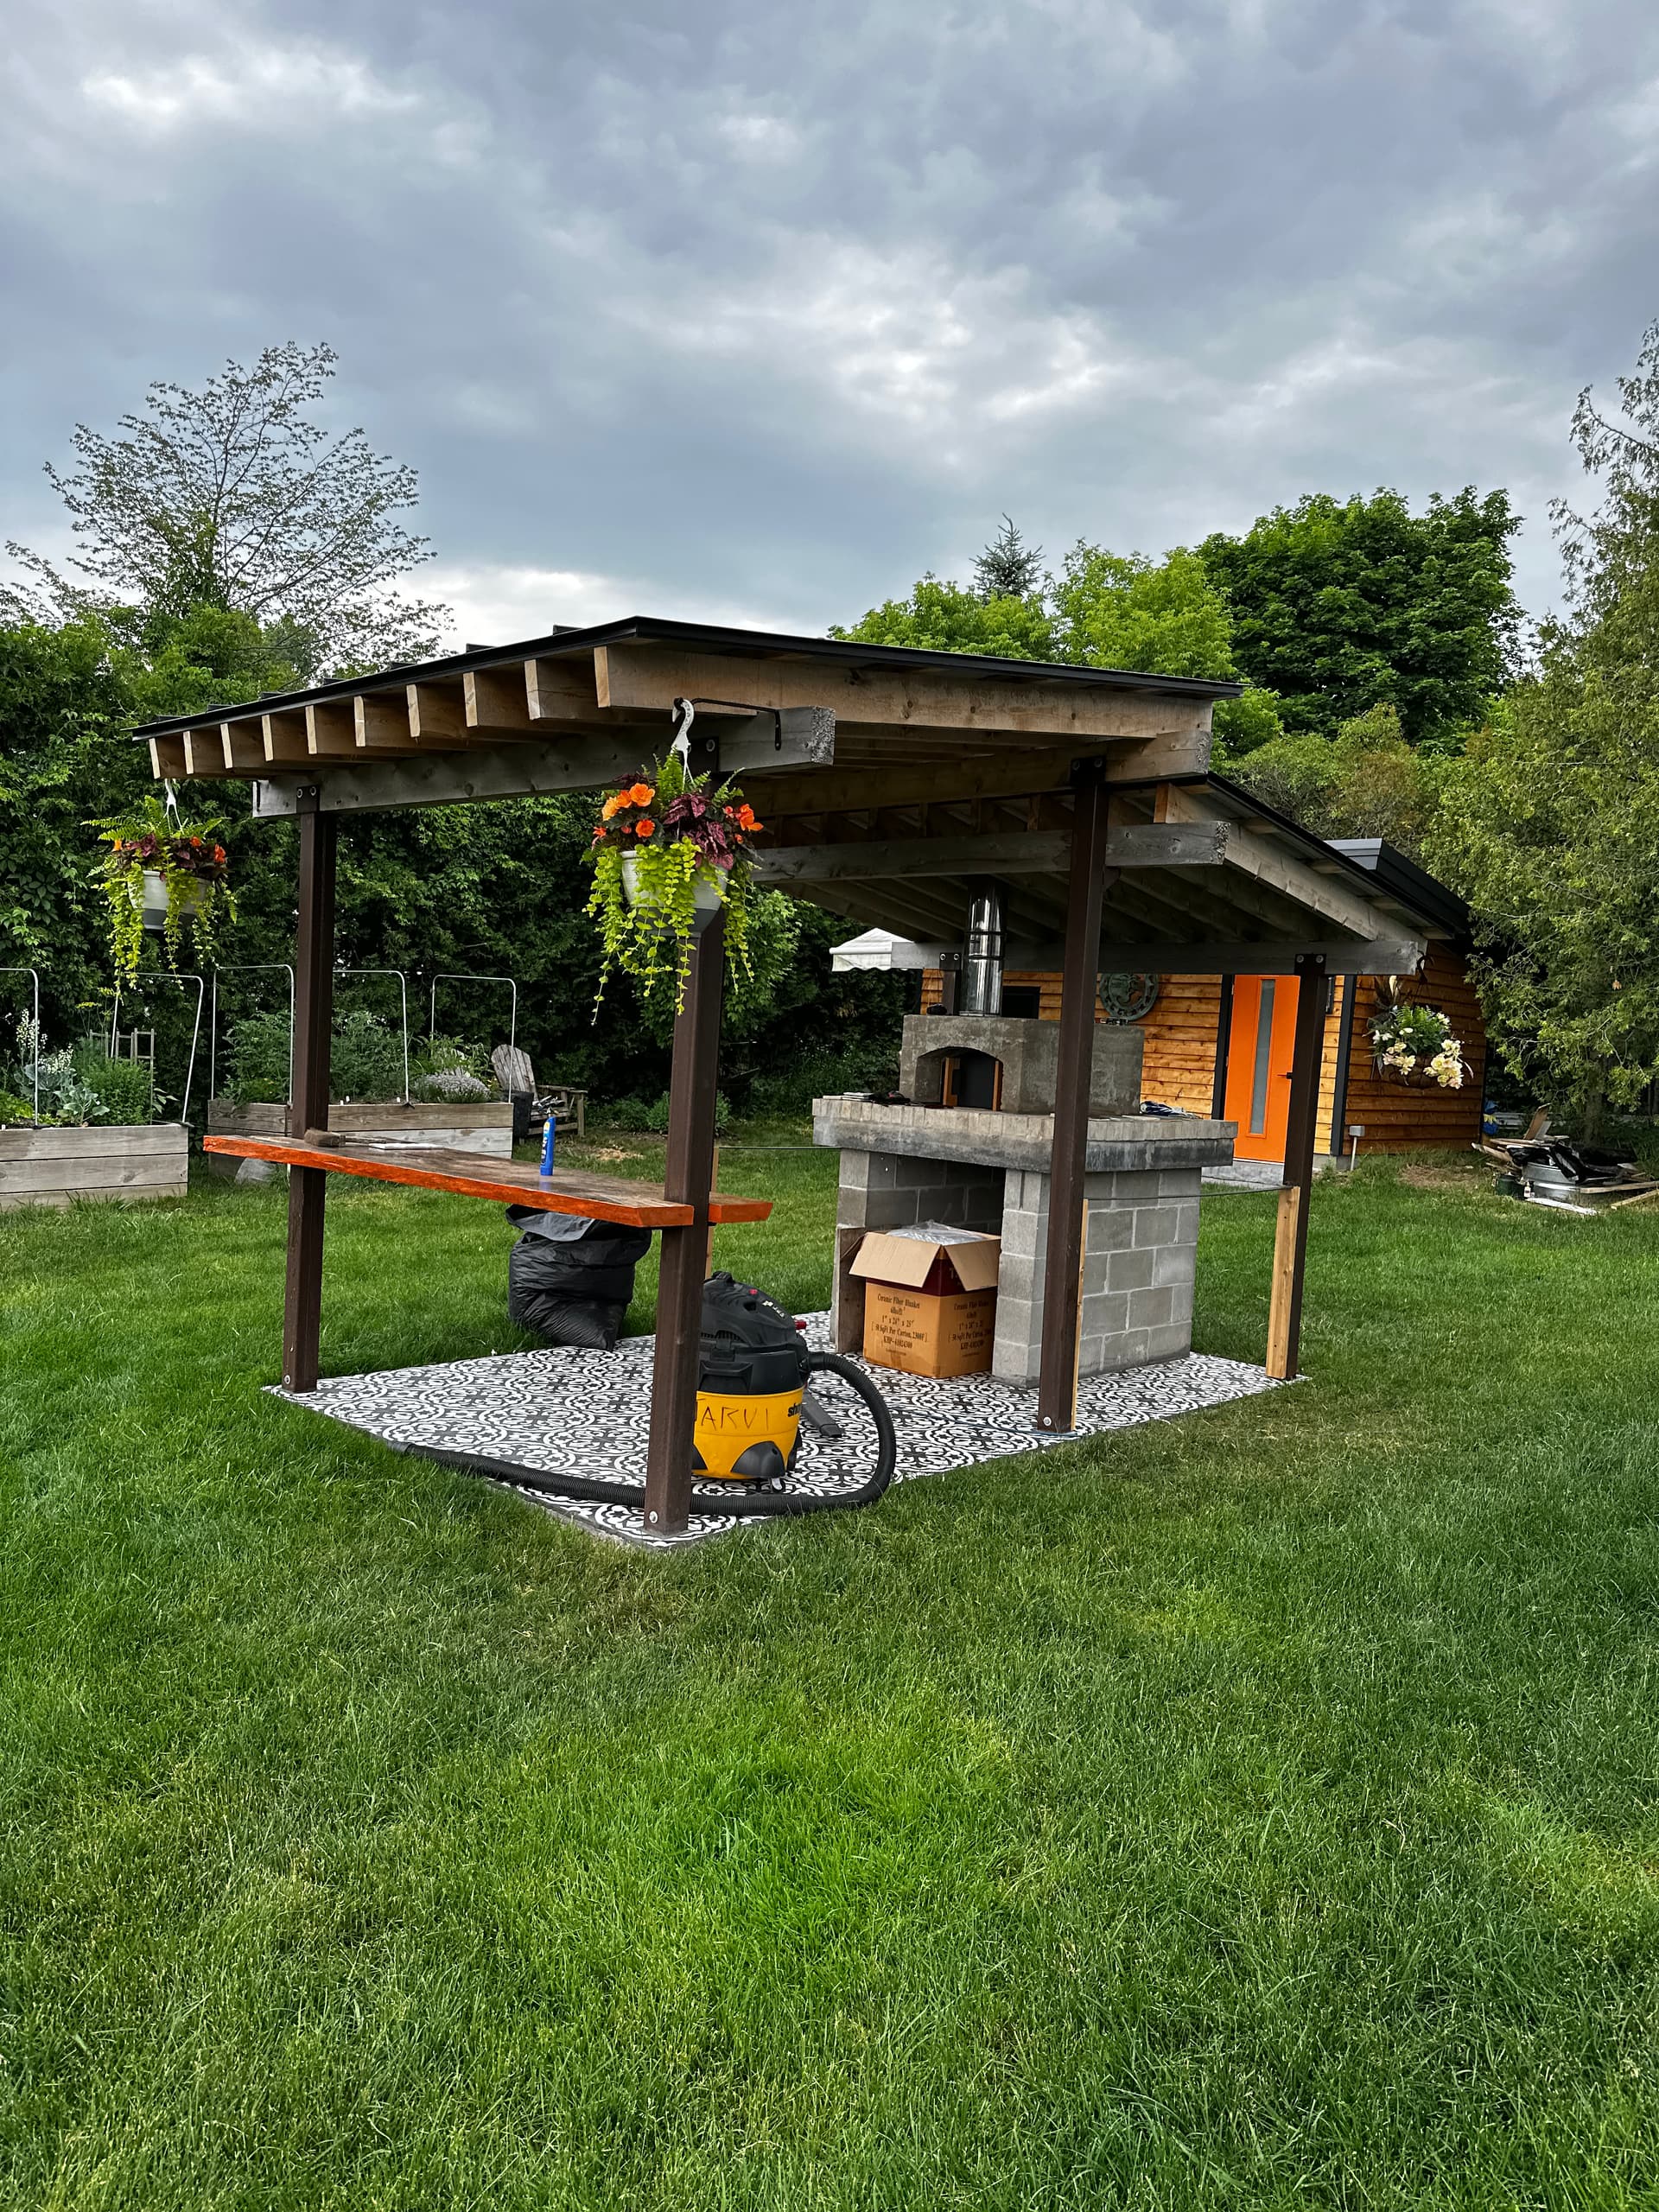
Looking Good! Can’t wait to see the finished project ![]()
![]()
Looking Magazine worthy so far!
1 Like