I wanted to reach out as I have been scouring the forums and learning as we began building our pizza oven. I wanted to document our adventure and get some tips along the way!
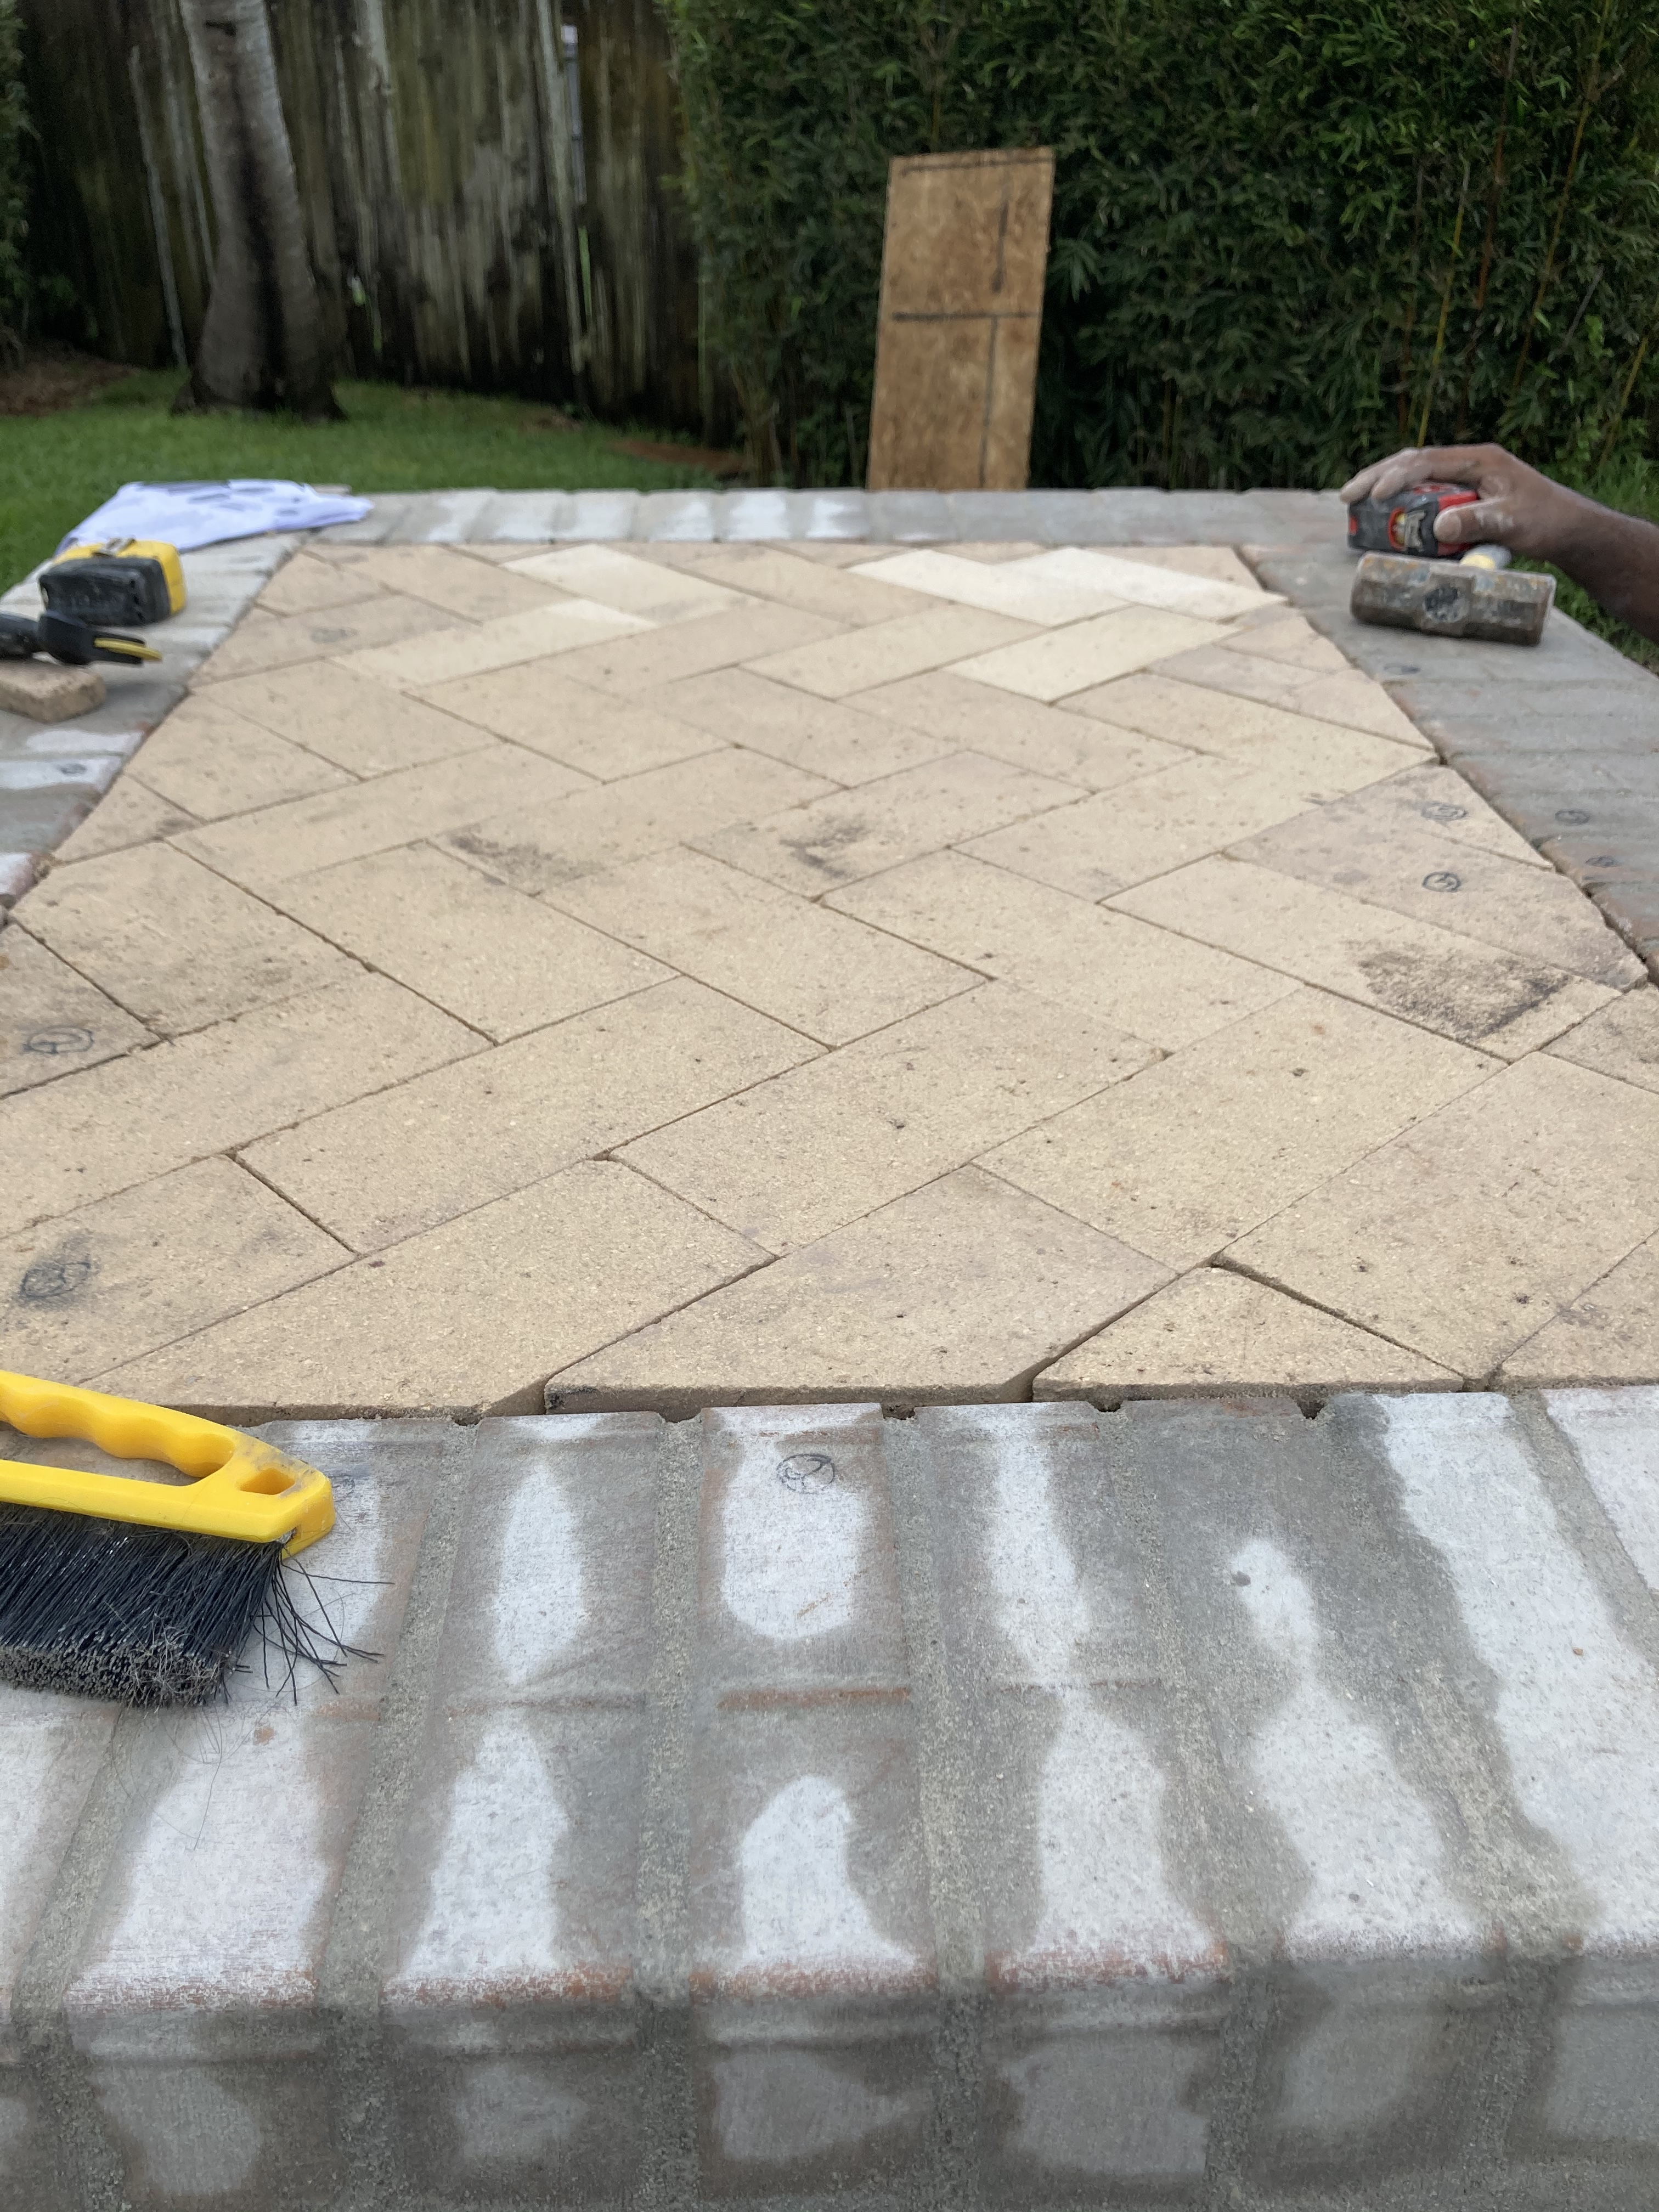
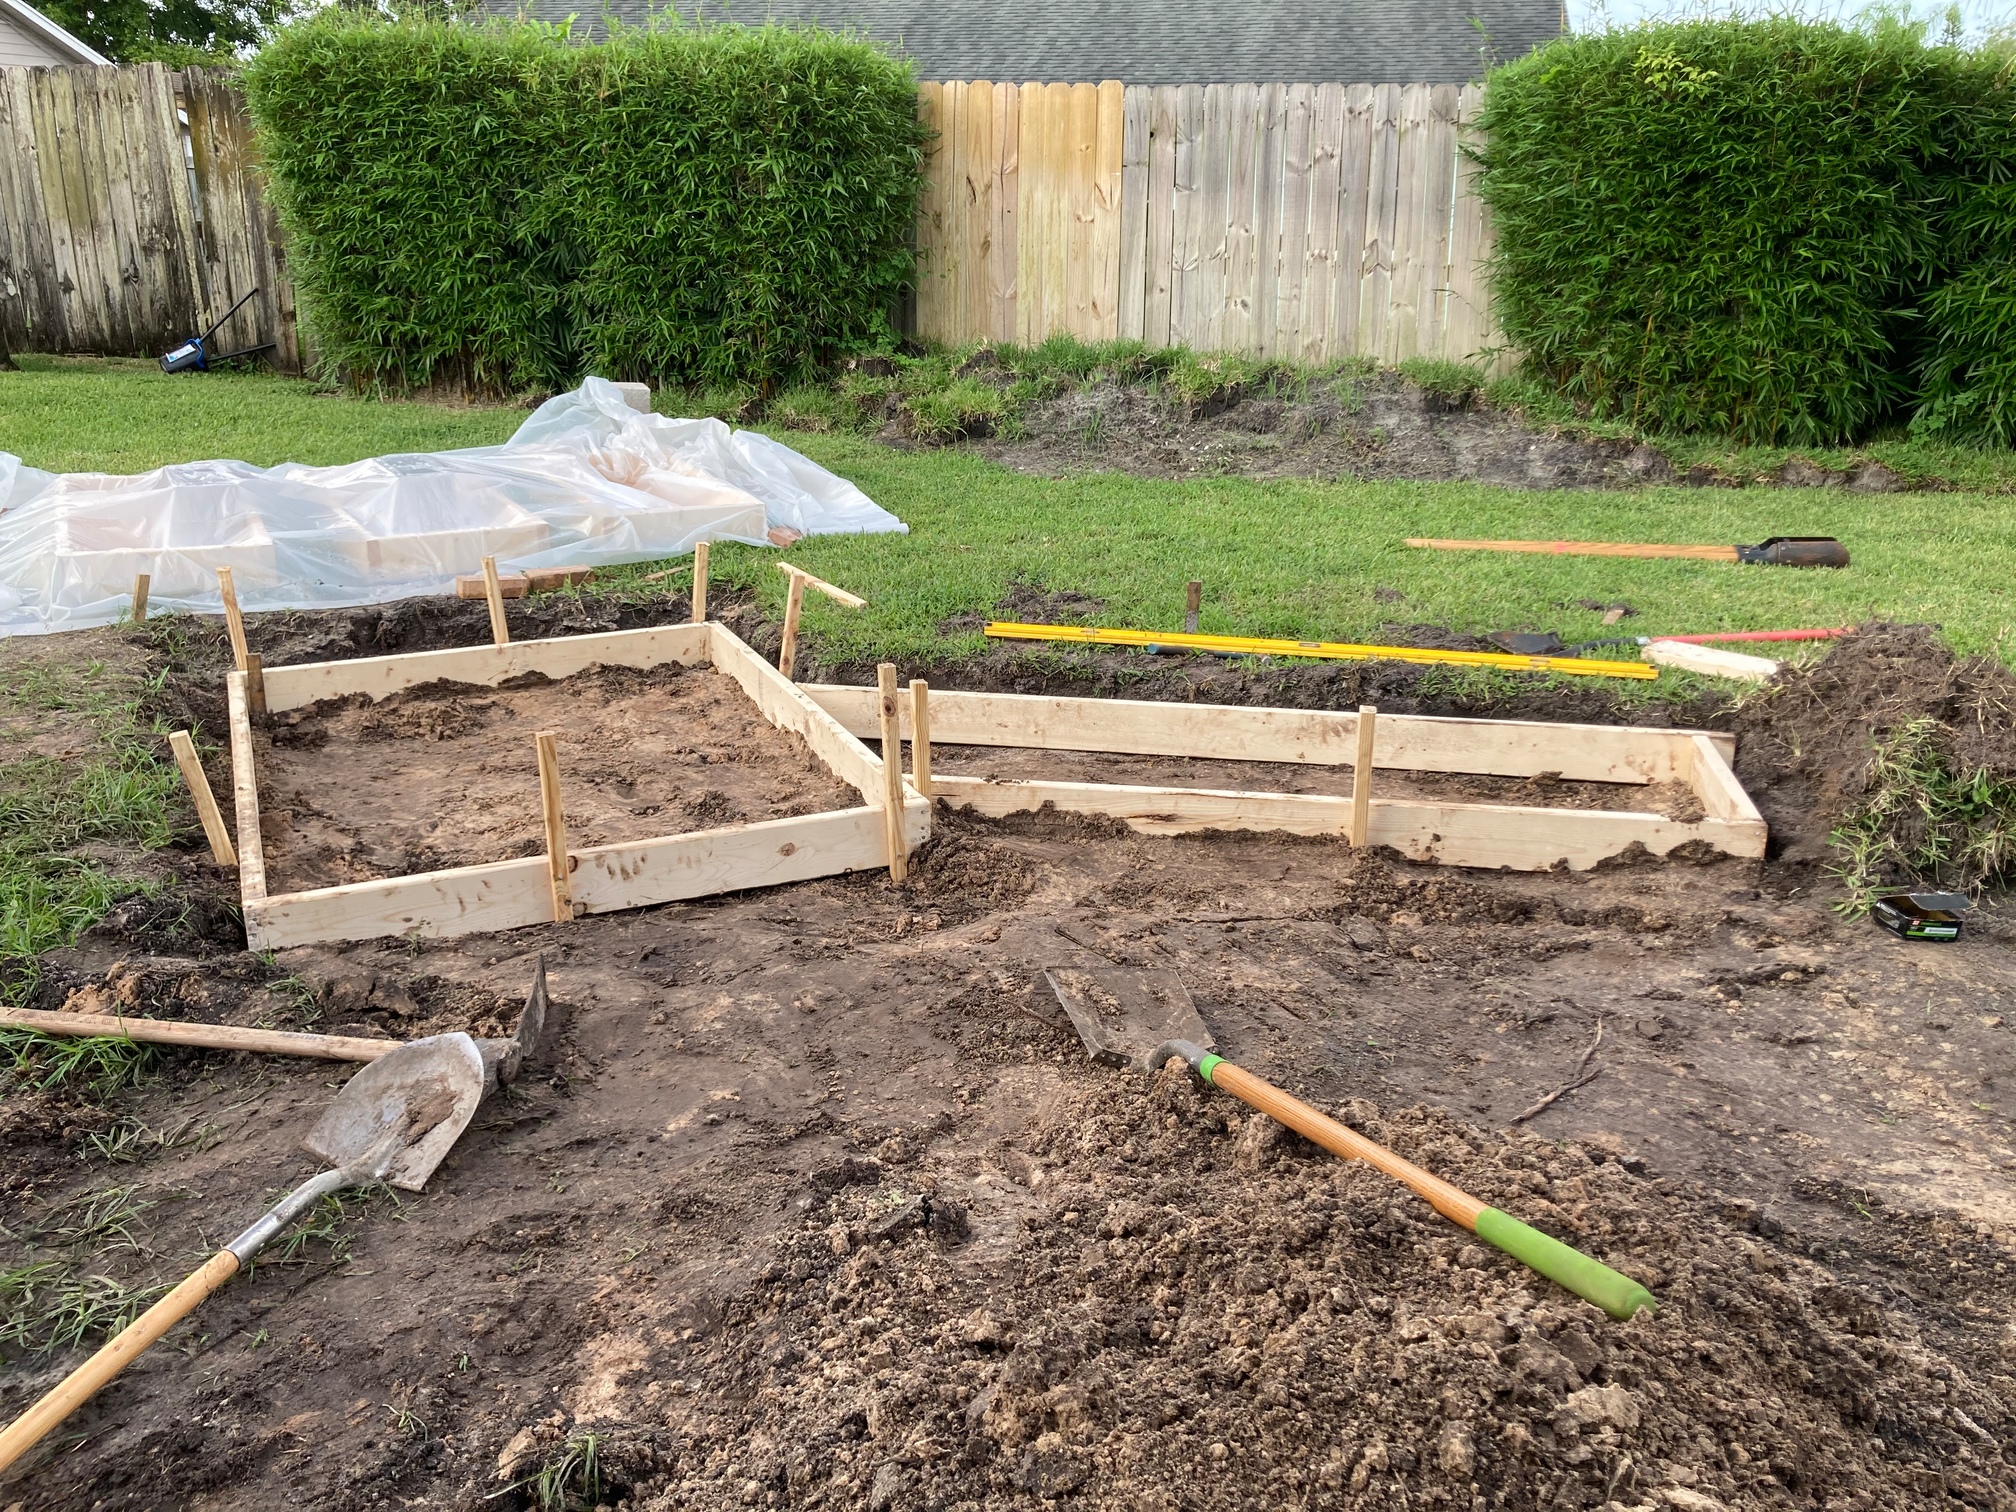
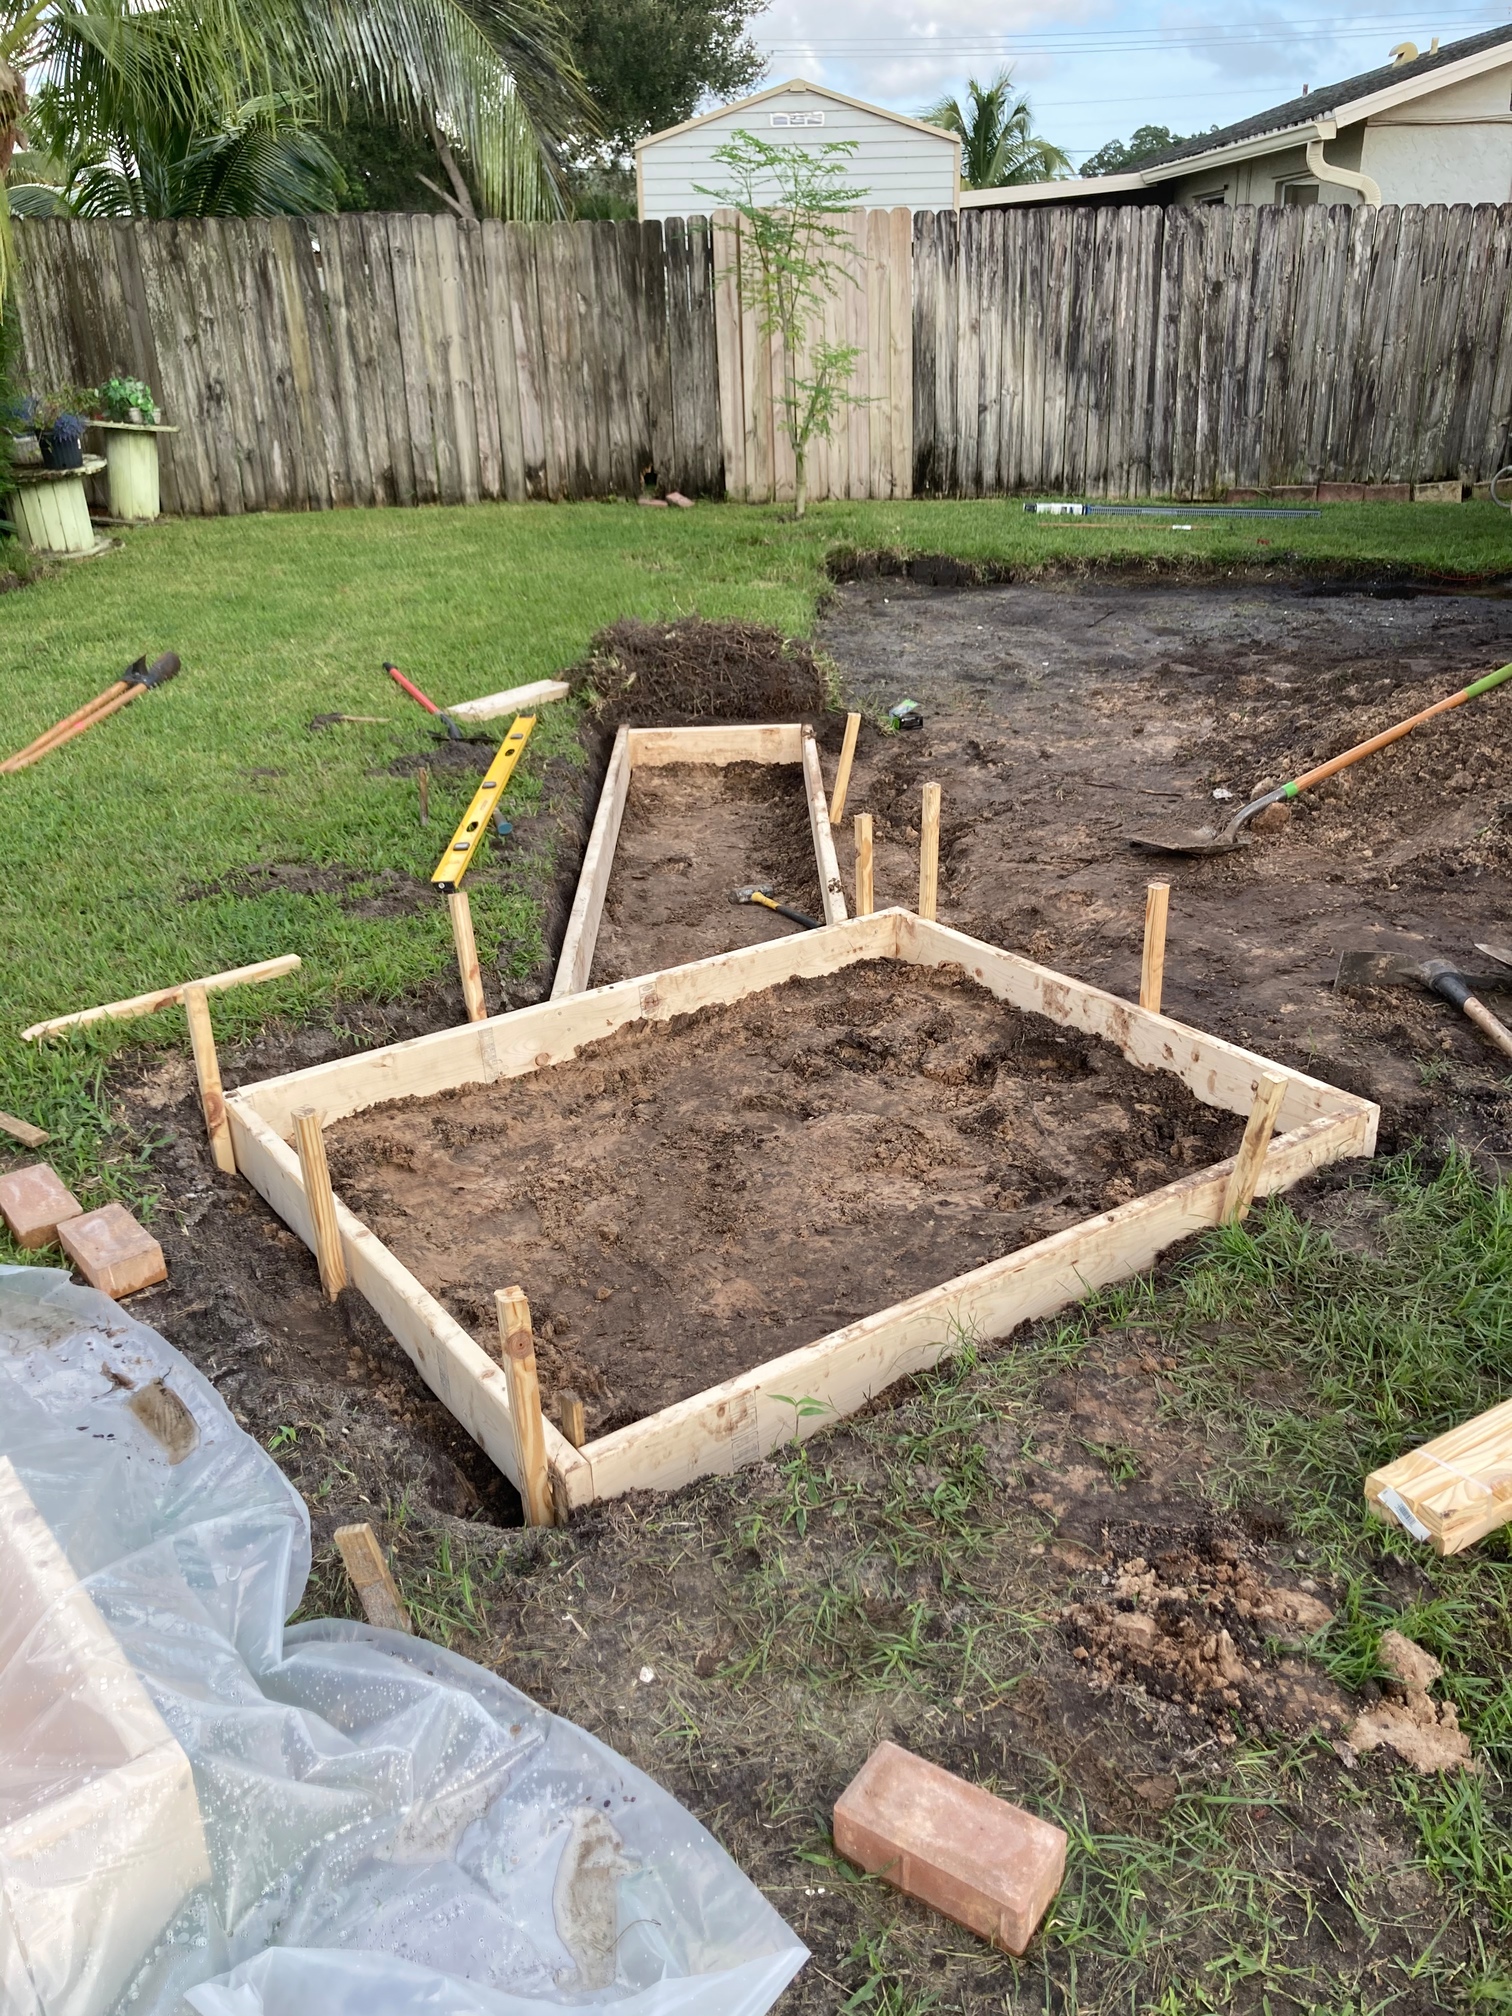
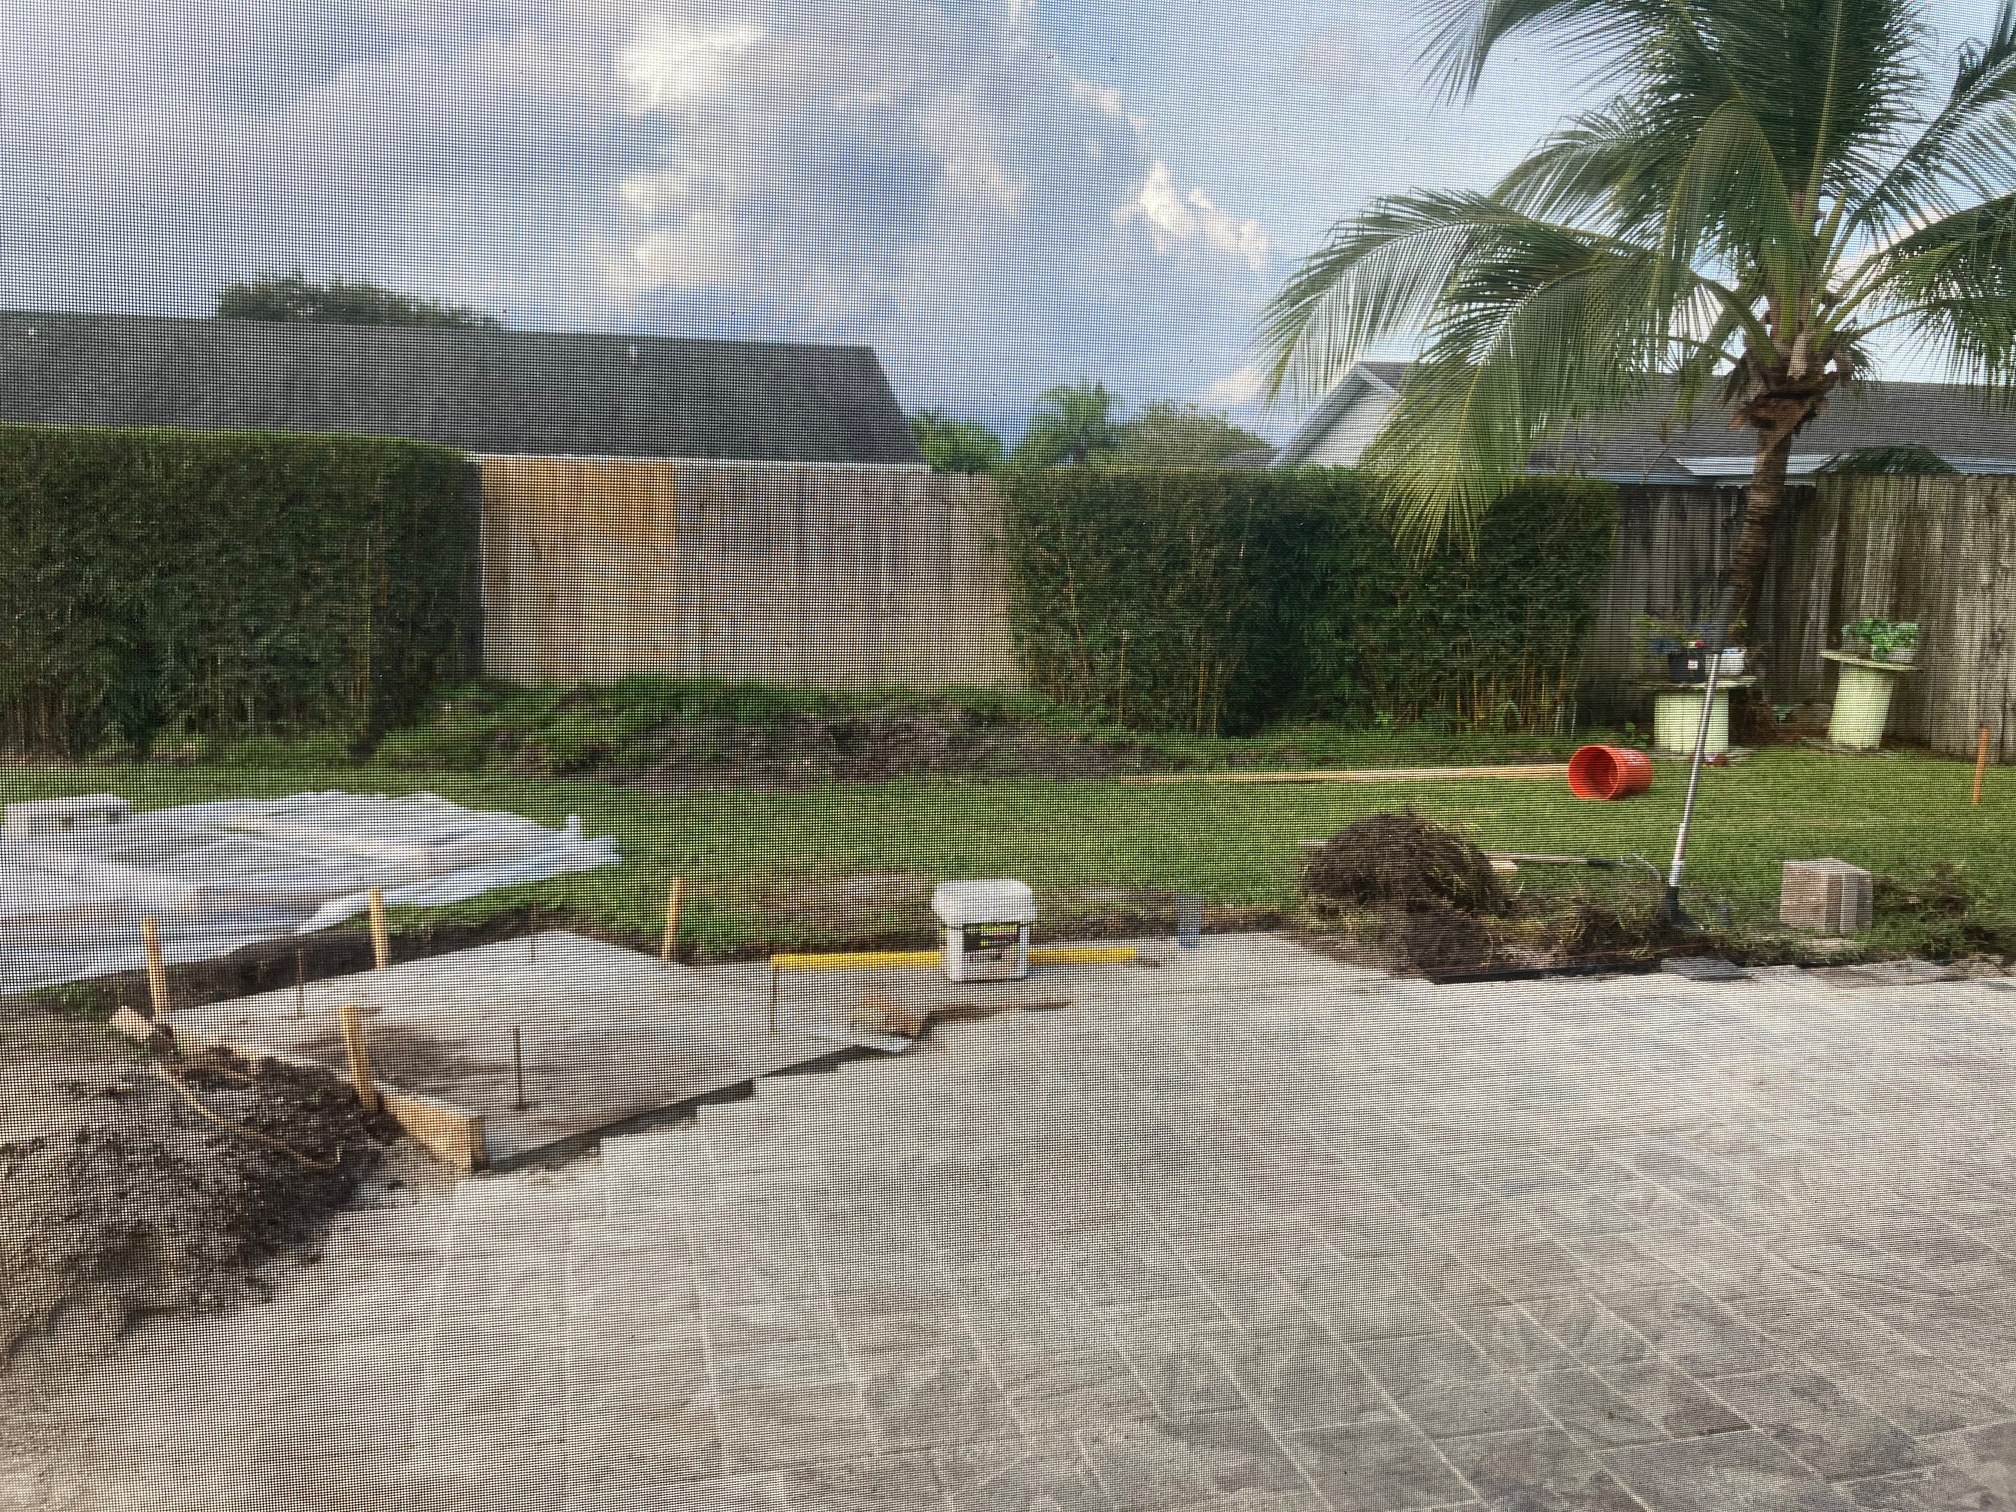
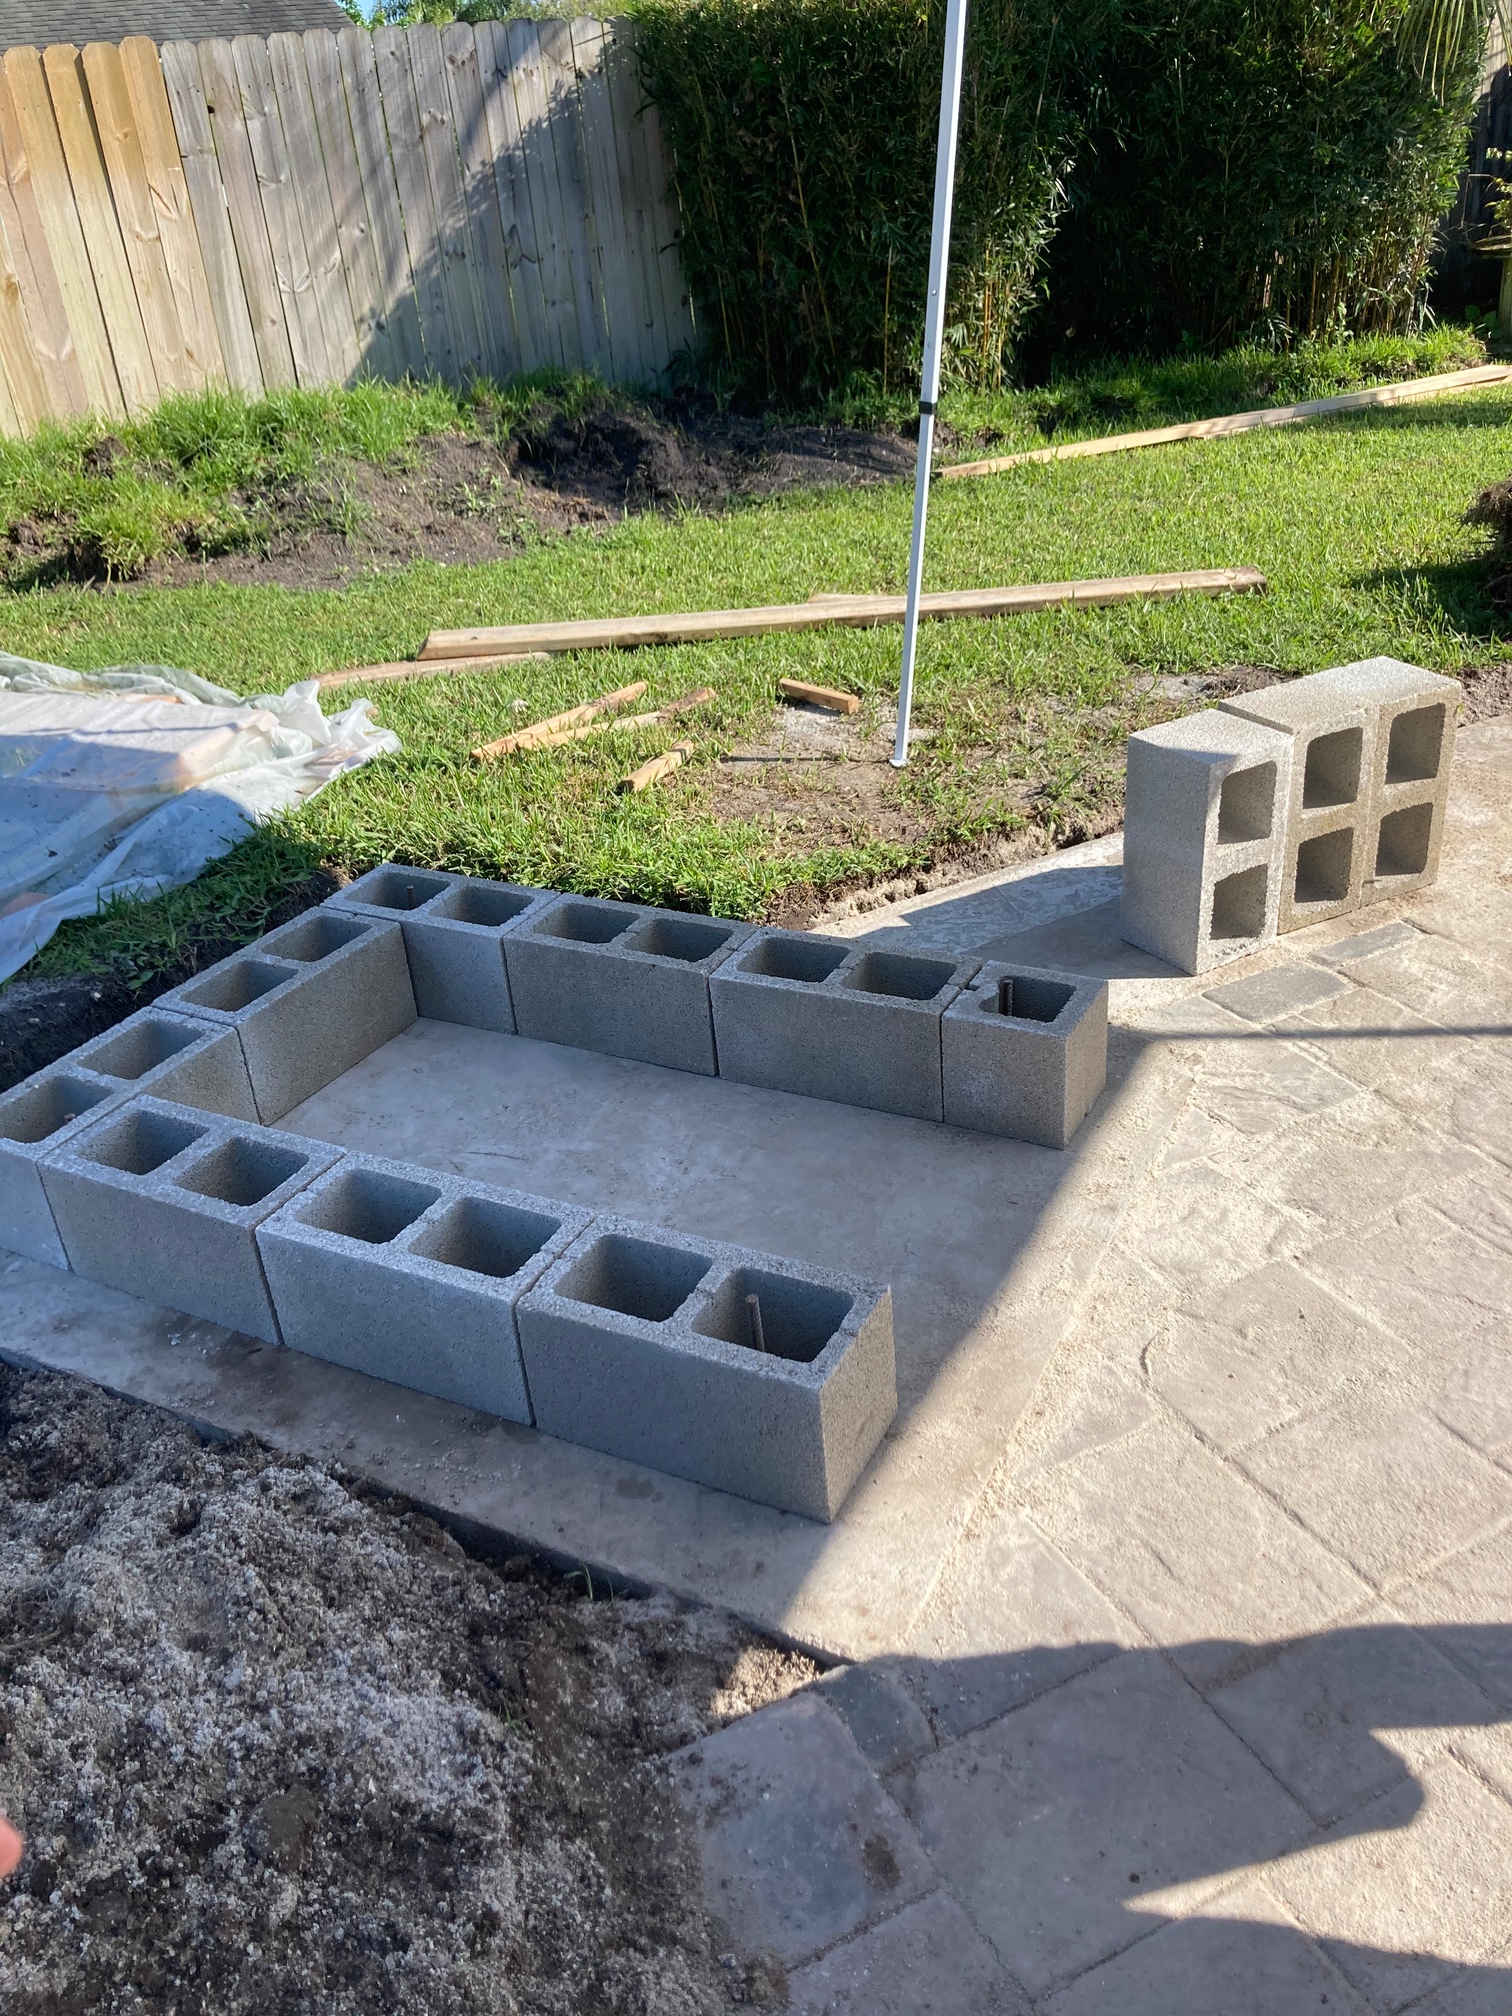
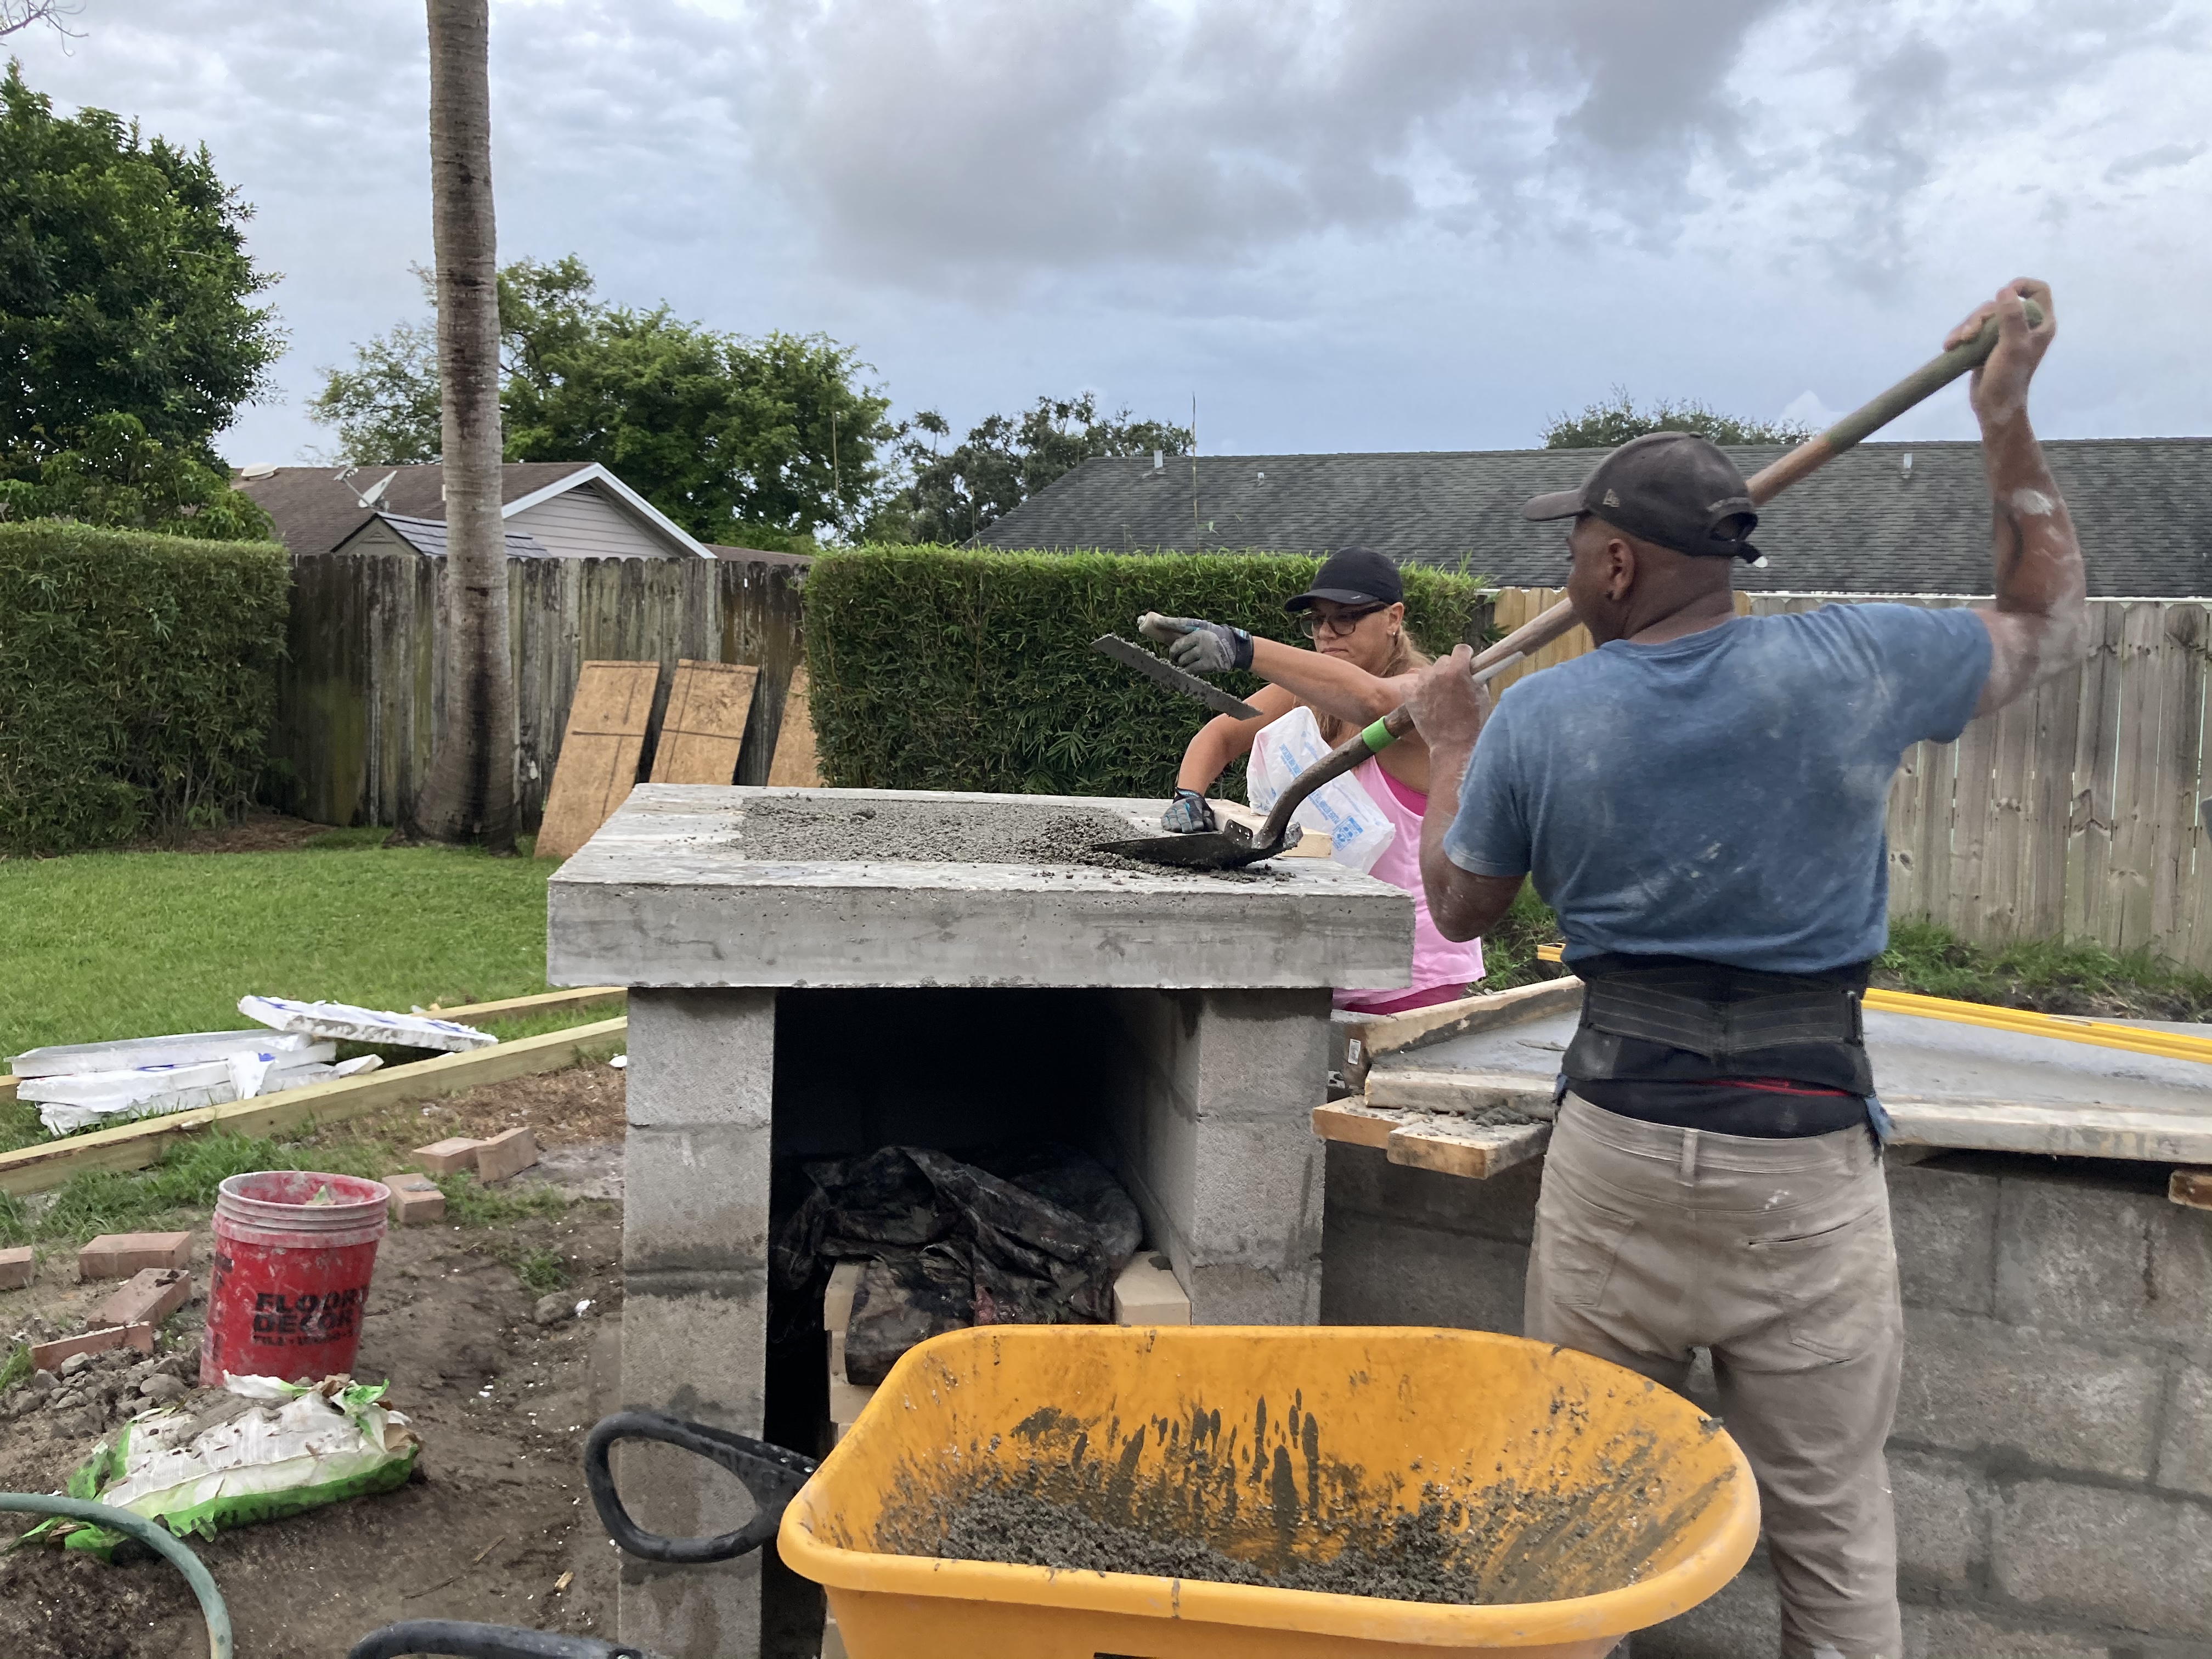
4 days ago we did our slabs and base. And the foundation for our prep and brick grill. While waiting we are working on our pavers in our backyard. Tomorrow we will be placing our cinder blocks.
We forgot to tamper before setting up our 2x8 but we fixed that right afterwards.
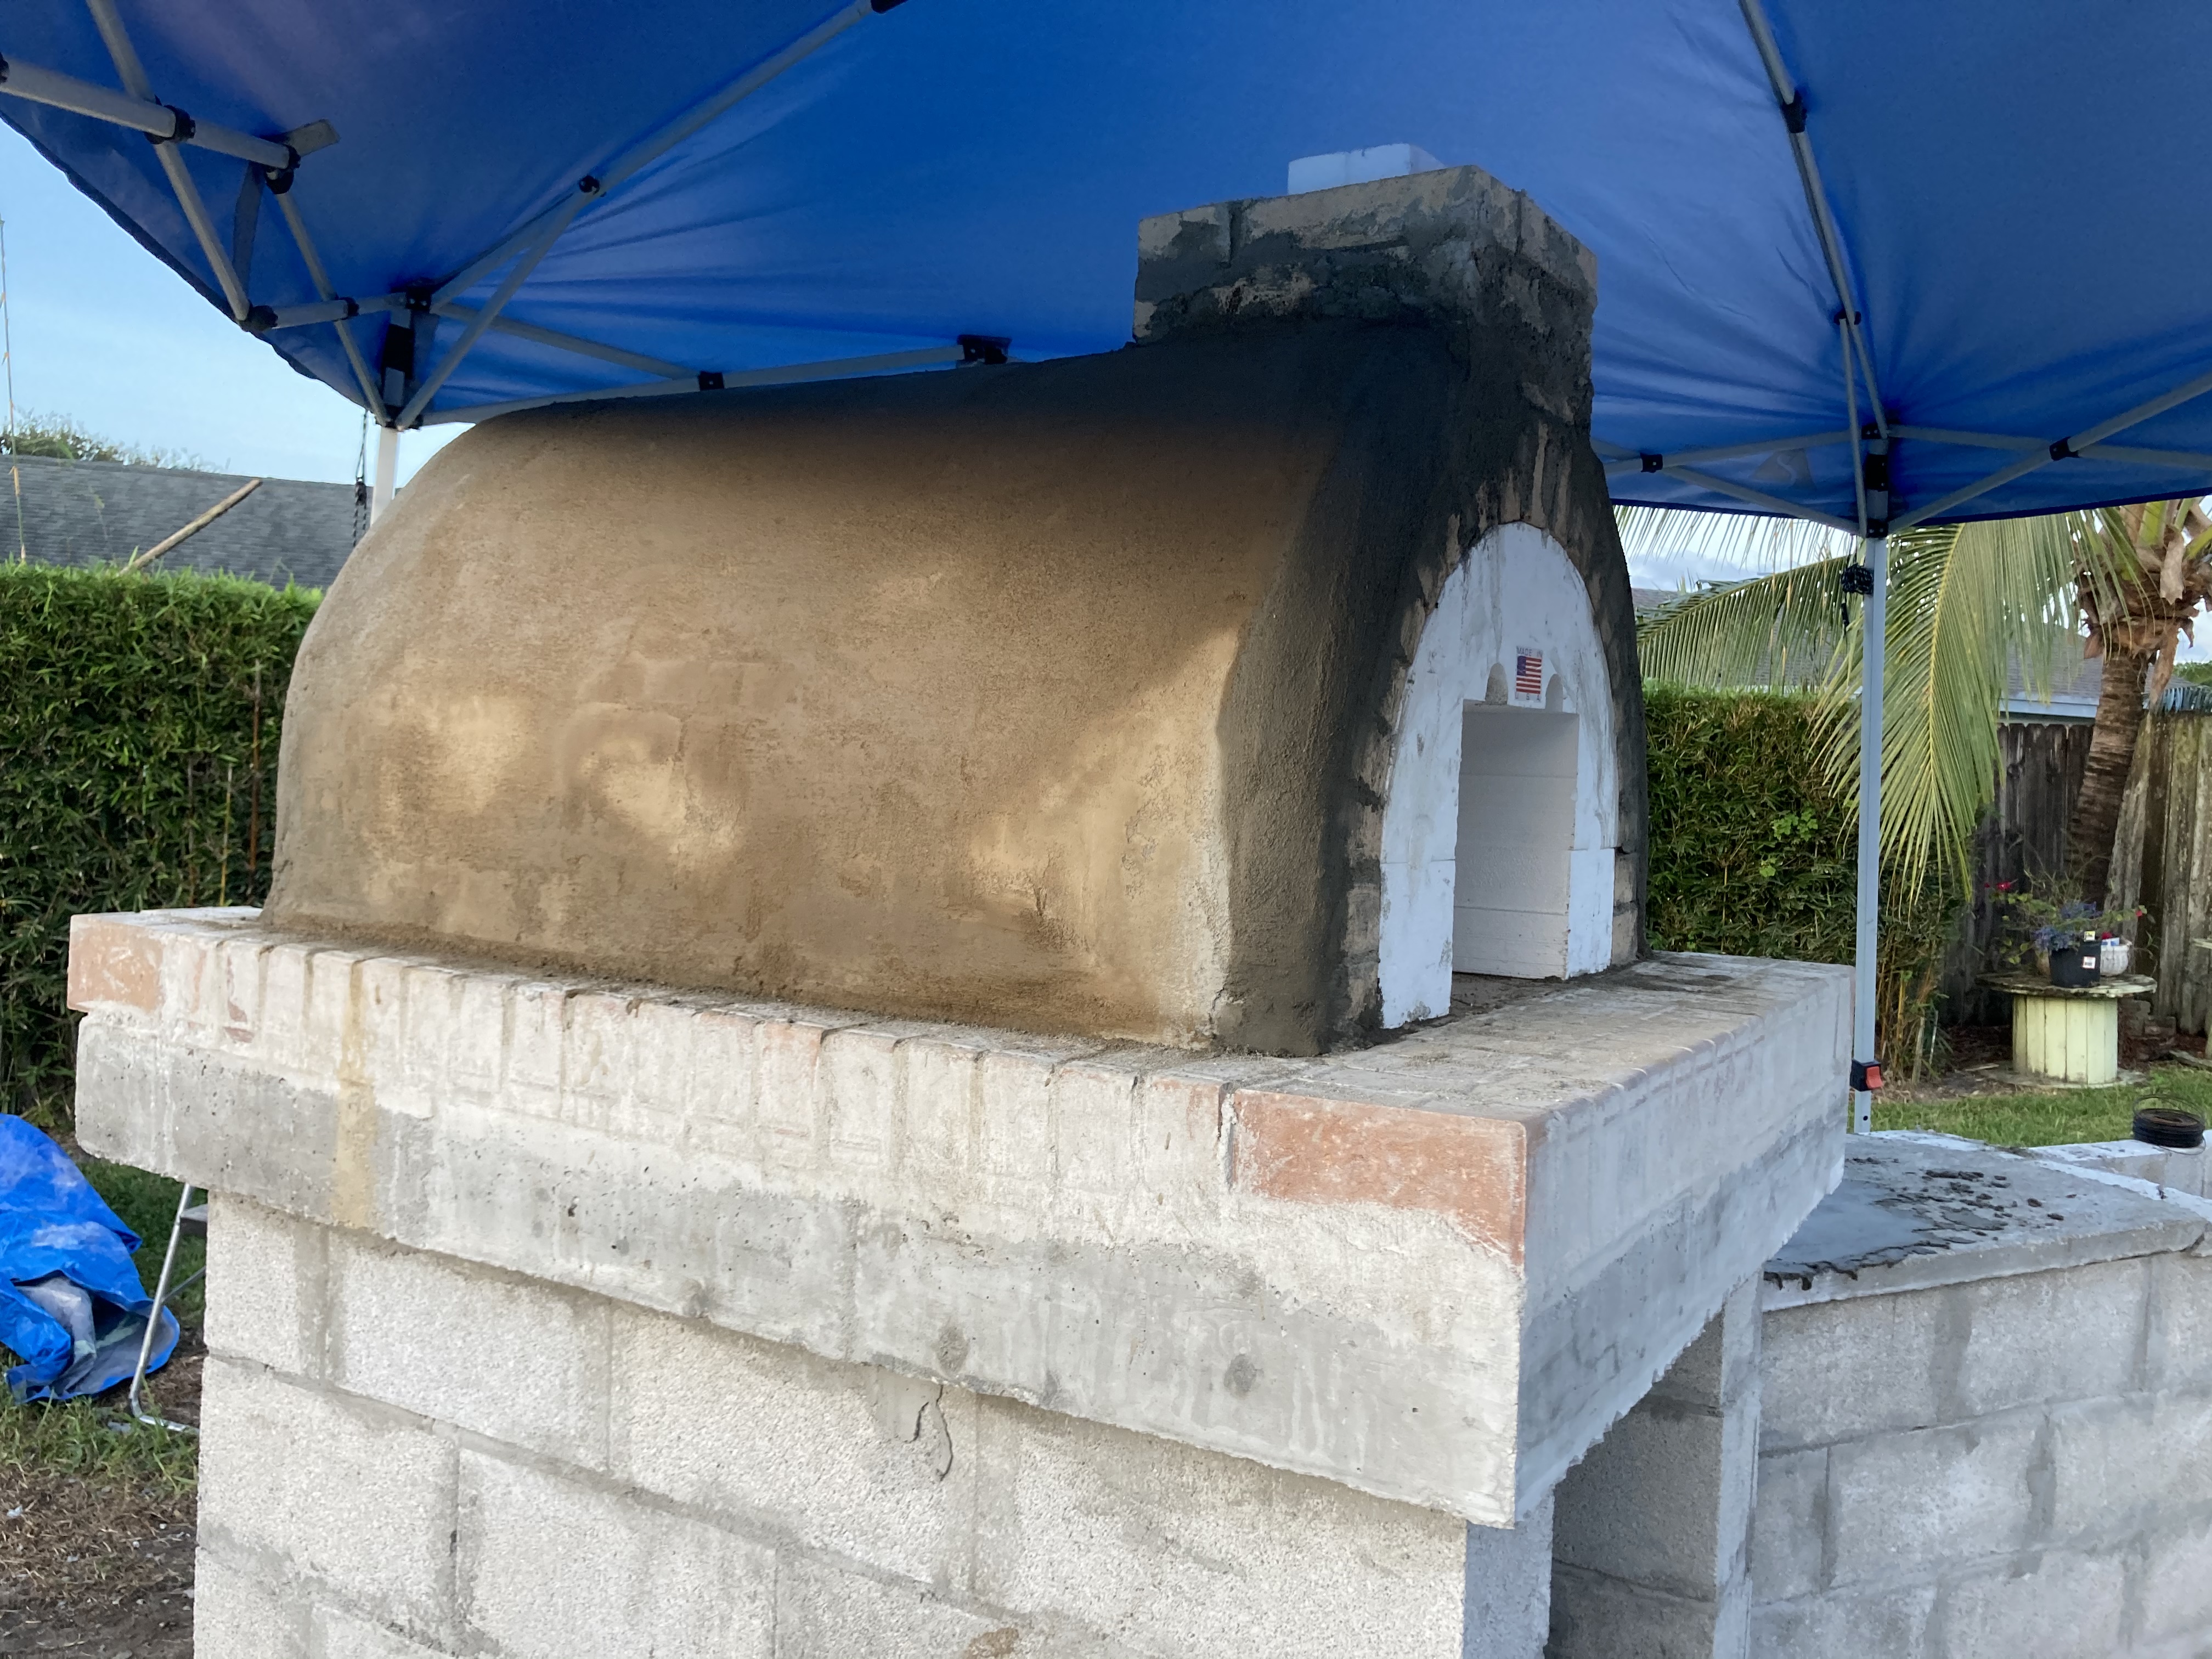
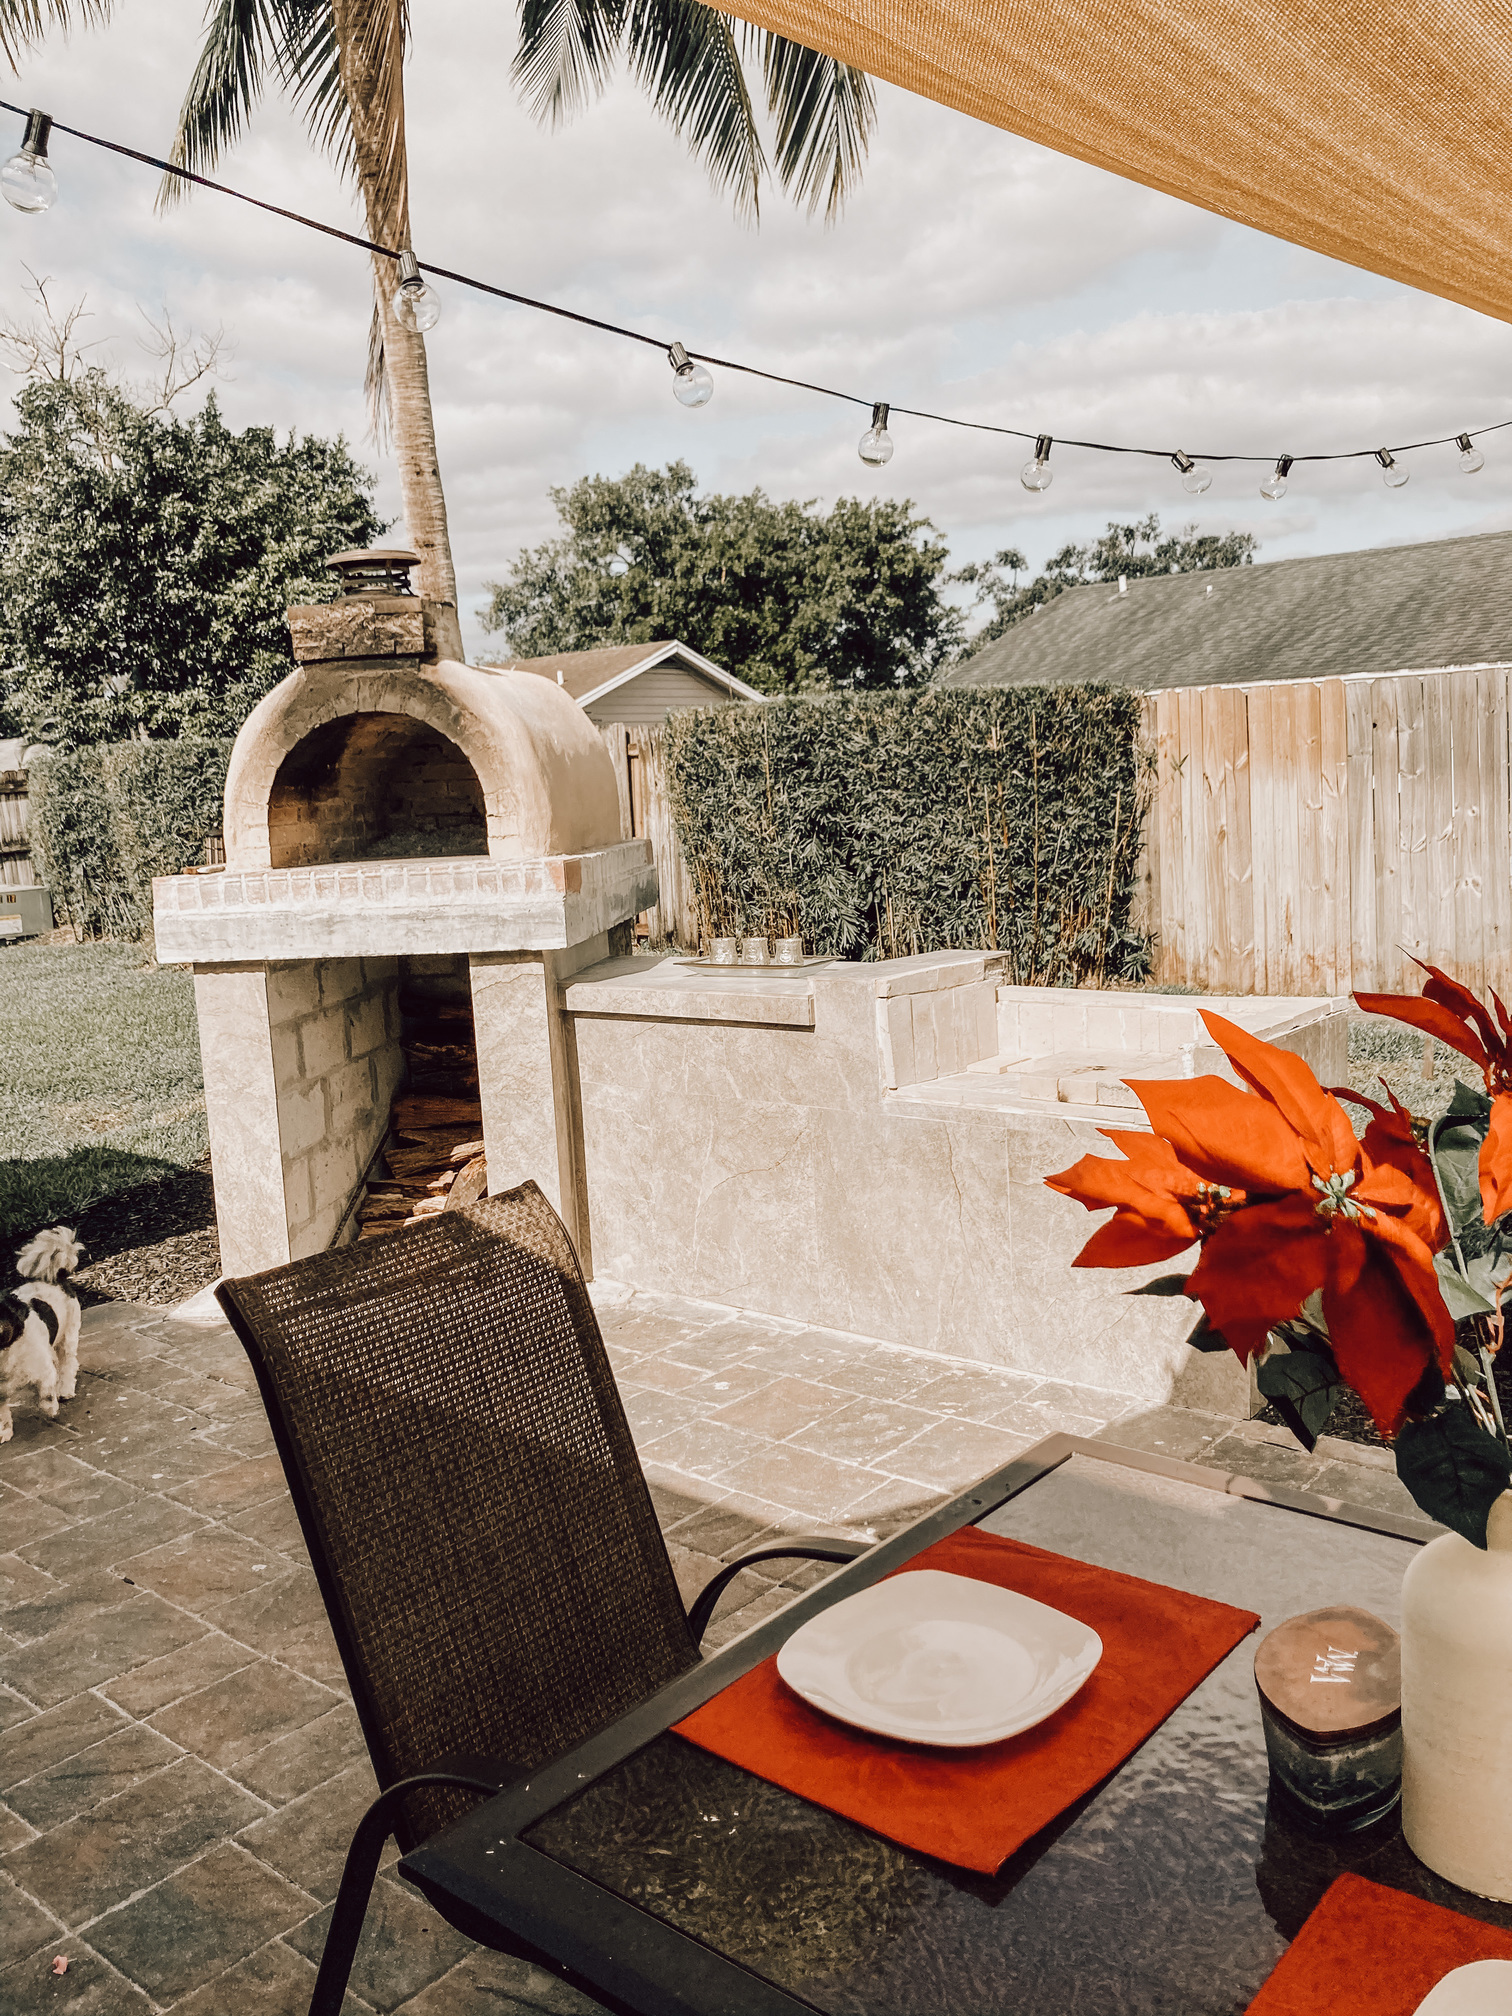
As I’m drawing up some inspiration from looking at others ovens. For the finish I will be stucco’ing and sealing. (We live in Florida) and I like the look of stone veneers. Speaking of veneers what color would you recommend with maroon pavers? Will it be okay to use faux veneers over the oven? Will a cover be necessary due to our rain /heat weather?
Thanks y’all! By “we” I mean my husband and I. Really exited and glad to share and take any advice!
Excellent job on your project thus far! And great pictures! Please take as many pictures as you can (and video too) for your upcoming BrickWood Ovens Photo Gallery page.
Last question first… Covering the oven. Since you are in FL, you do get some hard, driving rains. So you might want to go want step more than spraying your oven w/ a masonry sealer (which we still recommend). But you might also want to invest in a pizza oven cover. We didn’t have much luck w/ one here in WA as the winds tore our cover in no time… but if you live in a pretty mellow area (for wind), then you might want to take a look at a custom cover - Cover for Barile Grande - Mattone Barile & Mattone Barile Grande Ovens - BrickWood Ovens
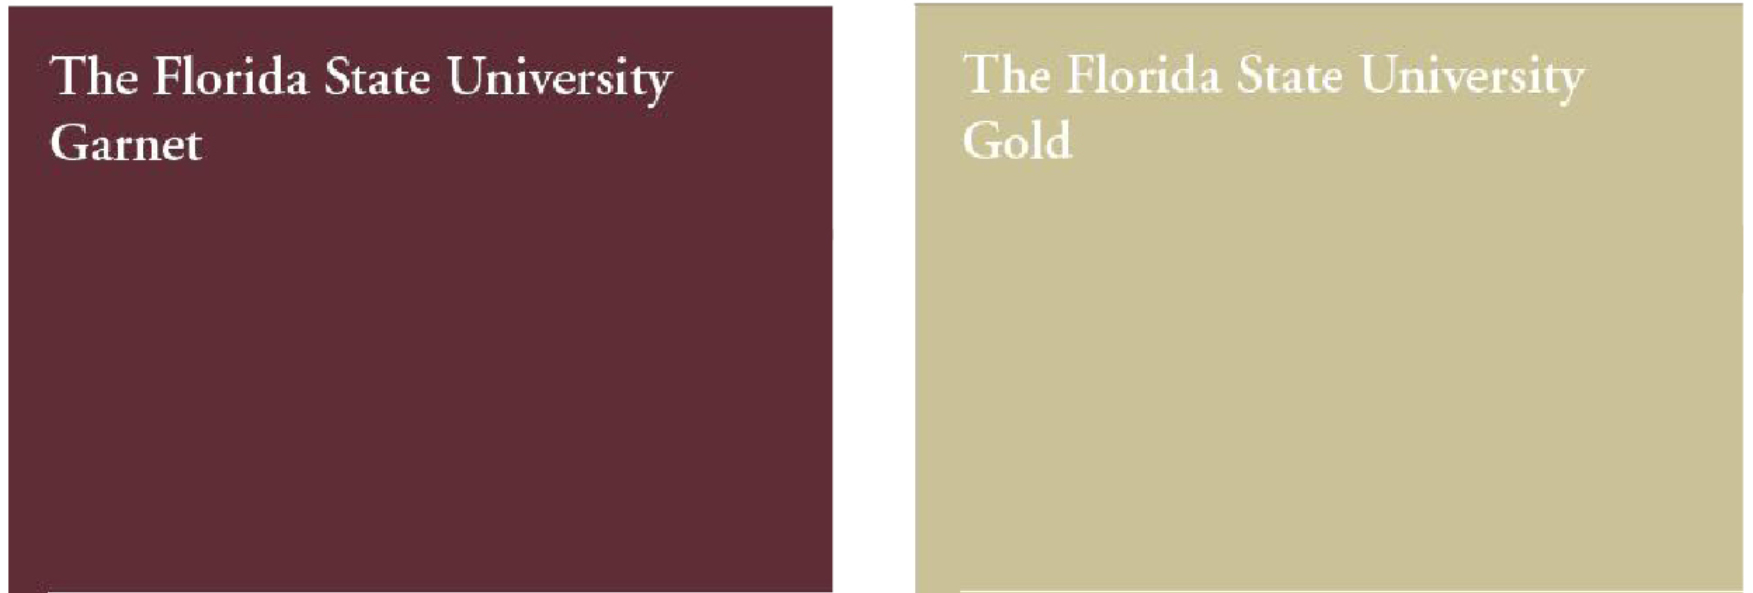
Now, to the first part of your question: You live in Florida… Your pavers are Maroon… There is only one conceivable color your veneer should be - GOLD (or Tan, Wheat, etc…). But I’m a second generation 'Nole and having been born in Tallahassee… I might be a little biased.
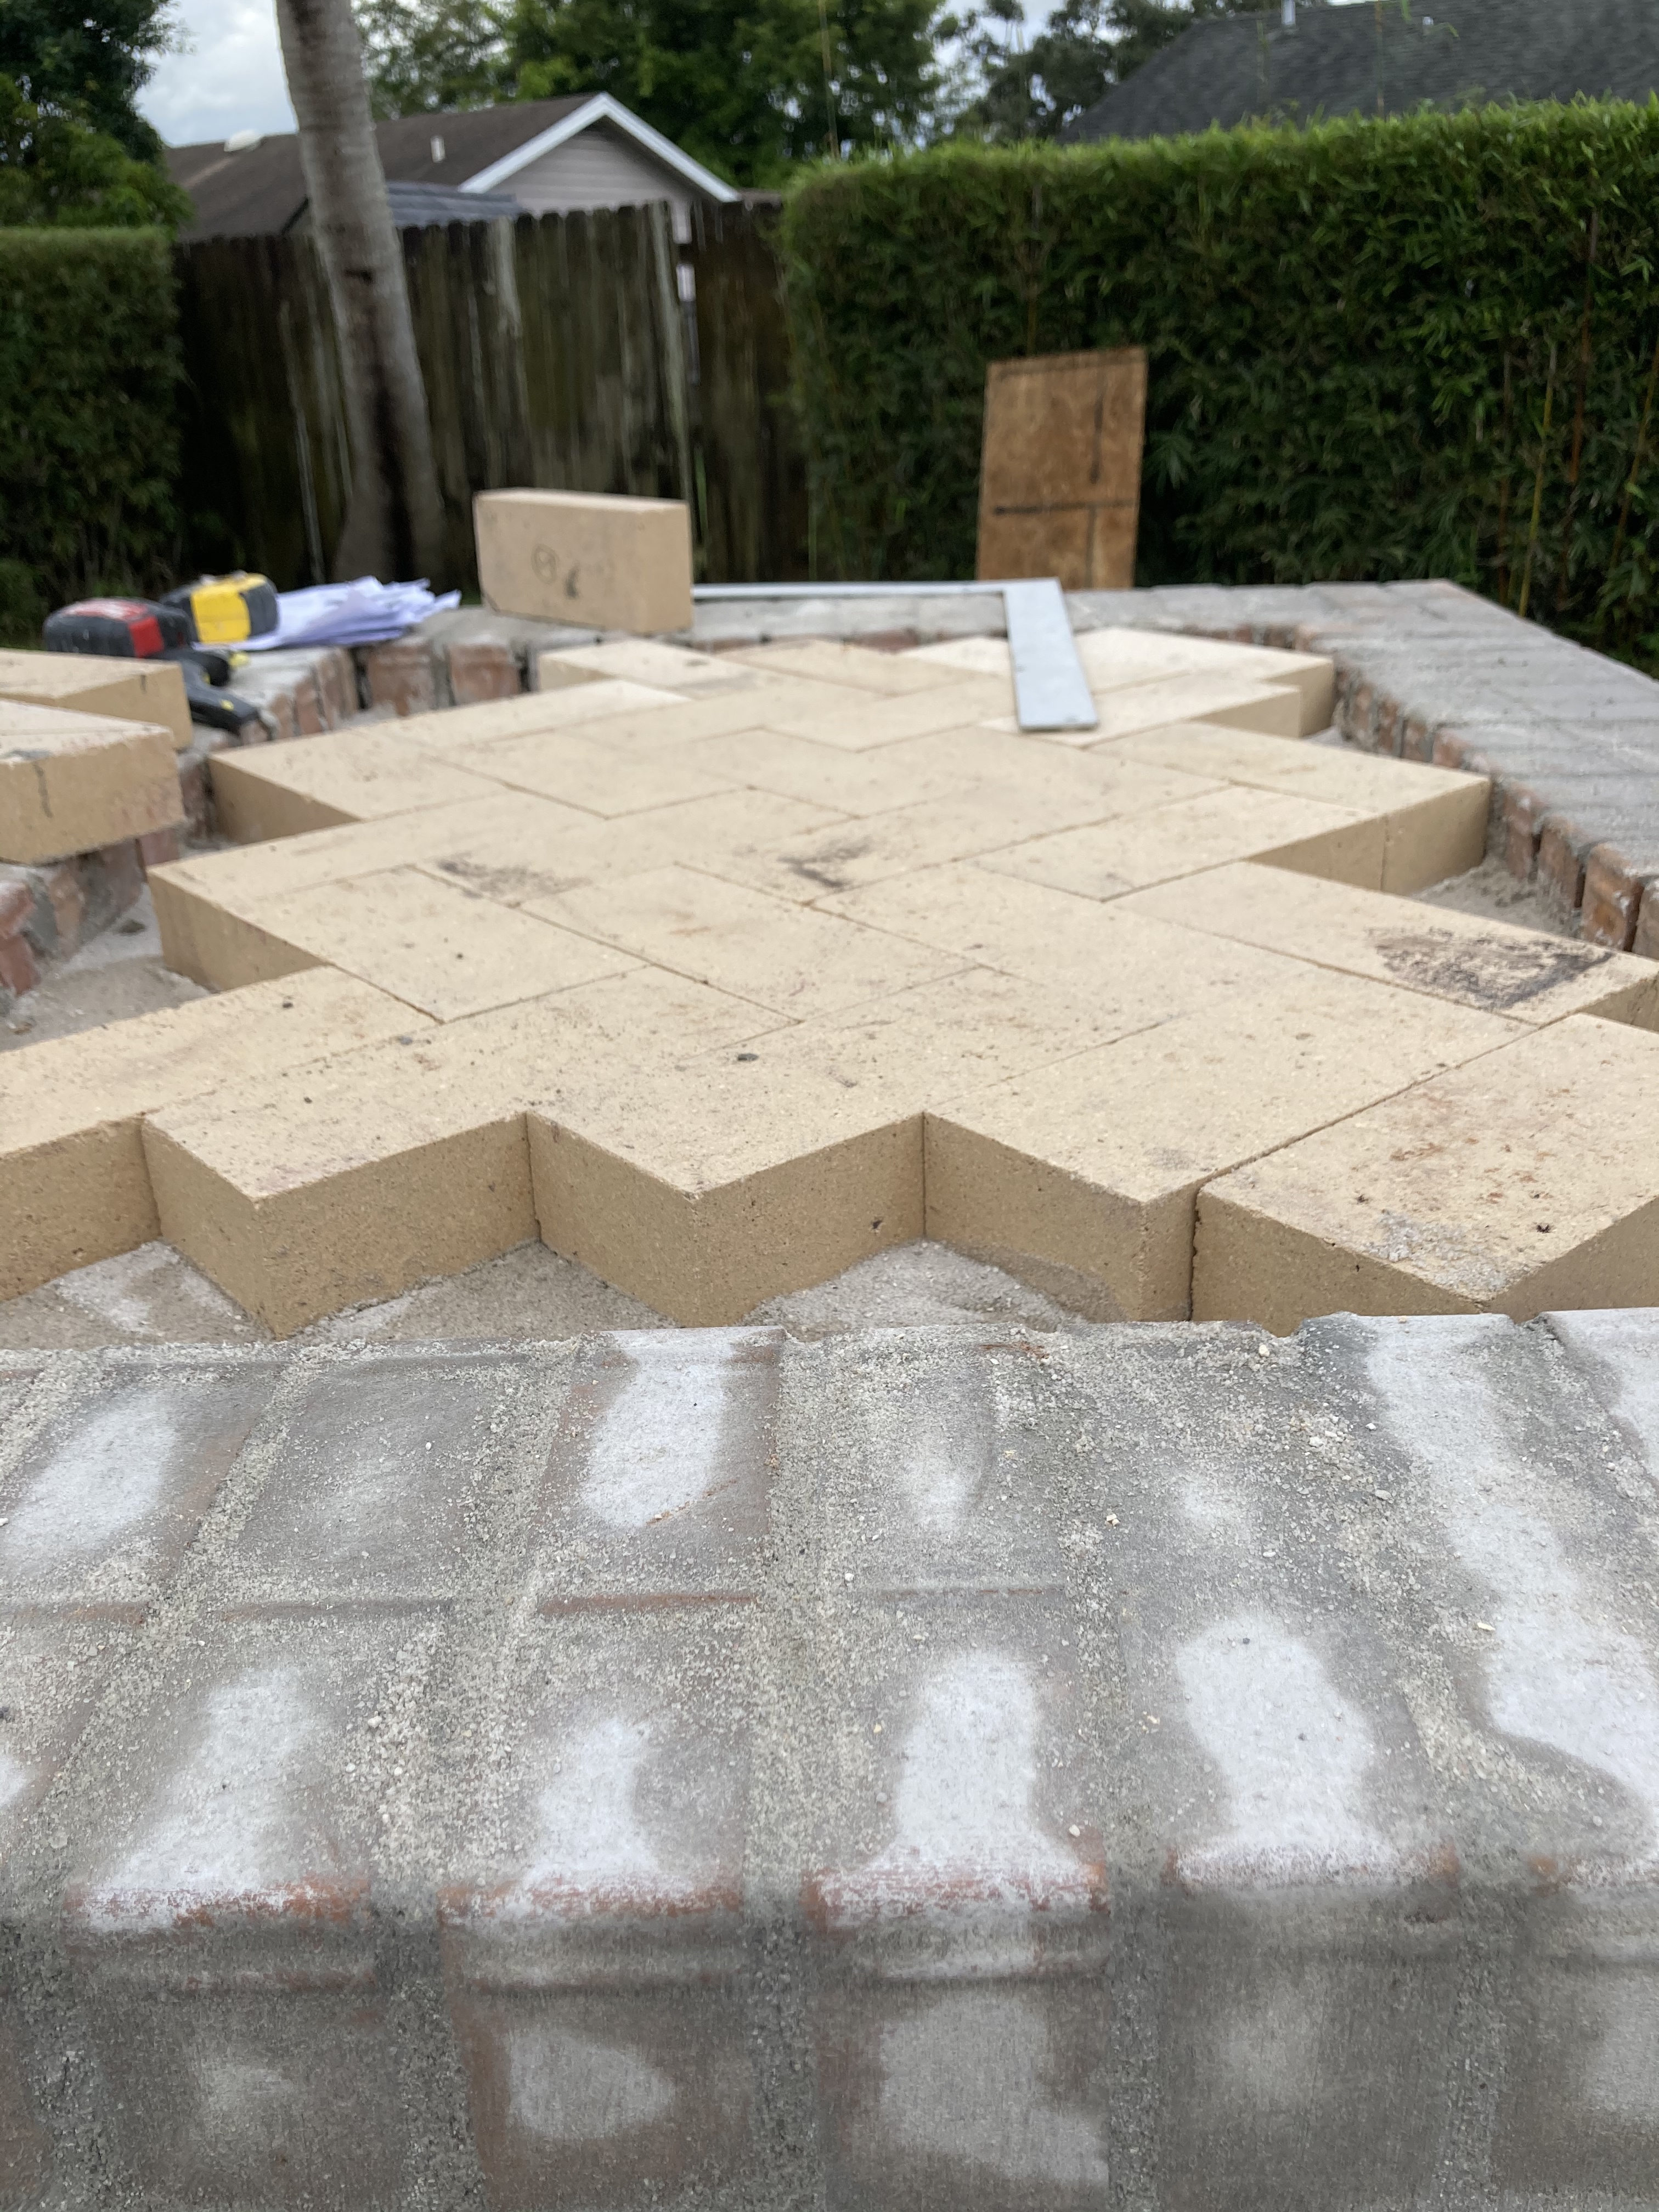
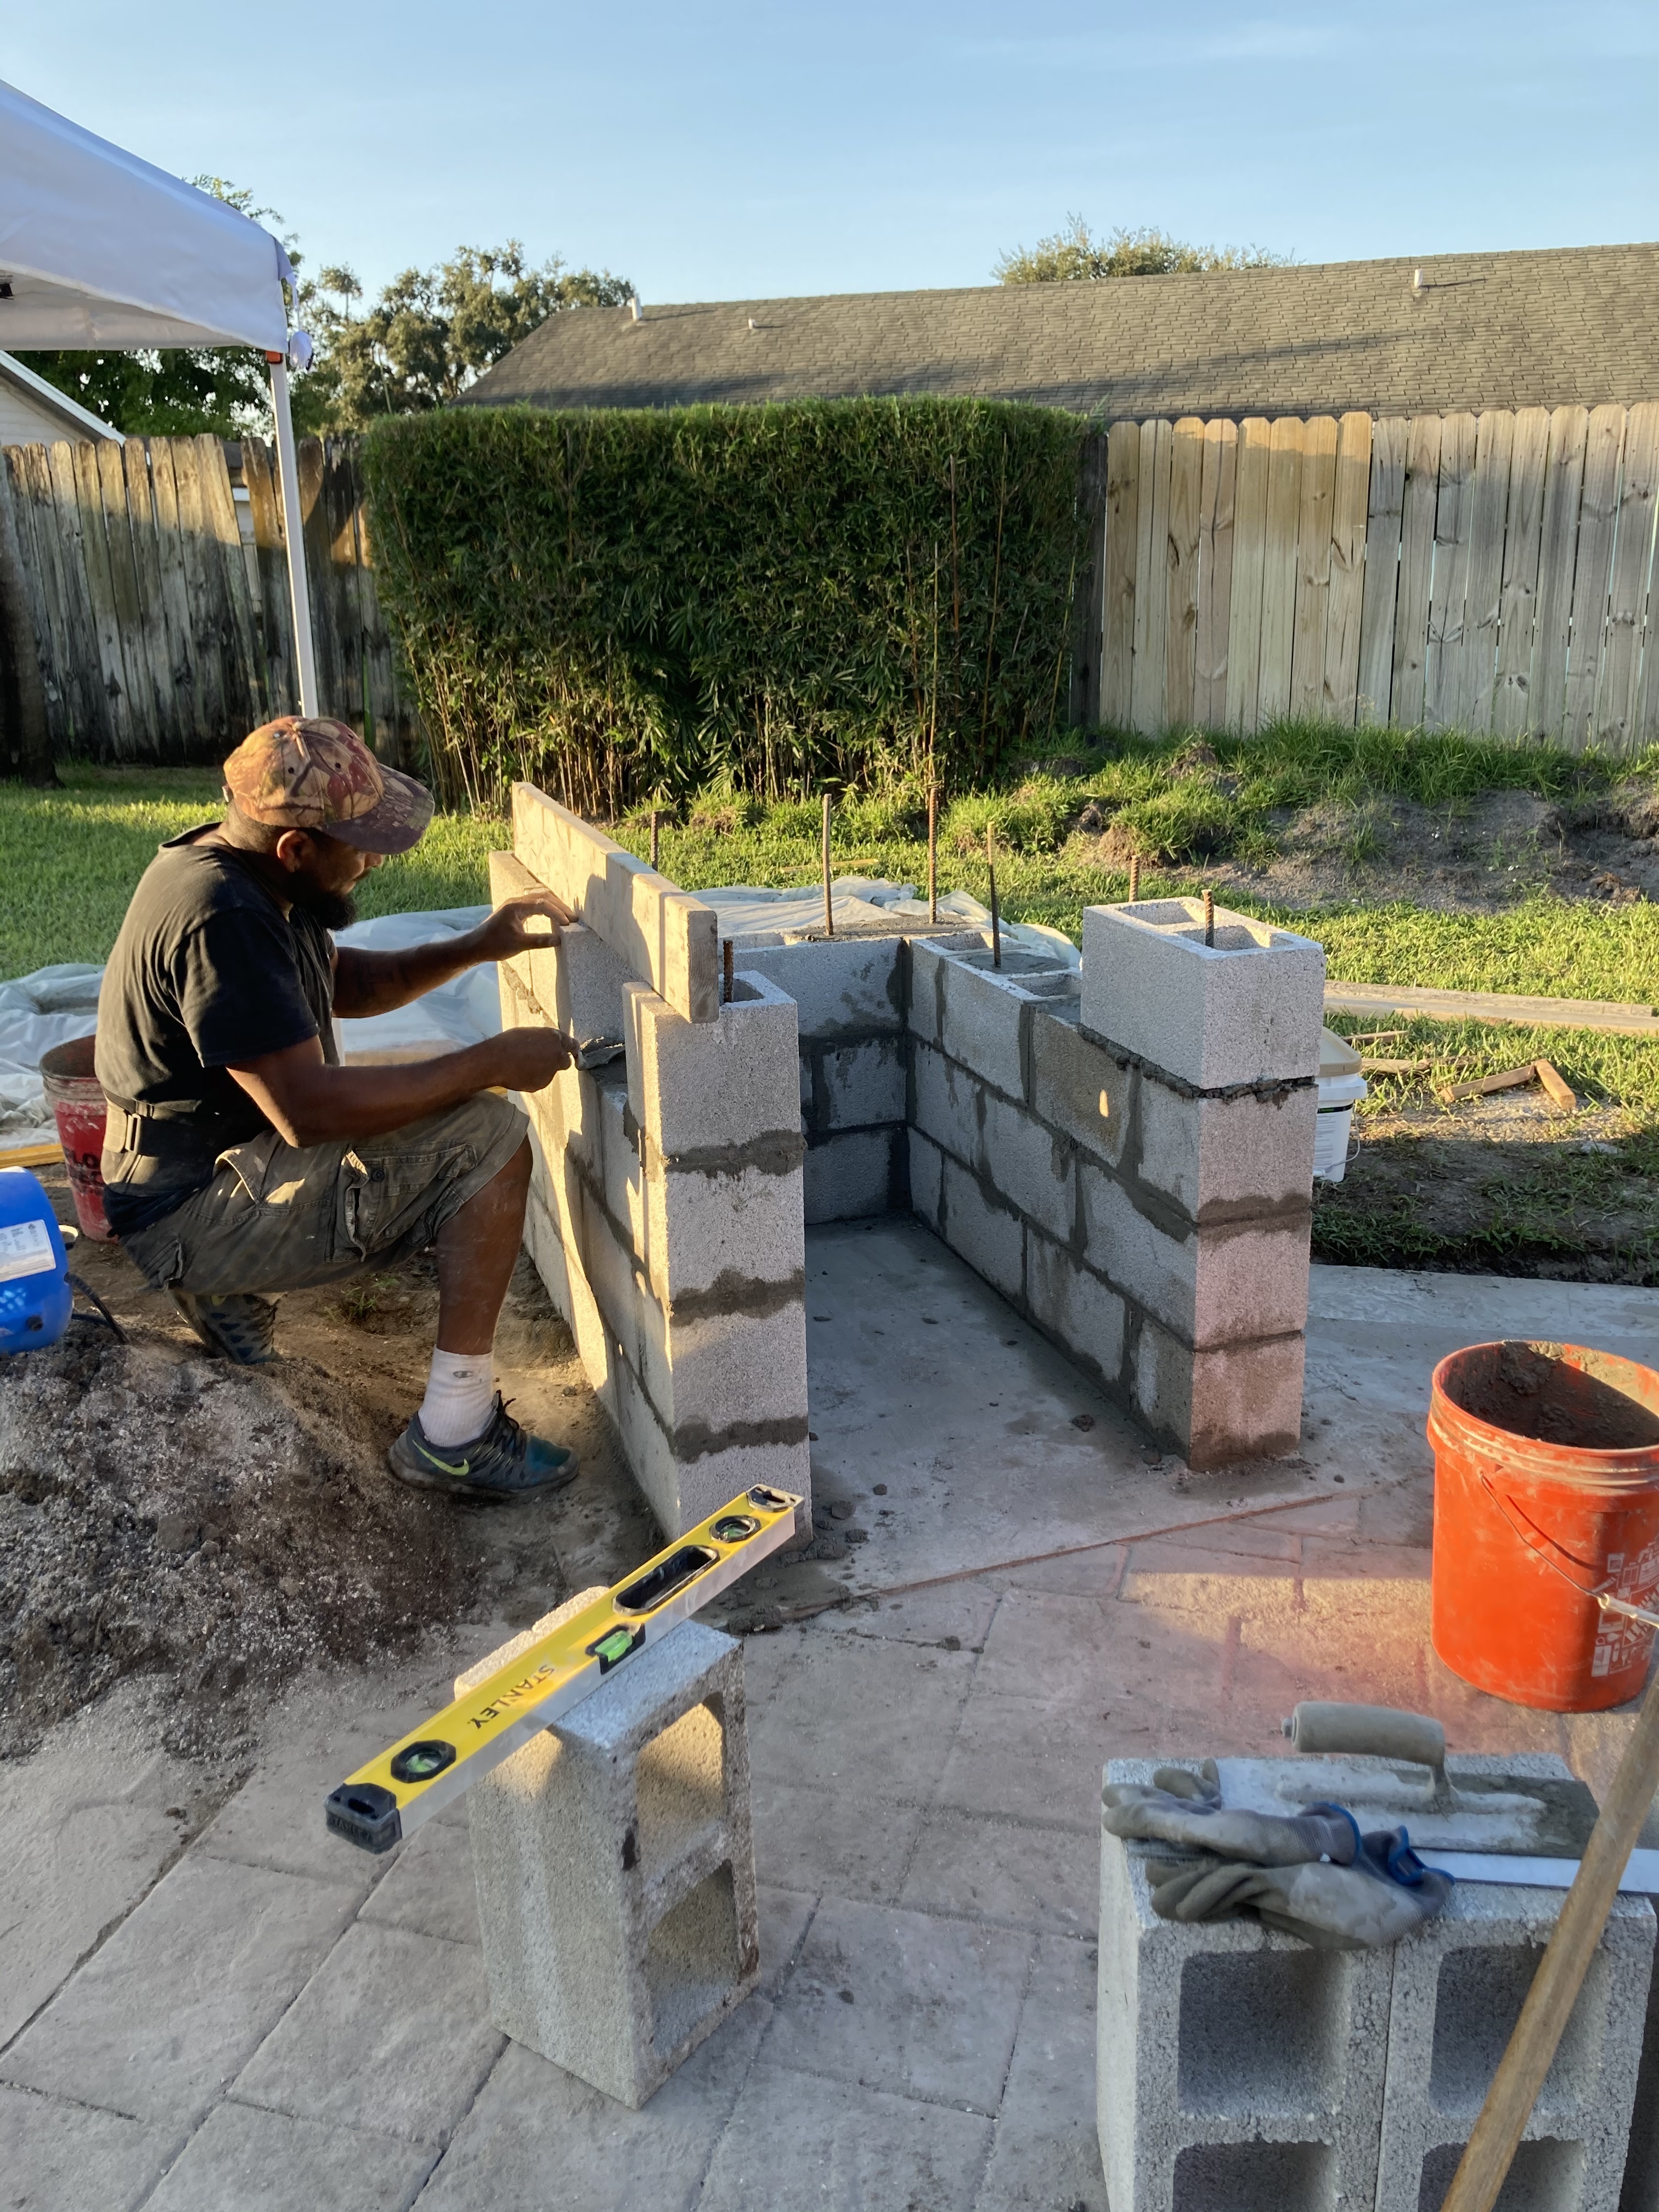
Because of the rain we couldn’t begin on Sunday, and on Monday we finished the pavers. So today we started and boy I thought this was going to be quick, but we were so meticulous on leveling everything that it took us about 8 hrs just to do 4 rows. The 5th row will be done tomorrow.
They can go at the same time. The concrete and mortar in the concrete blocks will dry more quickly because moisture is being drawn out of the wet material by the blocks themselves. Also, there is much less volume of material there.
The slabs need more time because it is a relatively large amount of concrete, and the wood forms will not draw out the moisture as quickly. It takes up to 30 days for the slabs to reach their full rated strength, but by day 6 they are strong enough to unmold and move.
Your base will be very strong by the time you lift the slabs onto it.
(Oh, and welcome to the BrickWood forums! I will be doing a similar patio next summer to surround our oven, so I love seeing your photos.)
Thanks for that info. Really helpful! Saturday hopefully we can put the slabs on and since I’m using a perlite/Portland mixture. We can possibly start laying bricks Monday. Fingers crossed.
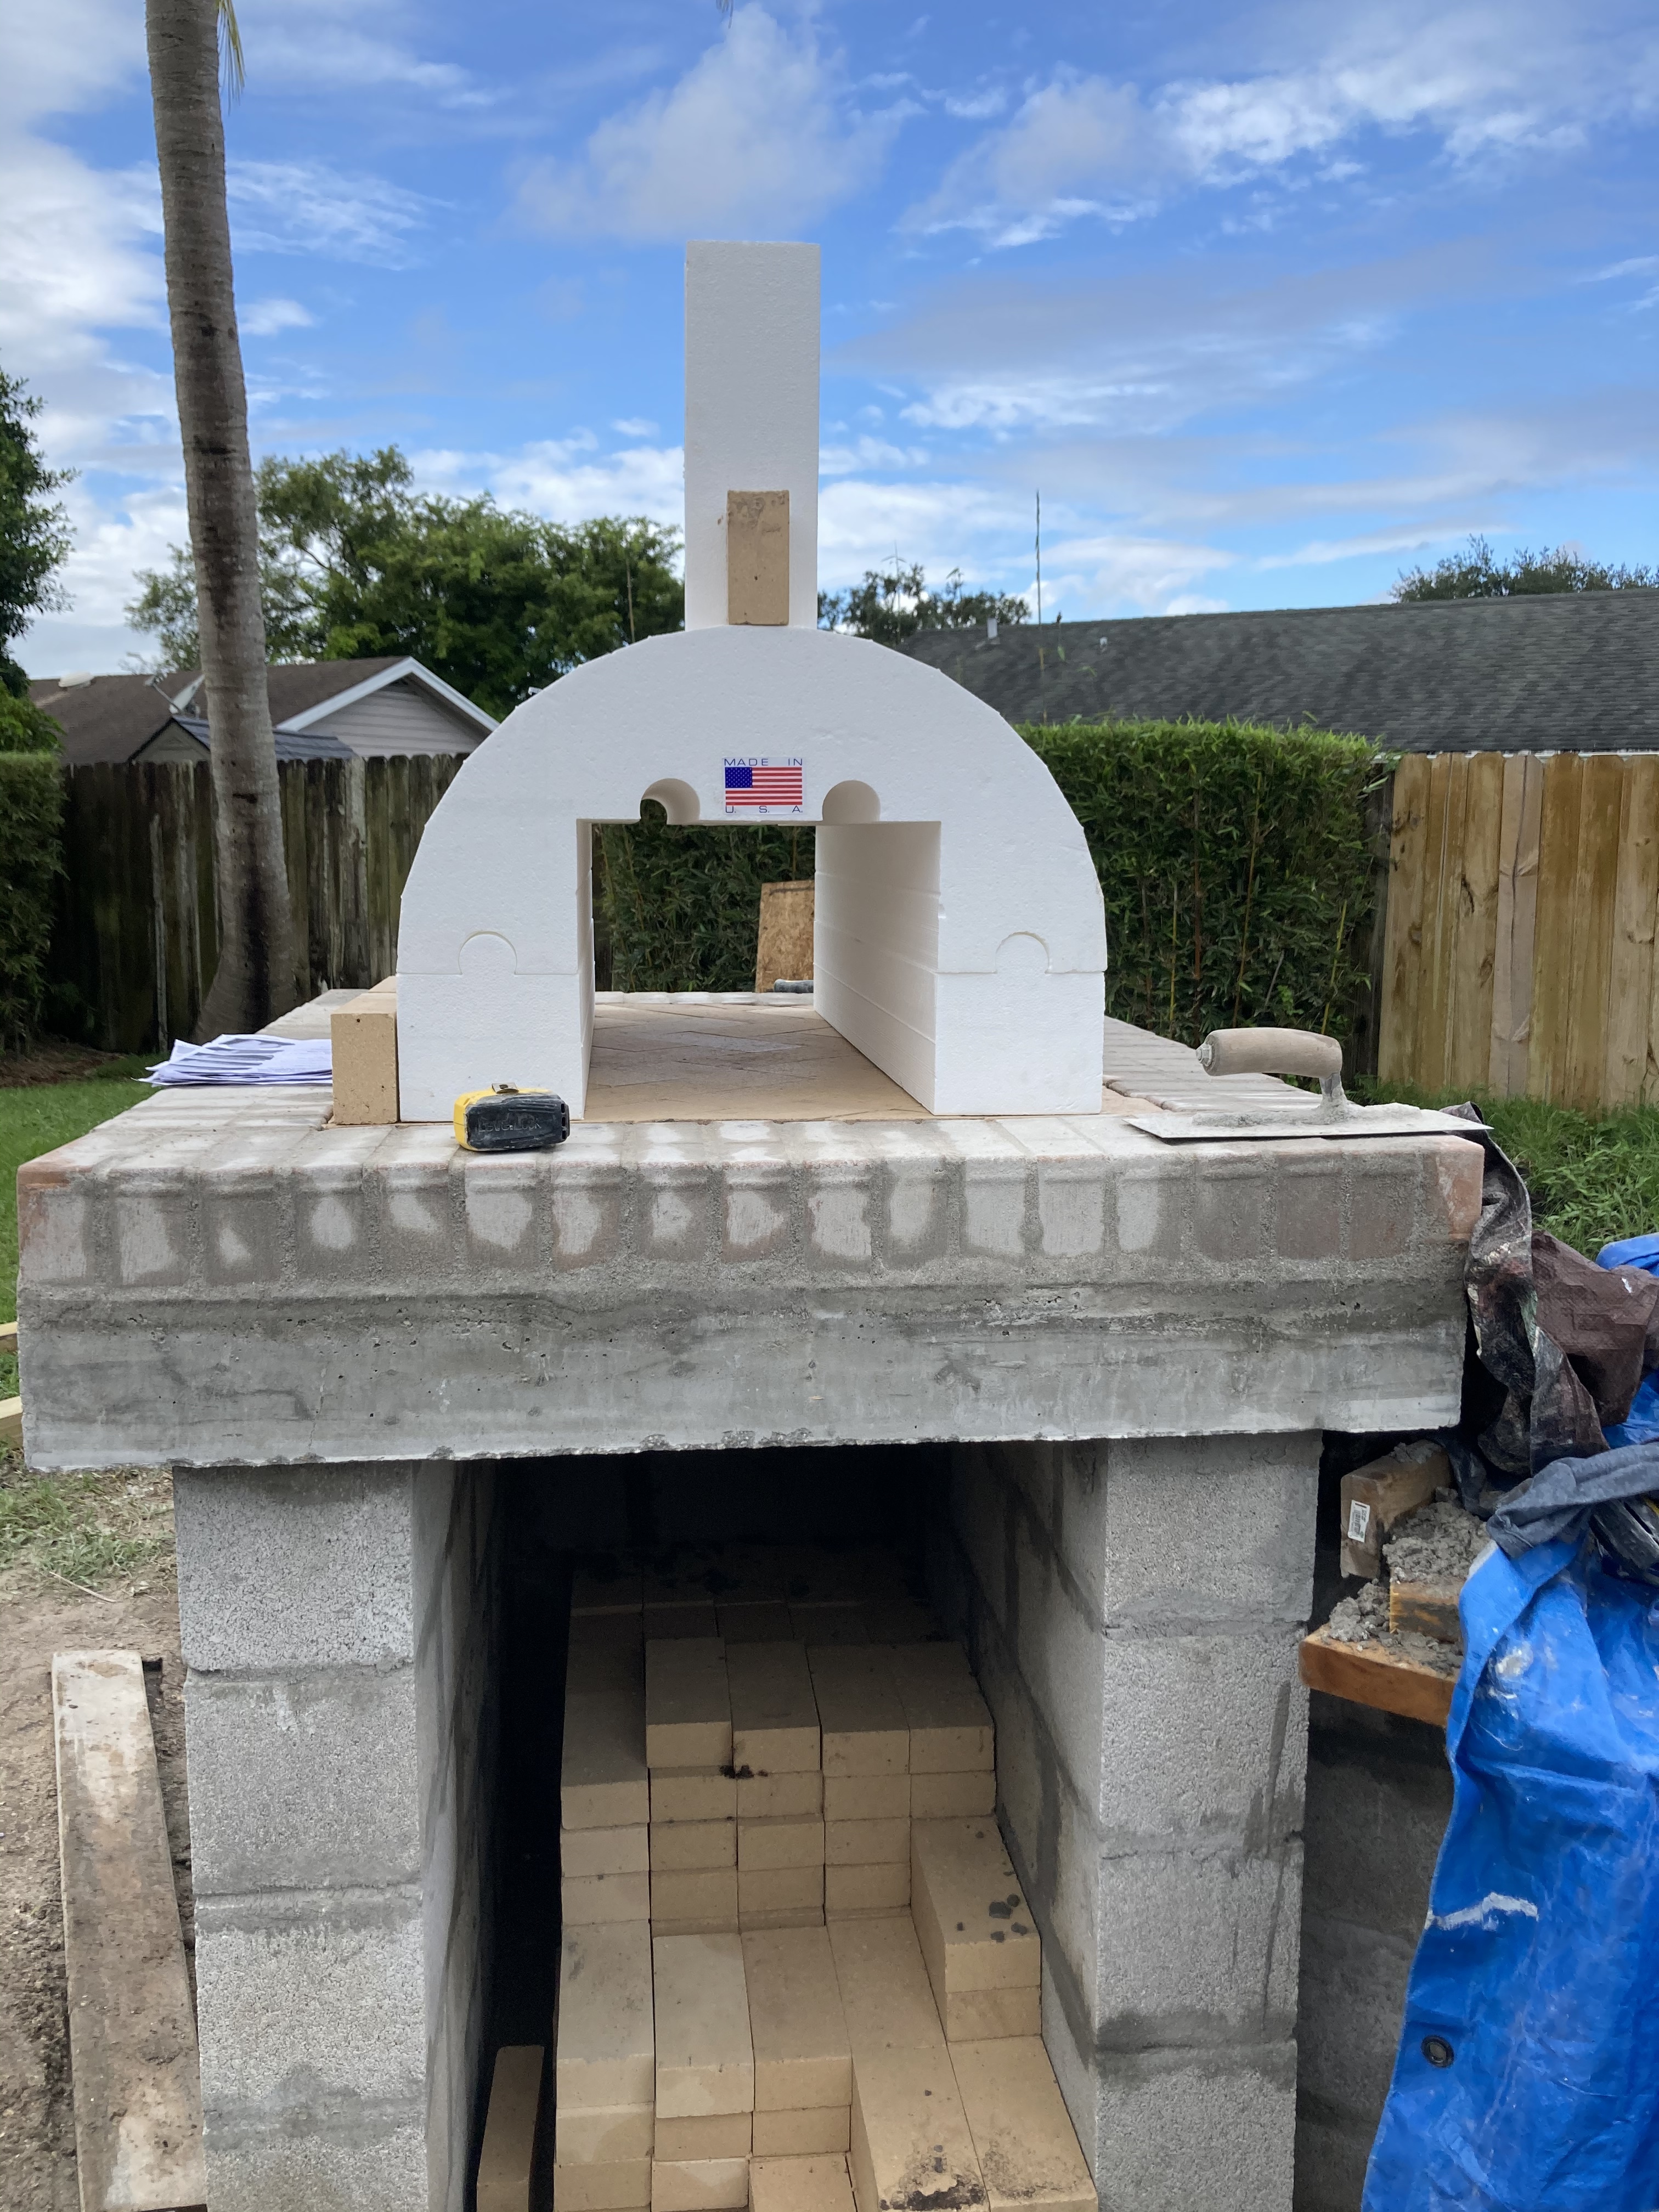
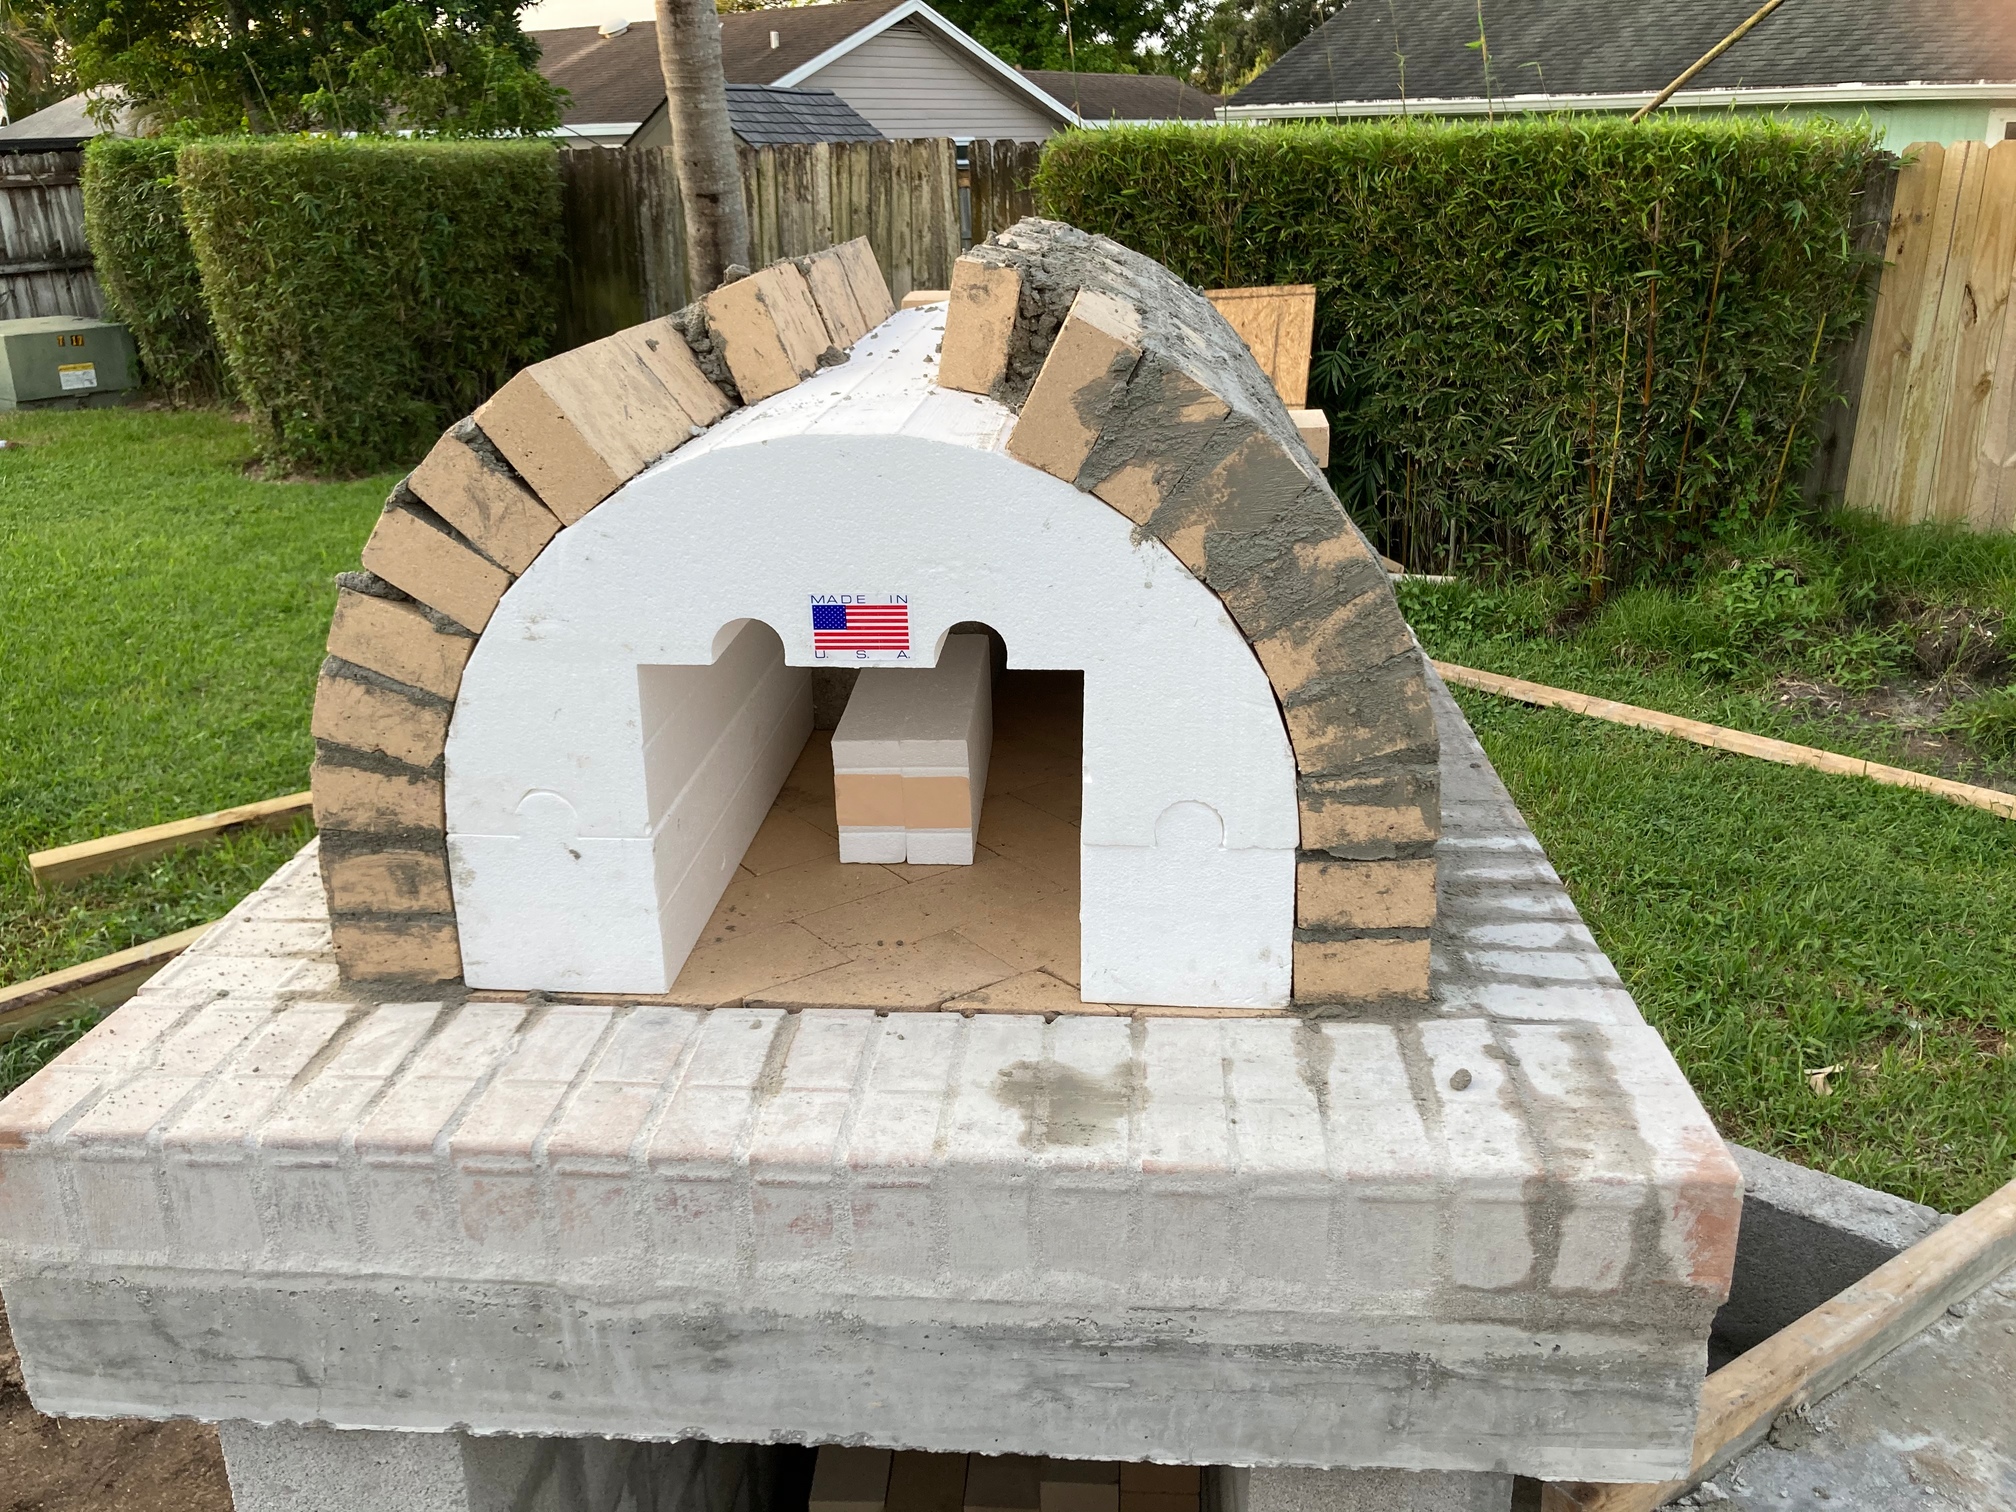
So I am looking further in designs for my oven. Would it be possible to build an arch inside the oven and outside of the oven as most round ovens tend to have? Also if possible would it be better than to move the chimney closer to the outside arch. I hope this makes sense I will attach a picture for reference.
While that would certainly be possible, I’d suggest that you would lose some of the advantages of this design, and wouldn’t gain much.
It looks like the designer wants to incorporate a dead air space between the inner and outer barrels, otherwise it wouldn’t work to retain heat. The outer shell would thus have to be built freestyle (no form). While I recognize that this is more of a schematic, I’m thinking that the design also depends less on the insulation blanket to retain heat.
I think the biggest issue would be you don’t have enough room on your slab as specified. You could build a bigger slab, but it would need to be in proportion to your base, which would also need to be built to a wider dimension to keep it under the walls of your oven and bear the load properly. A secondary consideration is that you would need about 70 more firebrick and corresponding amounts of the refractory mortar to build a second arch. Add another 25 firebrick for the third arch (for the door). The refractory tiles aren’t a bad idea, though I see the designer has them placed at right angles which could lead to catching the edge of a peel if any of them heave.
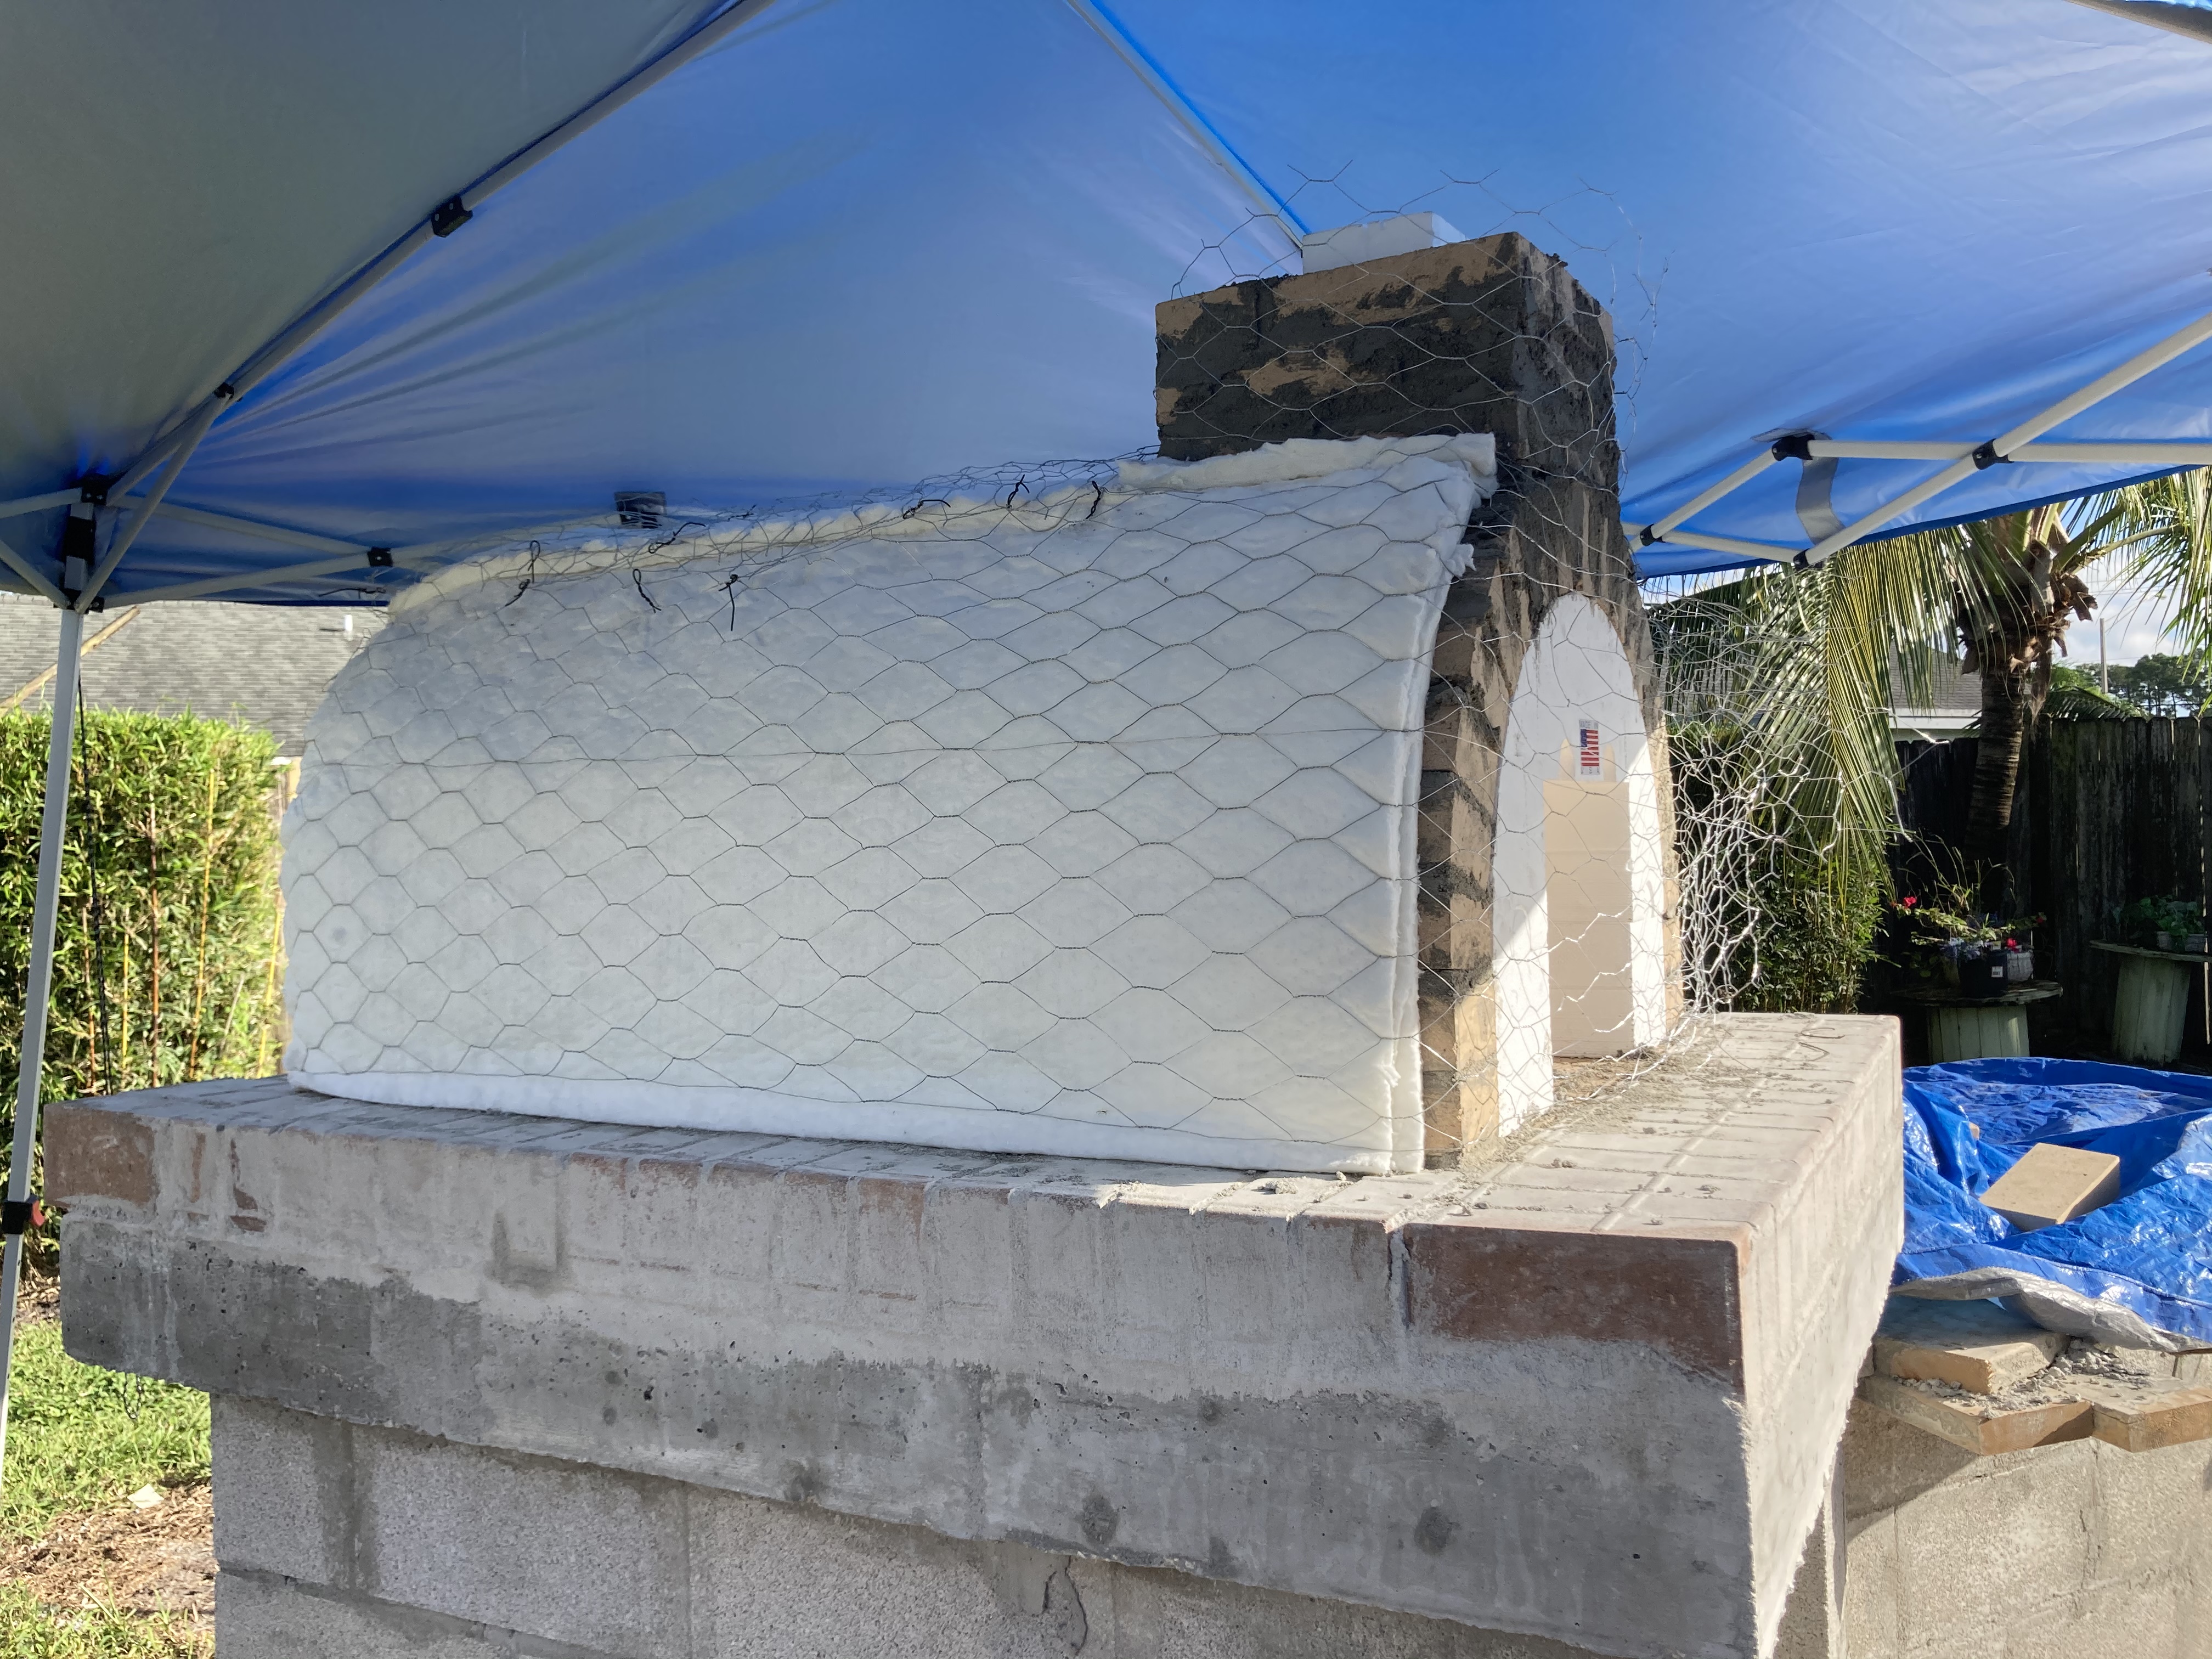
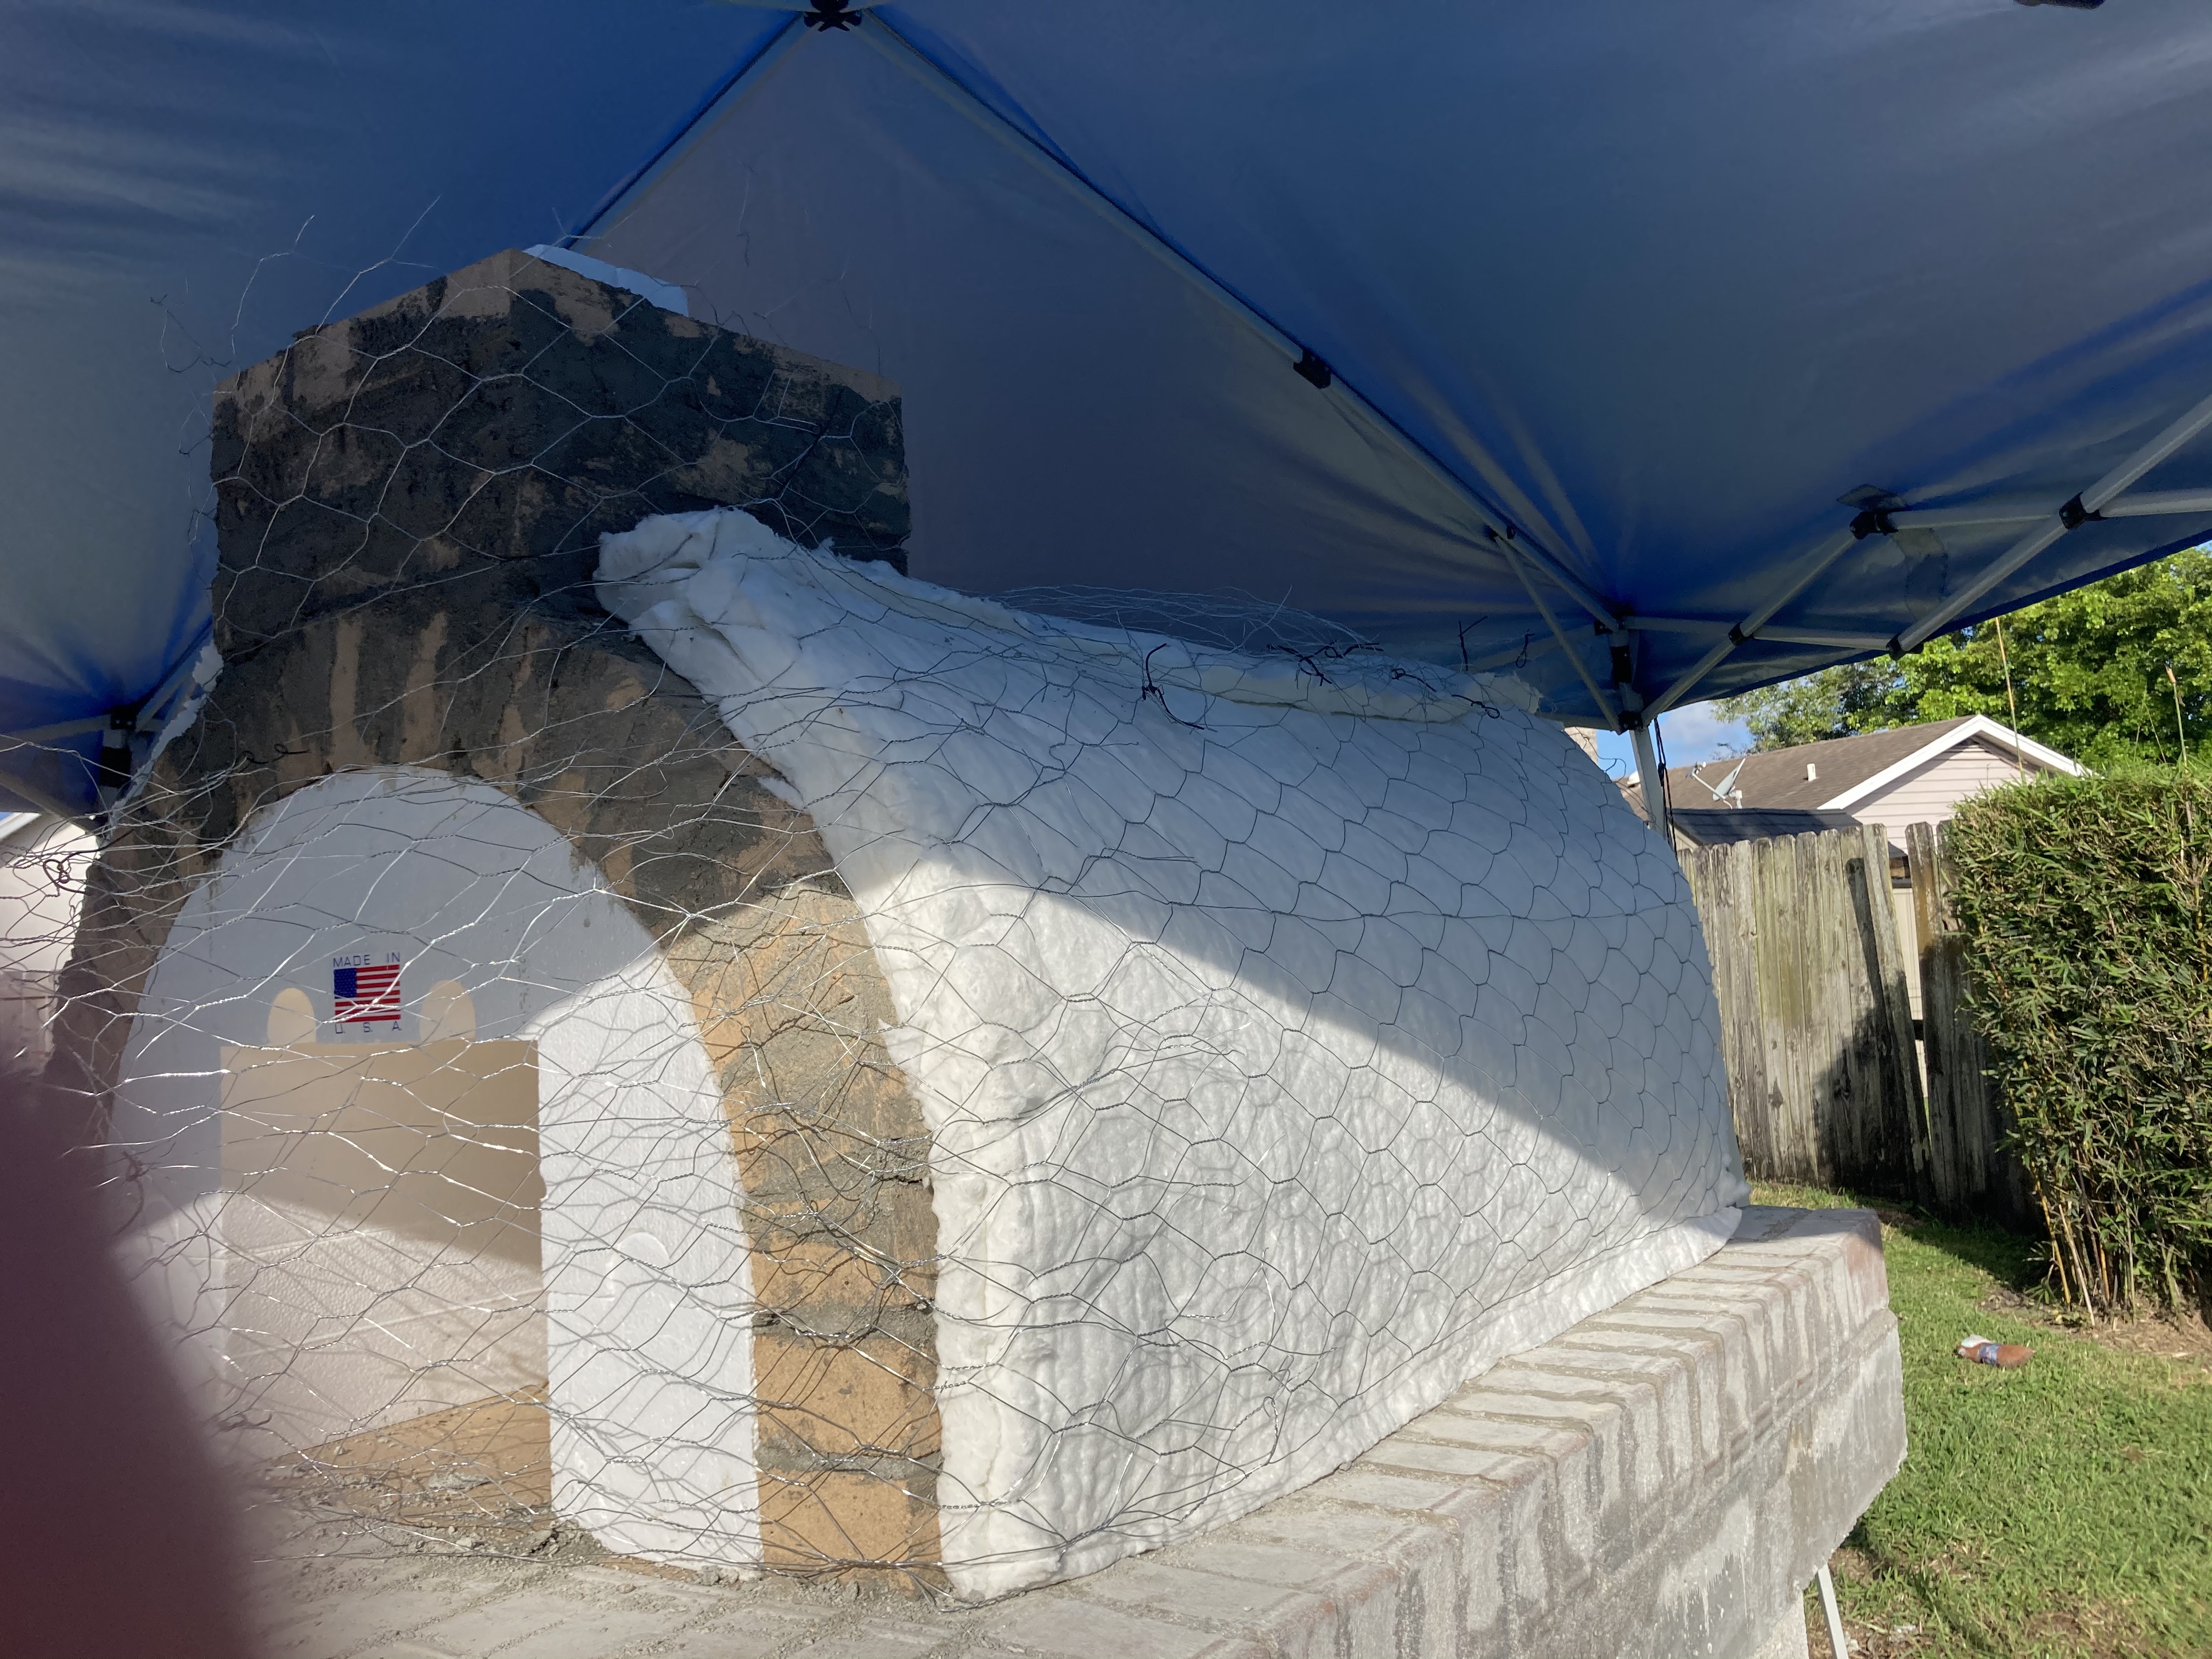
I believe the layer labeled “vermiculite render” is actually similar to the Vermiculite/Portland cement mix specified for the insulation layer in the hearth slab. First, I’d substitute Perlite for Vermiculite to avoid an insanely-long curing time, and I would mix it with Type S mortar rather than Portland cement. It would add the benefit of extra insulation, because in this design there isn’t going to be enough room to do a full double-layered mineral fiber blanket. The disadvantage is that the Perlite or Vermiculite will weaken the scratch layer, which is the foundation of your protective shell over the oven. With a single, thin finish layer the stucco layer would be vulnerable to impact or crush damage.
The chimney should not move closer to the outside arch. Your fires will be toward the back and along the sides. Fresh air comes in through the door opening or around the edges of the door and travels along the floor. Hot exhaust gases travel up and along the apex of the arch, then forward because of the pressure from the fresh air below. The chimney opening is placed to intercept those hot gases before they reach the door. Placing it any closer means a 50/50 chance that they will simply get through the door rather than being drawn up.
The big advantage the BrickWood design brings to the table is its simplicity. I don’t see the double arch adding much to the design, and the construction looks much more elaborate than it needs to be.
Hope this helps, Ana. It’s great to look at other designs!
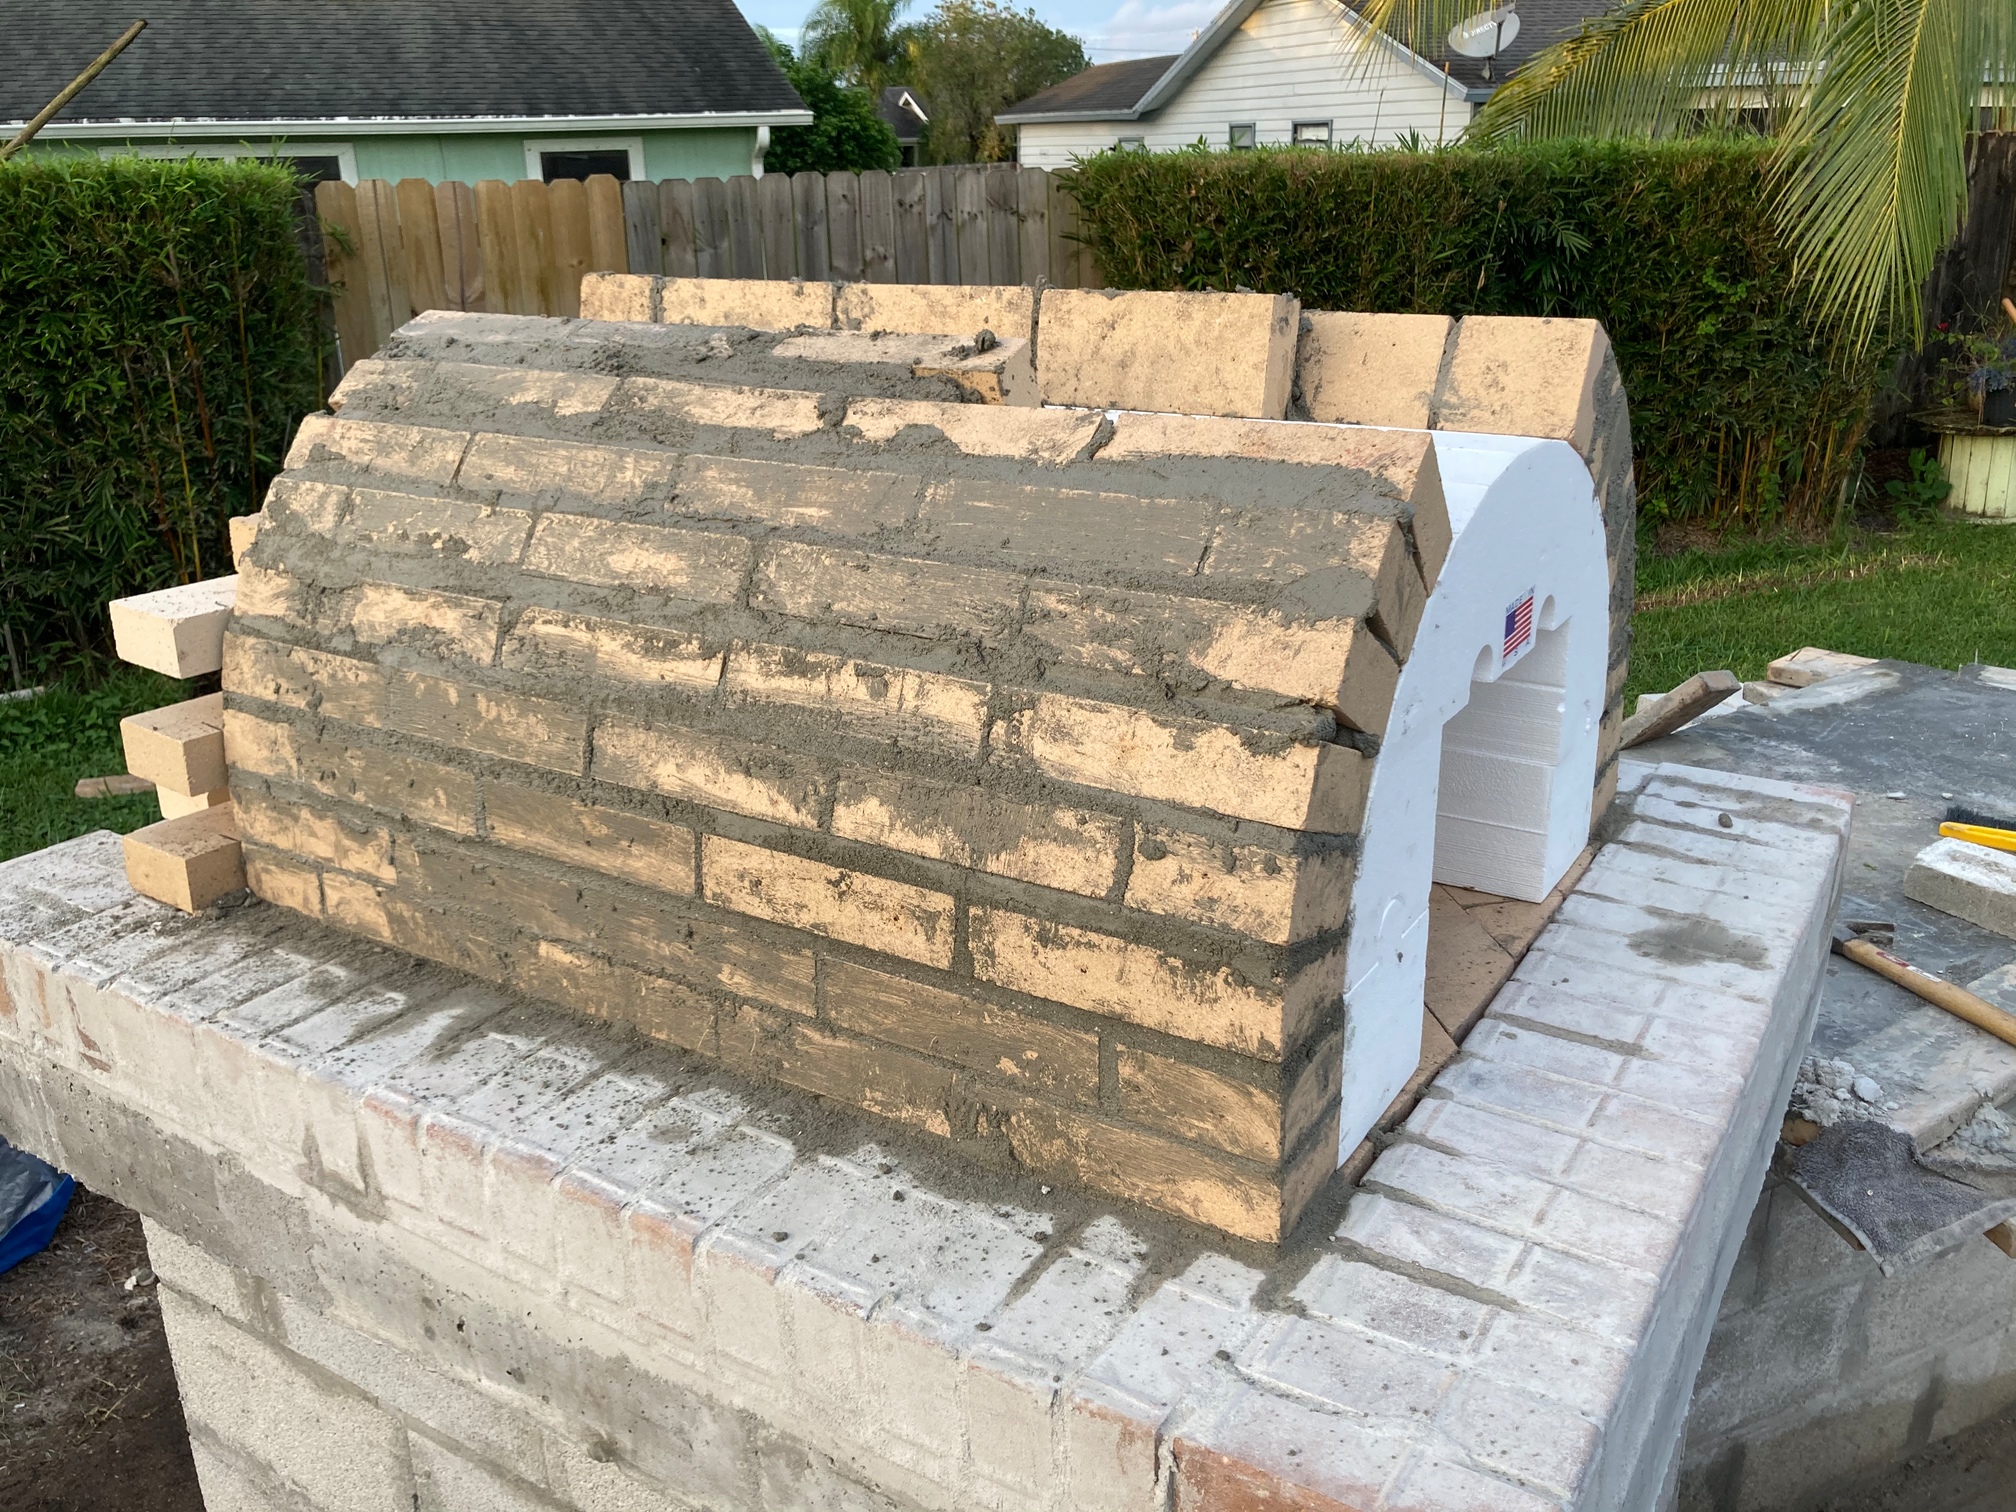
Masonry isn’t as easy as it looks.
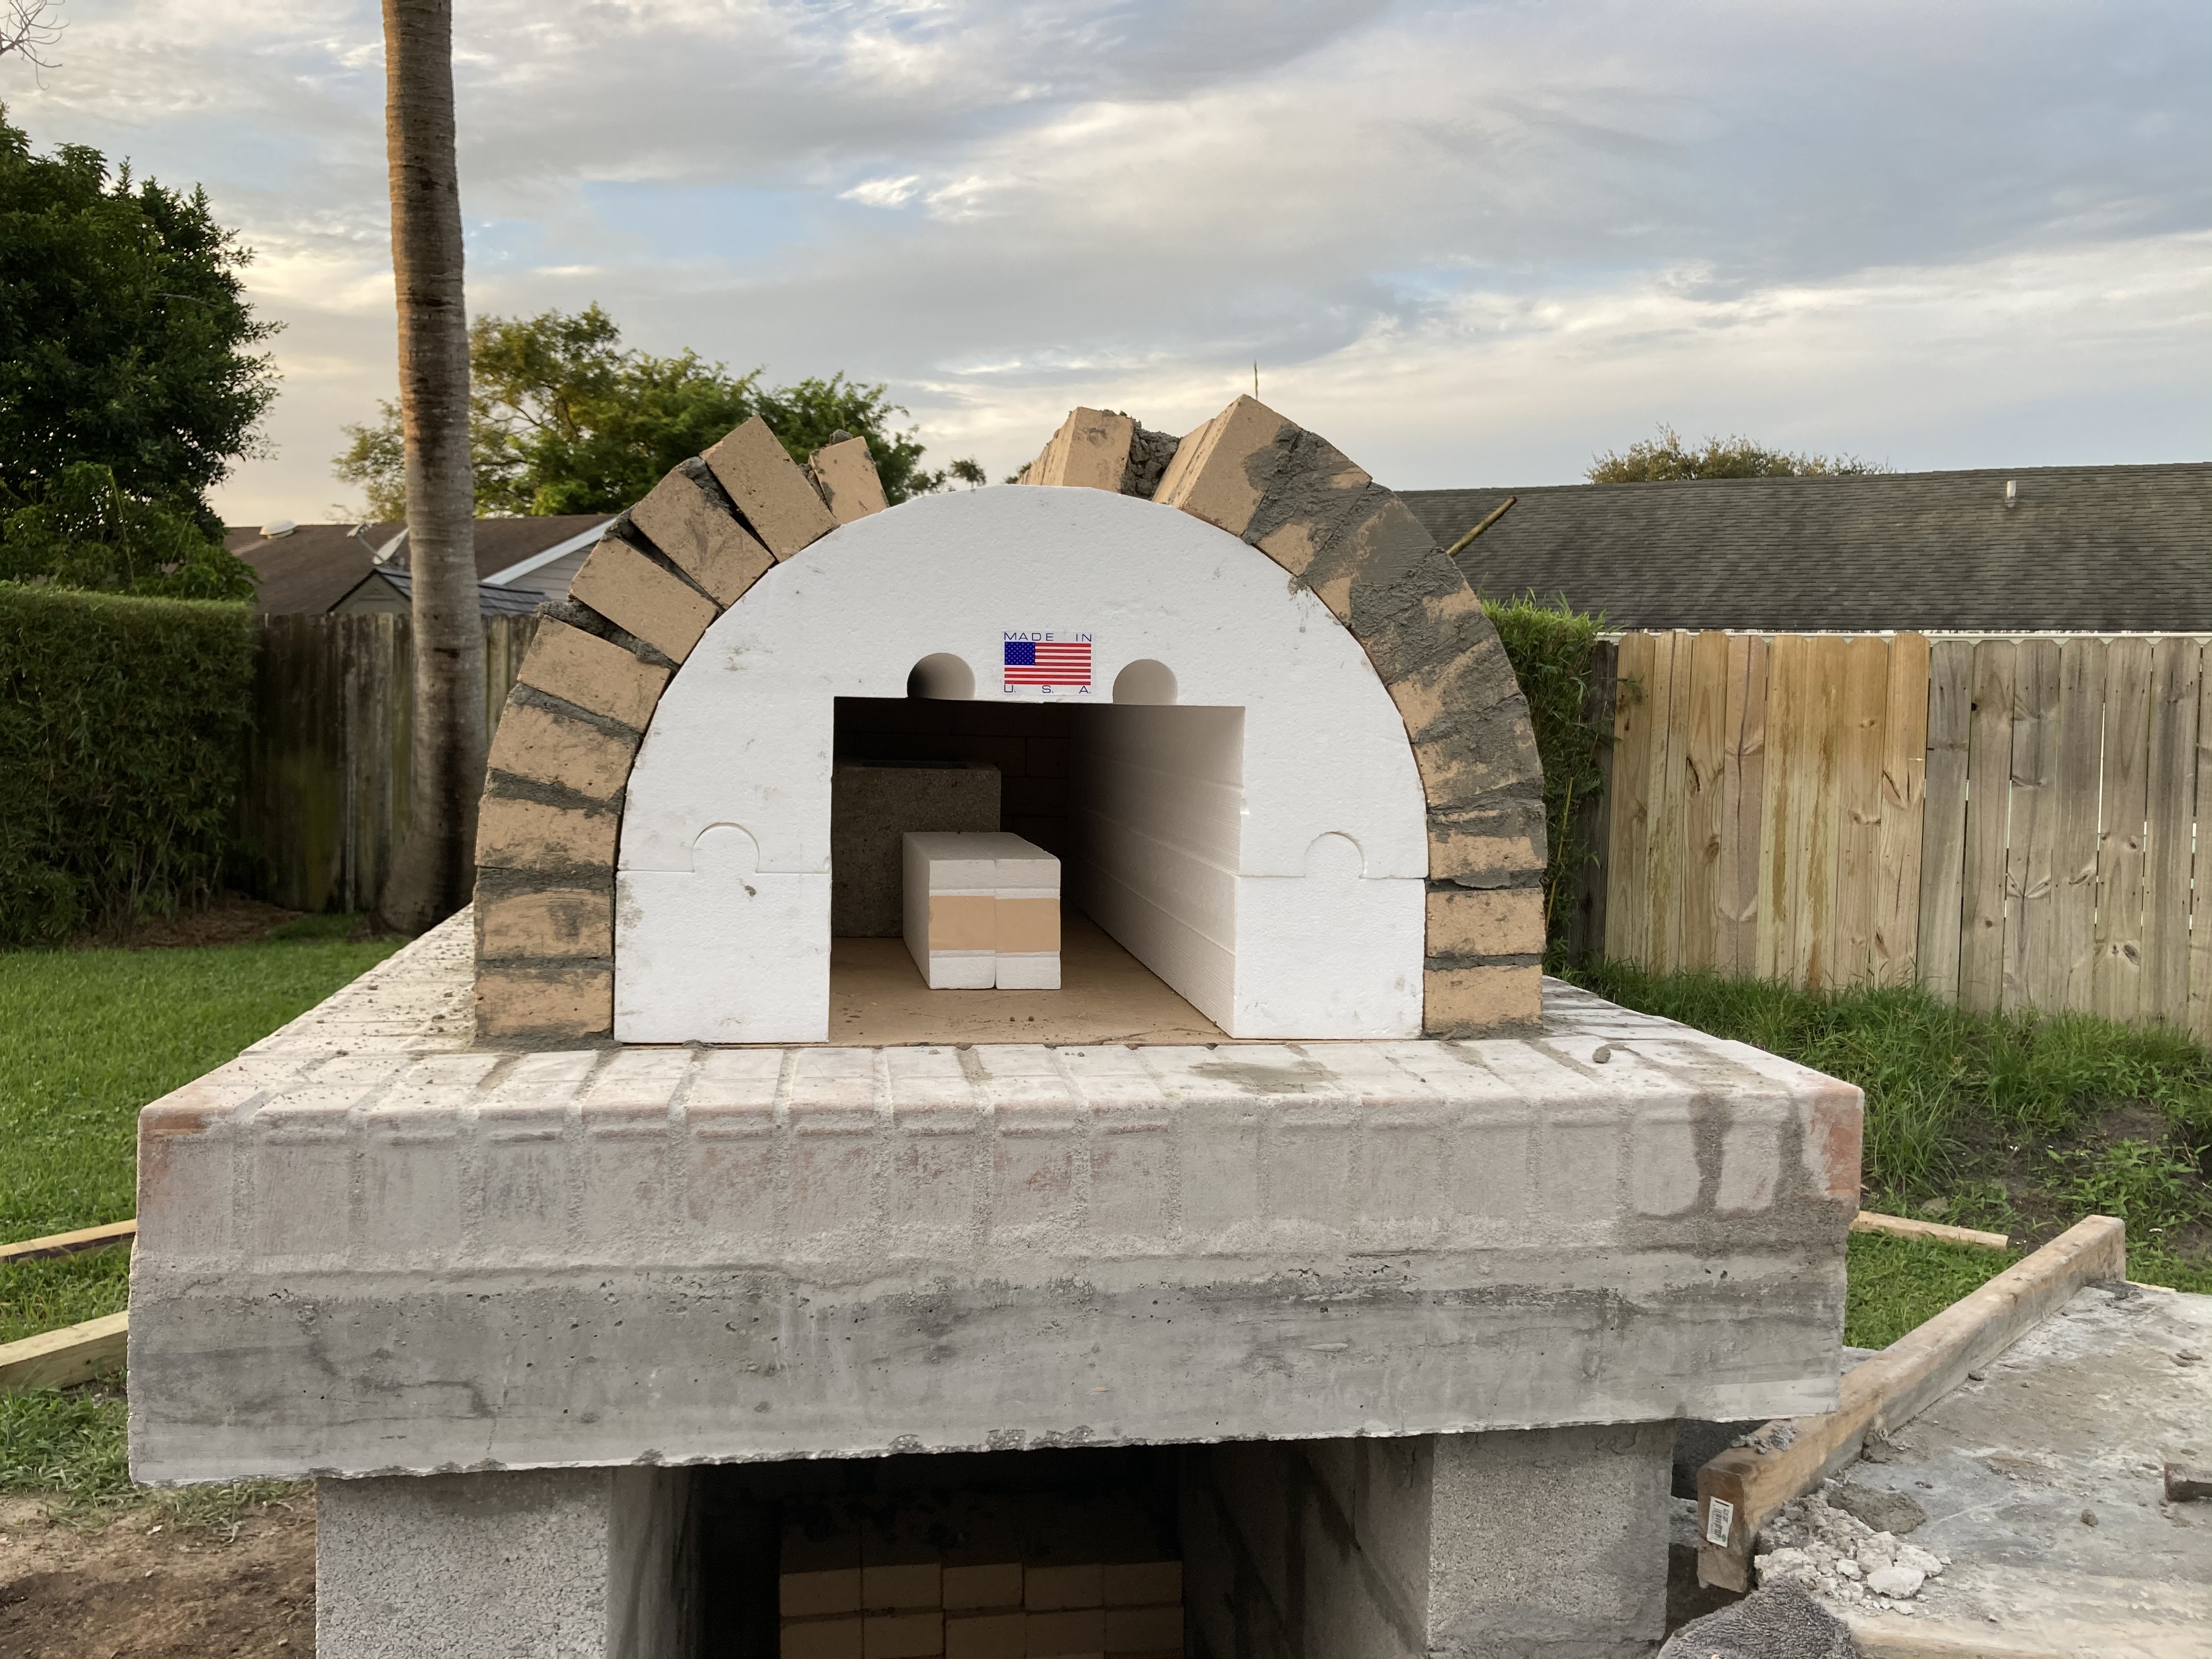
The chimney kept falling off due to the winds, we will be putting it on as we get closer to the front.
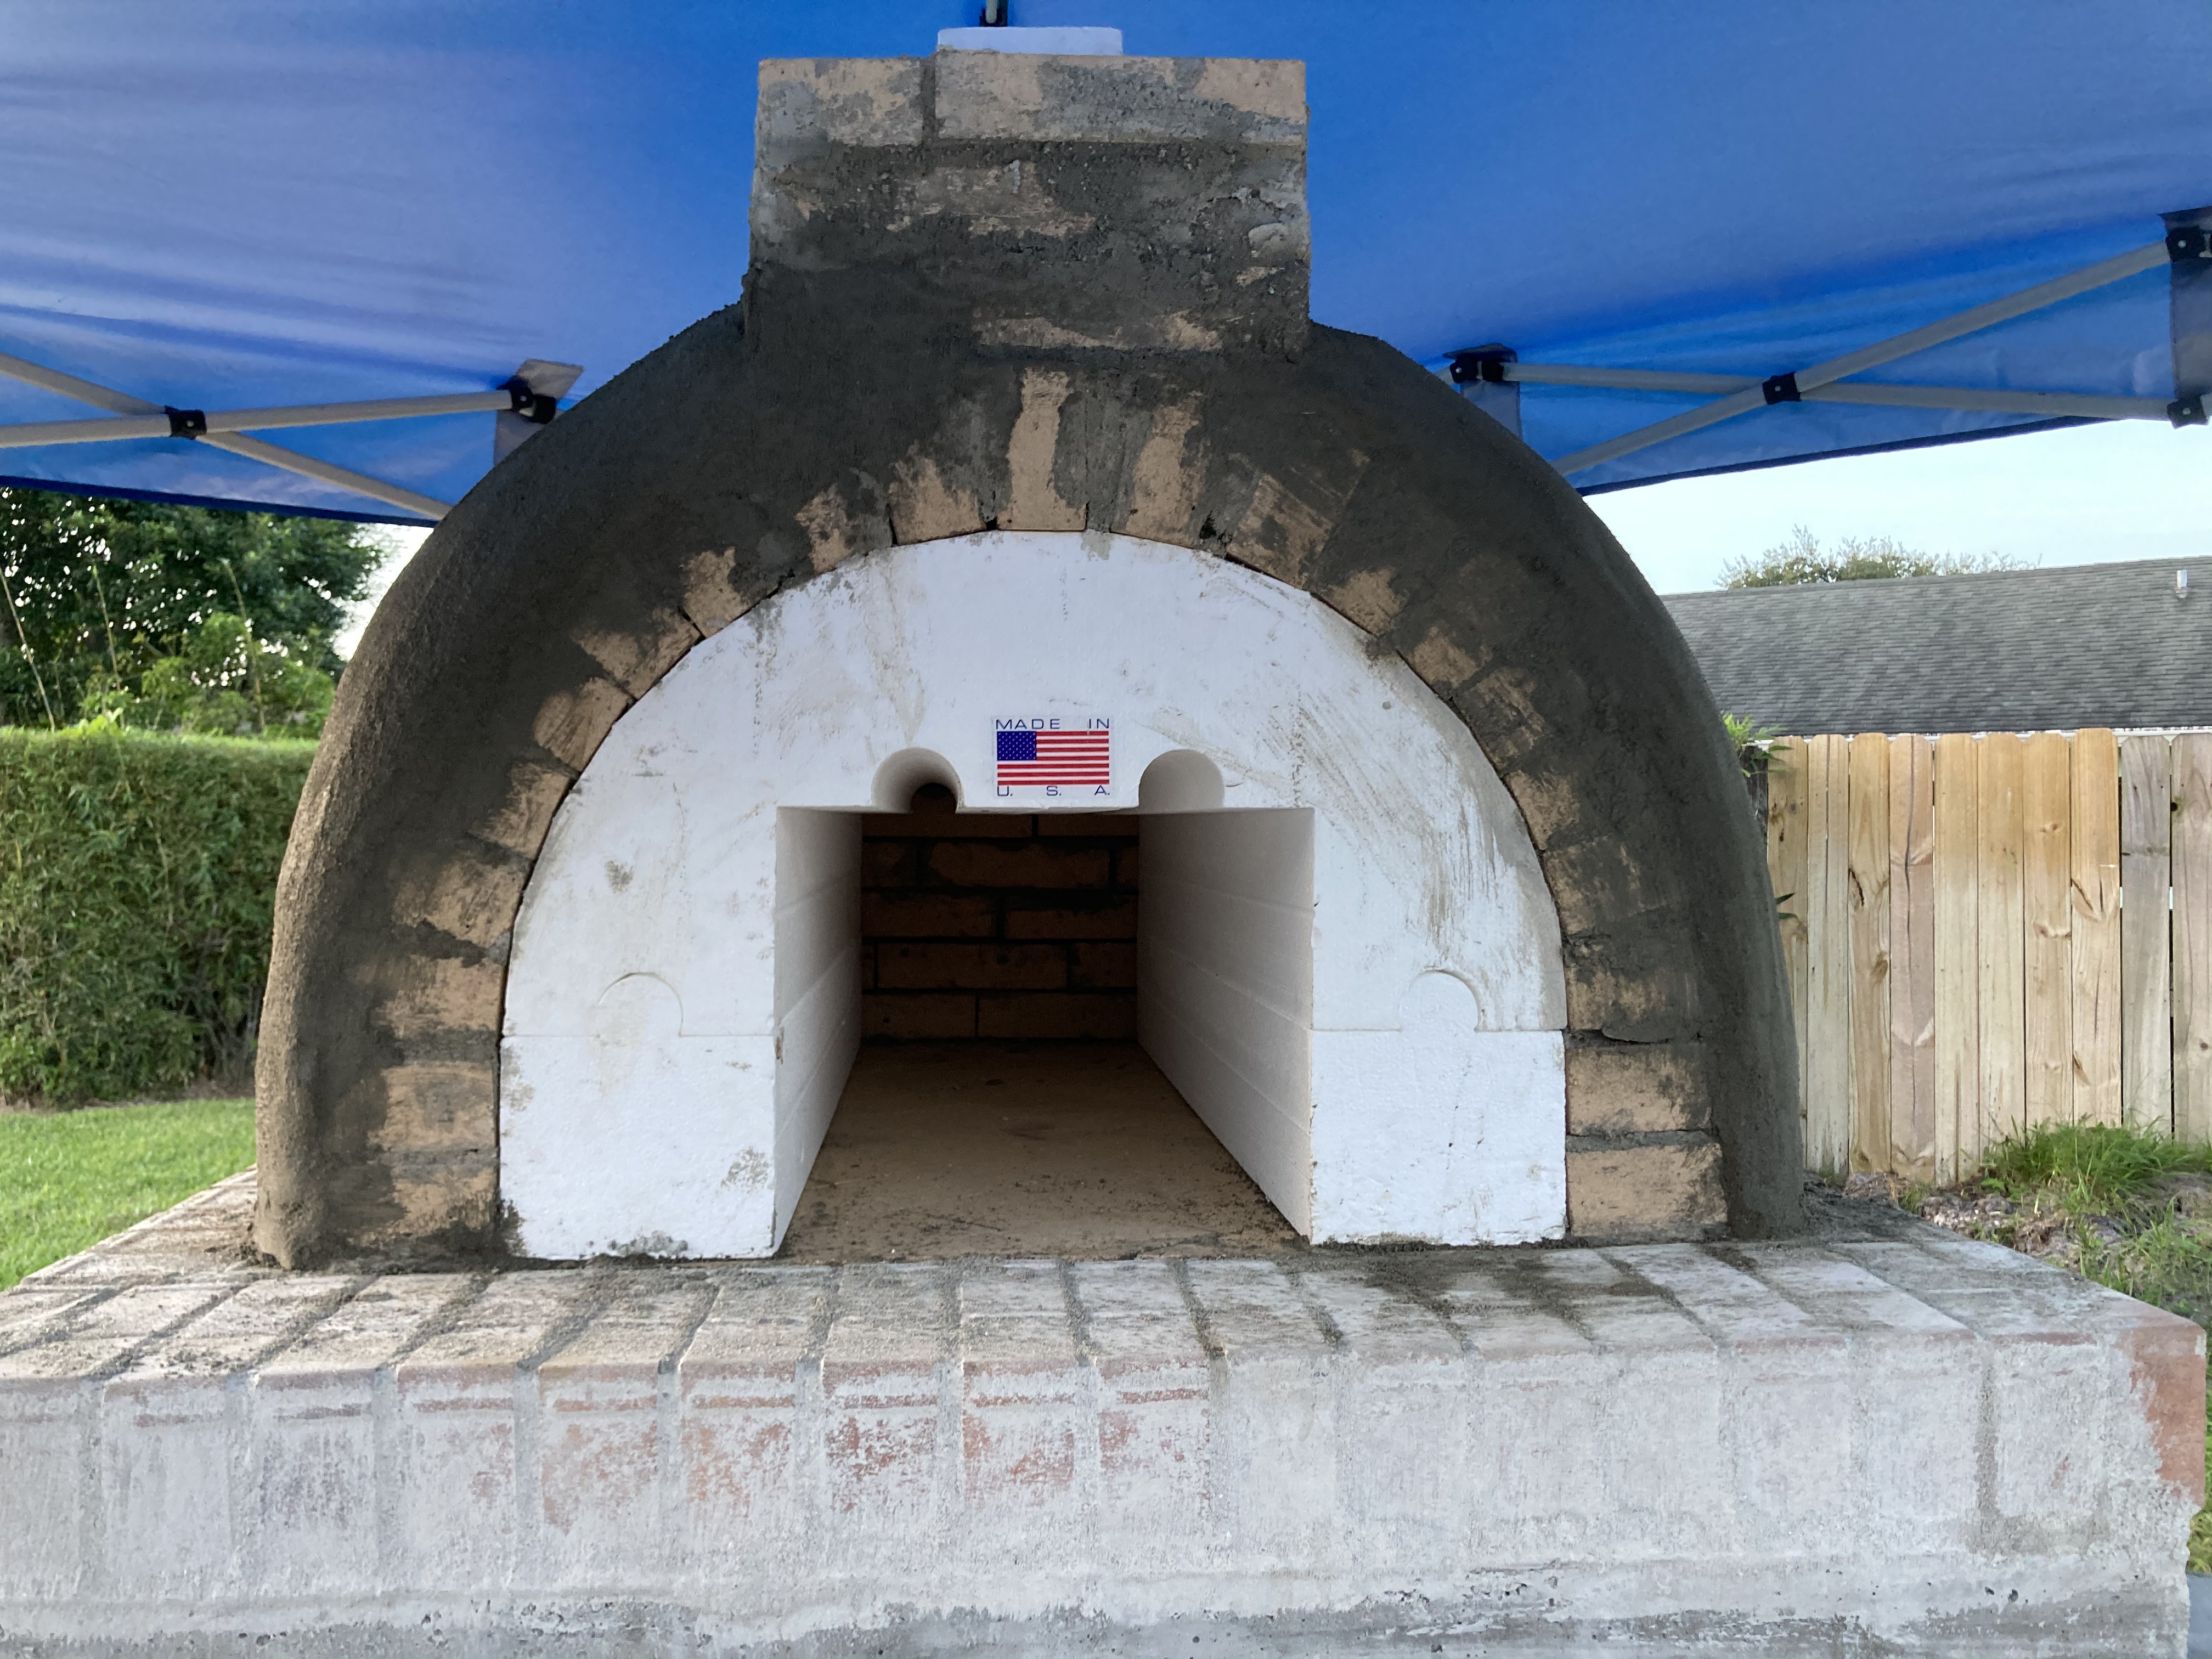
I think I may be taking out the front 3 firebricks and putting new ones in. Just think it’s too lose and would rather have a tight clean look, since I will be looking at it and cooking on it.
There is no need to keep the chimney form on the main form until you get to that area, and then just to make sure you have the cuts correct for what will be the chimney vent in the arch. Looking back, I would use it for that purpose, then stash it inside the oven as you have done until ready to build the chimney. Then I’d use it for the base course of chimney bricks, remove it again, and place the remaining courses. Mine got adhered to the inner walls of the chimney by the mortar and it was pretty difficult to extract.
If you are using a premix (like HarbisonWalker), and you have unopened sacks, I’ve heard you can sell them on local classifieds like Craig’s List for a small discount from what you paid and they will go fast.
In general, you want to use high-temp mortar for high-temp applications. This short thread explains why. Eventually it may harden, but because the outer shell is insulated from your firing surfaces, it will need reinforcement.
I used Sakrete Type S mortar for the stucco shell. It is much less expensive (just over a tenth of the HarbisonWalker product for high heat), and very suitable for the application.
Almost at the last leg. I’ll say as I am constantly looking over the gallery I can further appreciate everyone’s talents and hard work and making their oven! I will reiterate again. Masonry is such a skill! One definitely done with practice. Loved looking at everyone’s clean lines and would have loved to have taken the time to try to get there but what is done is done
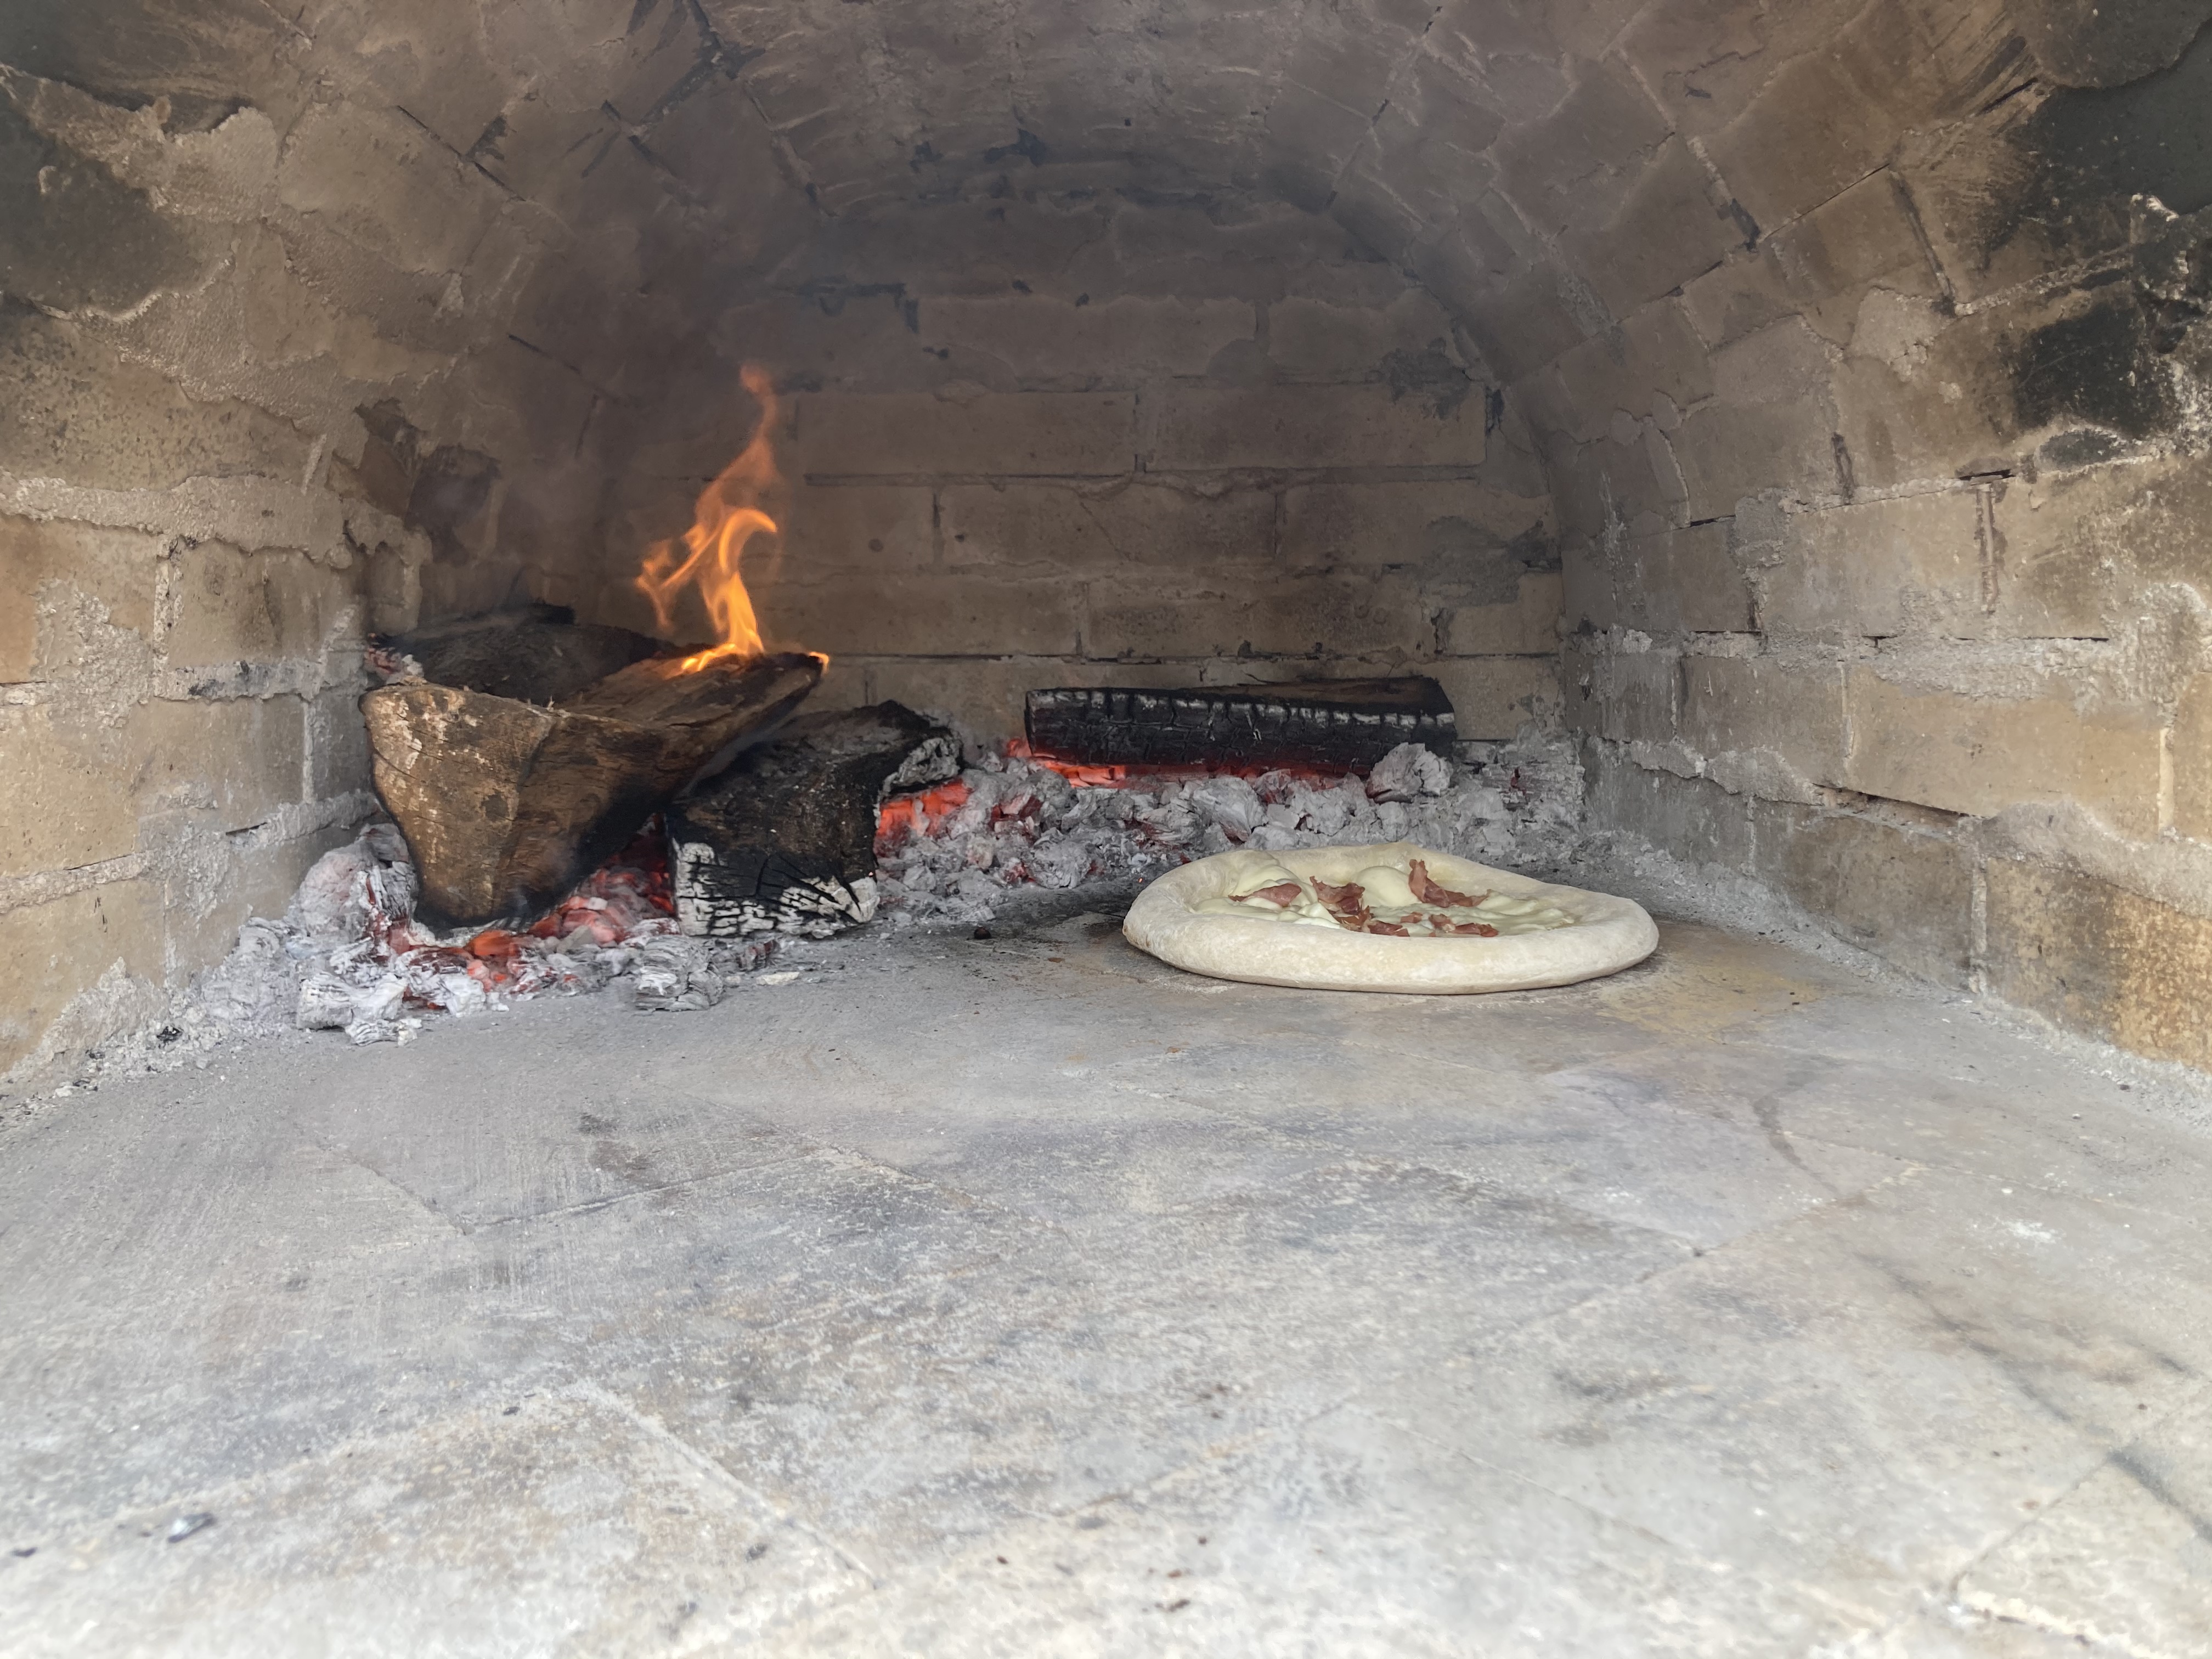
Paint will be going on tomorrow. Then I’ll be waiting a couple days to try to pull out the foam. I have read some methods from others on this forum, So I’ll definitely be using peoples advices! Then it’s a week of curing! (In my area I have people selling Australian pine - I know from the cheat sheet of wood thread pine is a no. Australian pine will be a no then?)
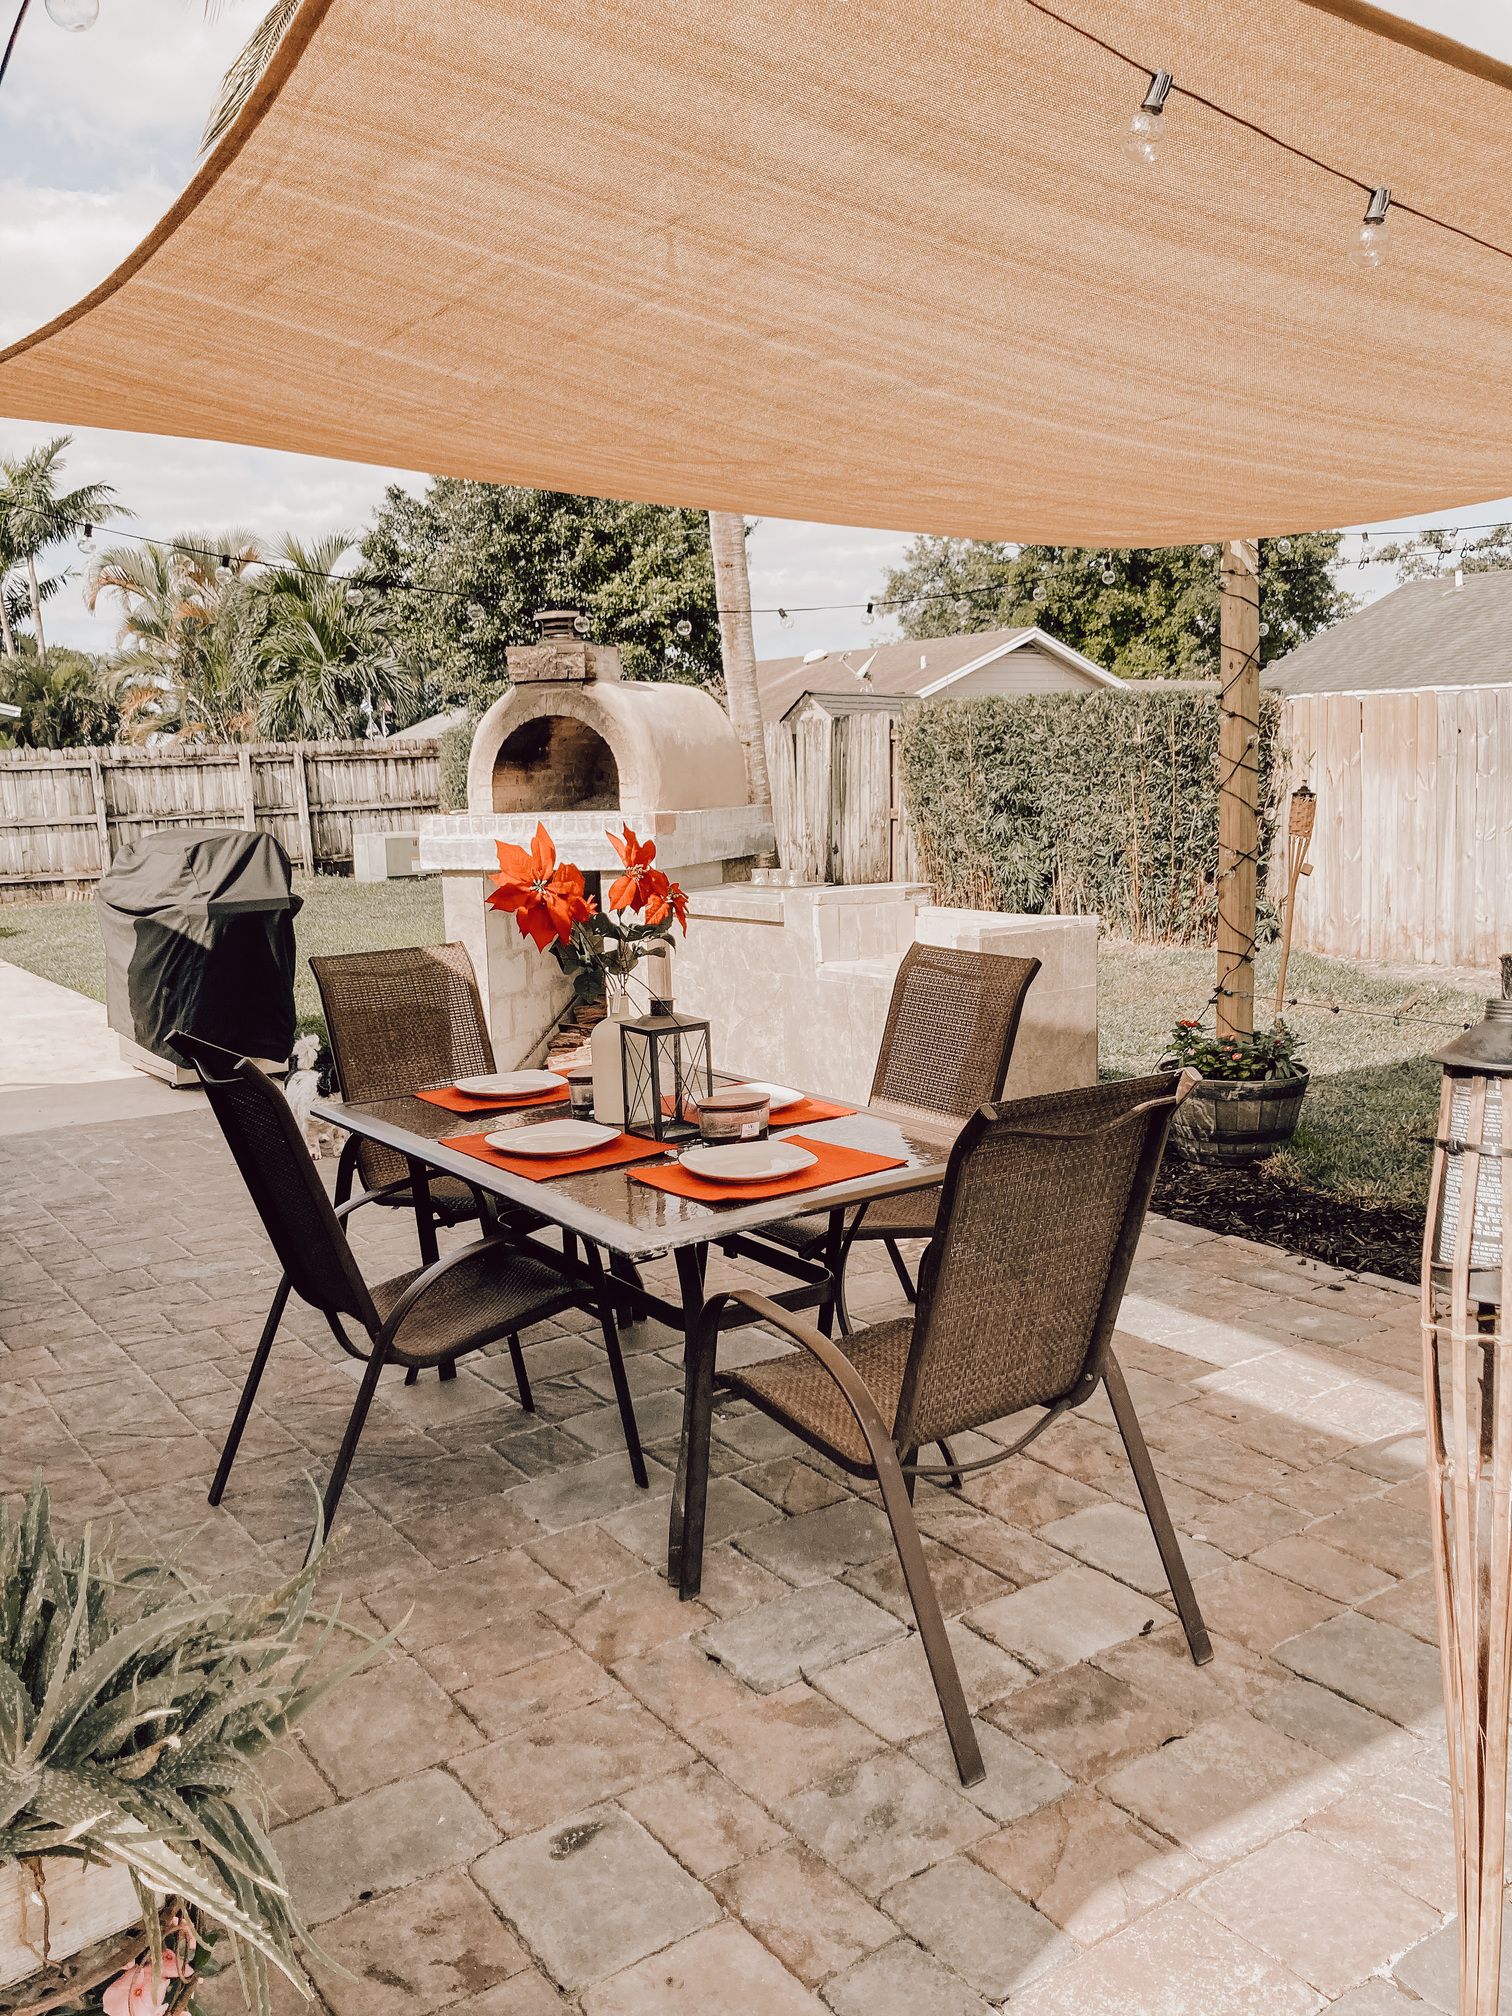
In the meantime. As I am practicing my dough recipe etc, the oven just needs its aesthetics (hiding all the imperfection) I especially love Gideon family — how they incorporated stucco and bricks for the chimney top. I will be doing something similar. I also would be closing off a bit of the front after the foam is out.
LOOKING GOOD! You guys are doing an EXCELLENT job on your project! You’re in the home stretch!
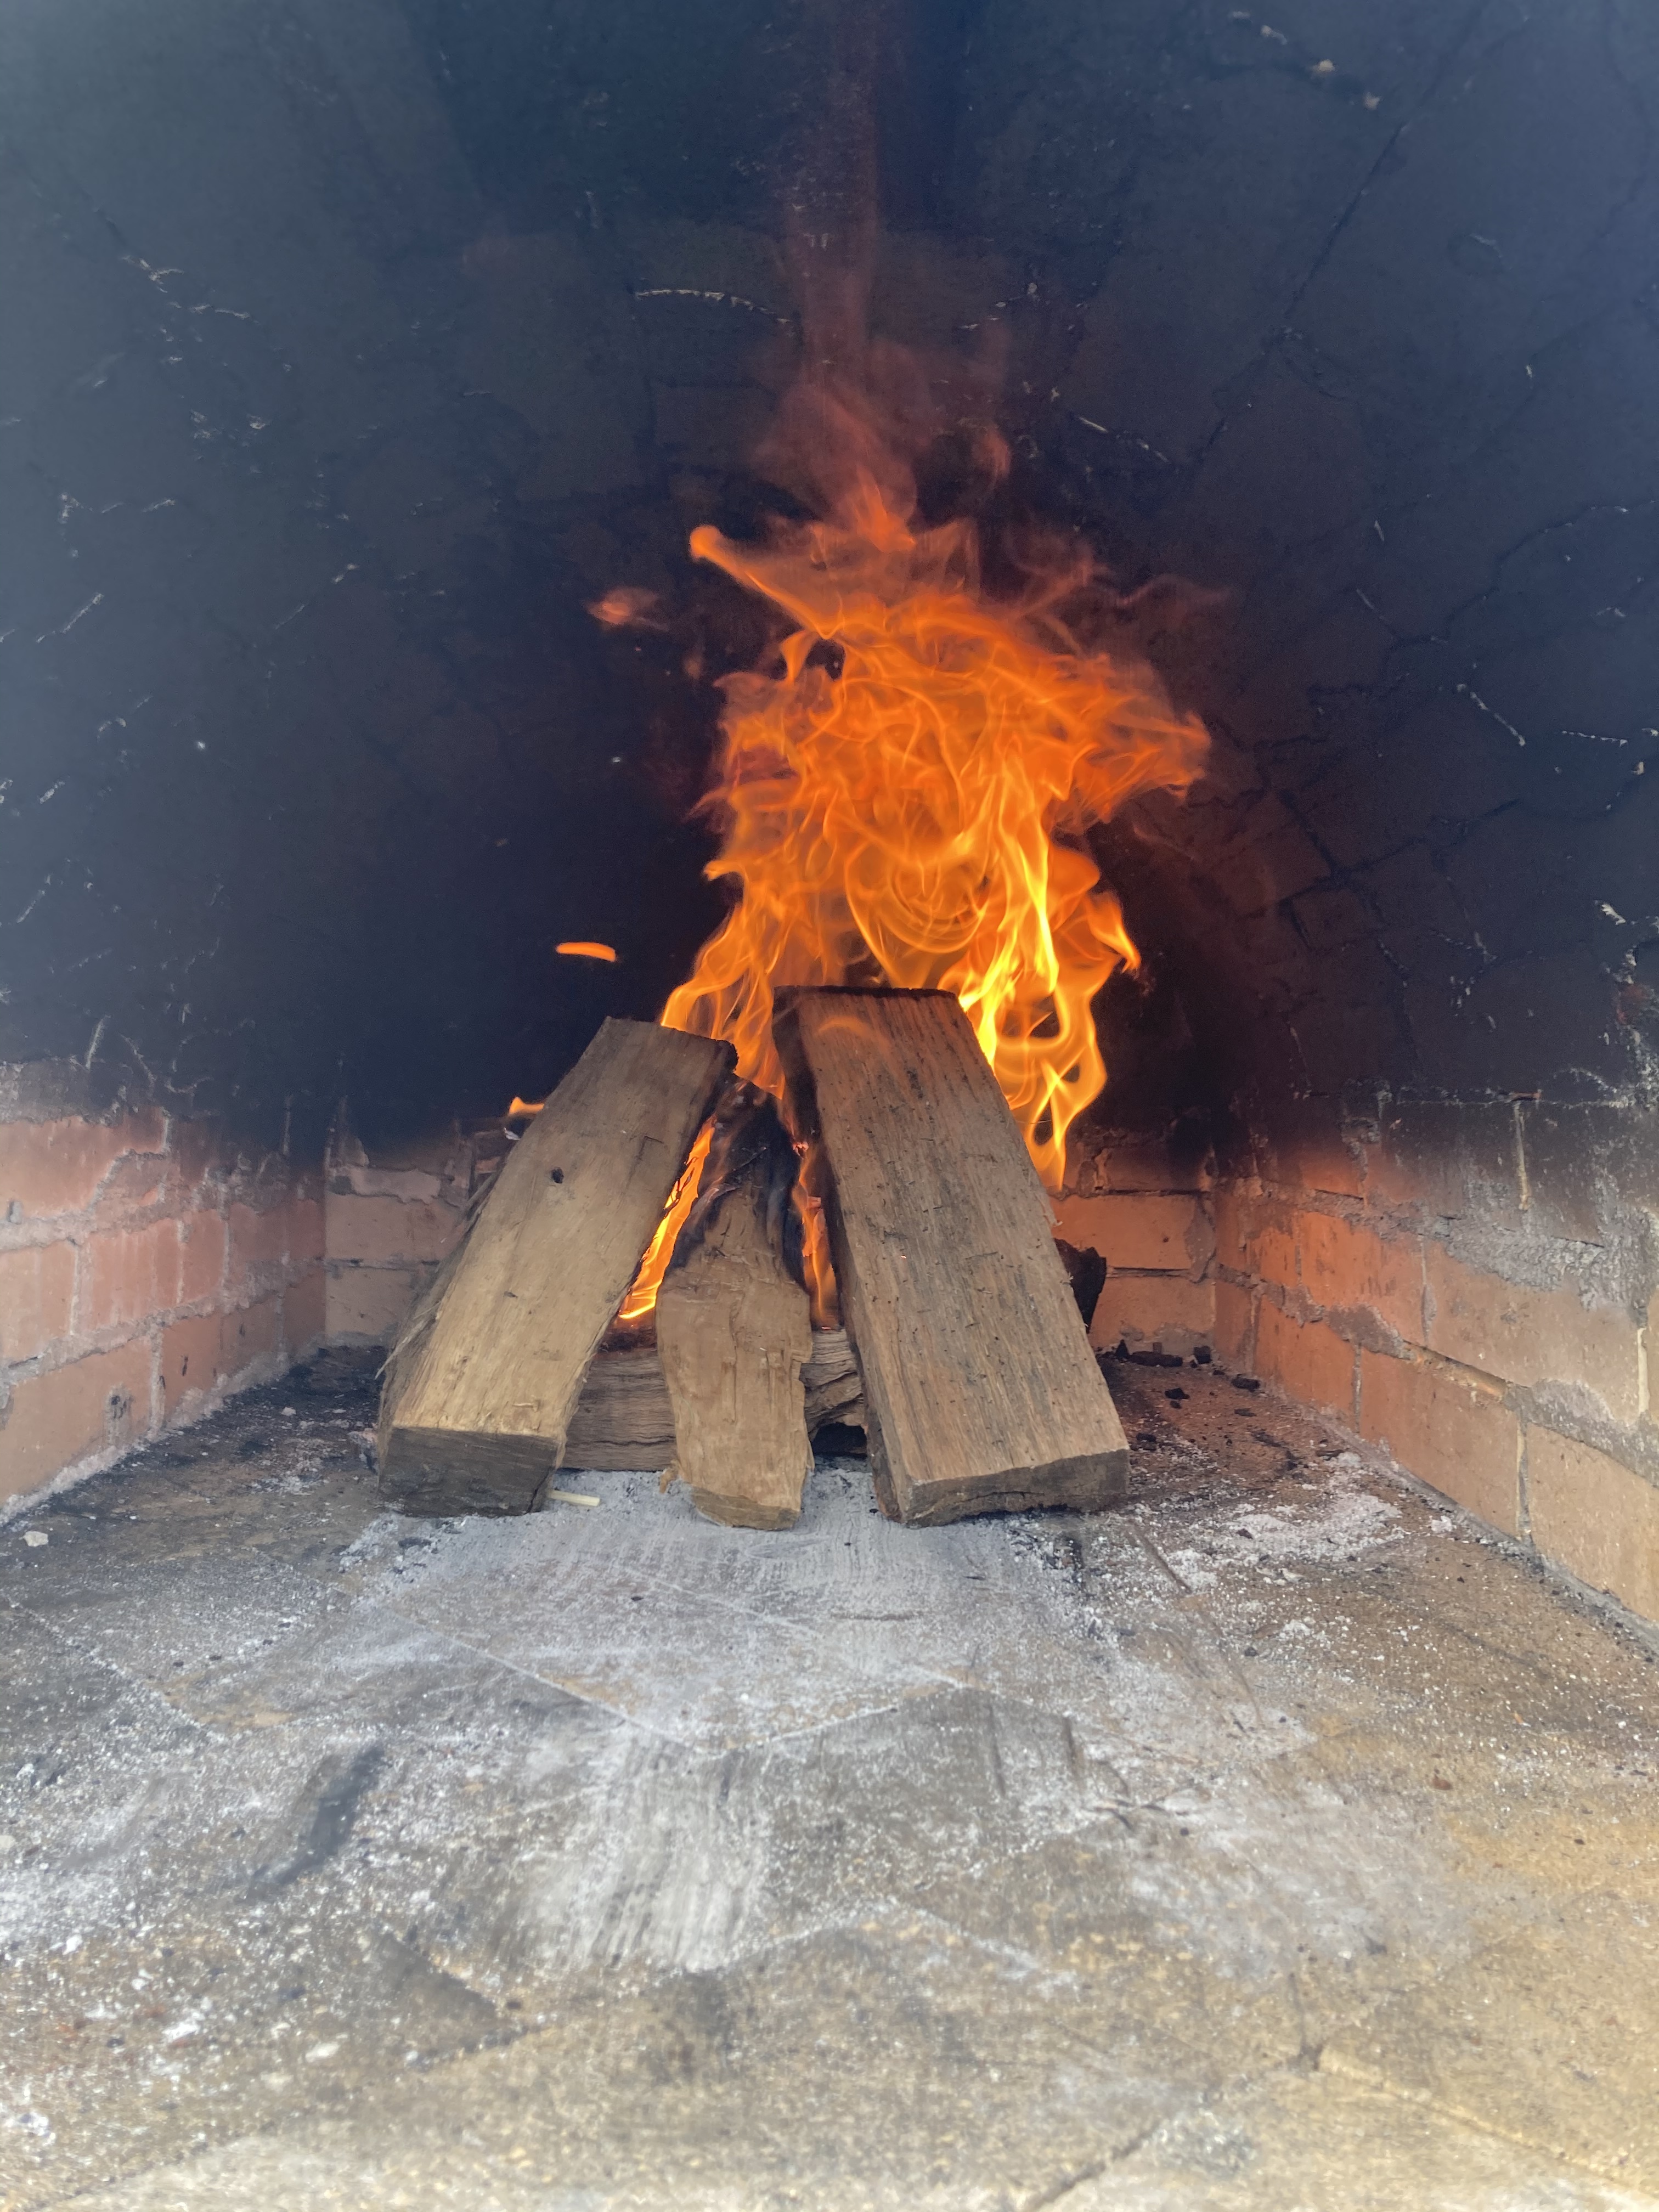
Please remember to let the oven thoroughly dry before you start your curing fires! Even if your oven looks dry on the outside, those firebricks are still very, very wet on the inside, so we need to SLOWLY heat your oven over a period of 6 / 7 days - to prevent thermal cracking.
I can’t wait to see the entire project from start to finish!
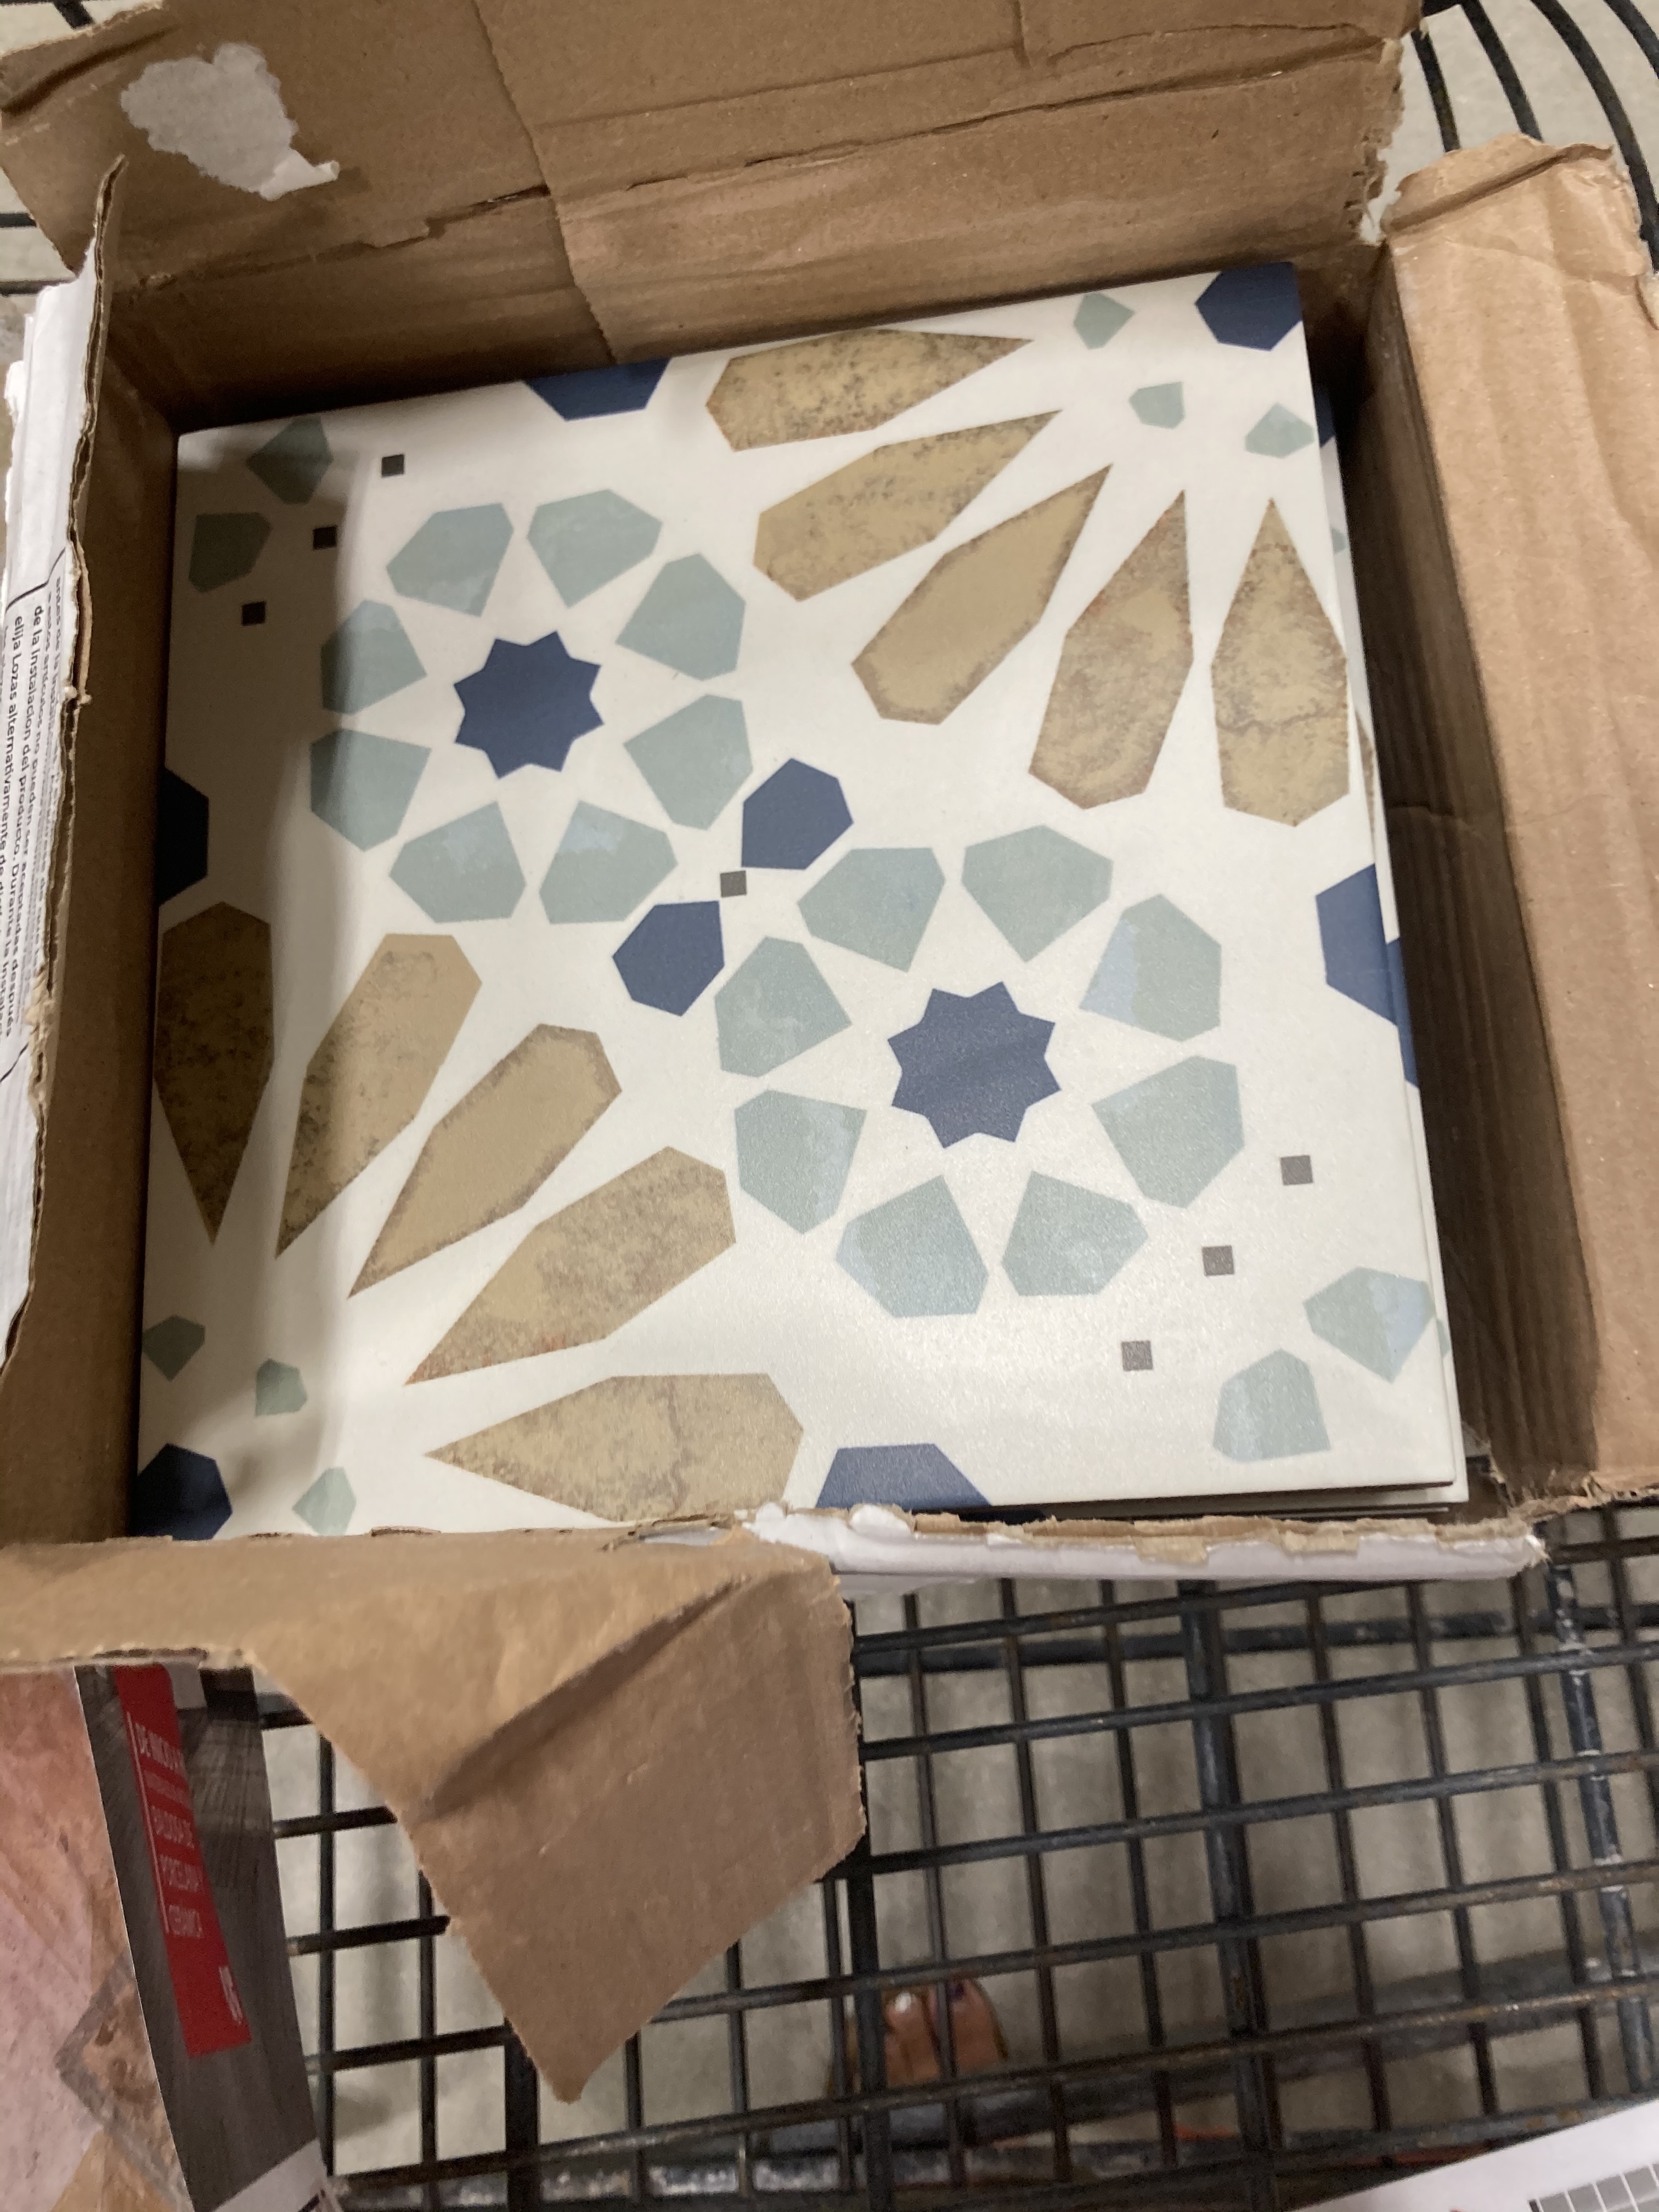
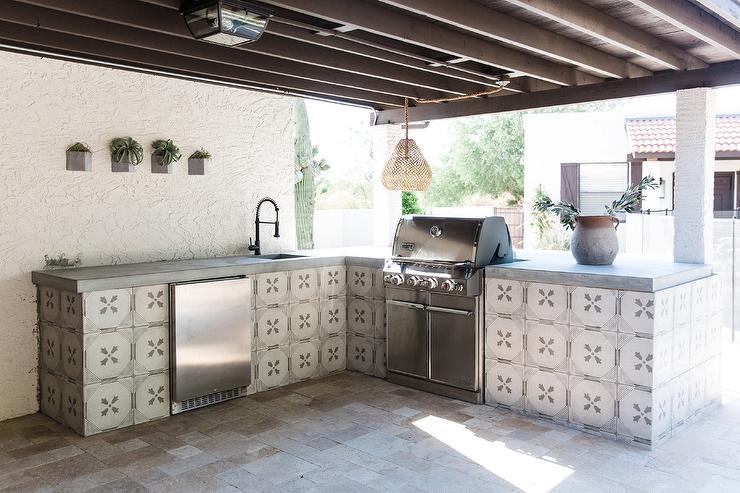
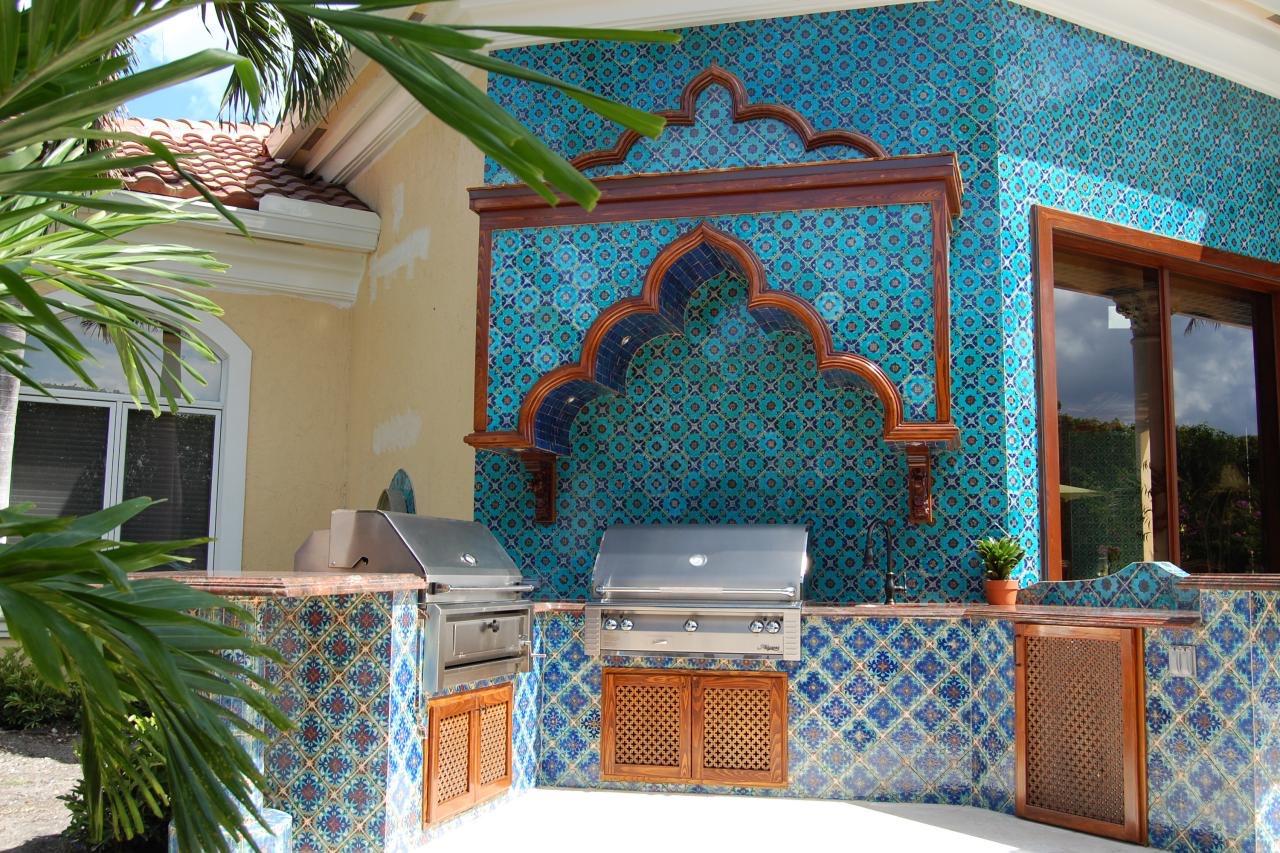
I bought these beautiful porcelain tiles. I was thinking of just using them around the slabs, but then I wonder if I can just used these around foundation/chimney and around our kitchen island? What’s the durability? Our initial plan was just to use stucco and then in the future veneer, but these are cheap and able produce a beautiful finish.
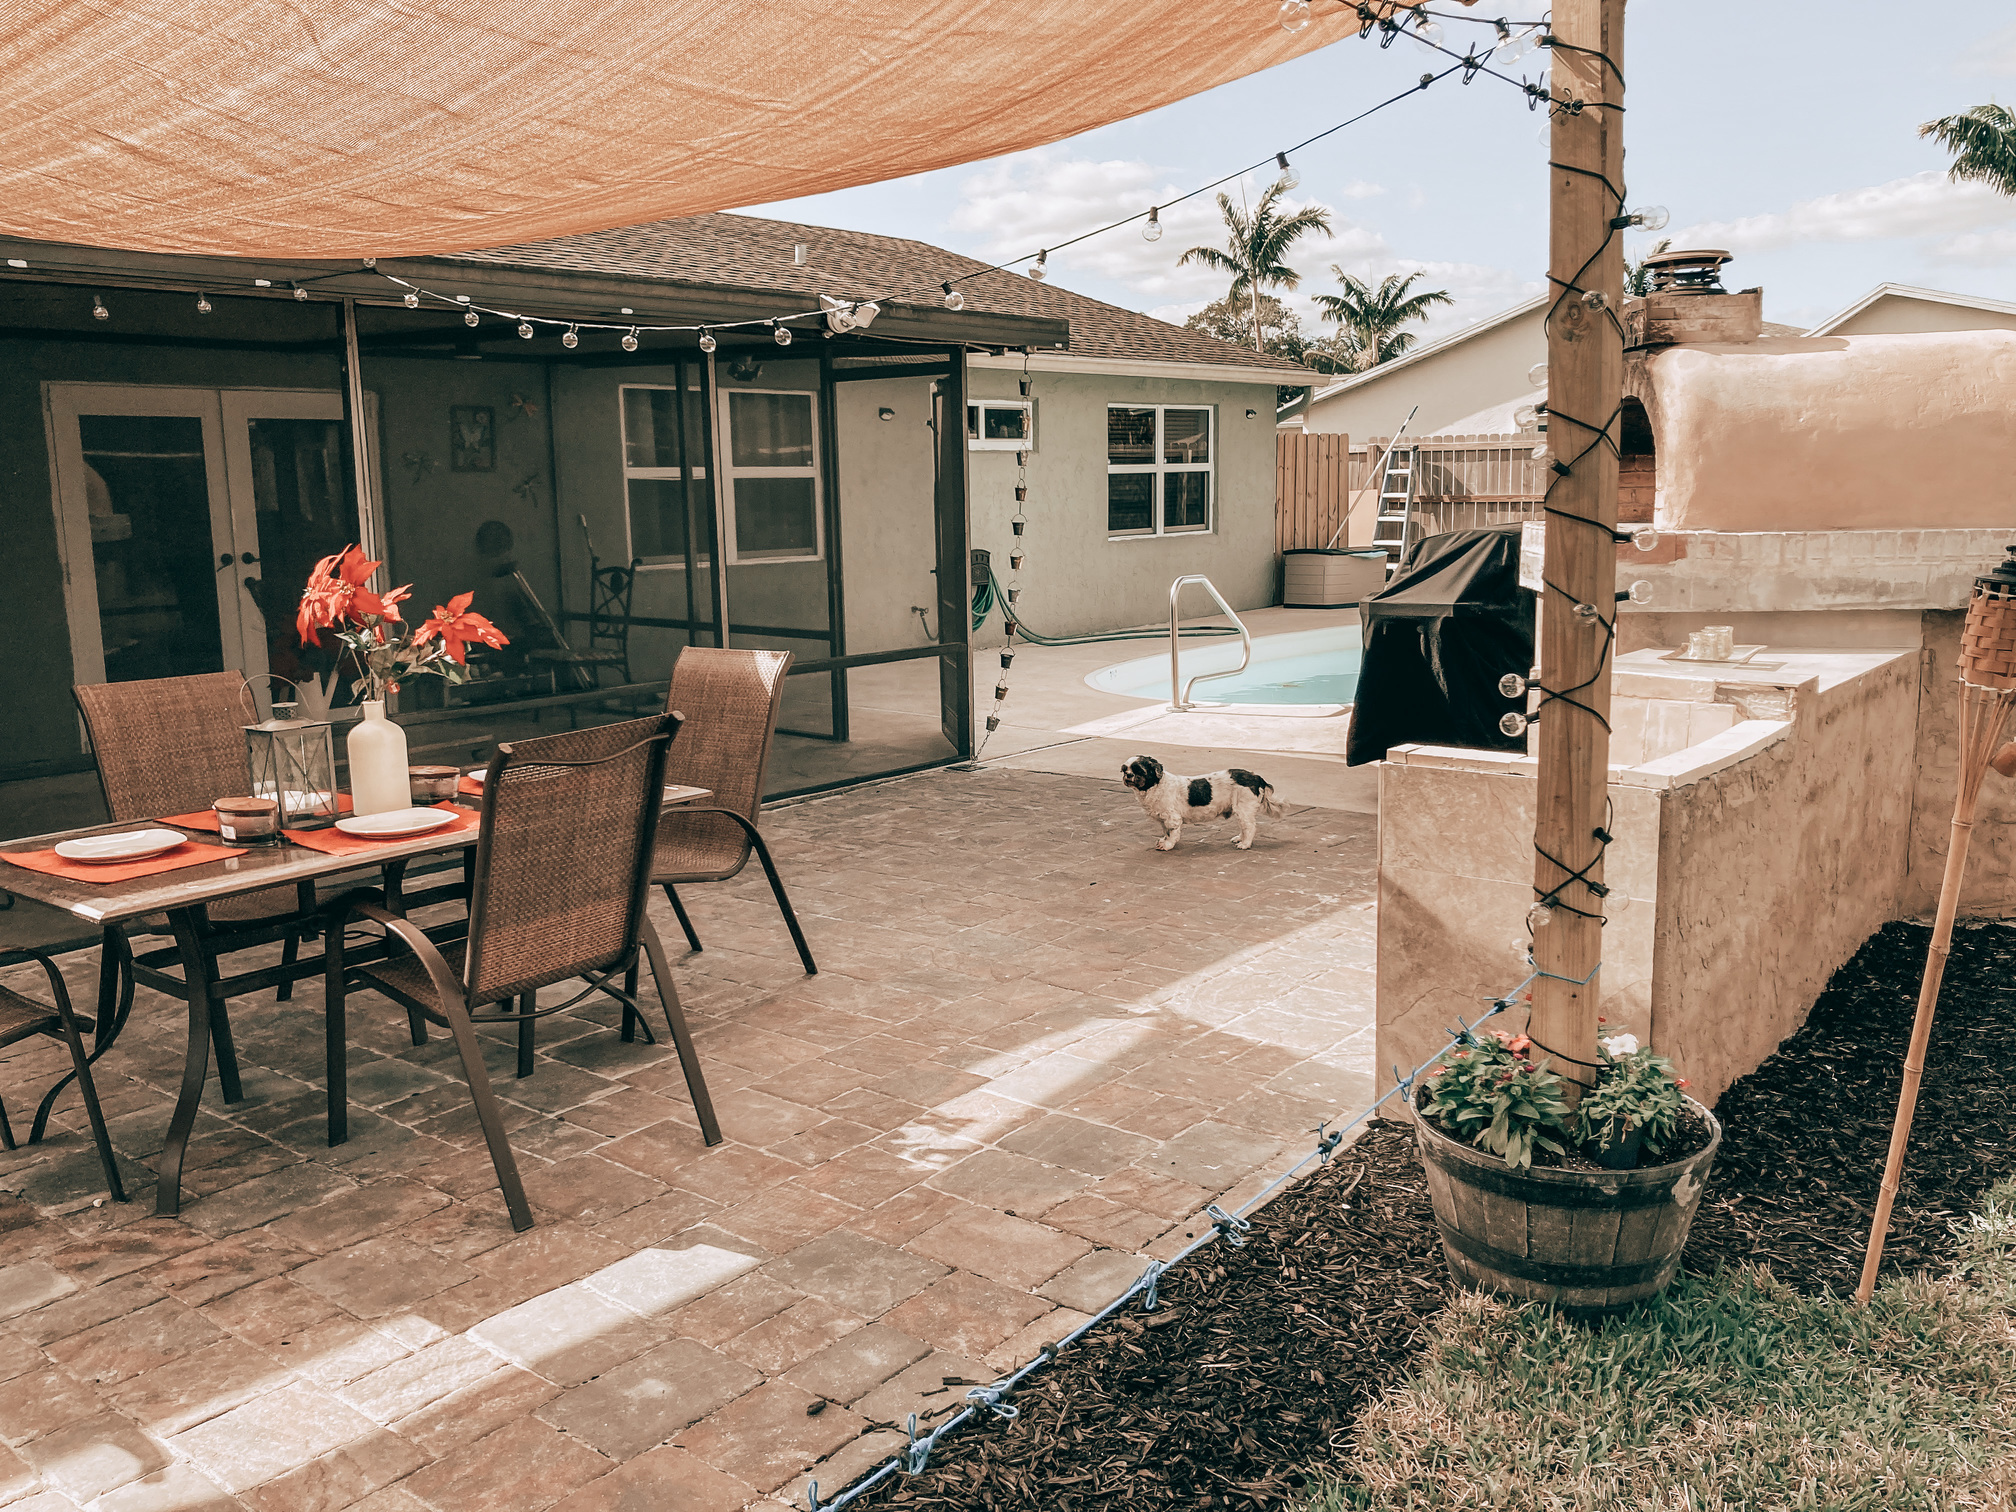
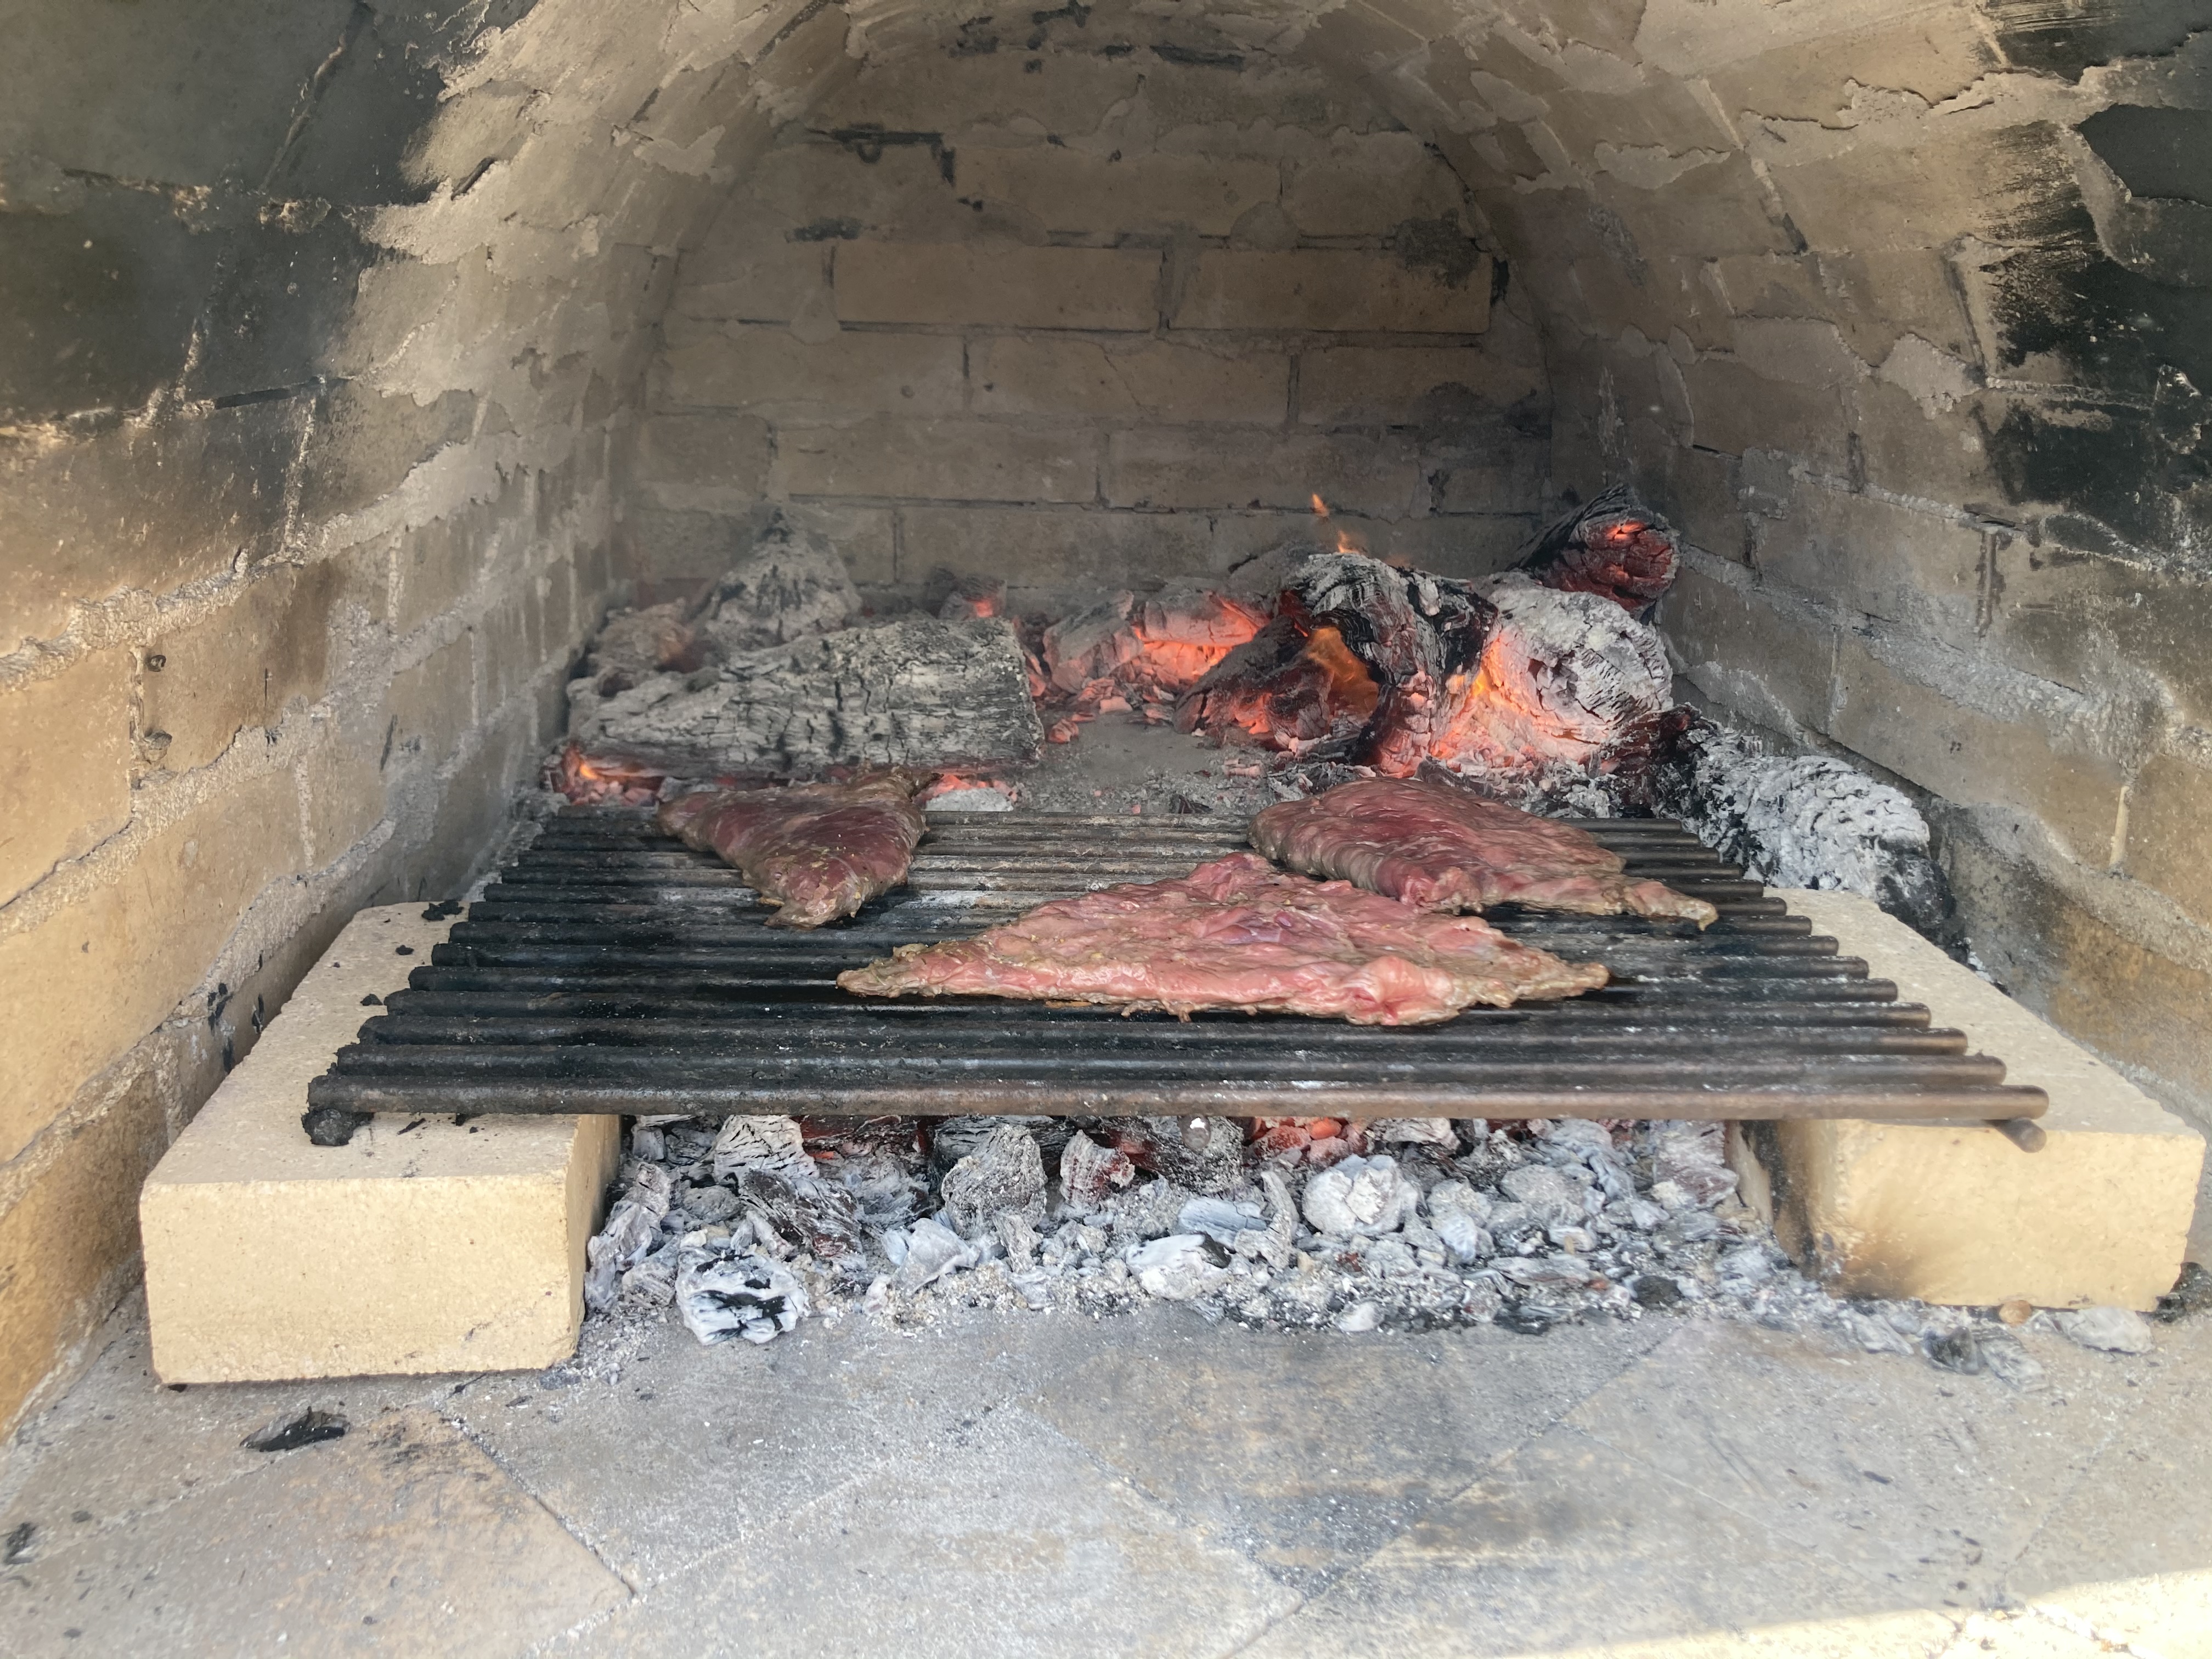
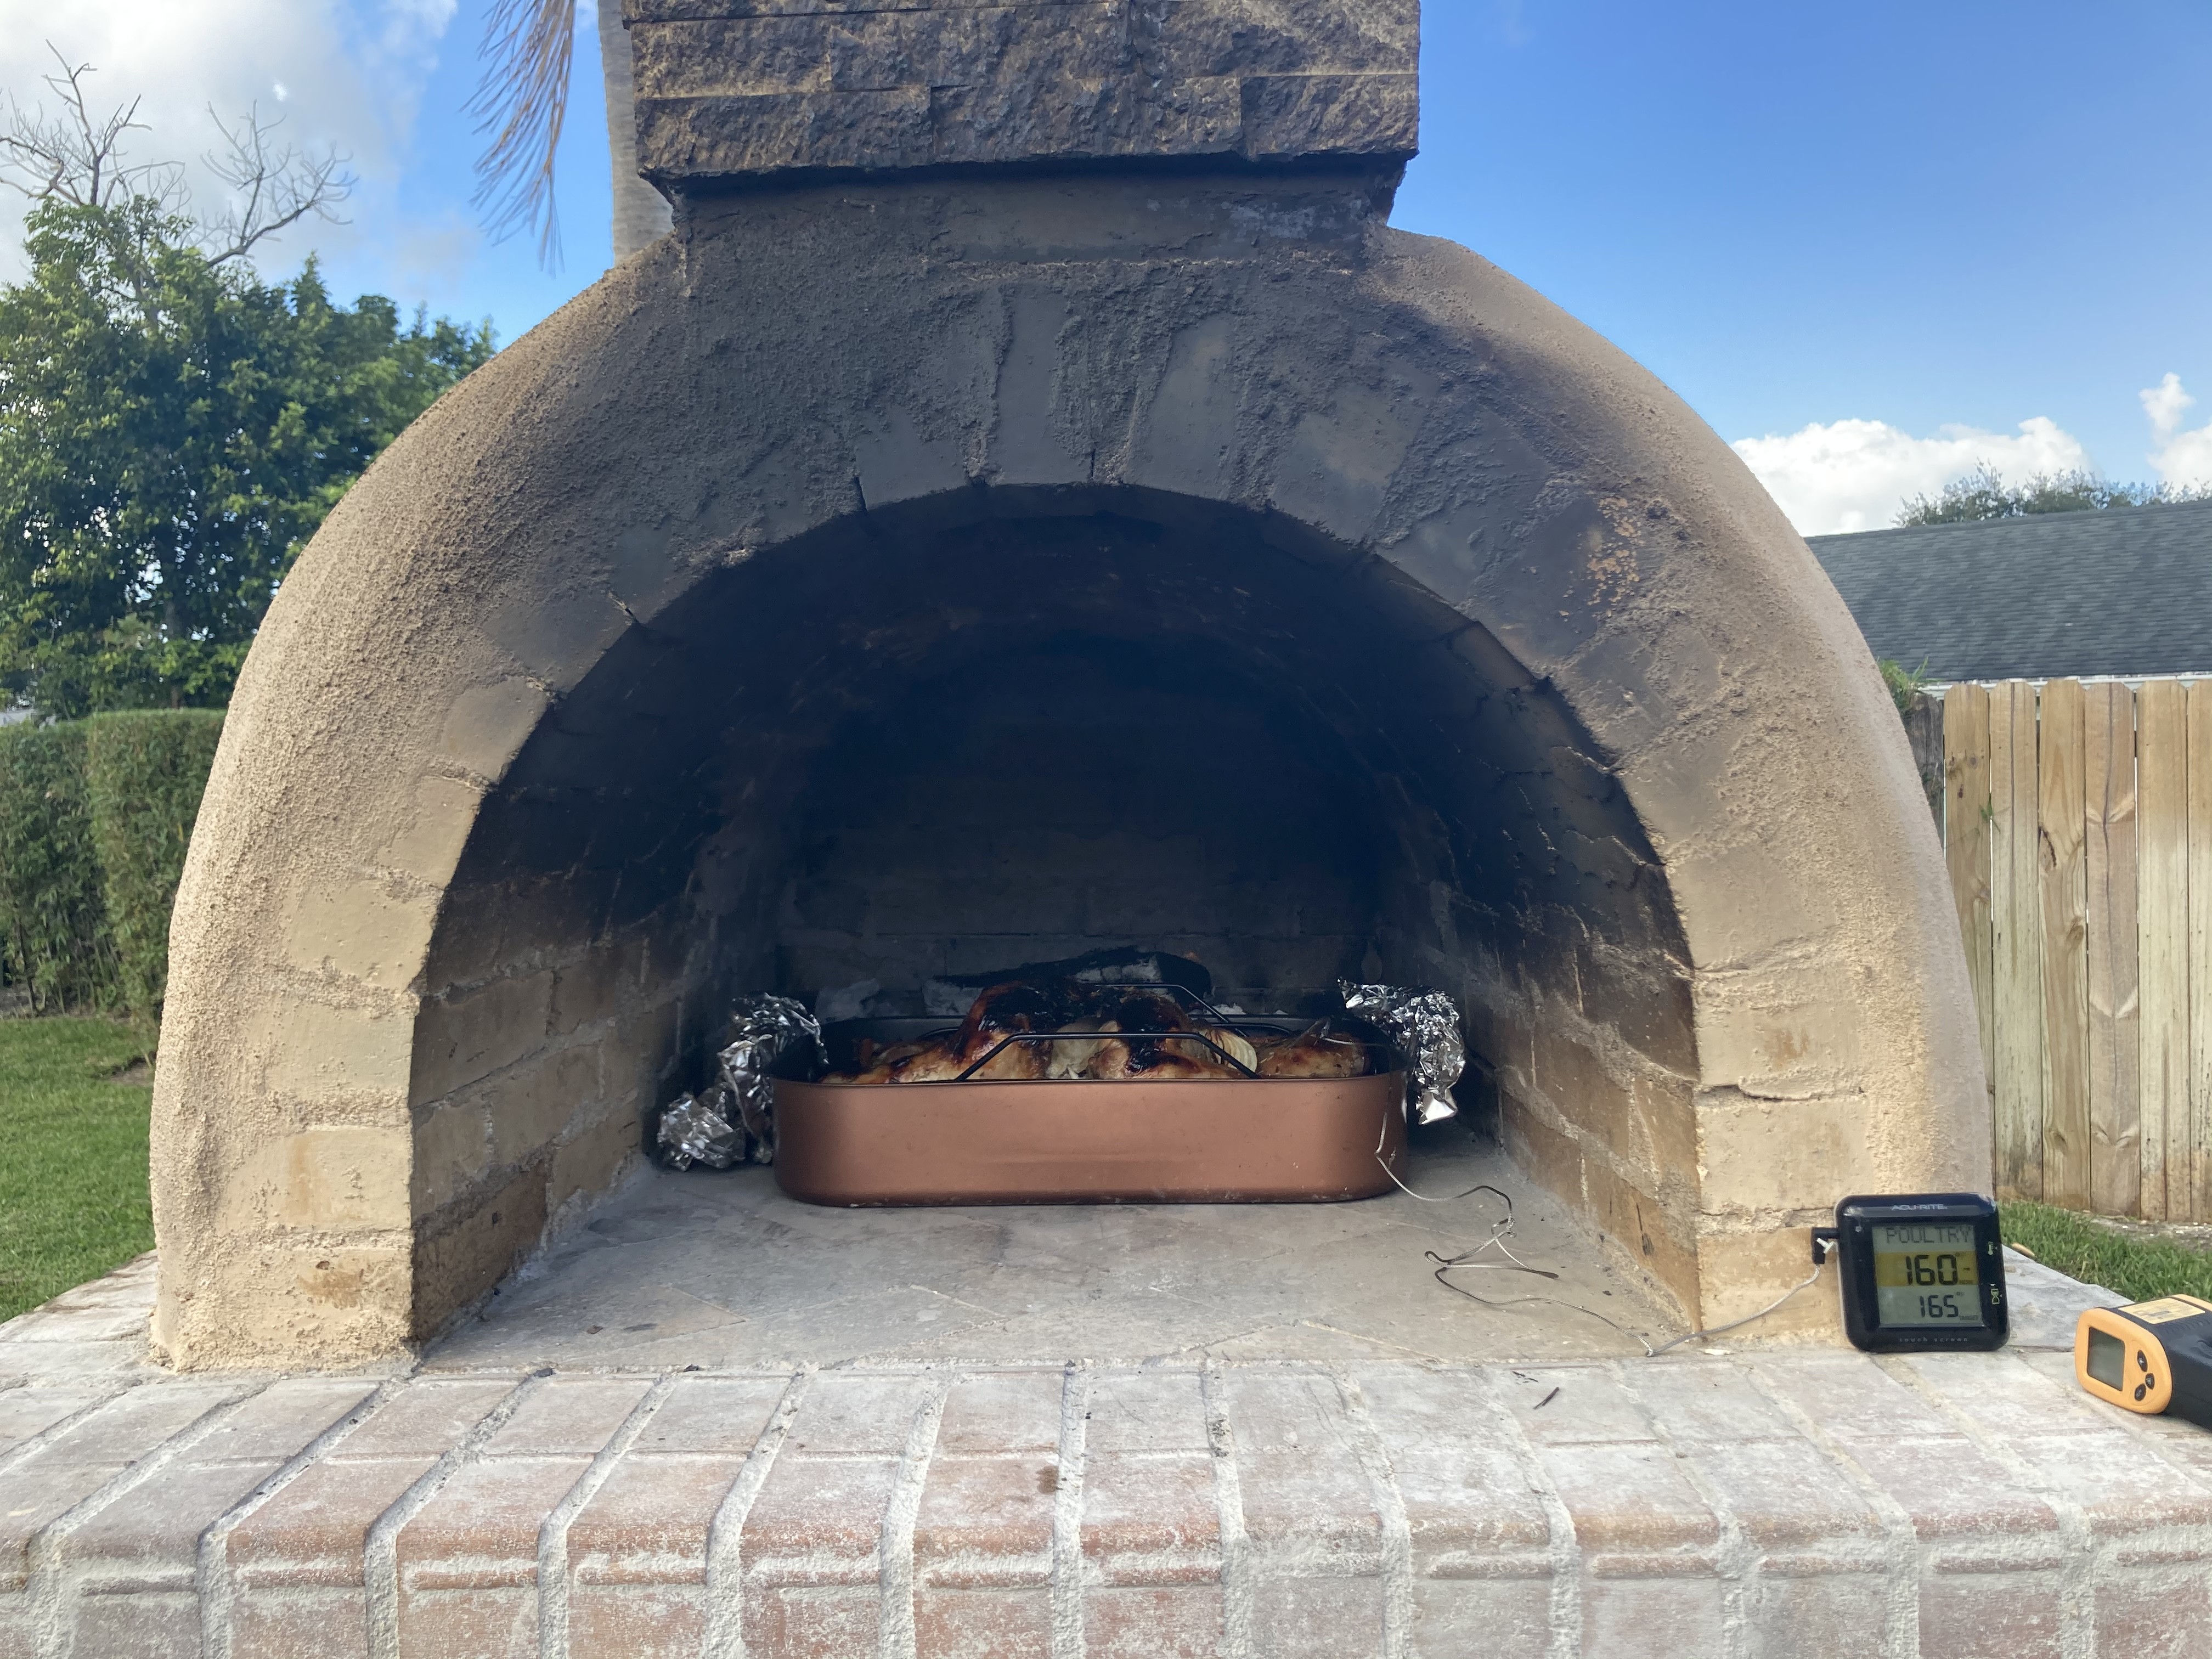
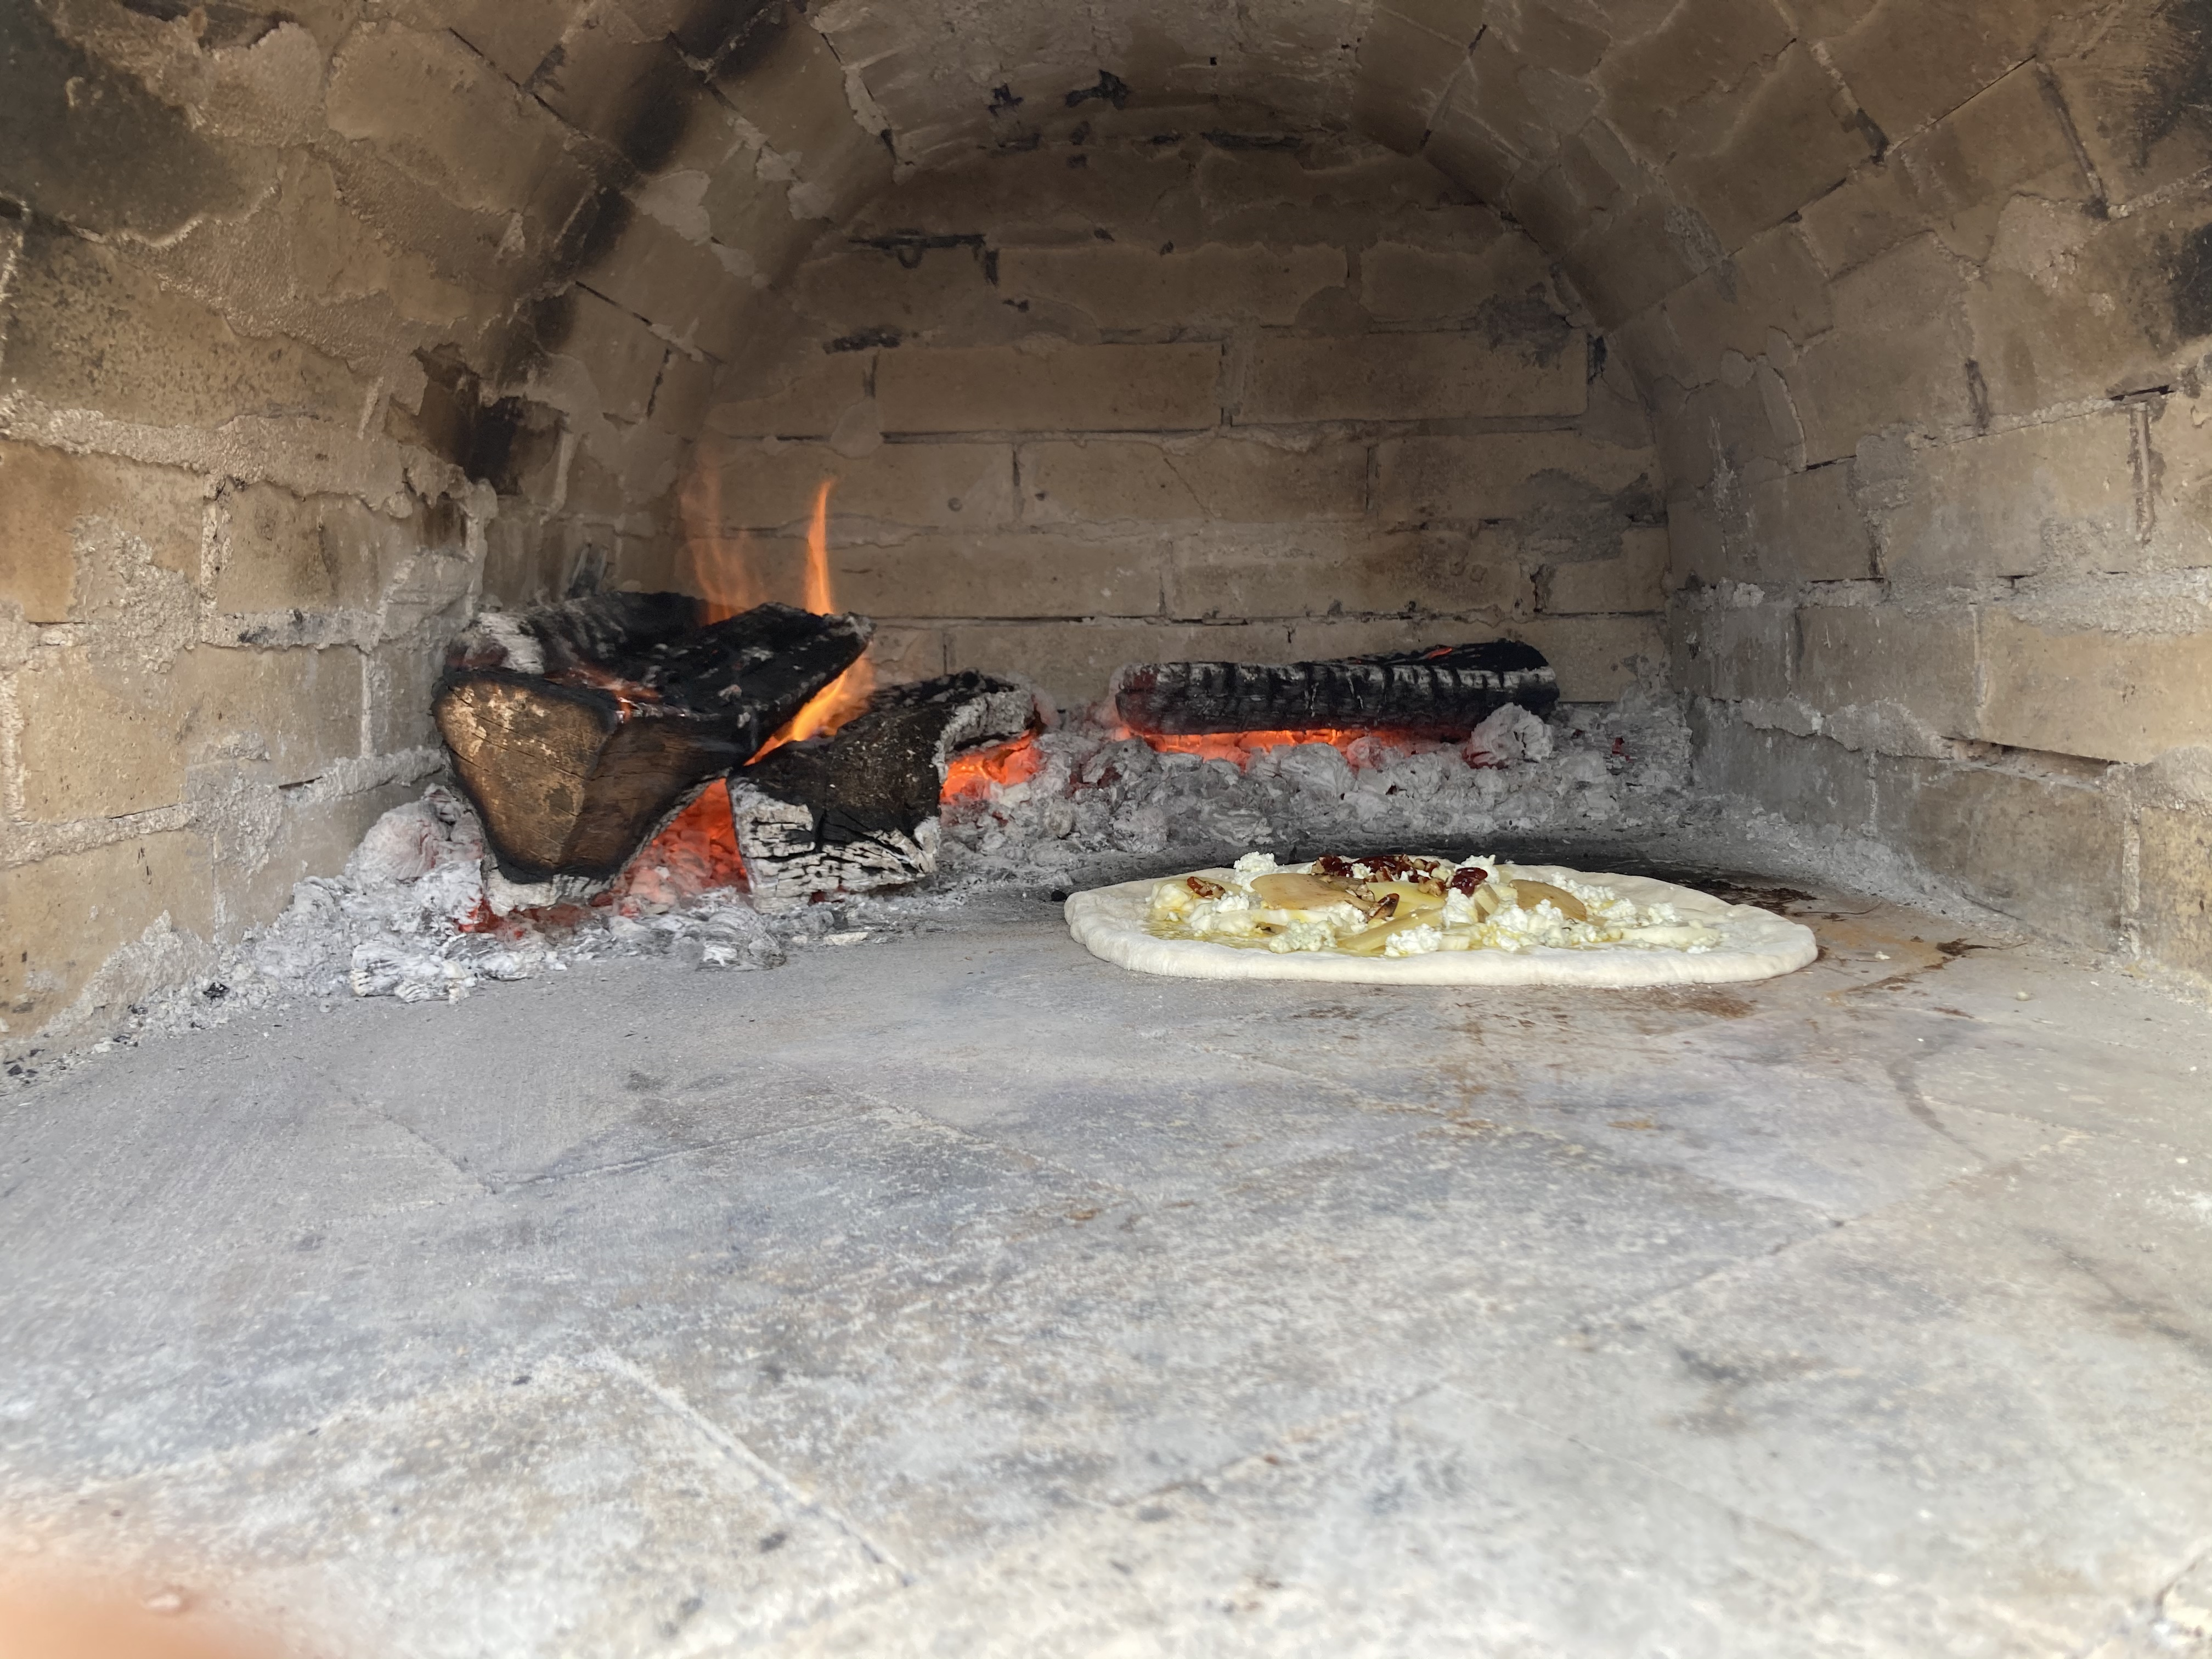
It’s been a while since the last time I posted, feel like this sub-post deserves an update! We finished about 90%, there’s still some aesthetic that needs to be done! But the good news, we did our curing! We cooked our thanksgiving Turkey in there, made some pizzas and baking bread Saturday.
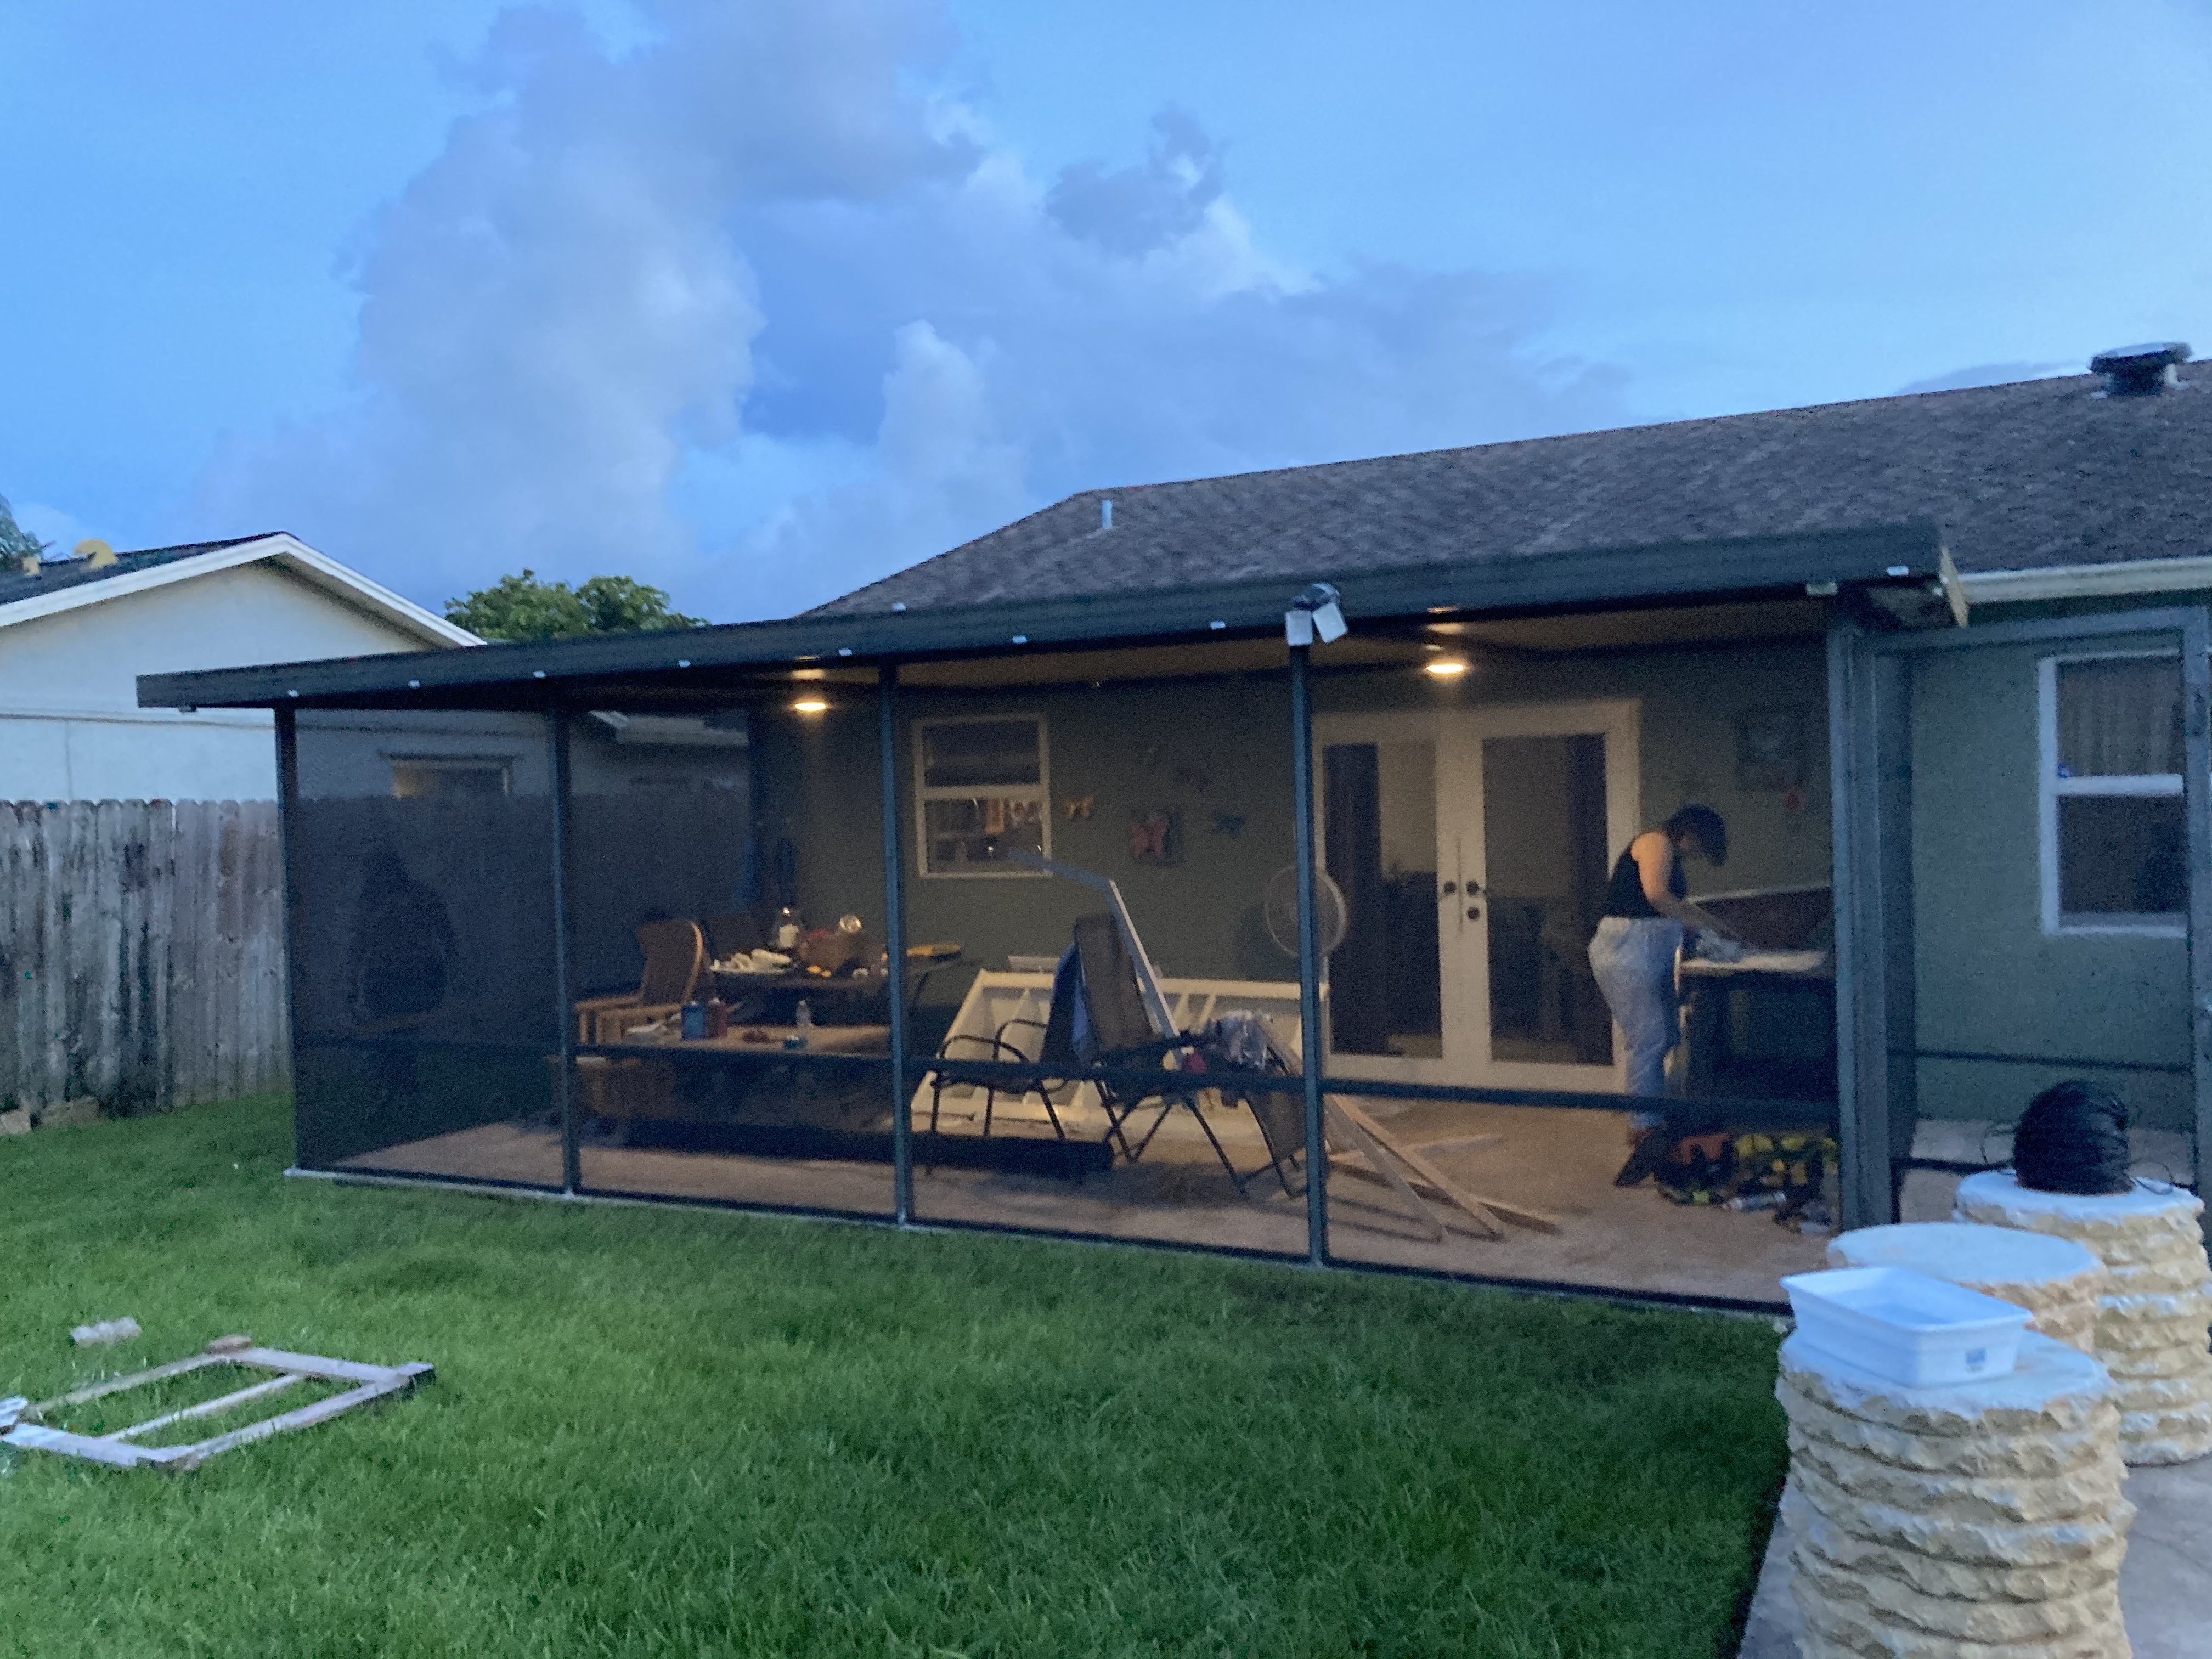
And just to give you a perspective of the job, here’s the before


 but in no time! And being very patient.