DC Family Dual-Fuel Pizza Oven Diary

Hi All!

I wanted to give back to this forum, that has given me so much information and encouragement. I wanted to post an online diary of my effort to build a Mattone Barile Pizza Oven with Natural Gas Burner…by myself…during an Arizona summer!.

My name is Dwayne, and I am an IT professional working from home (due to Covid-19). While I am fortunate to be able to work from home; it does tend to feel like Groundhog Day, after awhile.

I am a bit of a handyman. I started my life in IT, then became a Low-voltage contractor, then back to IT (after the recession). During my days as a contractor, I was fortunate to work with various trades, who help me to this day.

To ward off boredom, and the fact that I love cooking (and Pizza), I bought a little Pronto Pizza oven. It was fine for a while, but after a few trips to Italy…I wanted a real Pizza Oven! As a real geek, I did a lot of research…which lead me to Brickwood Ovens! One look at the instructions and I was in.

I decided to build my own oven! Cost was a factor. We are in a strange time, and our household income is effected by Covid-19. I had a budget, and I had to stick with it! After explaining my intentions to my wife…she reminded me, that I have not completed the Master Bathroom remodel, yet! (Wives…am I right?!). I told her, this would be done before she (finally) picks out the Vessel sinks…which she’s had 6 months to do.

I currently hate my backyard. I haven’t been in my pool in three years! Our home is 20 years old…and shows it. Our backyard is run down and outdated. My pizza oven will be the start of our backyard renovation!

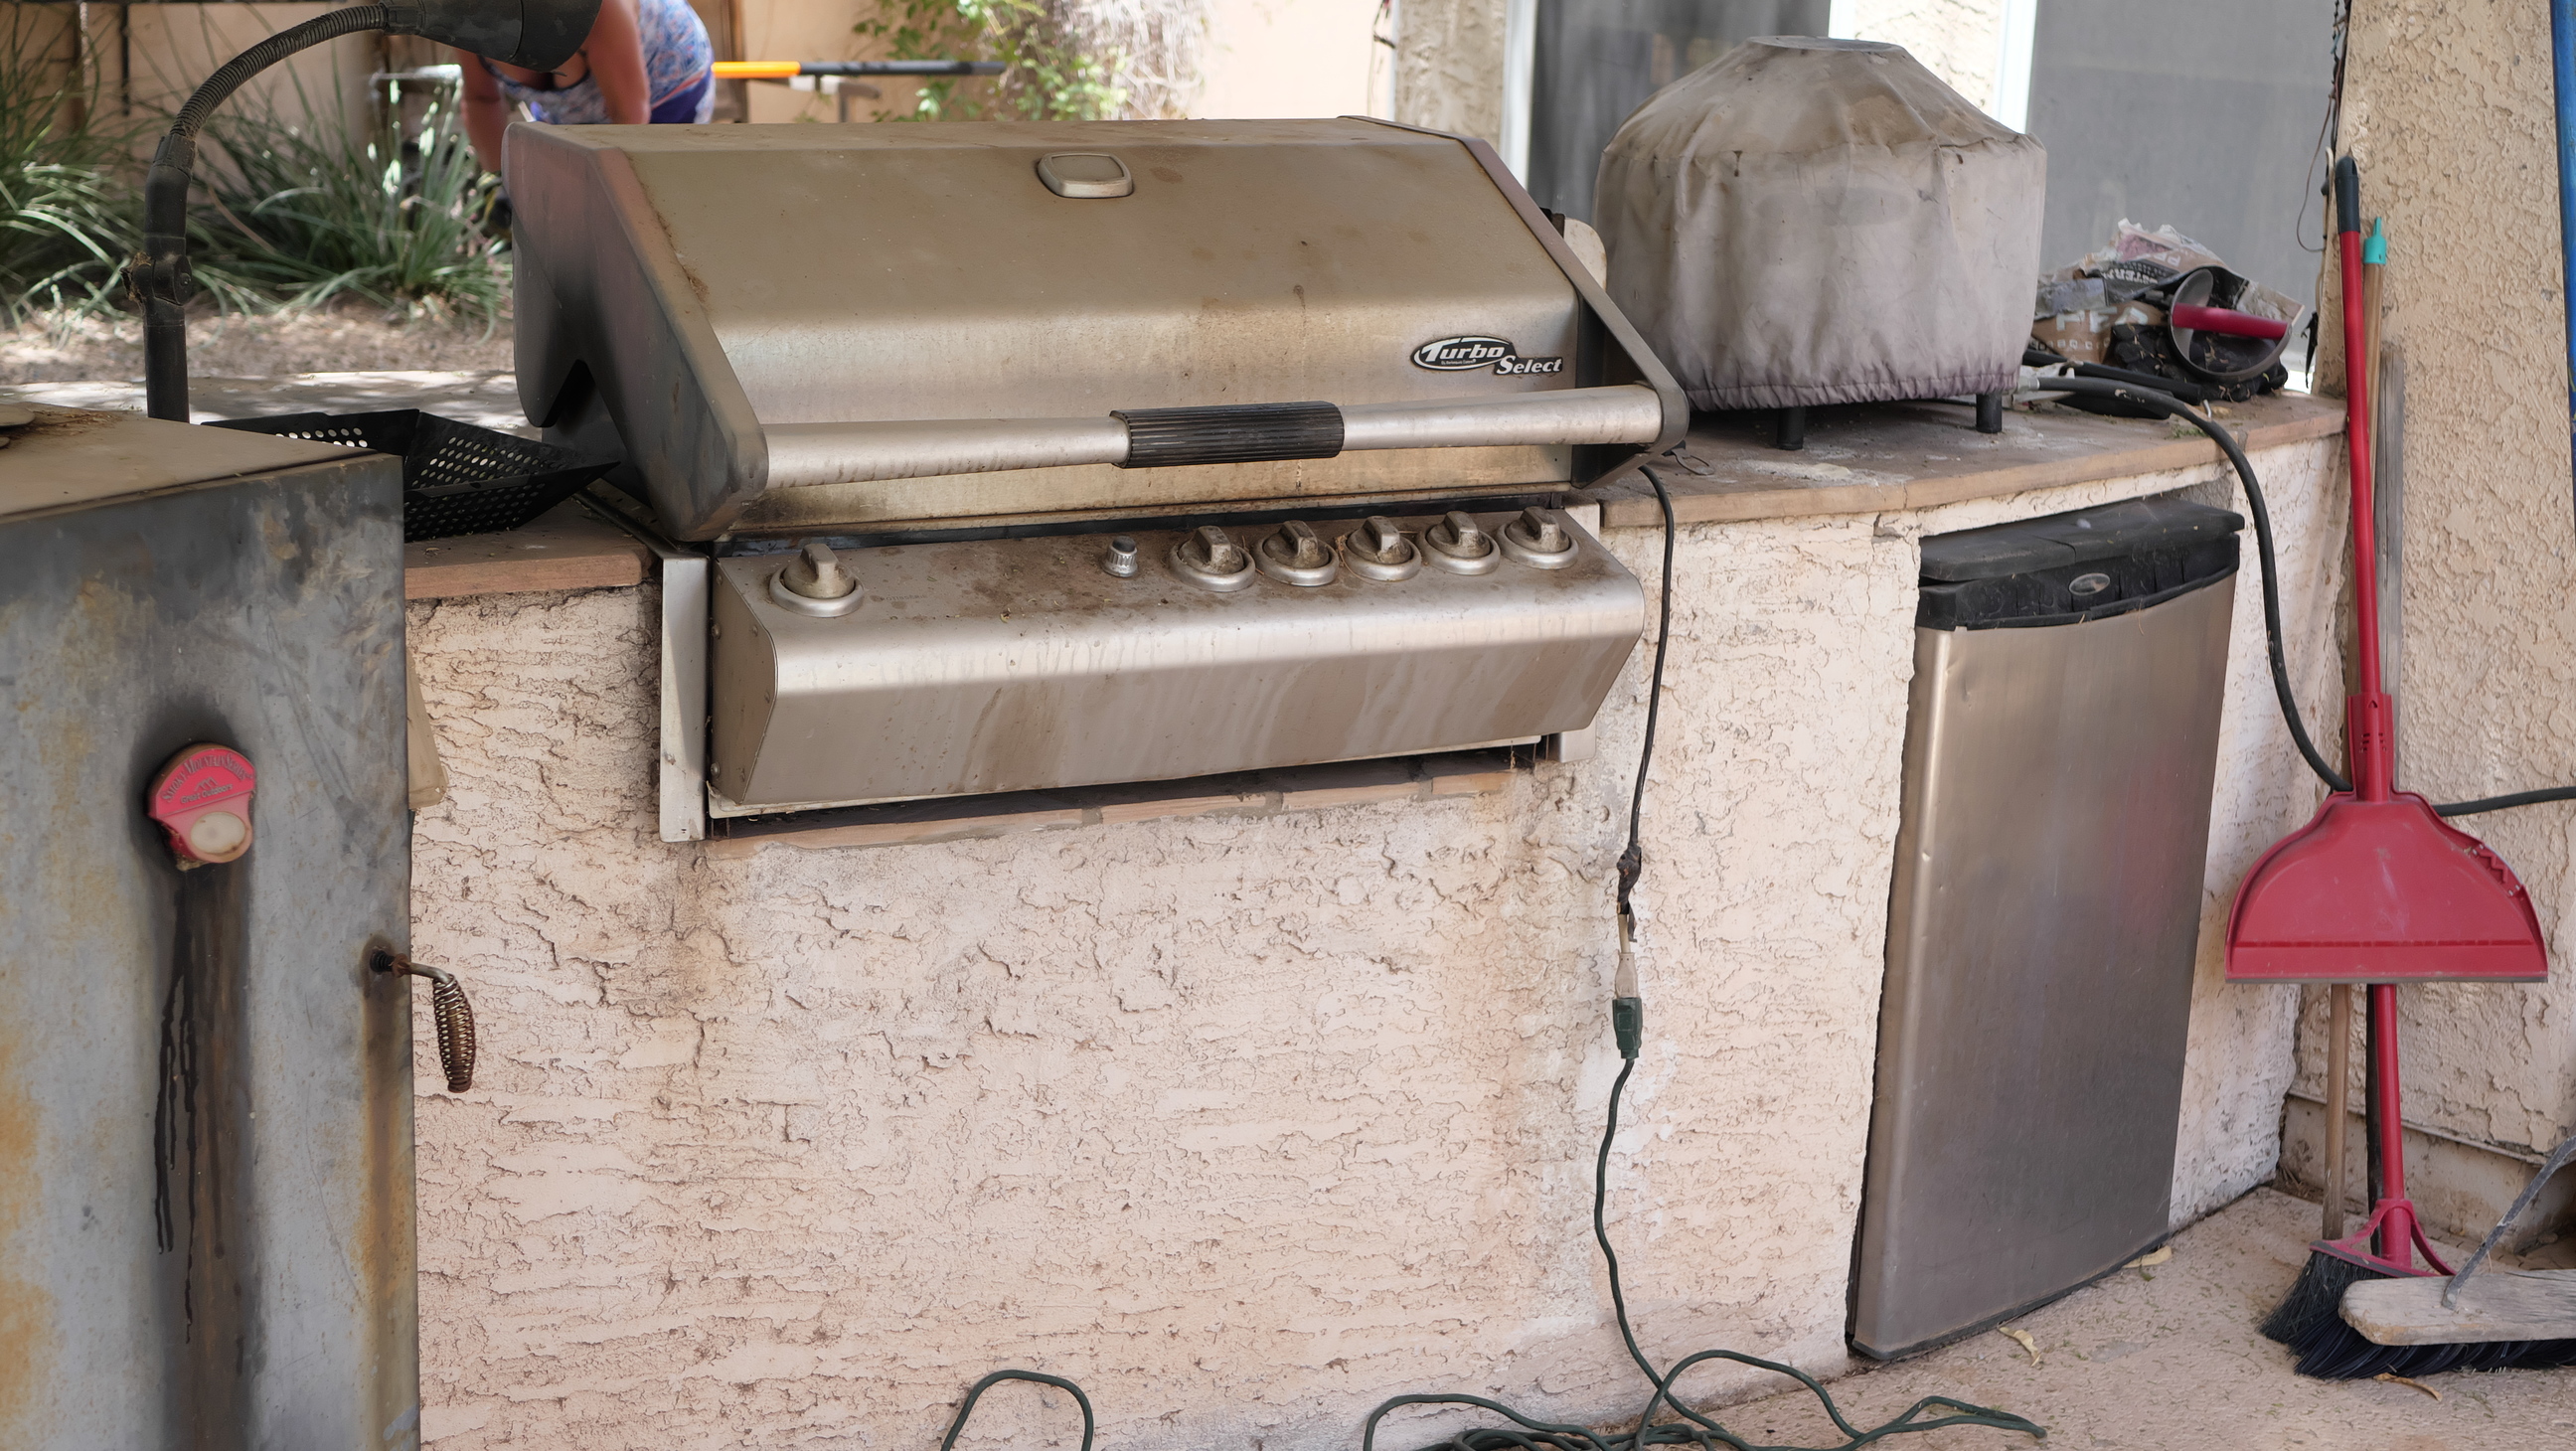
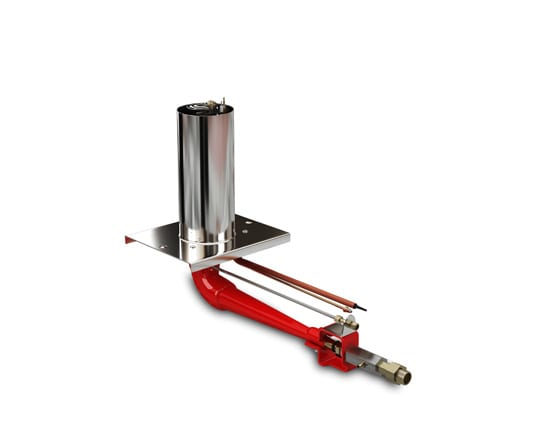
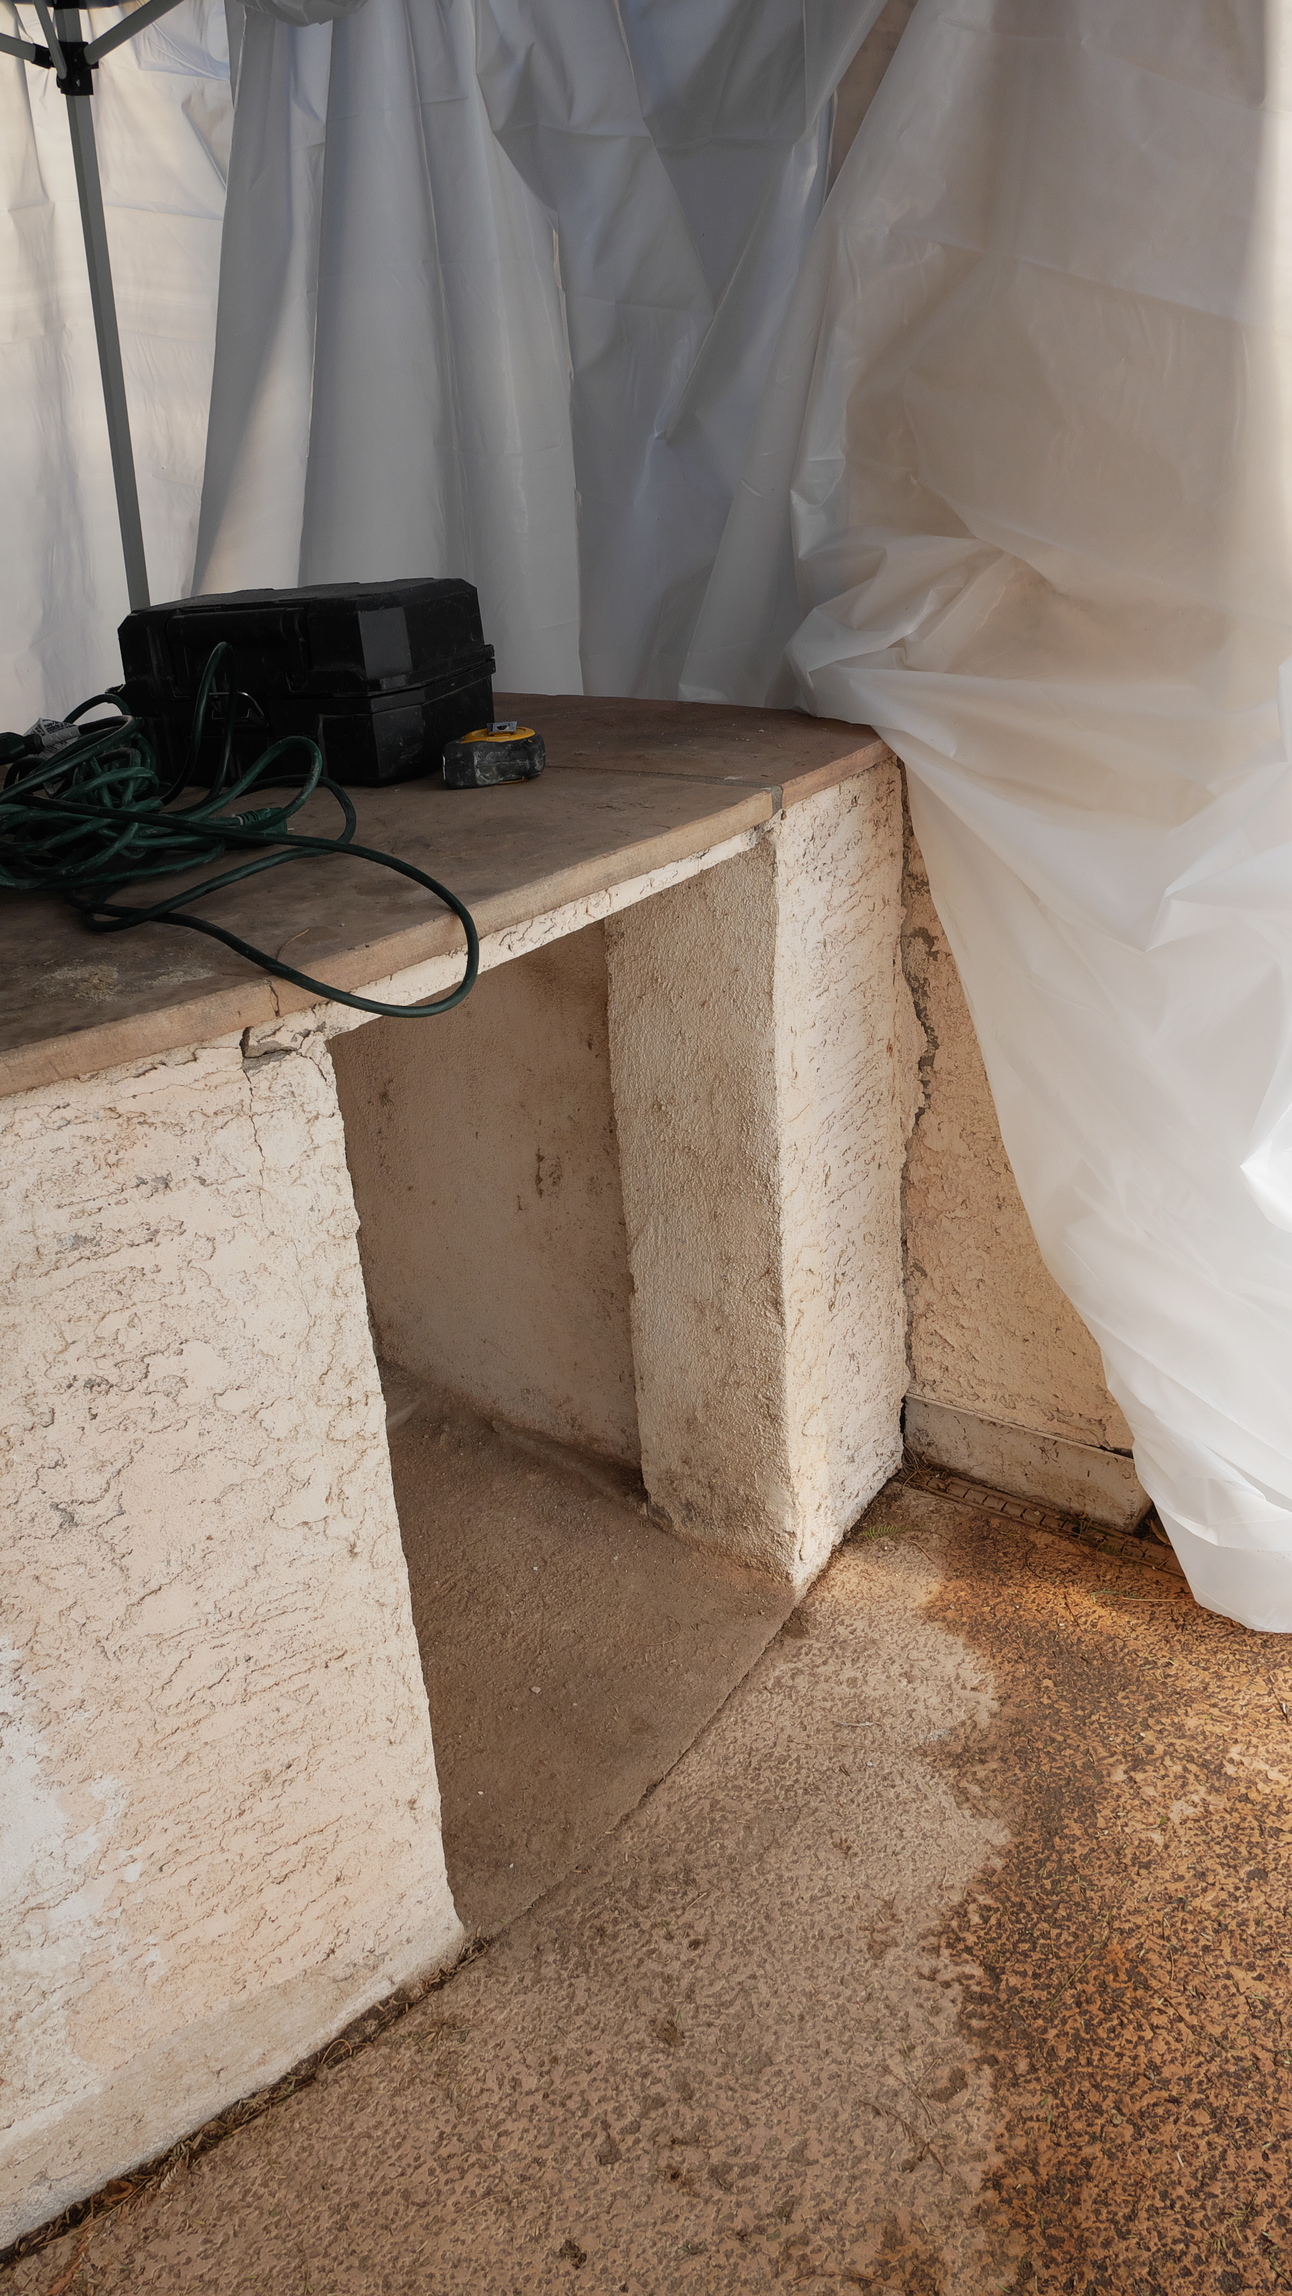
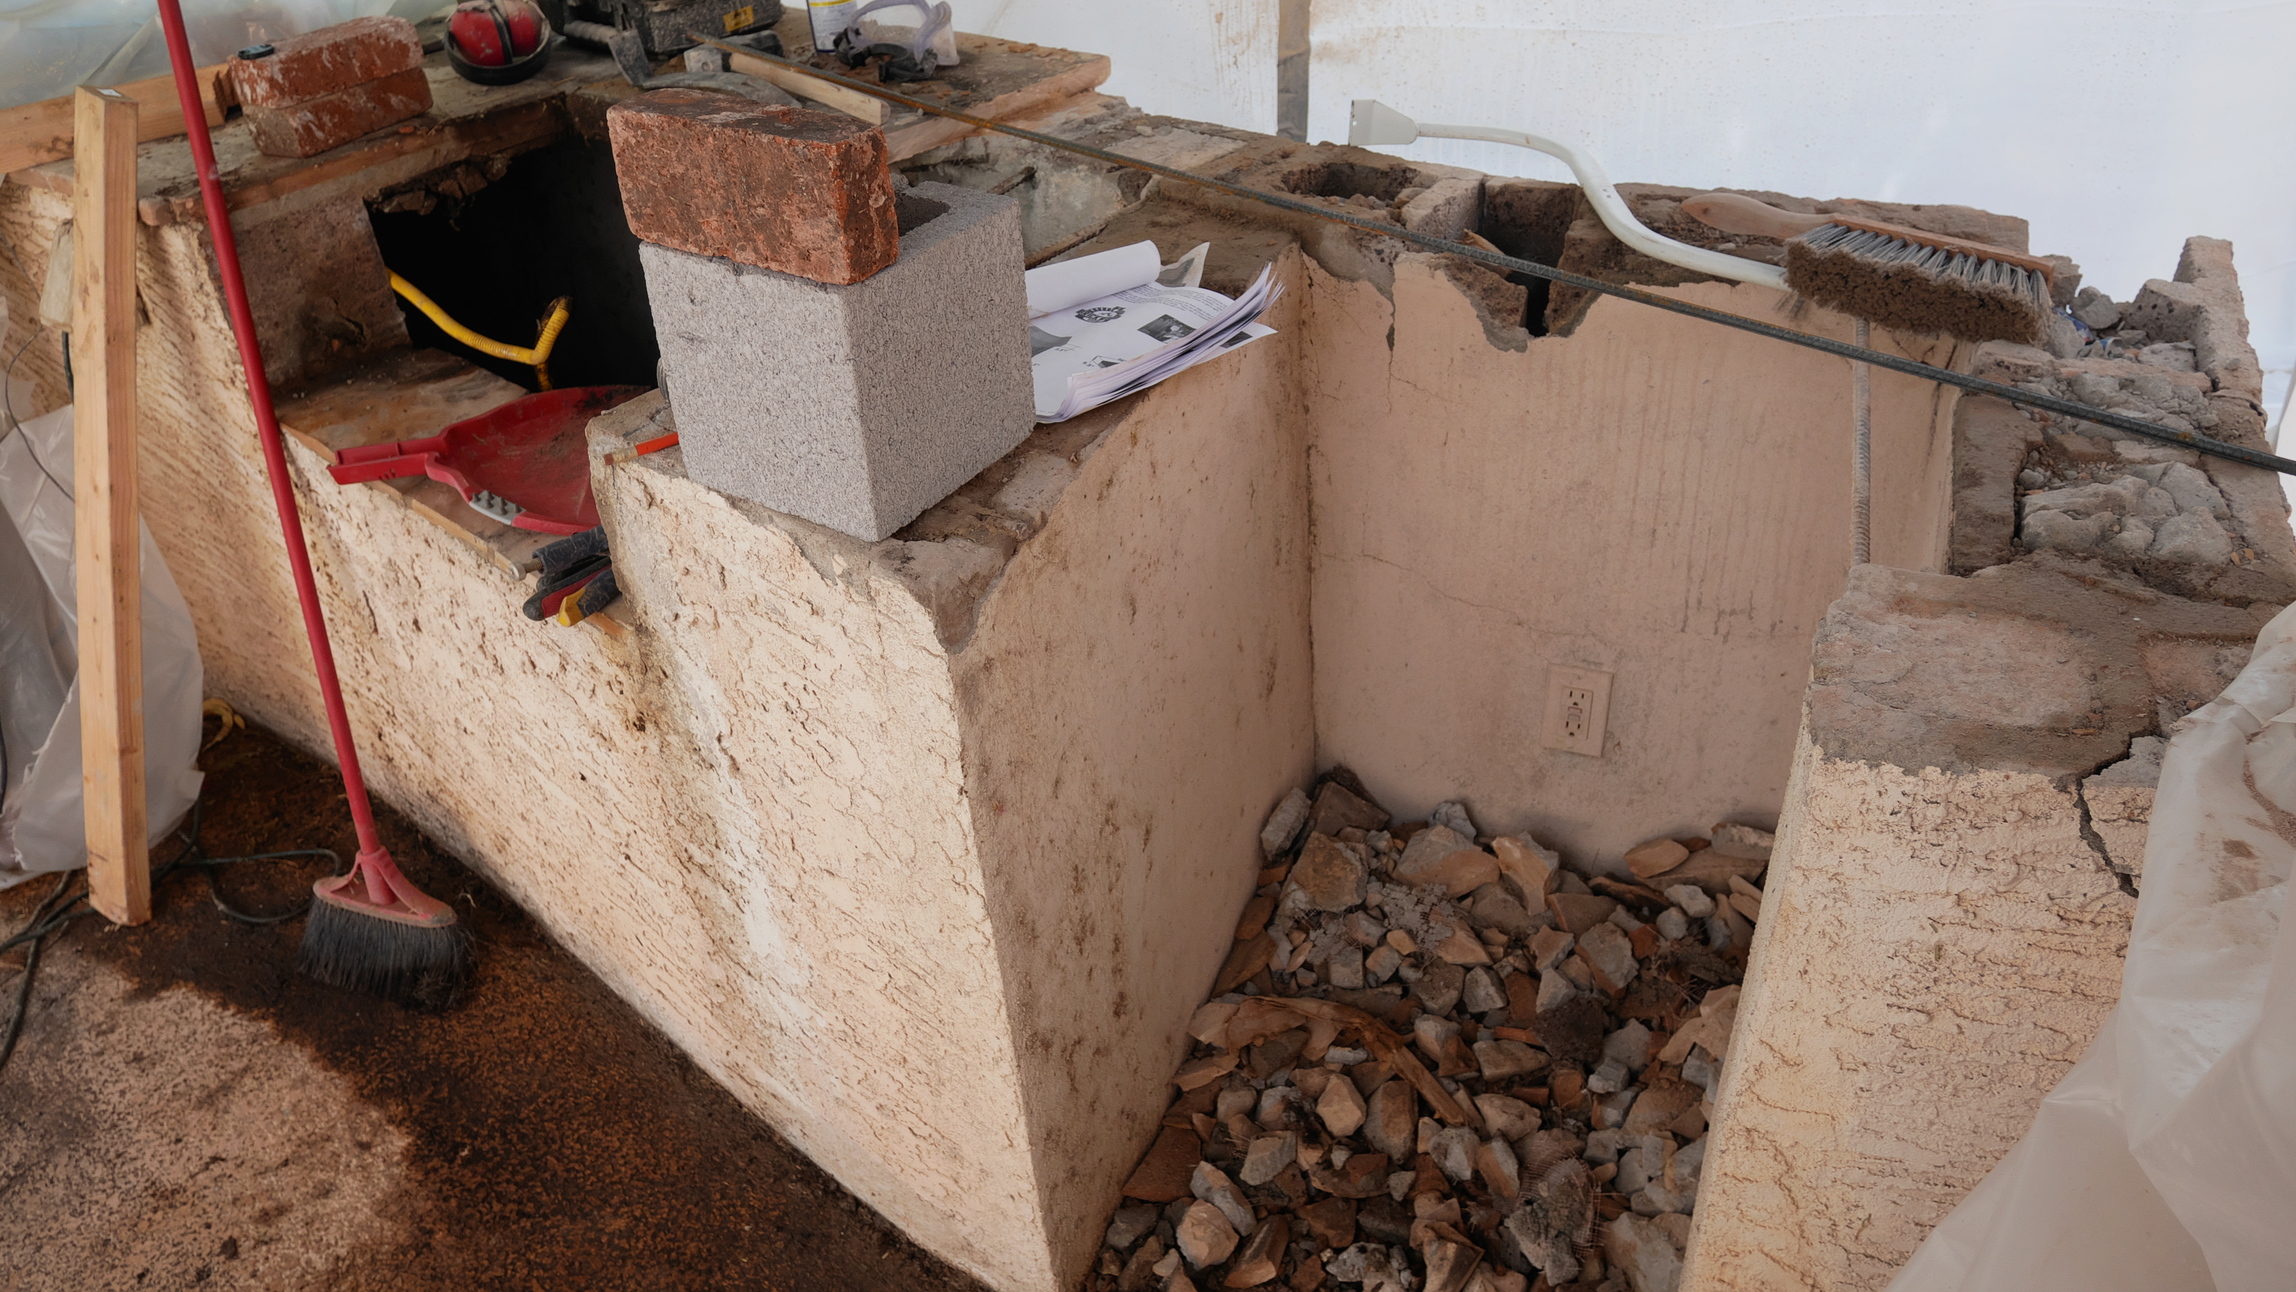
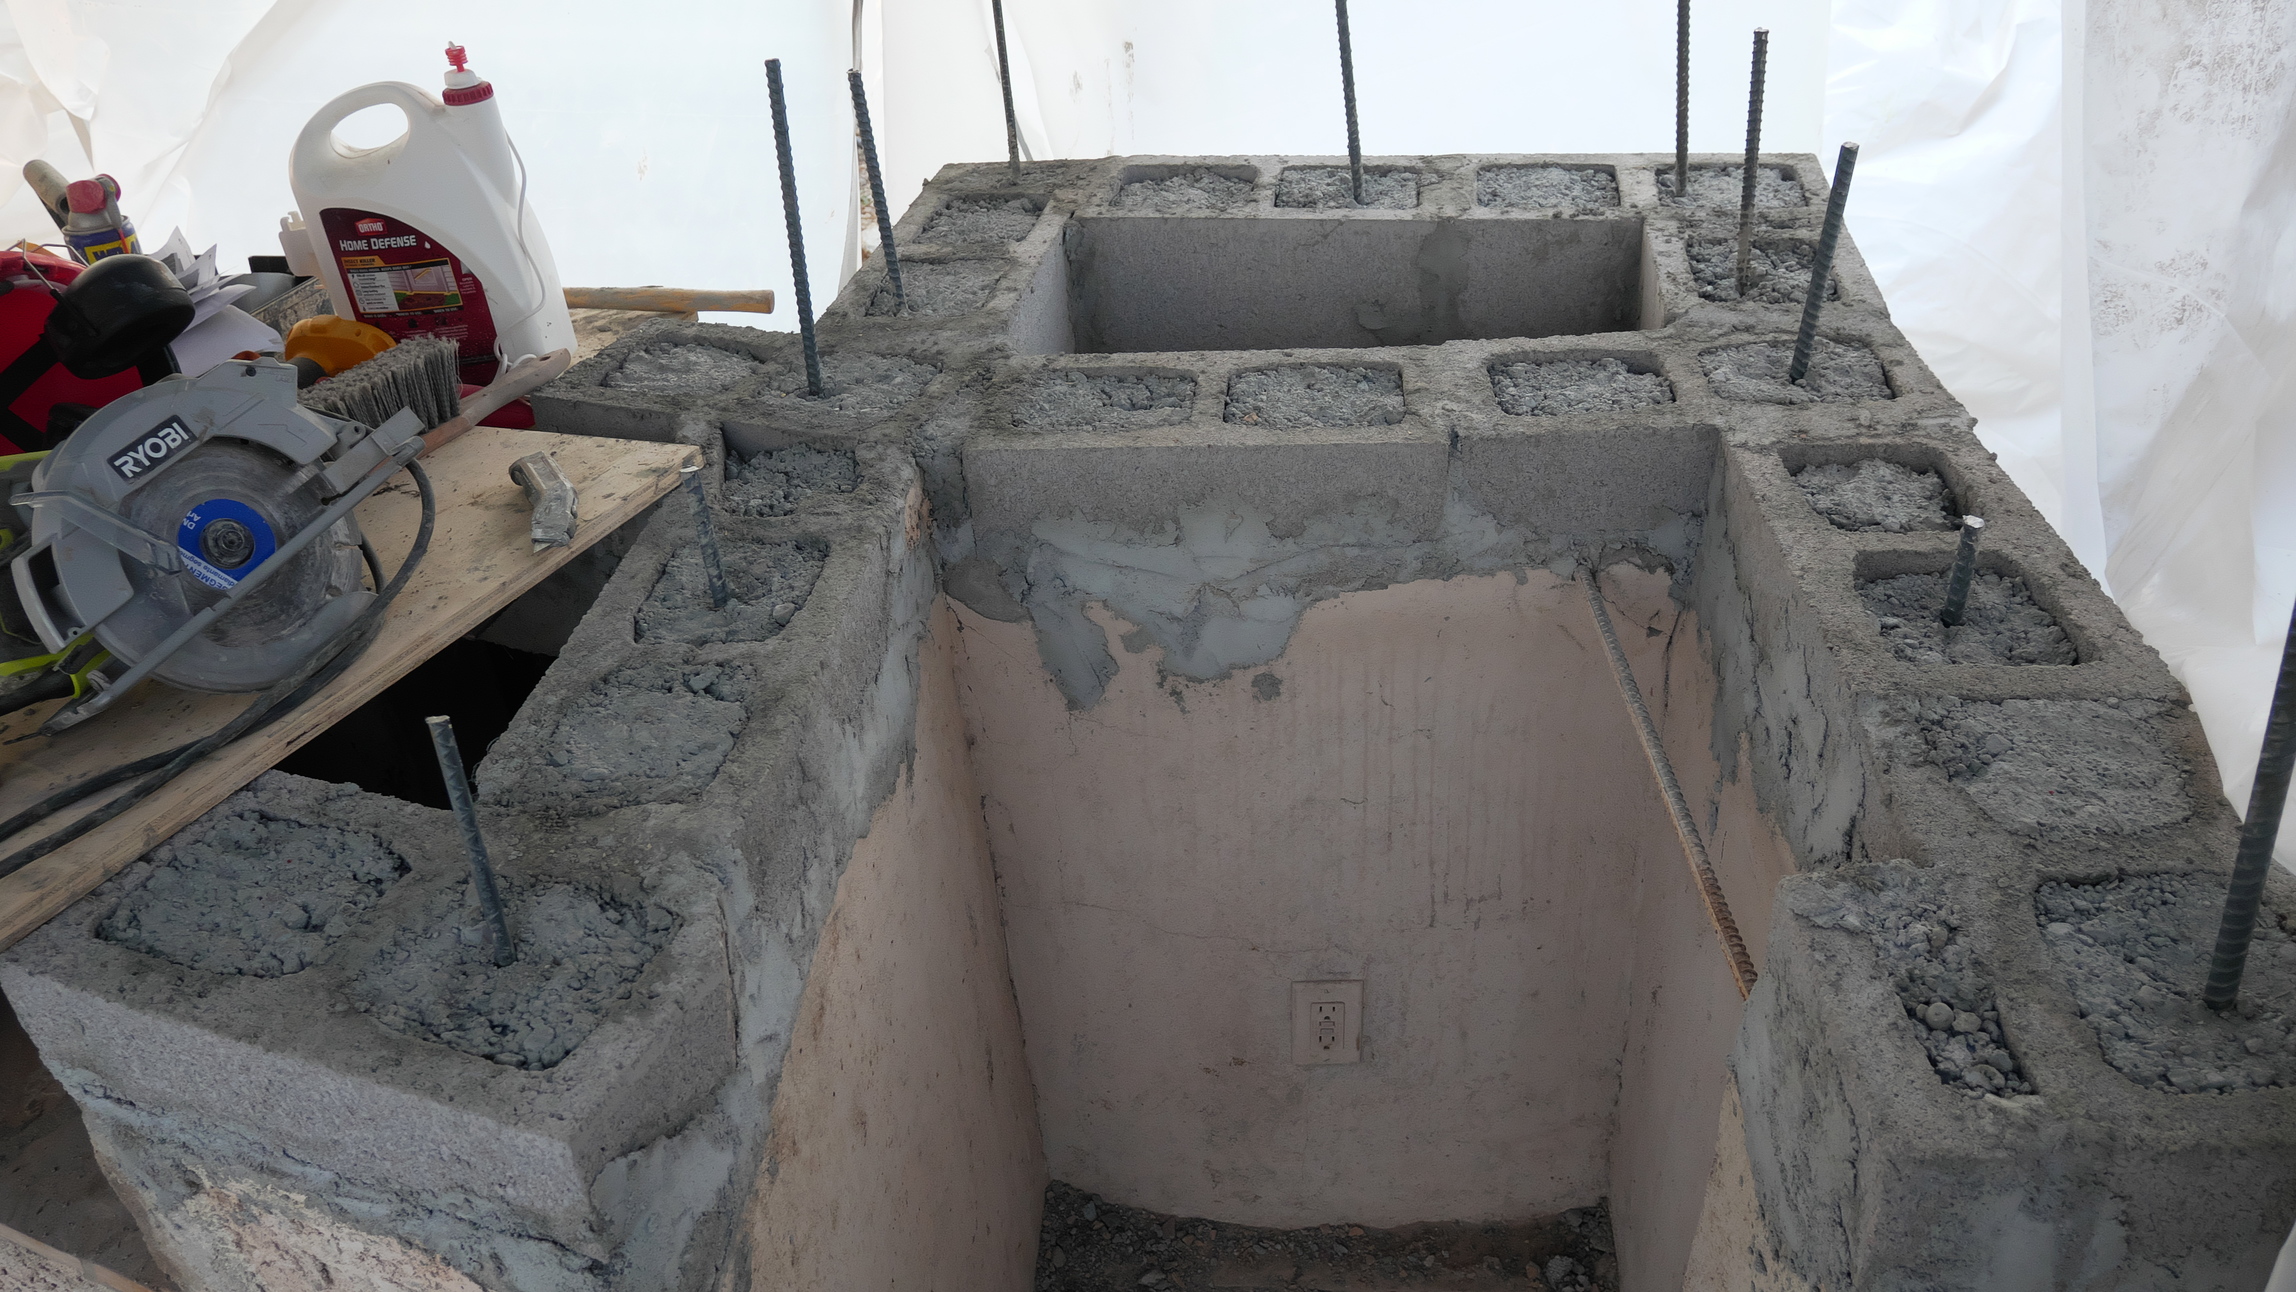
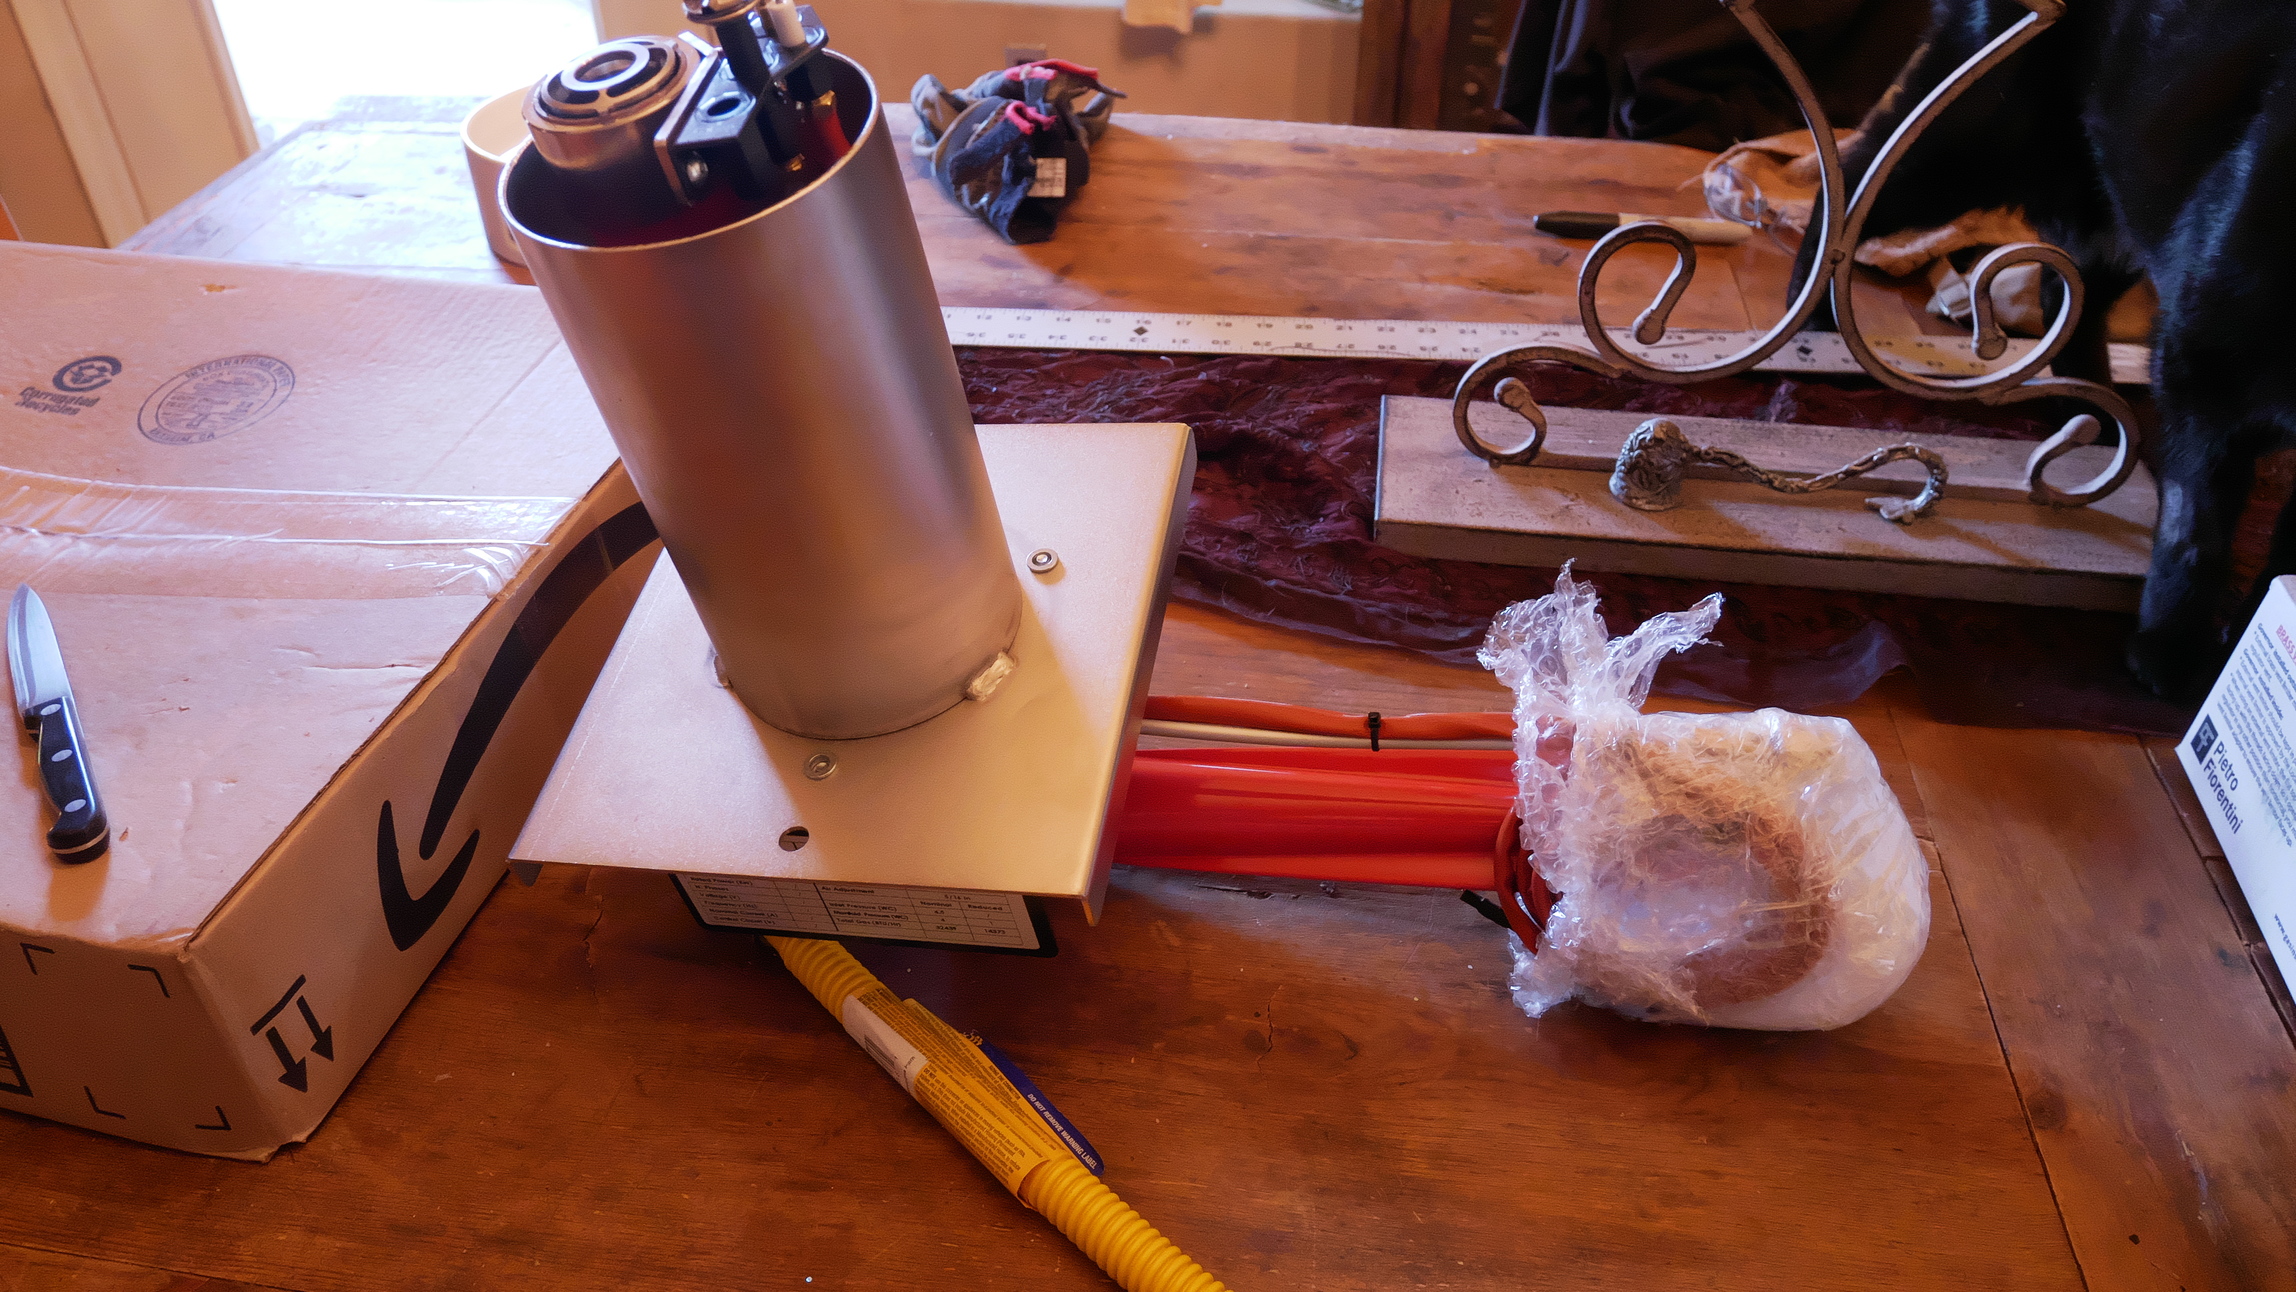
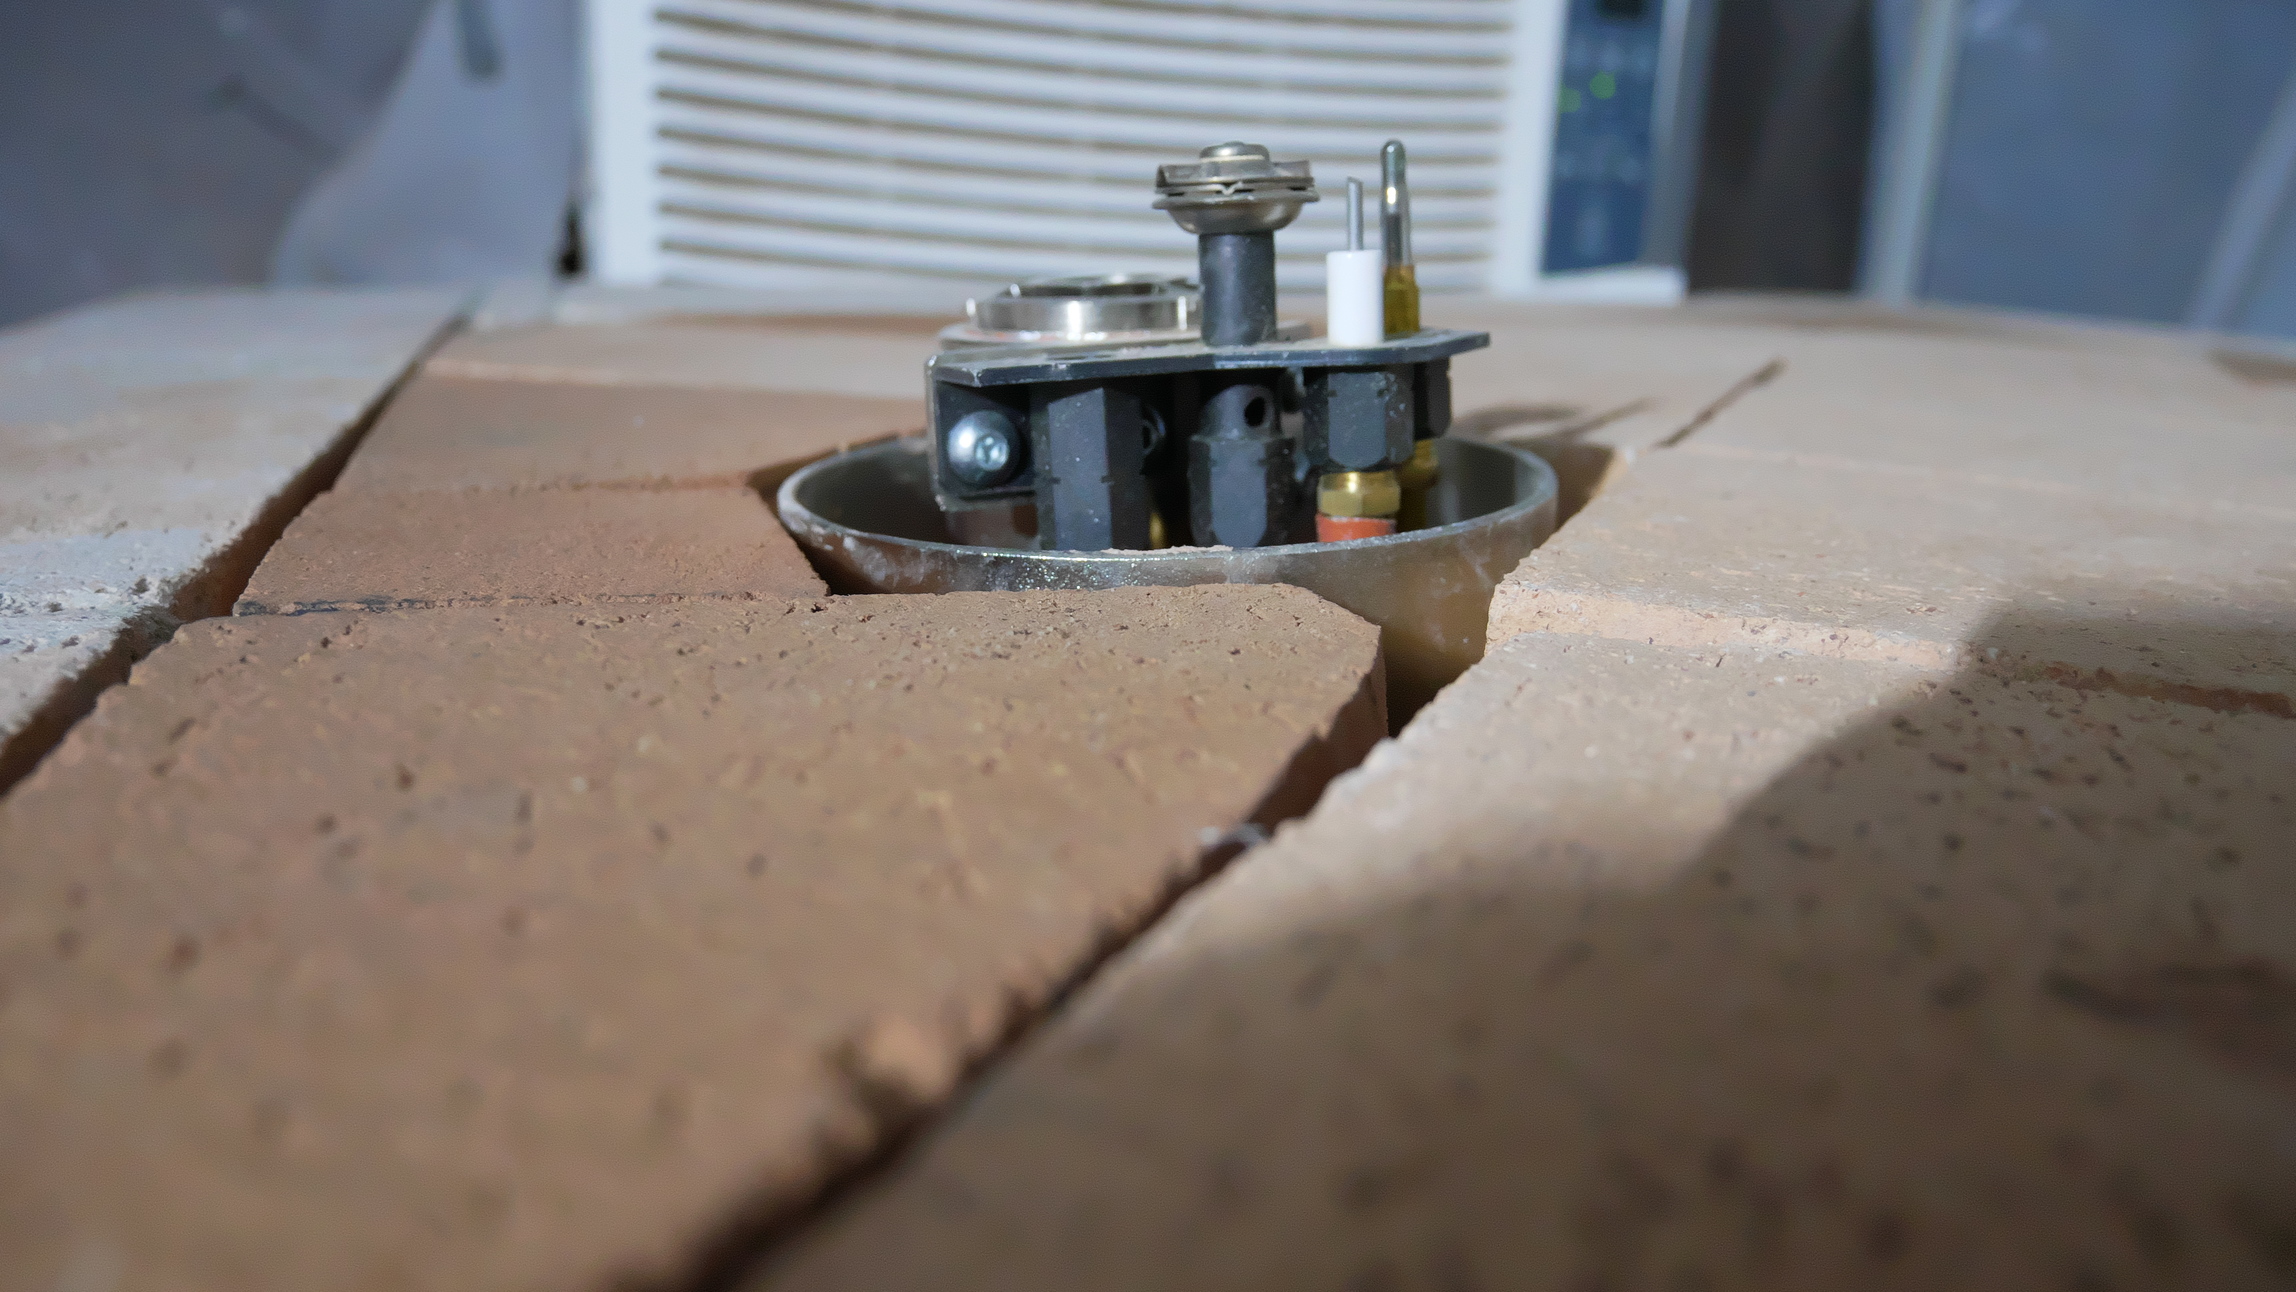
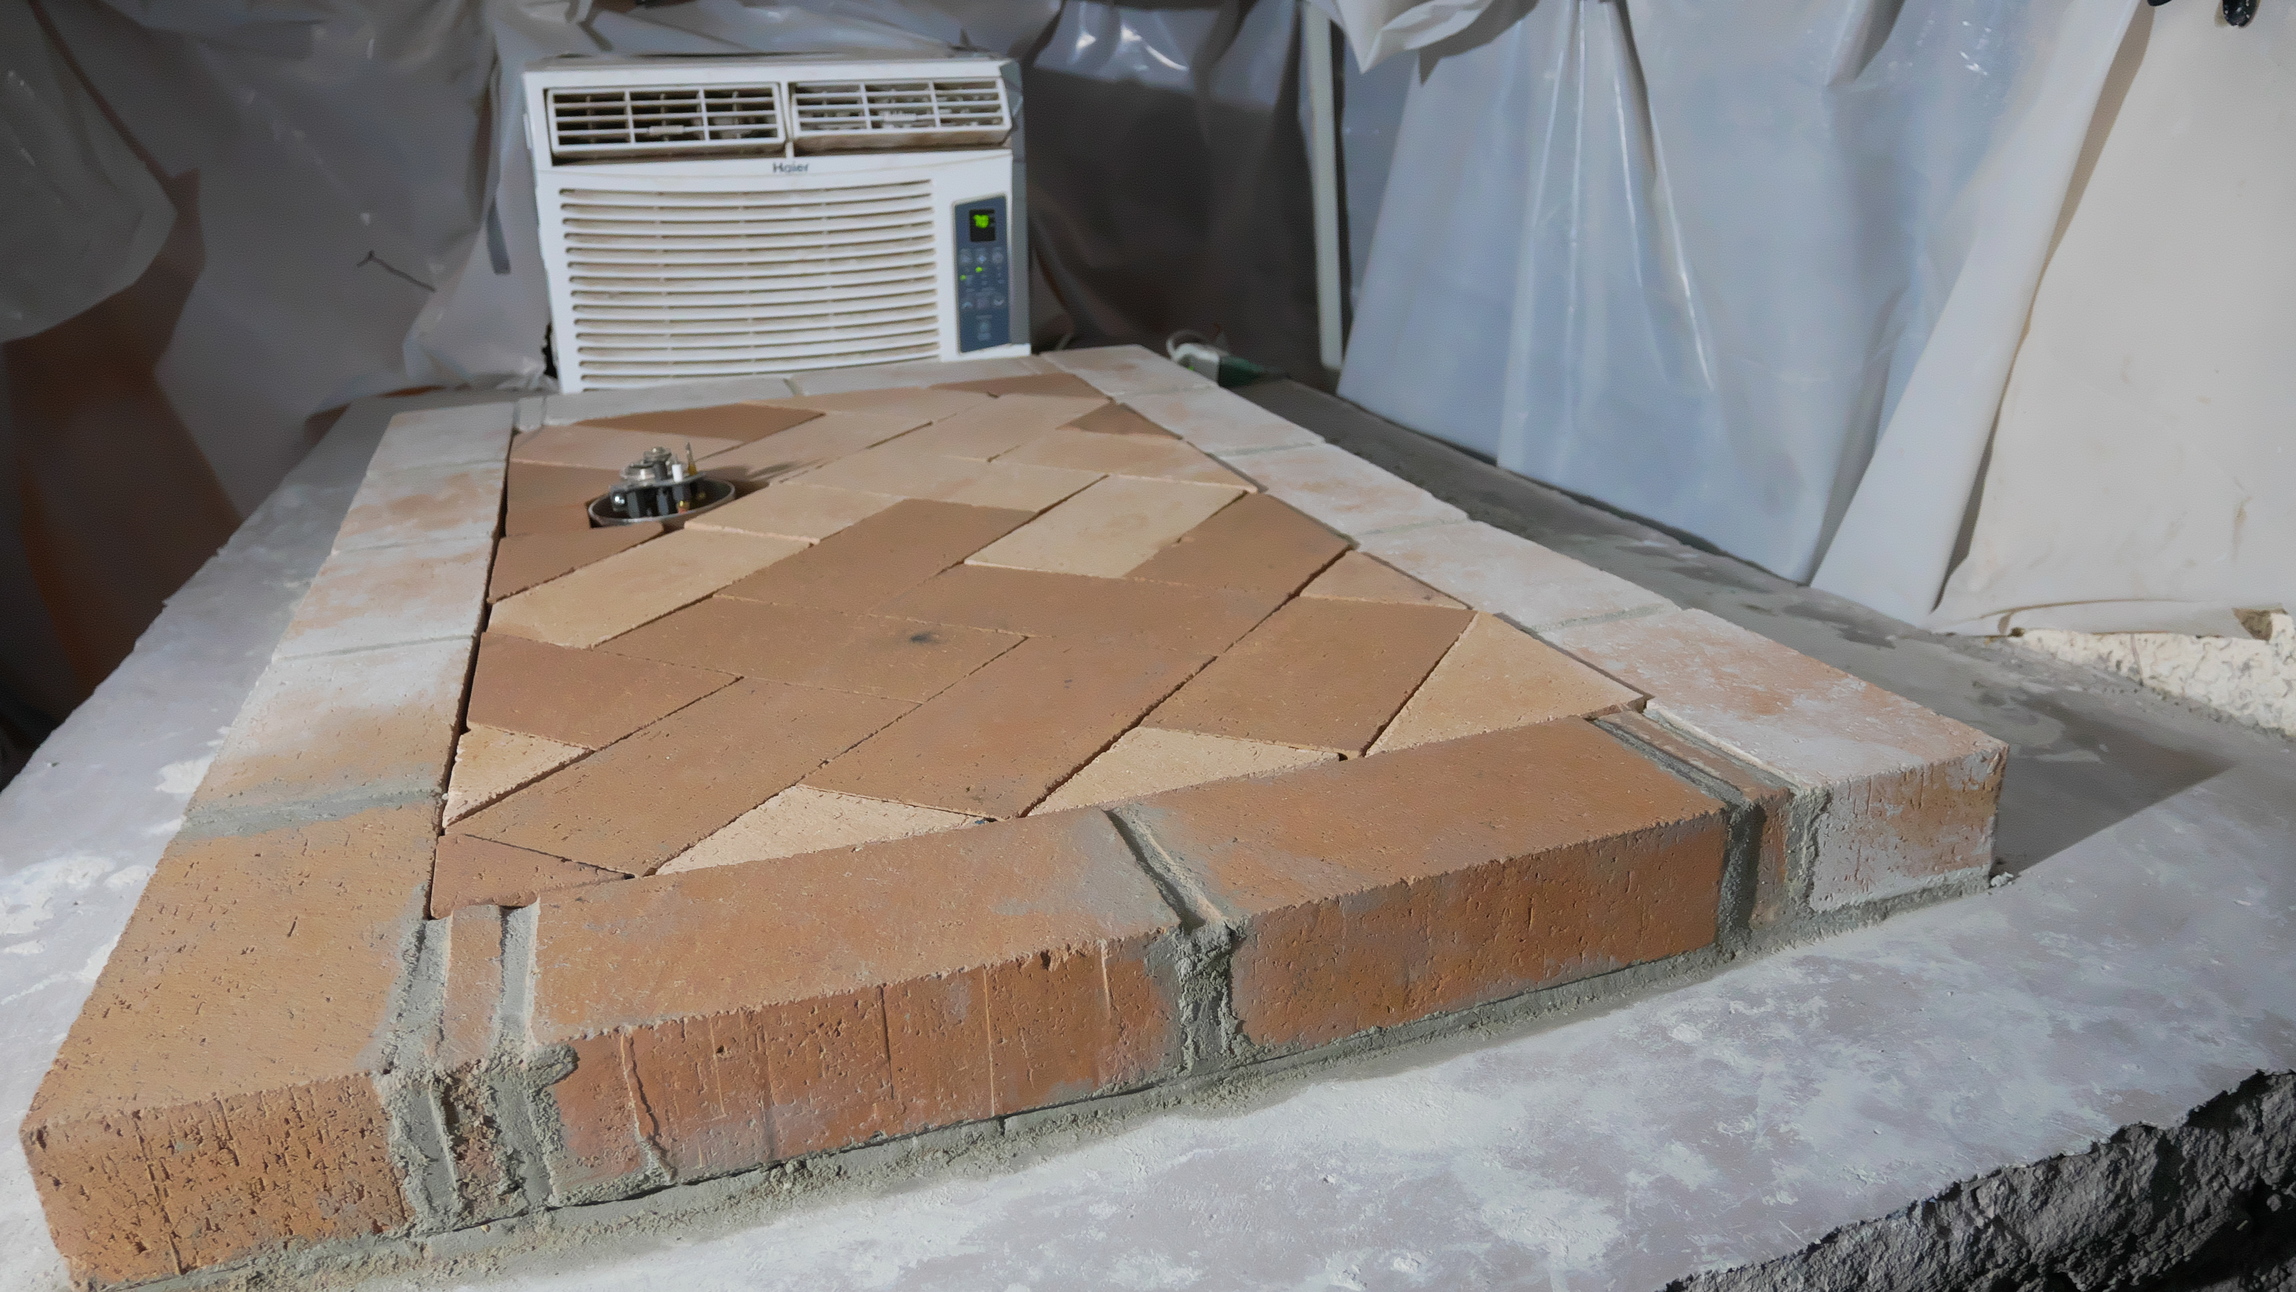
To commit to the project, I ordered the Mattone Barile package. The oven would be next to our built-in grill (which needs replacing…badly). An old refrigerator will be removed (not used for years), thus making a perfect place to store my wood. I would not need a lot of wood, because I will have a Natural Gas burner added to the girl. Hardwood is not the easiest thing to find in Arizona, and I like to have a choice between NG and wood. My oven will be used for everything from steaks to bread.

This will be a bit of a journey…and I’d like to bring you all along. Maybe you can learn from my mistakes.

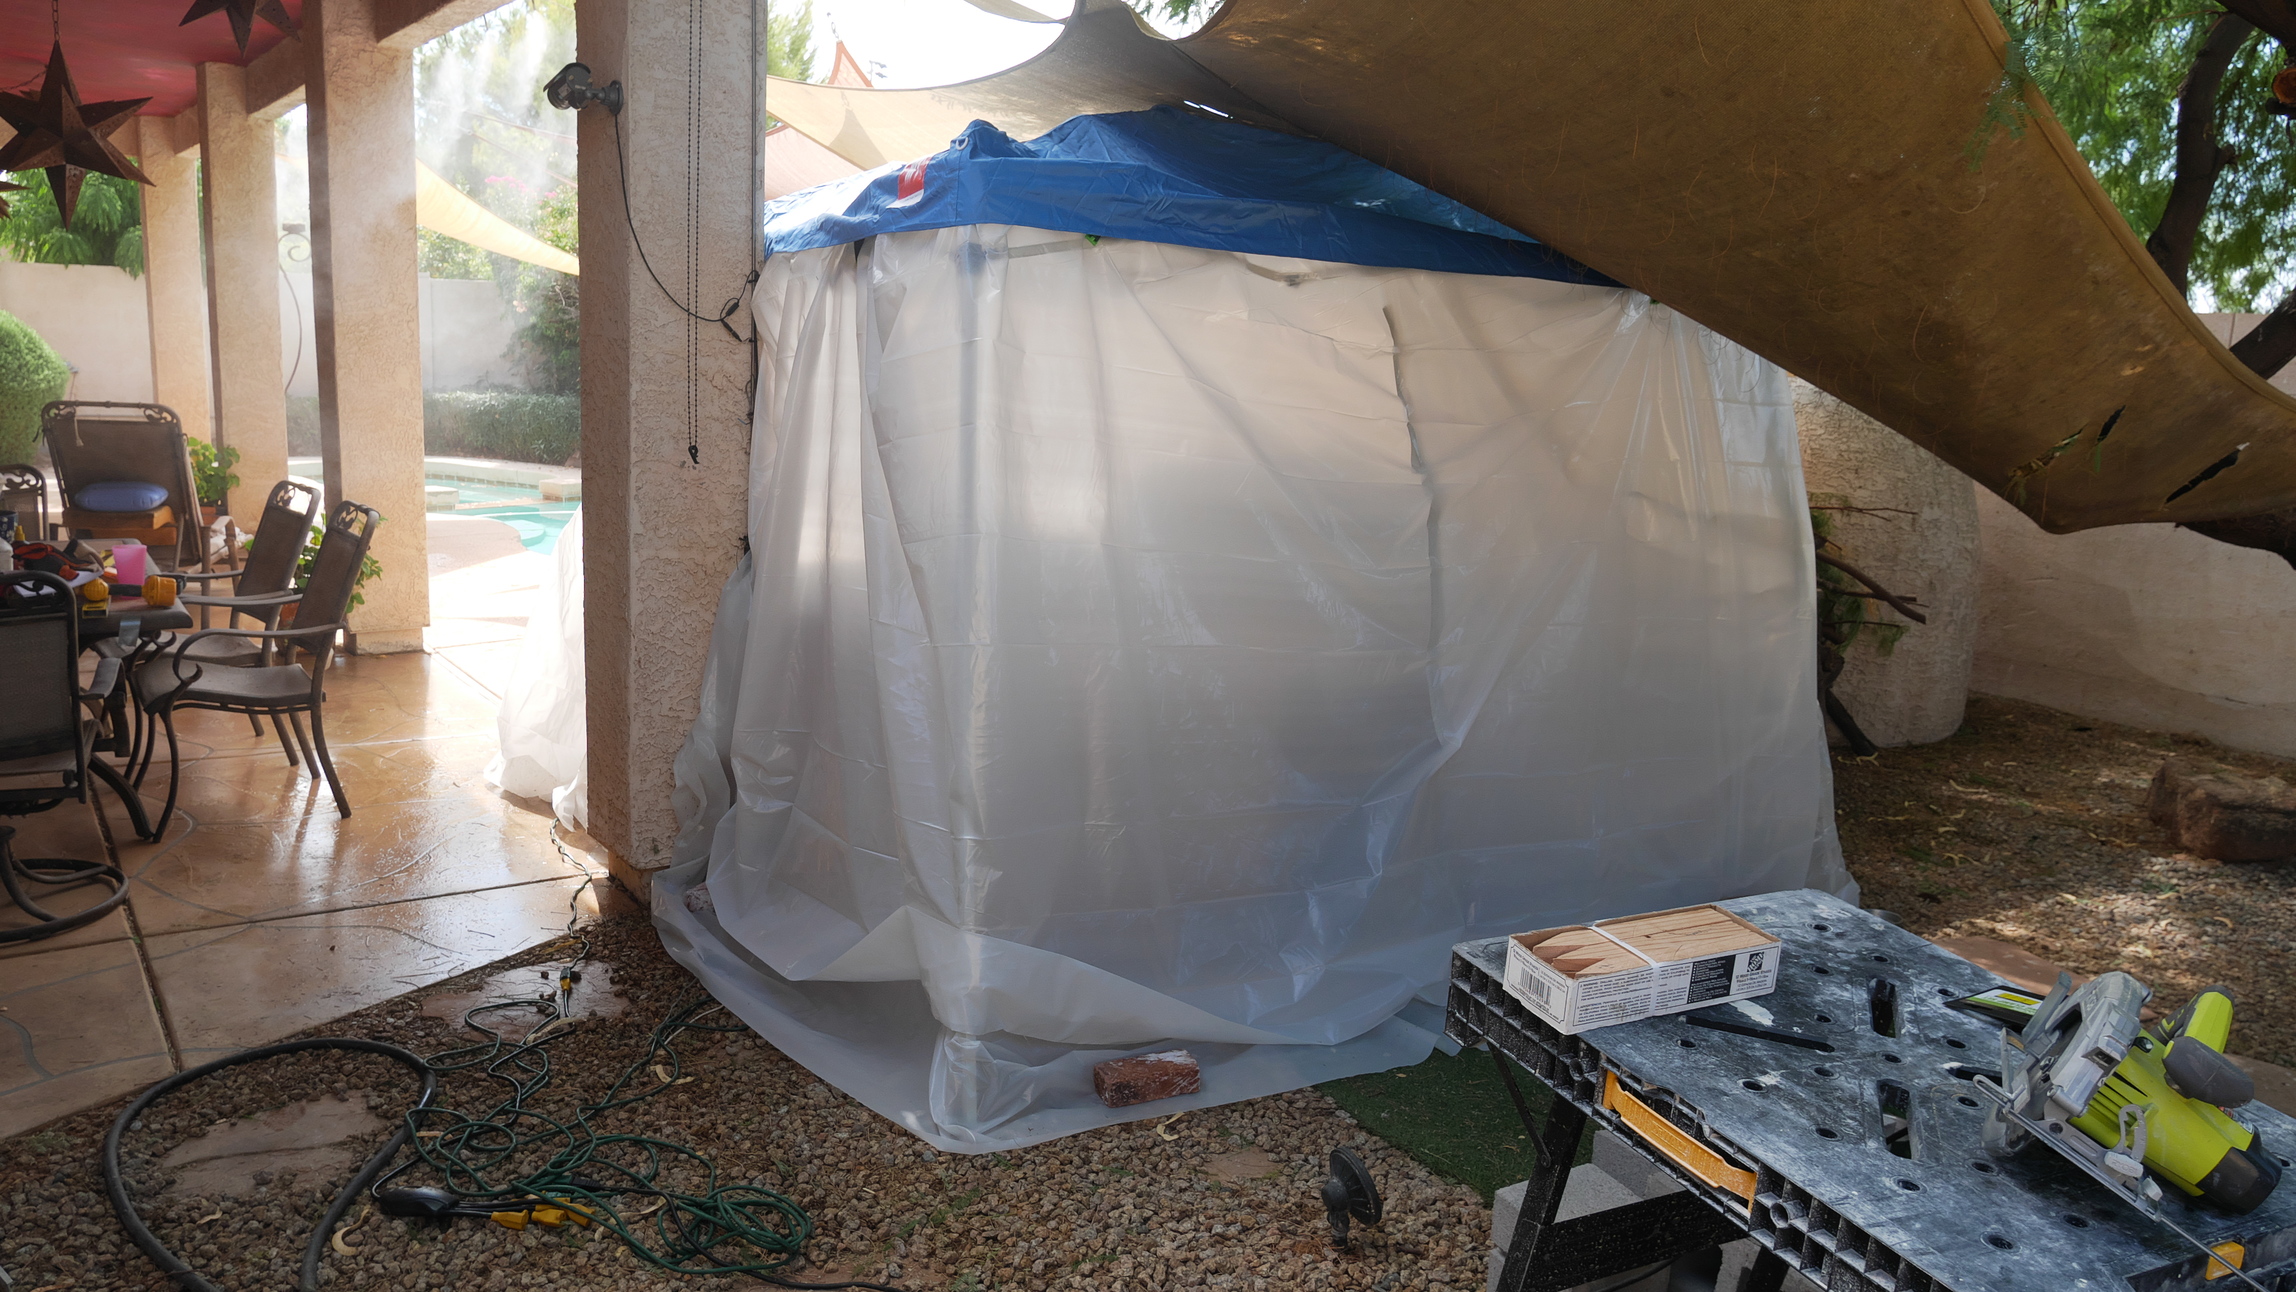
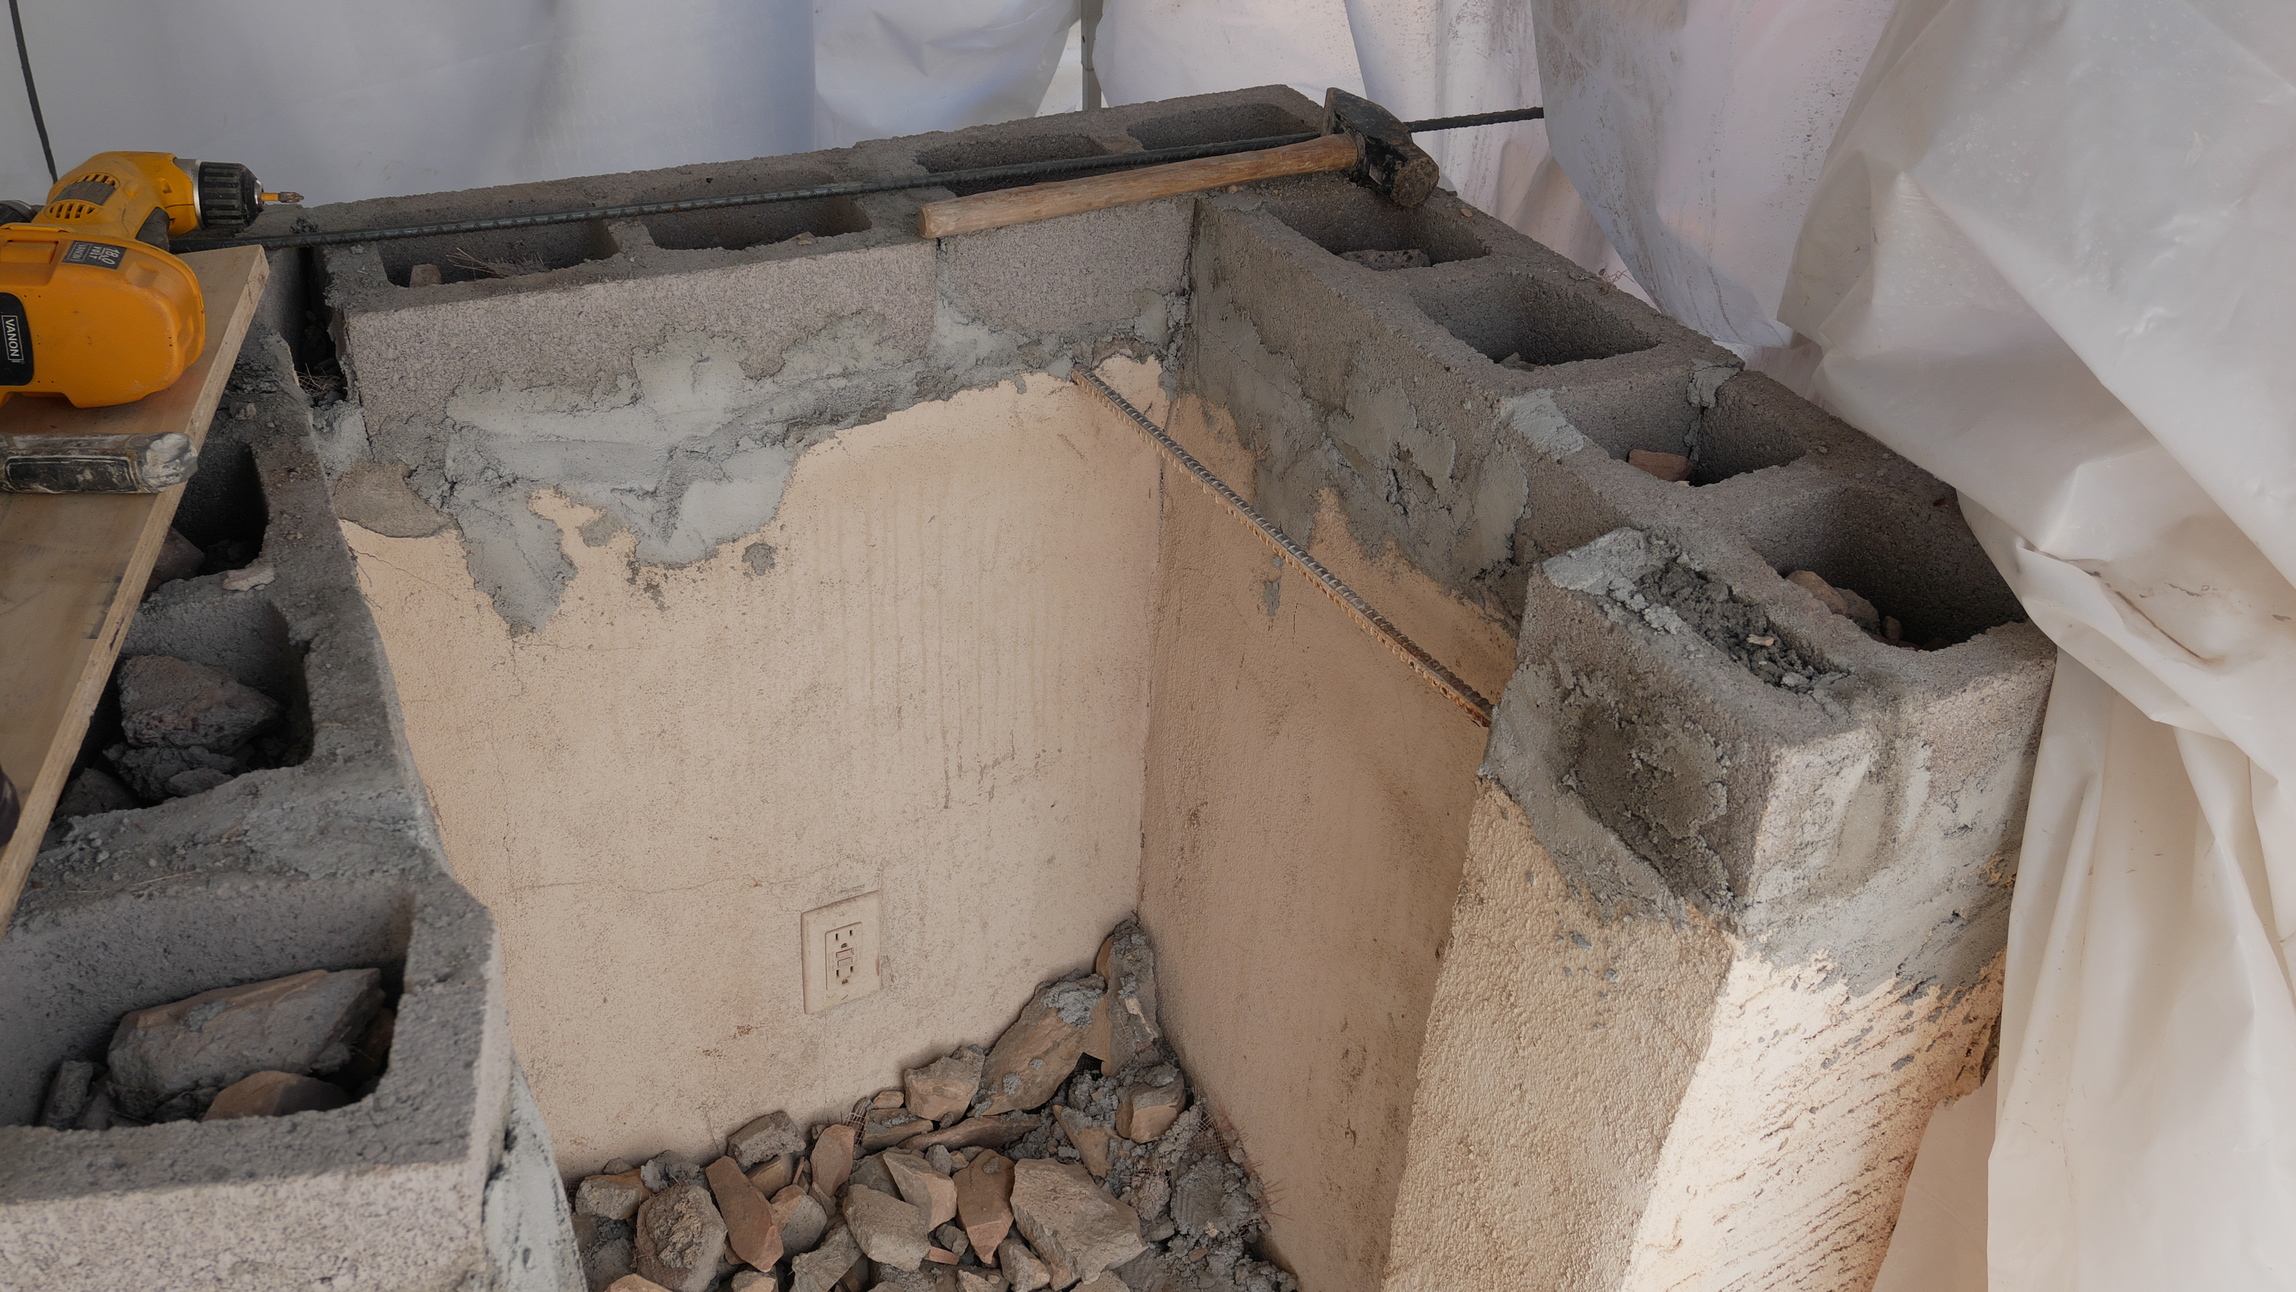
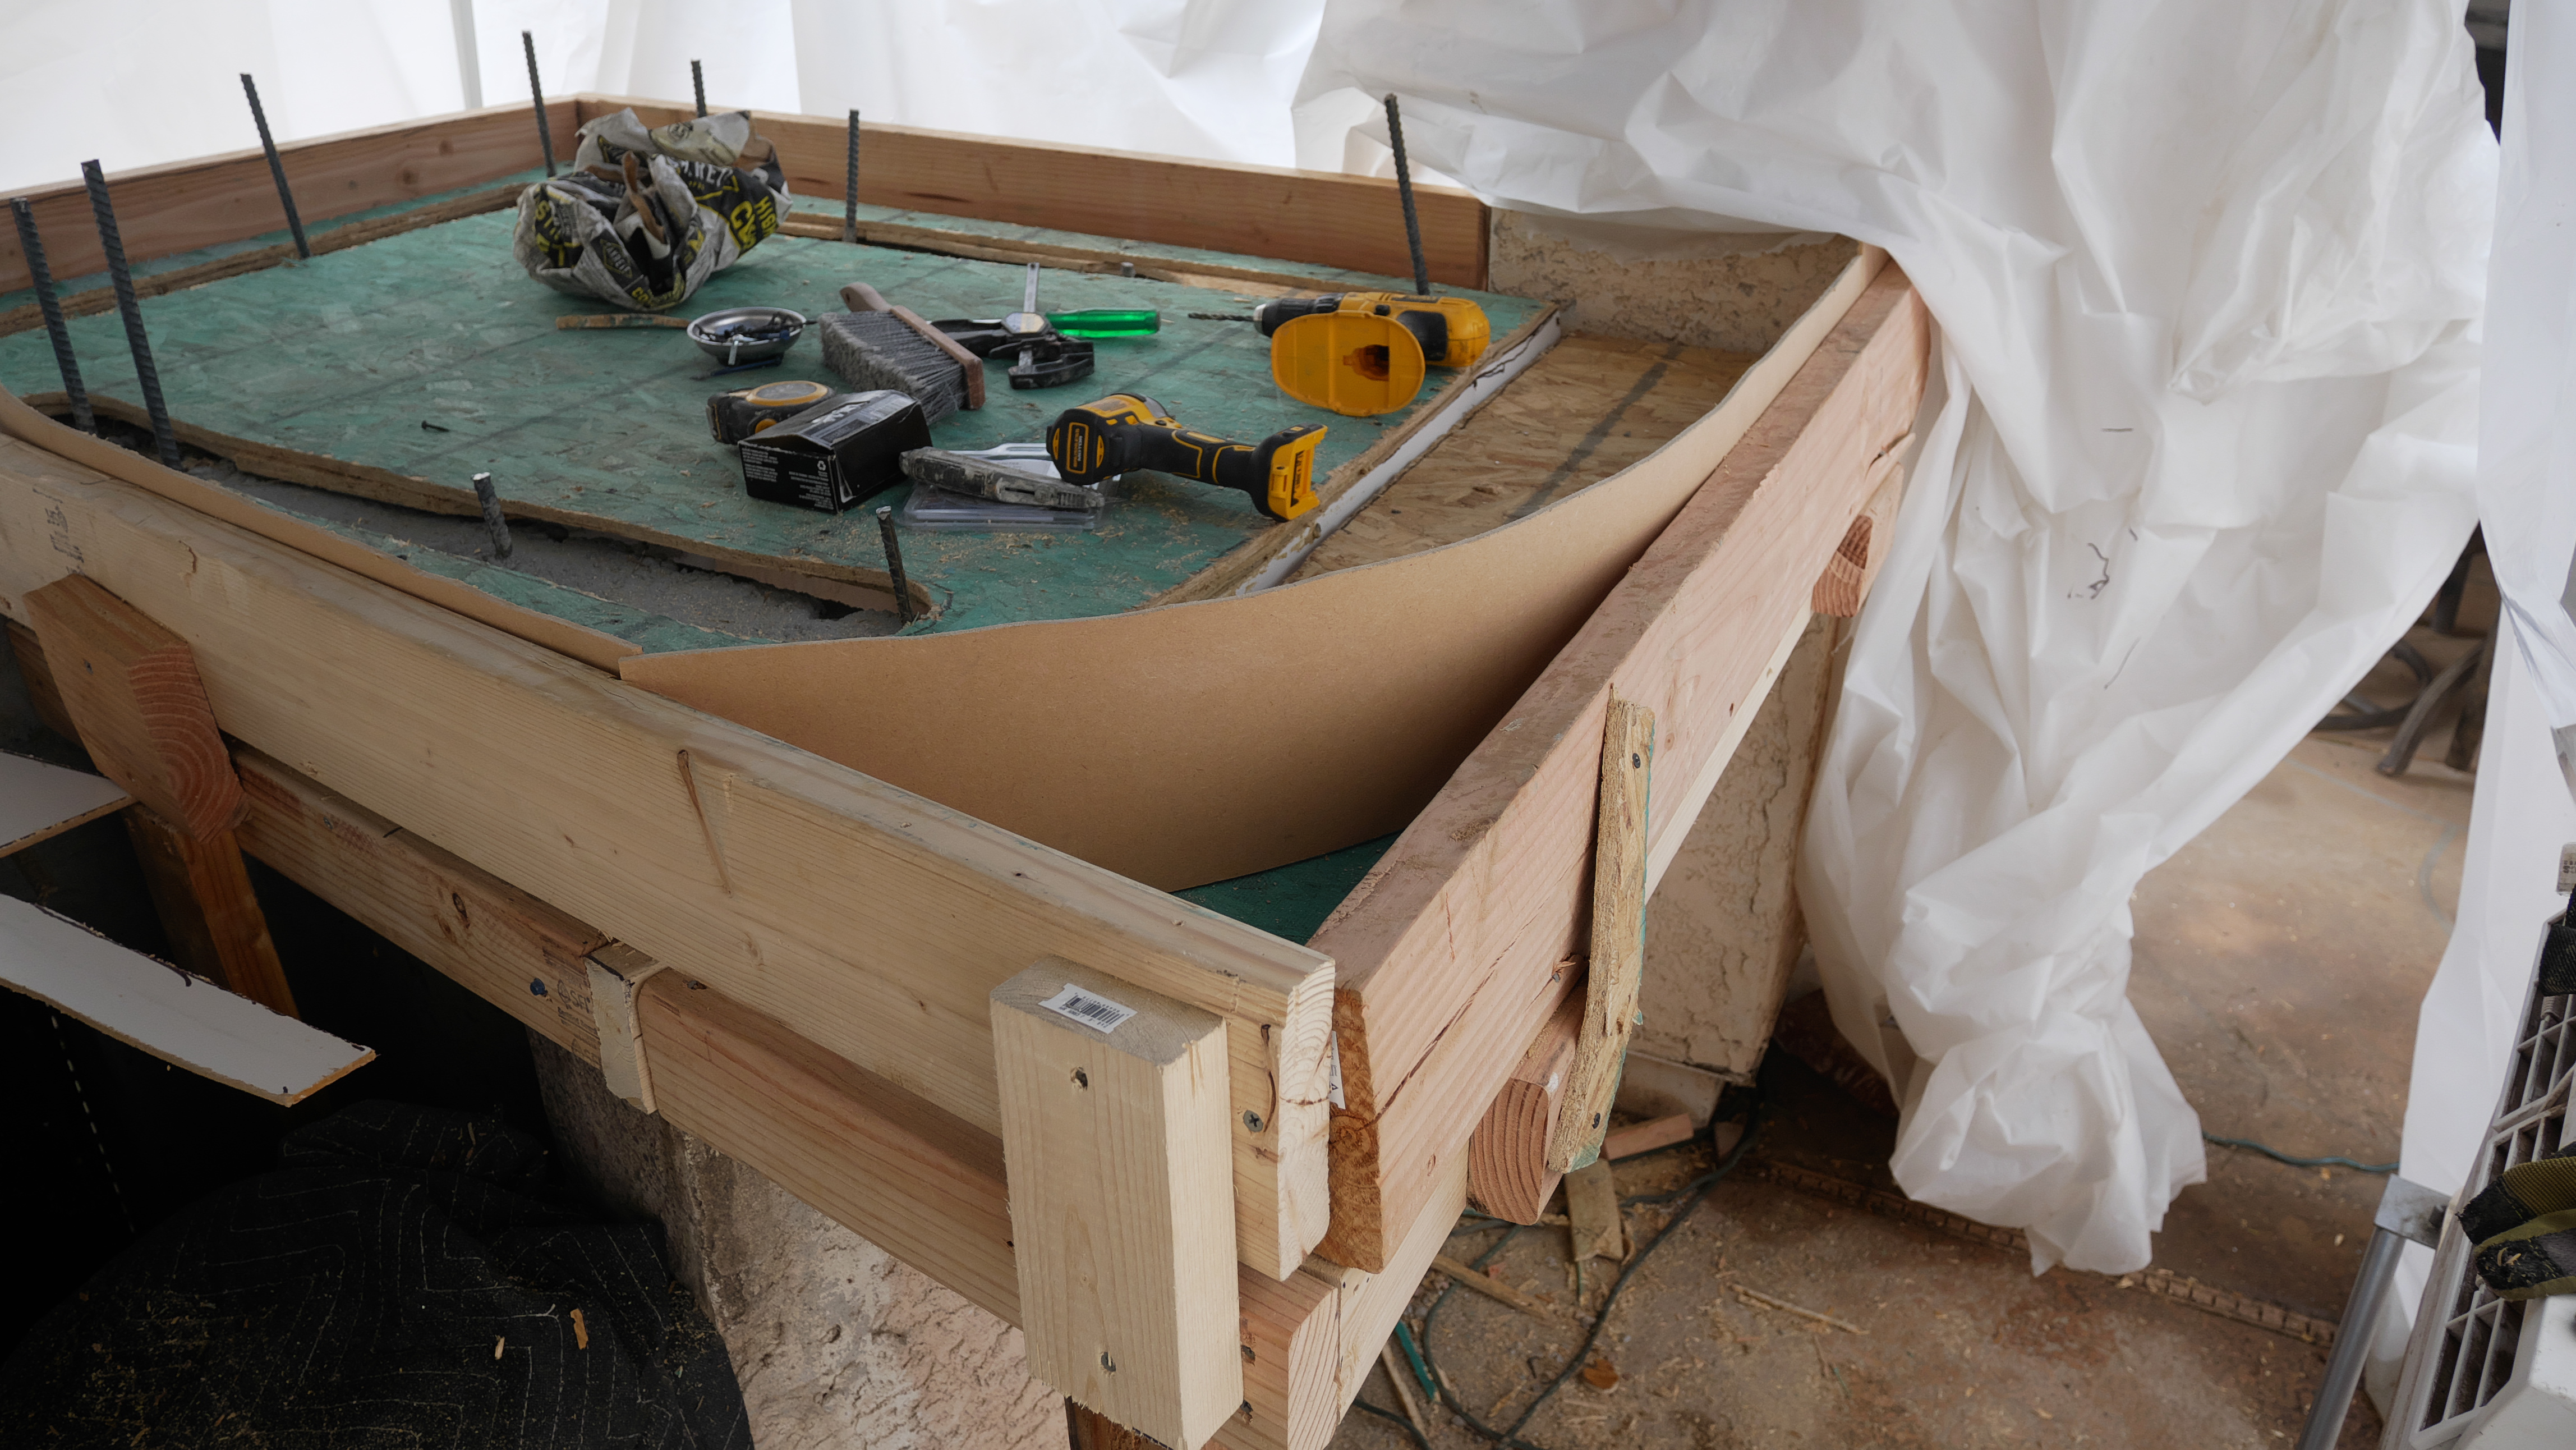
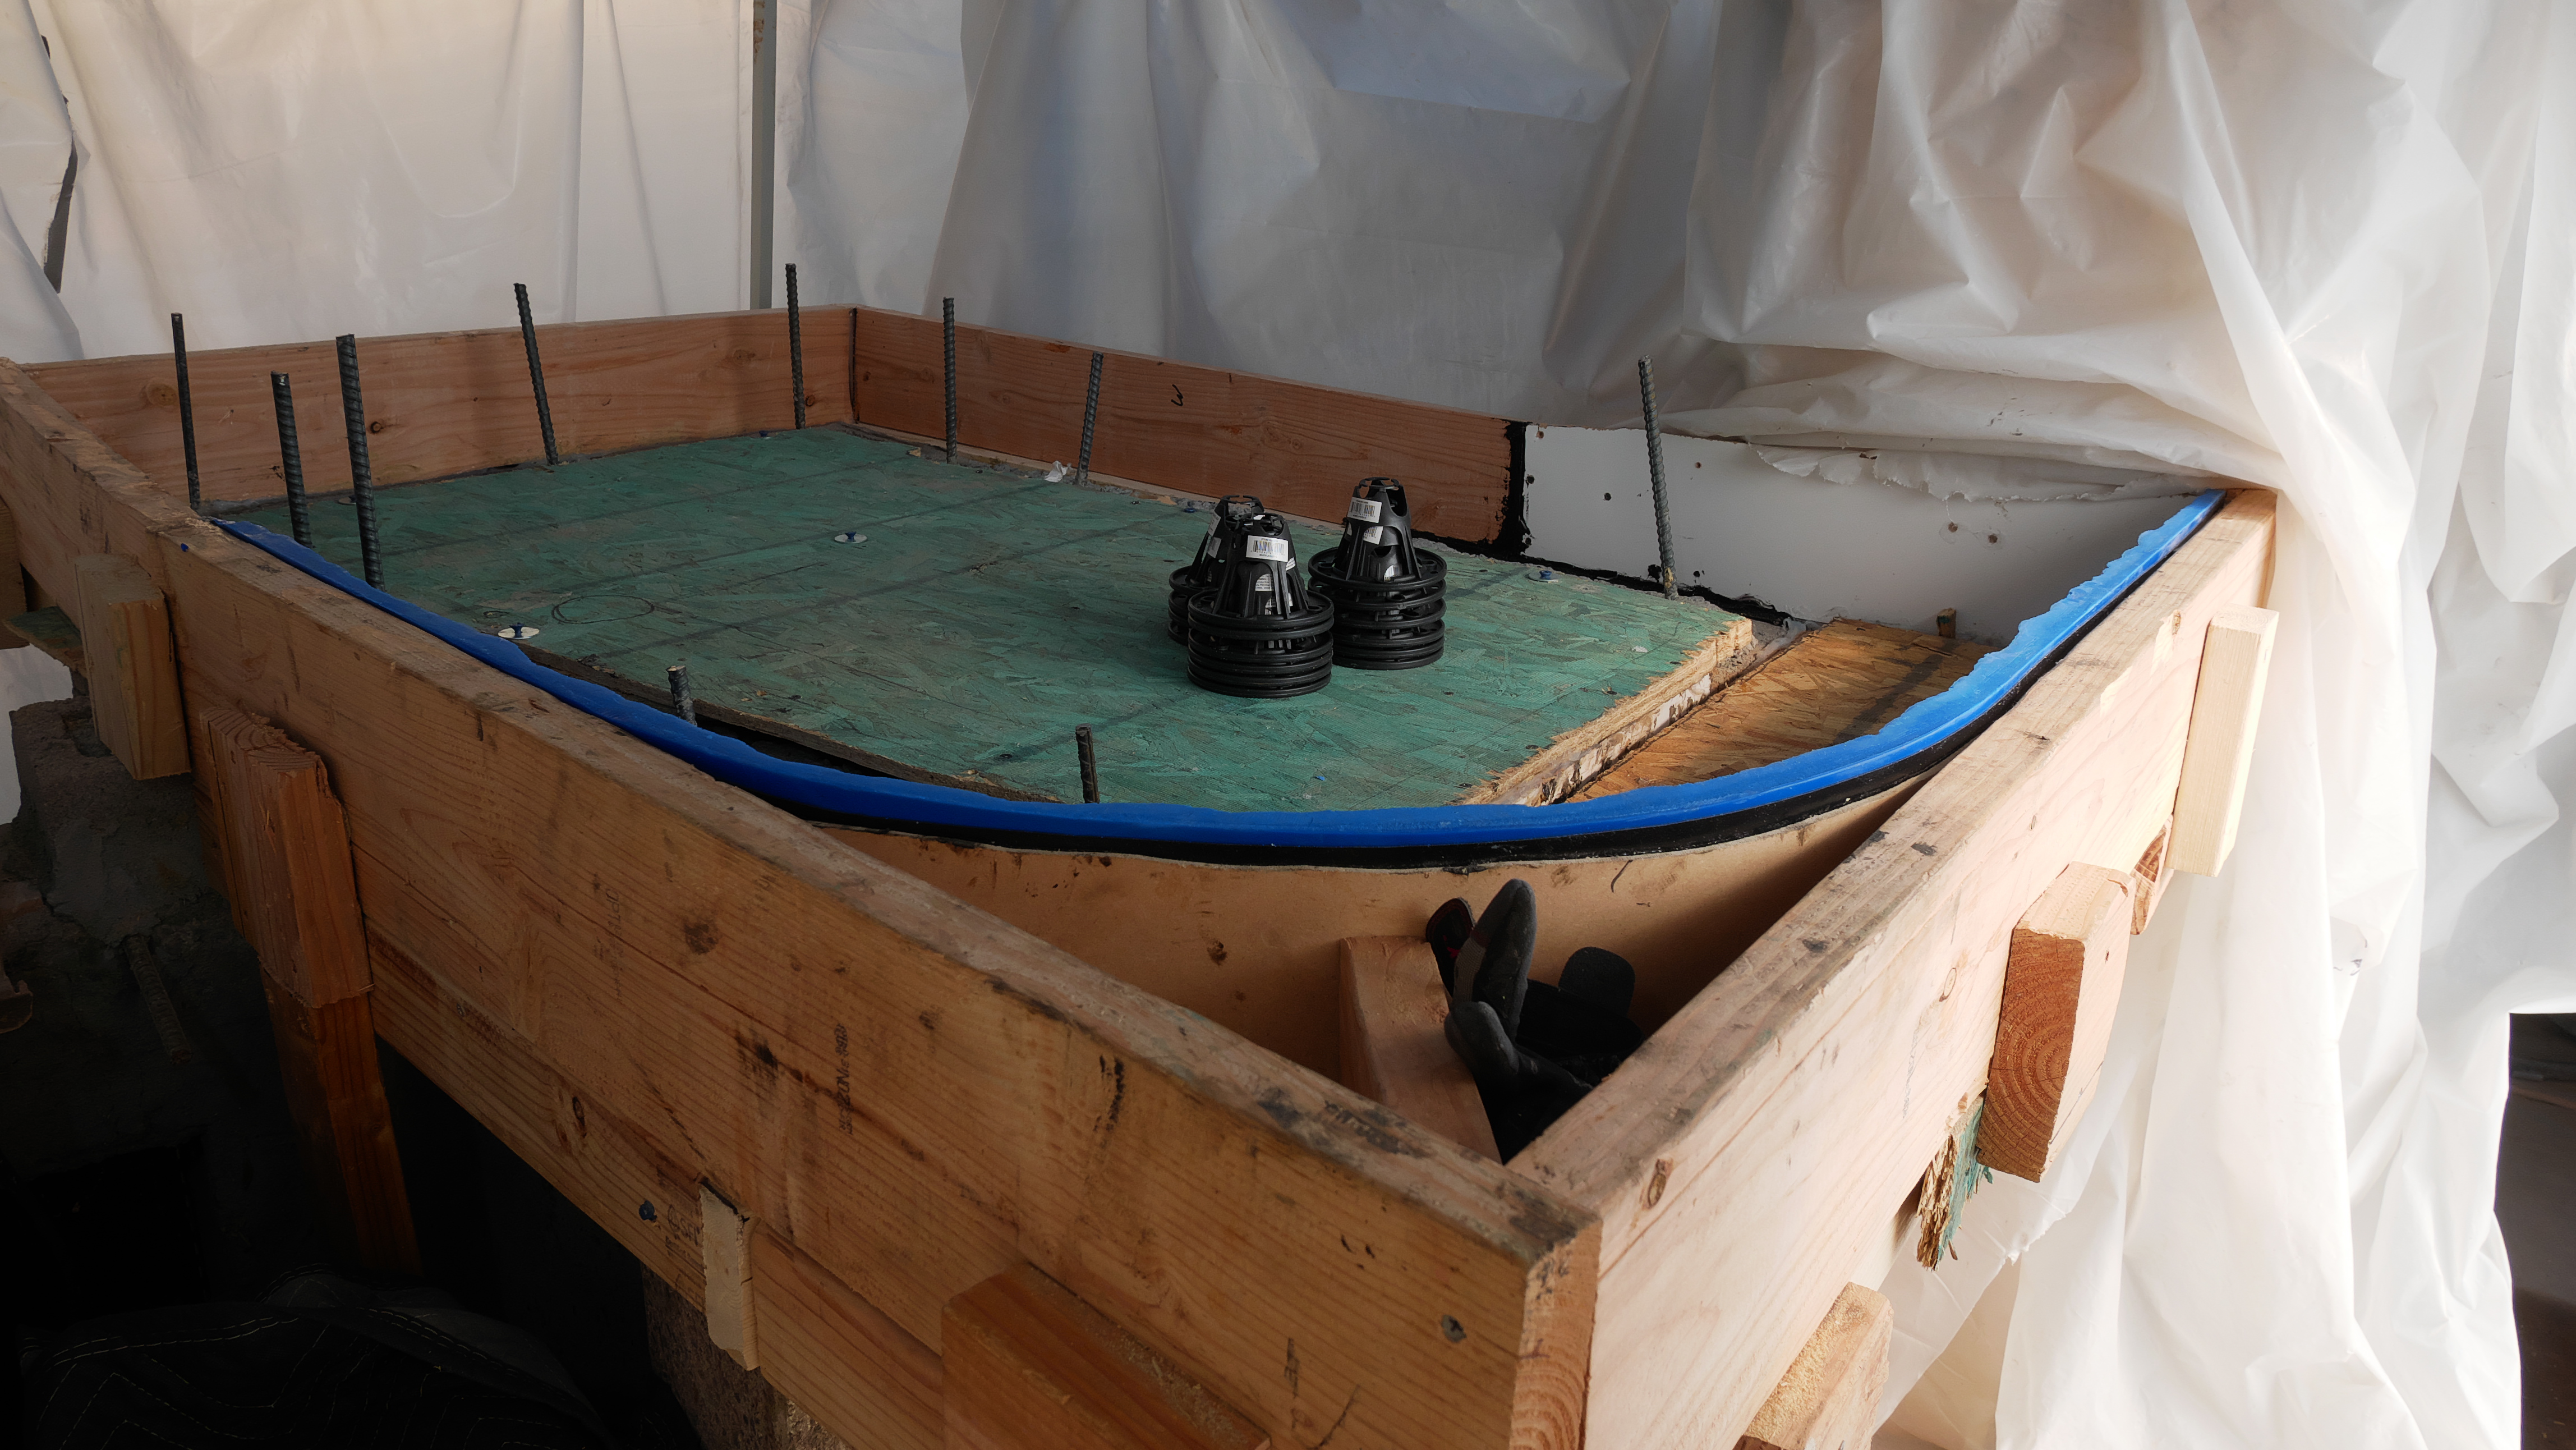
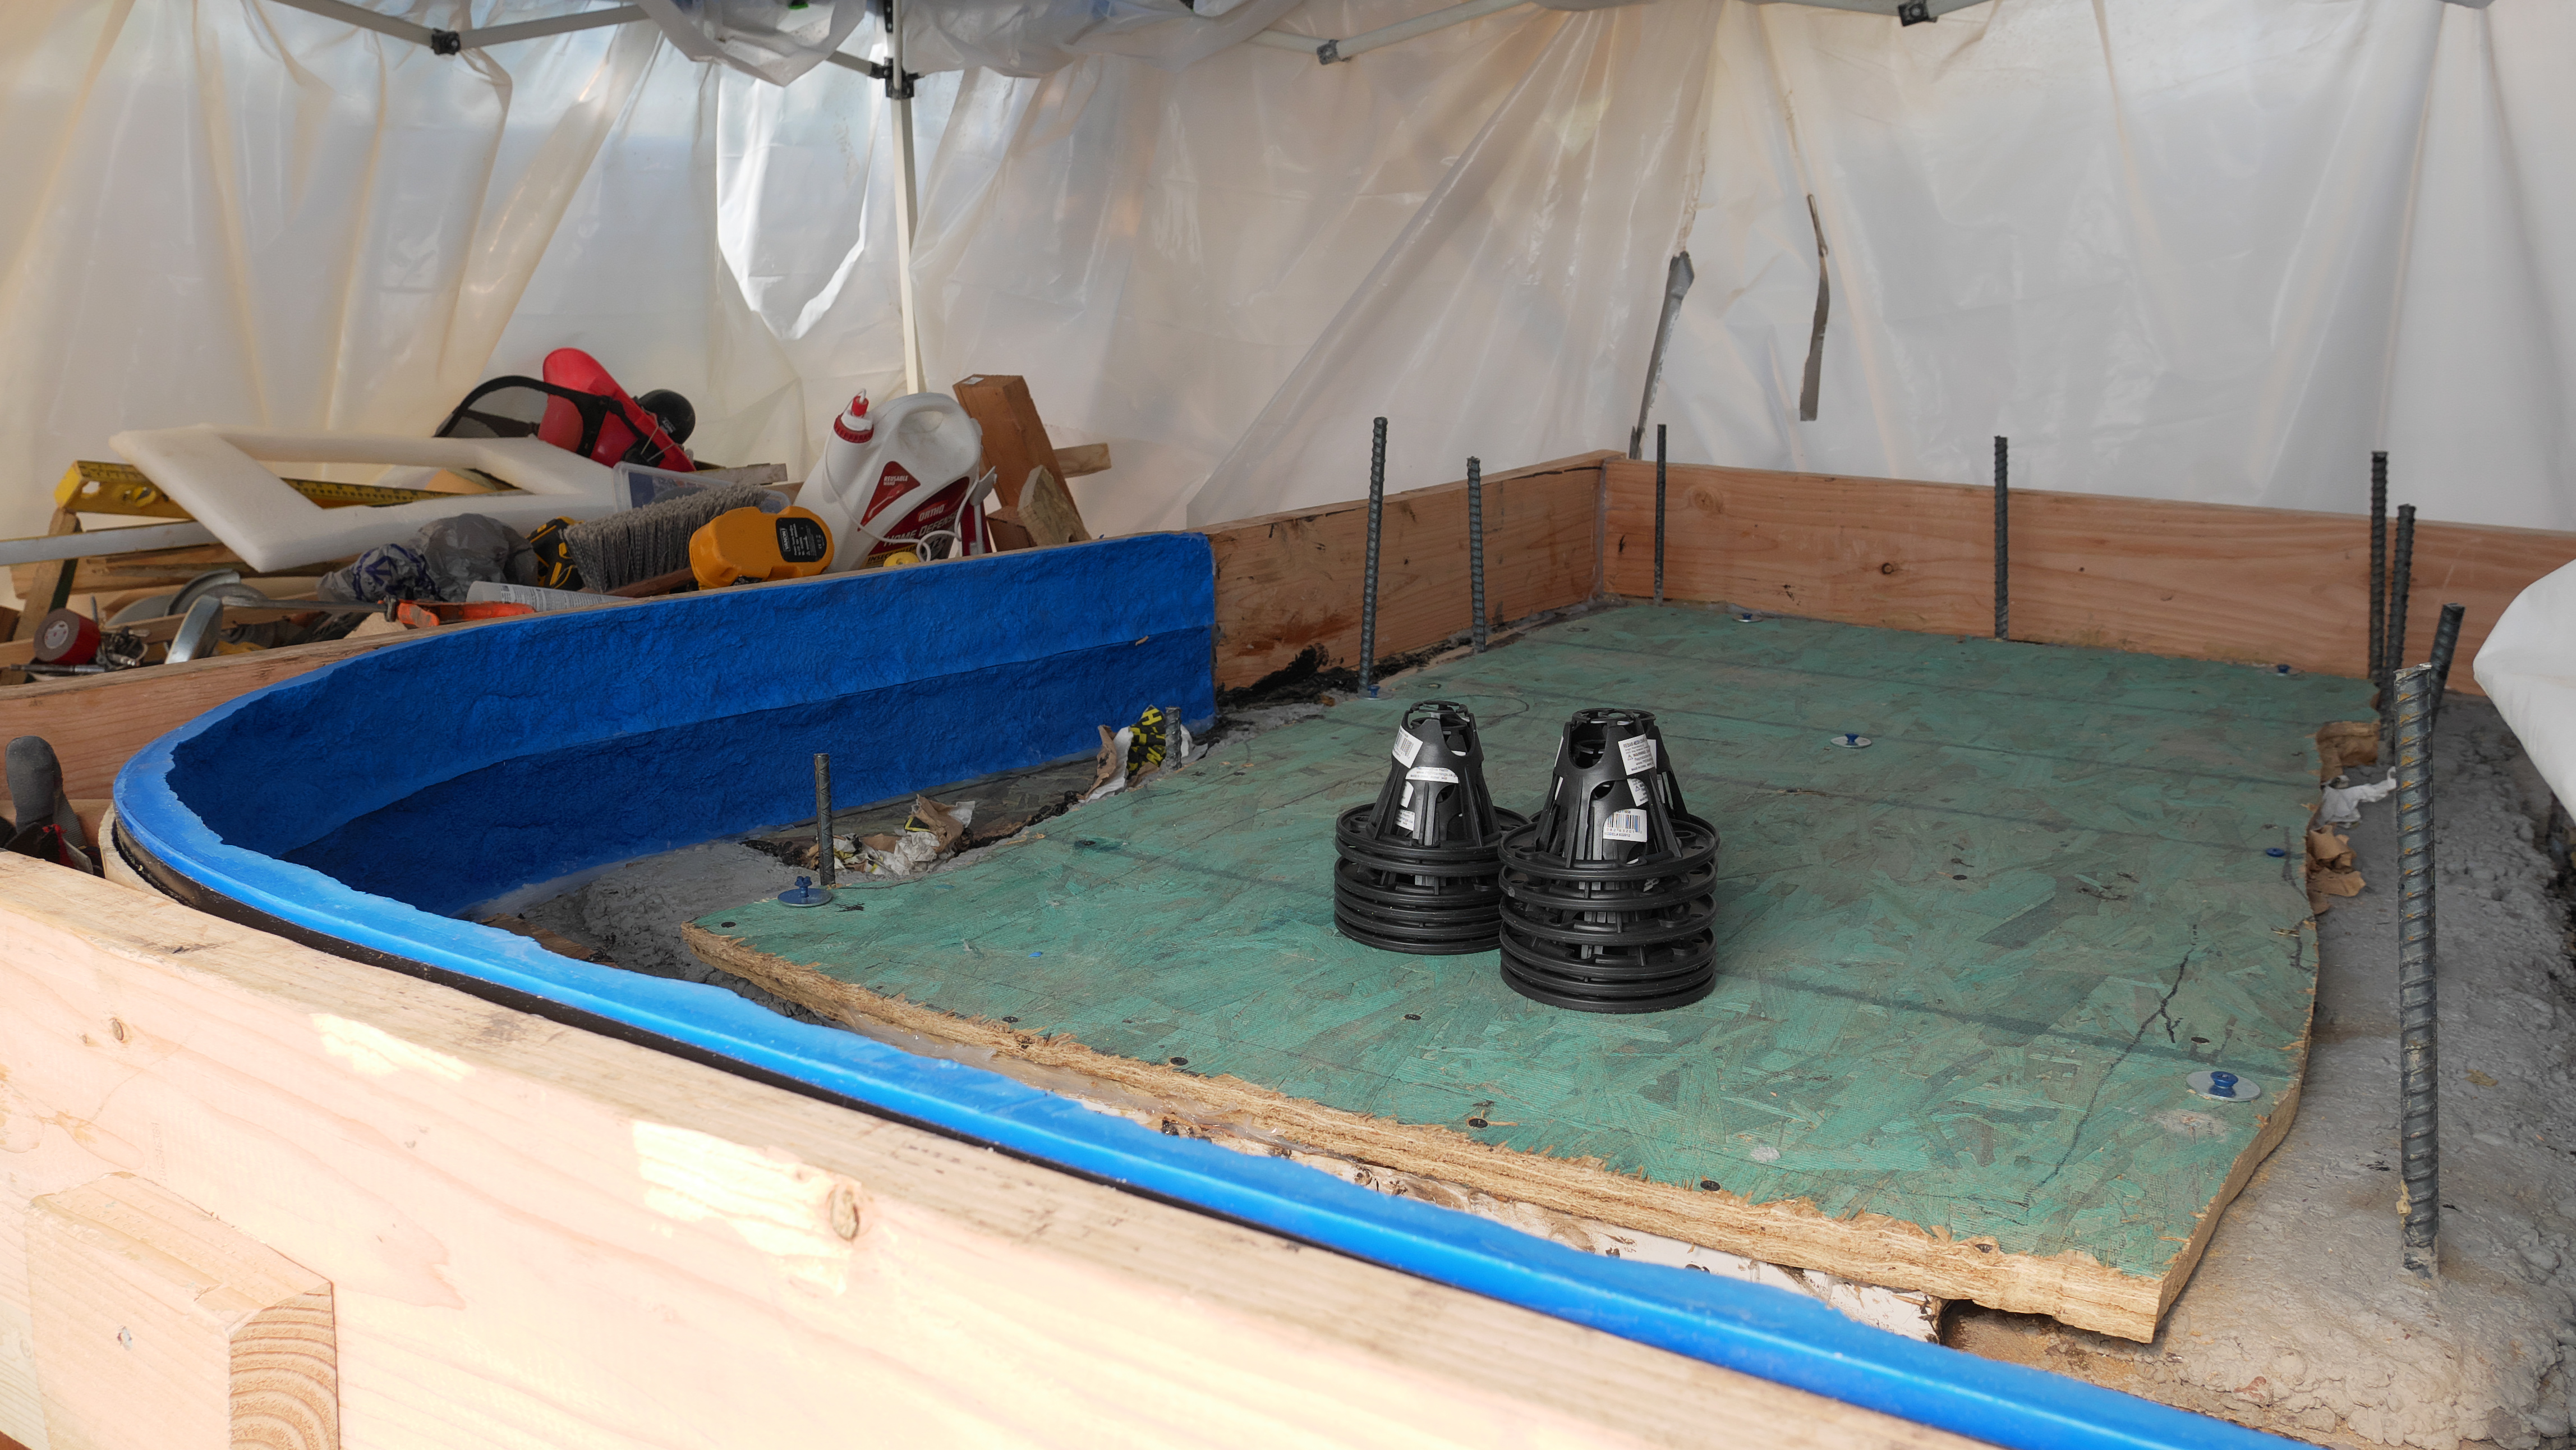
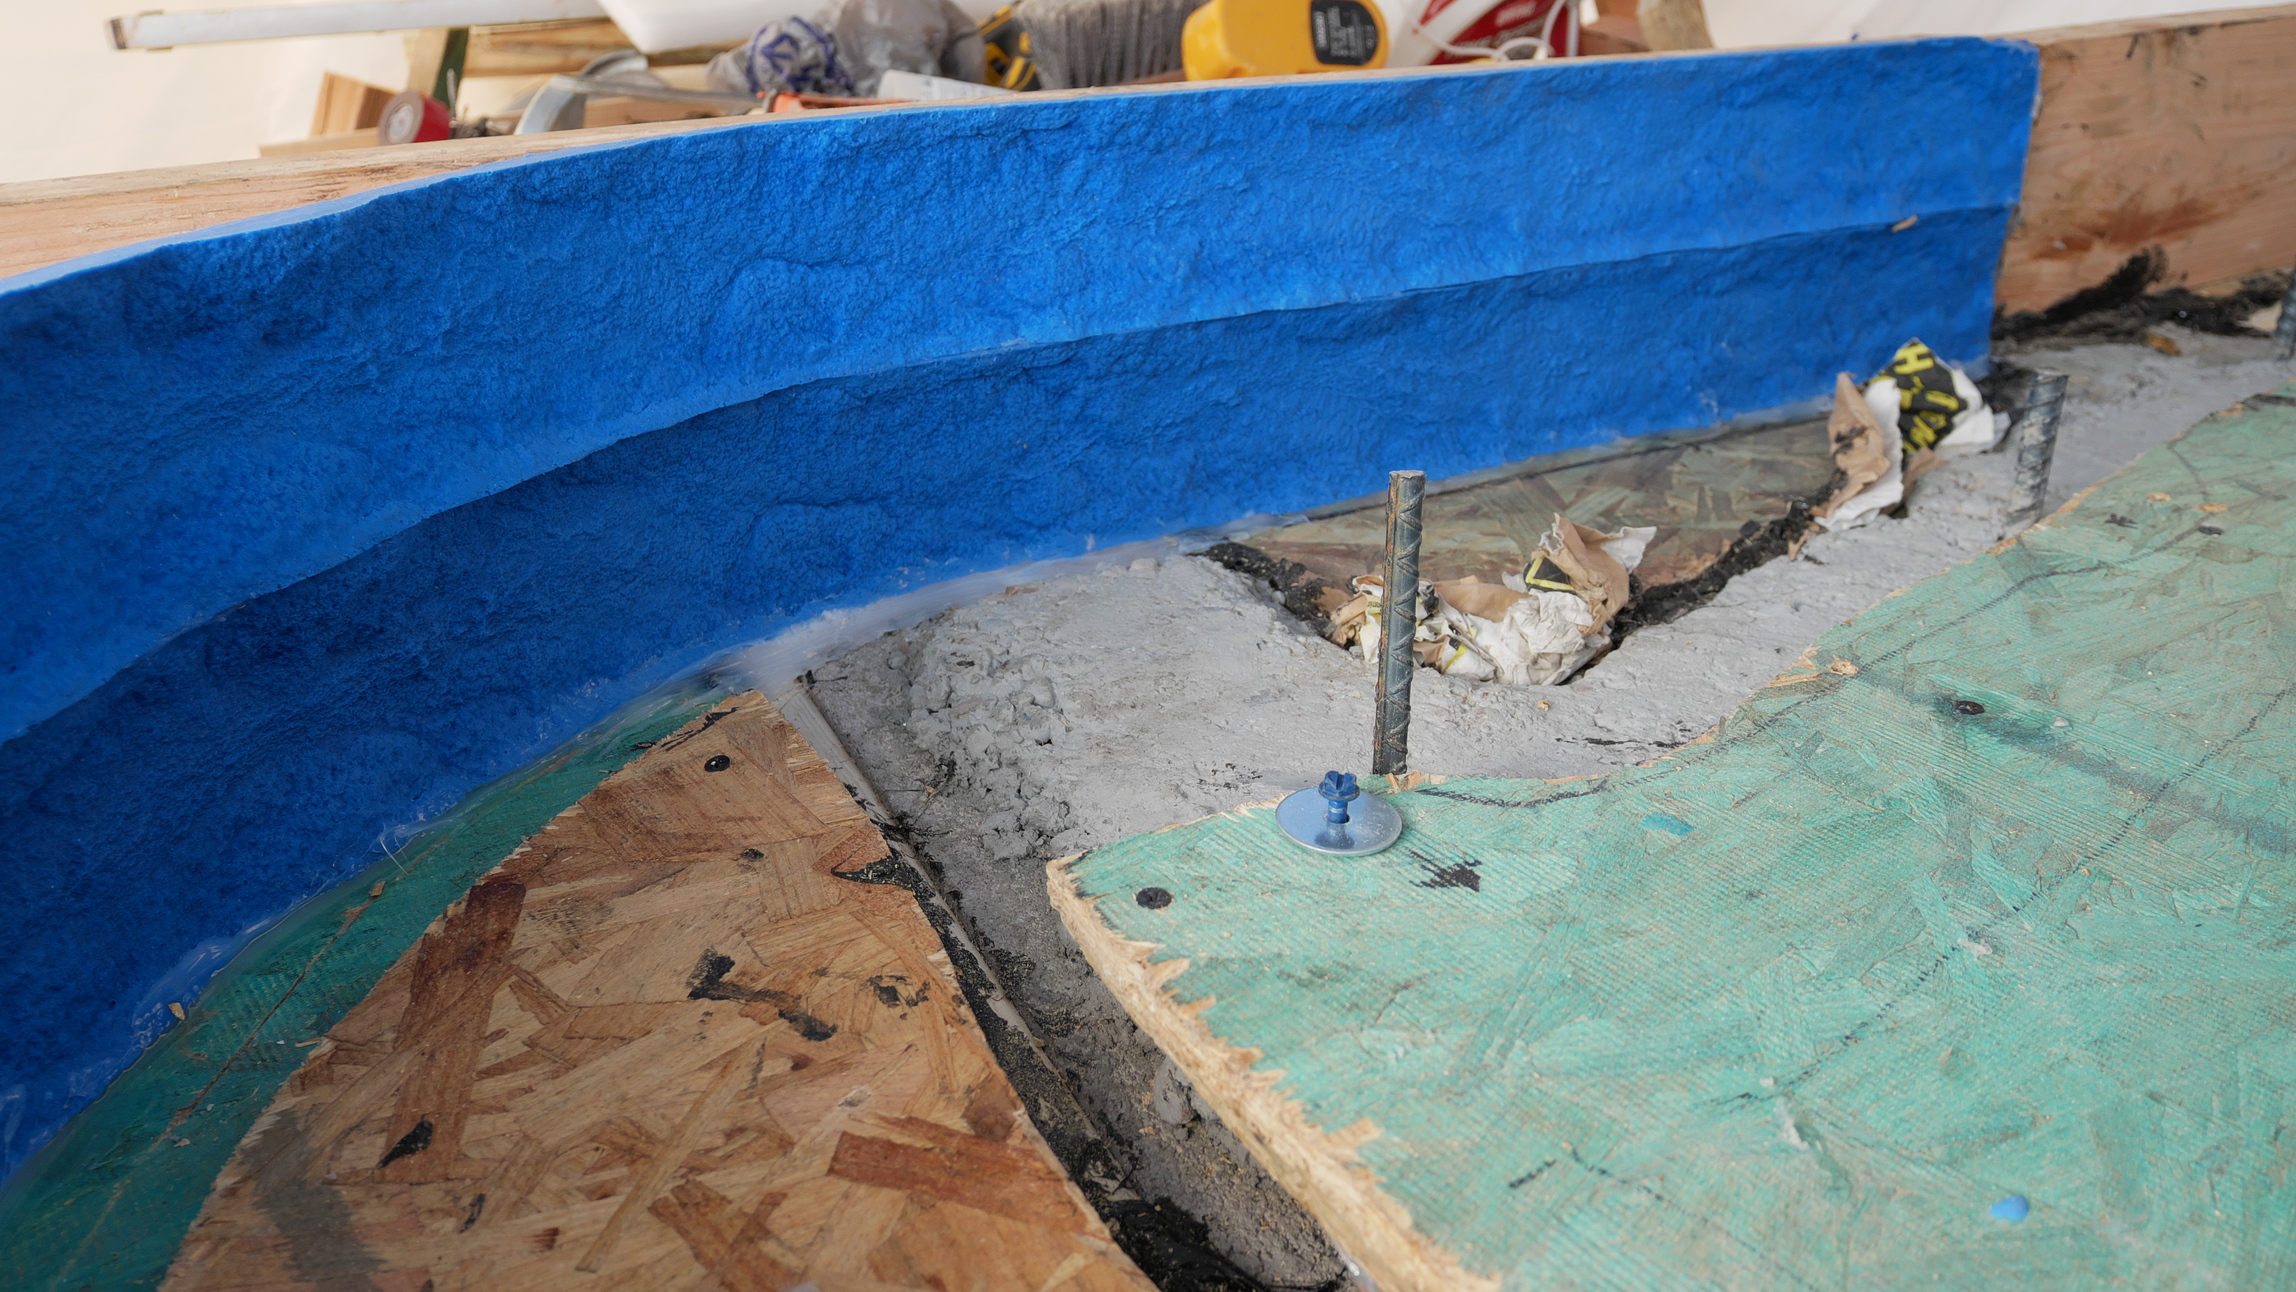
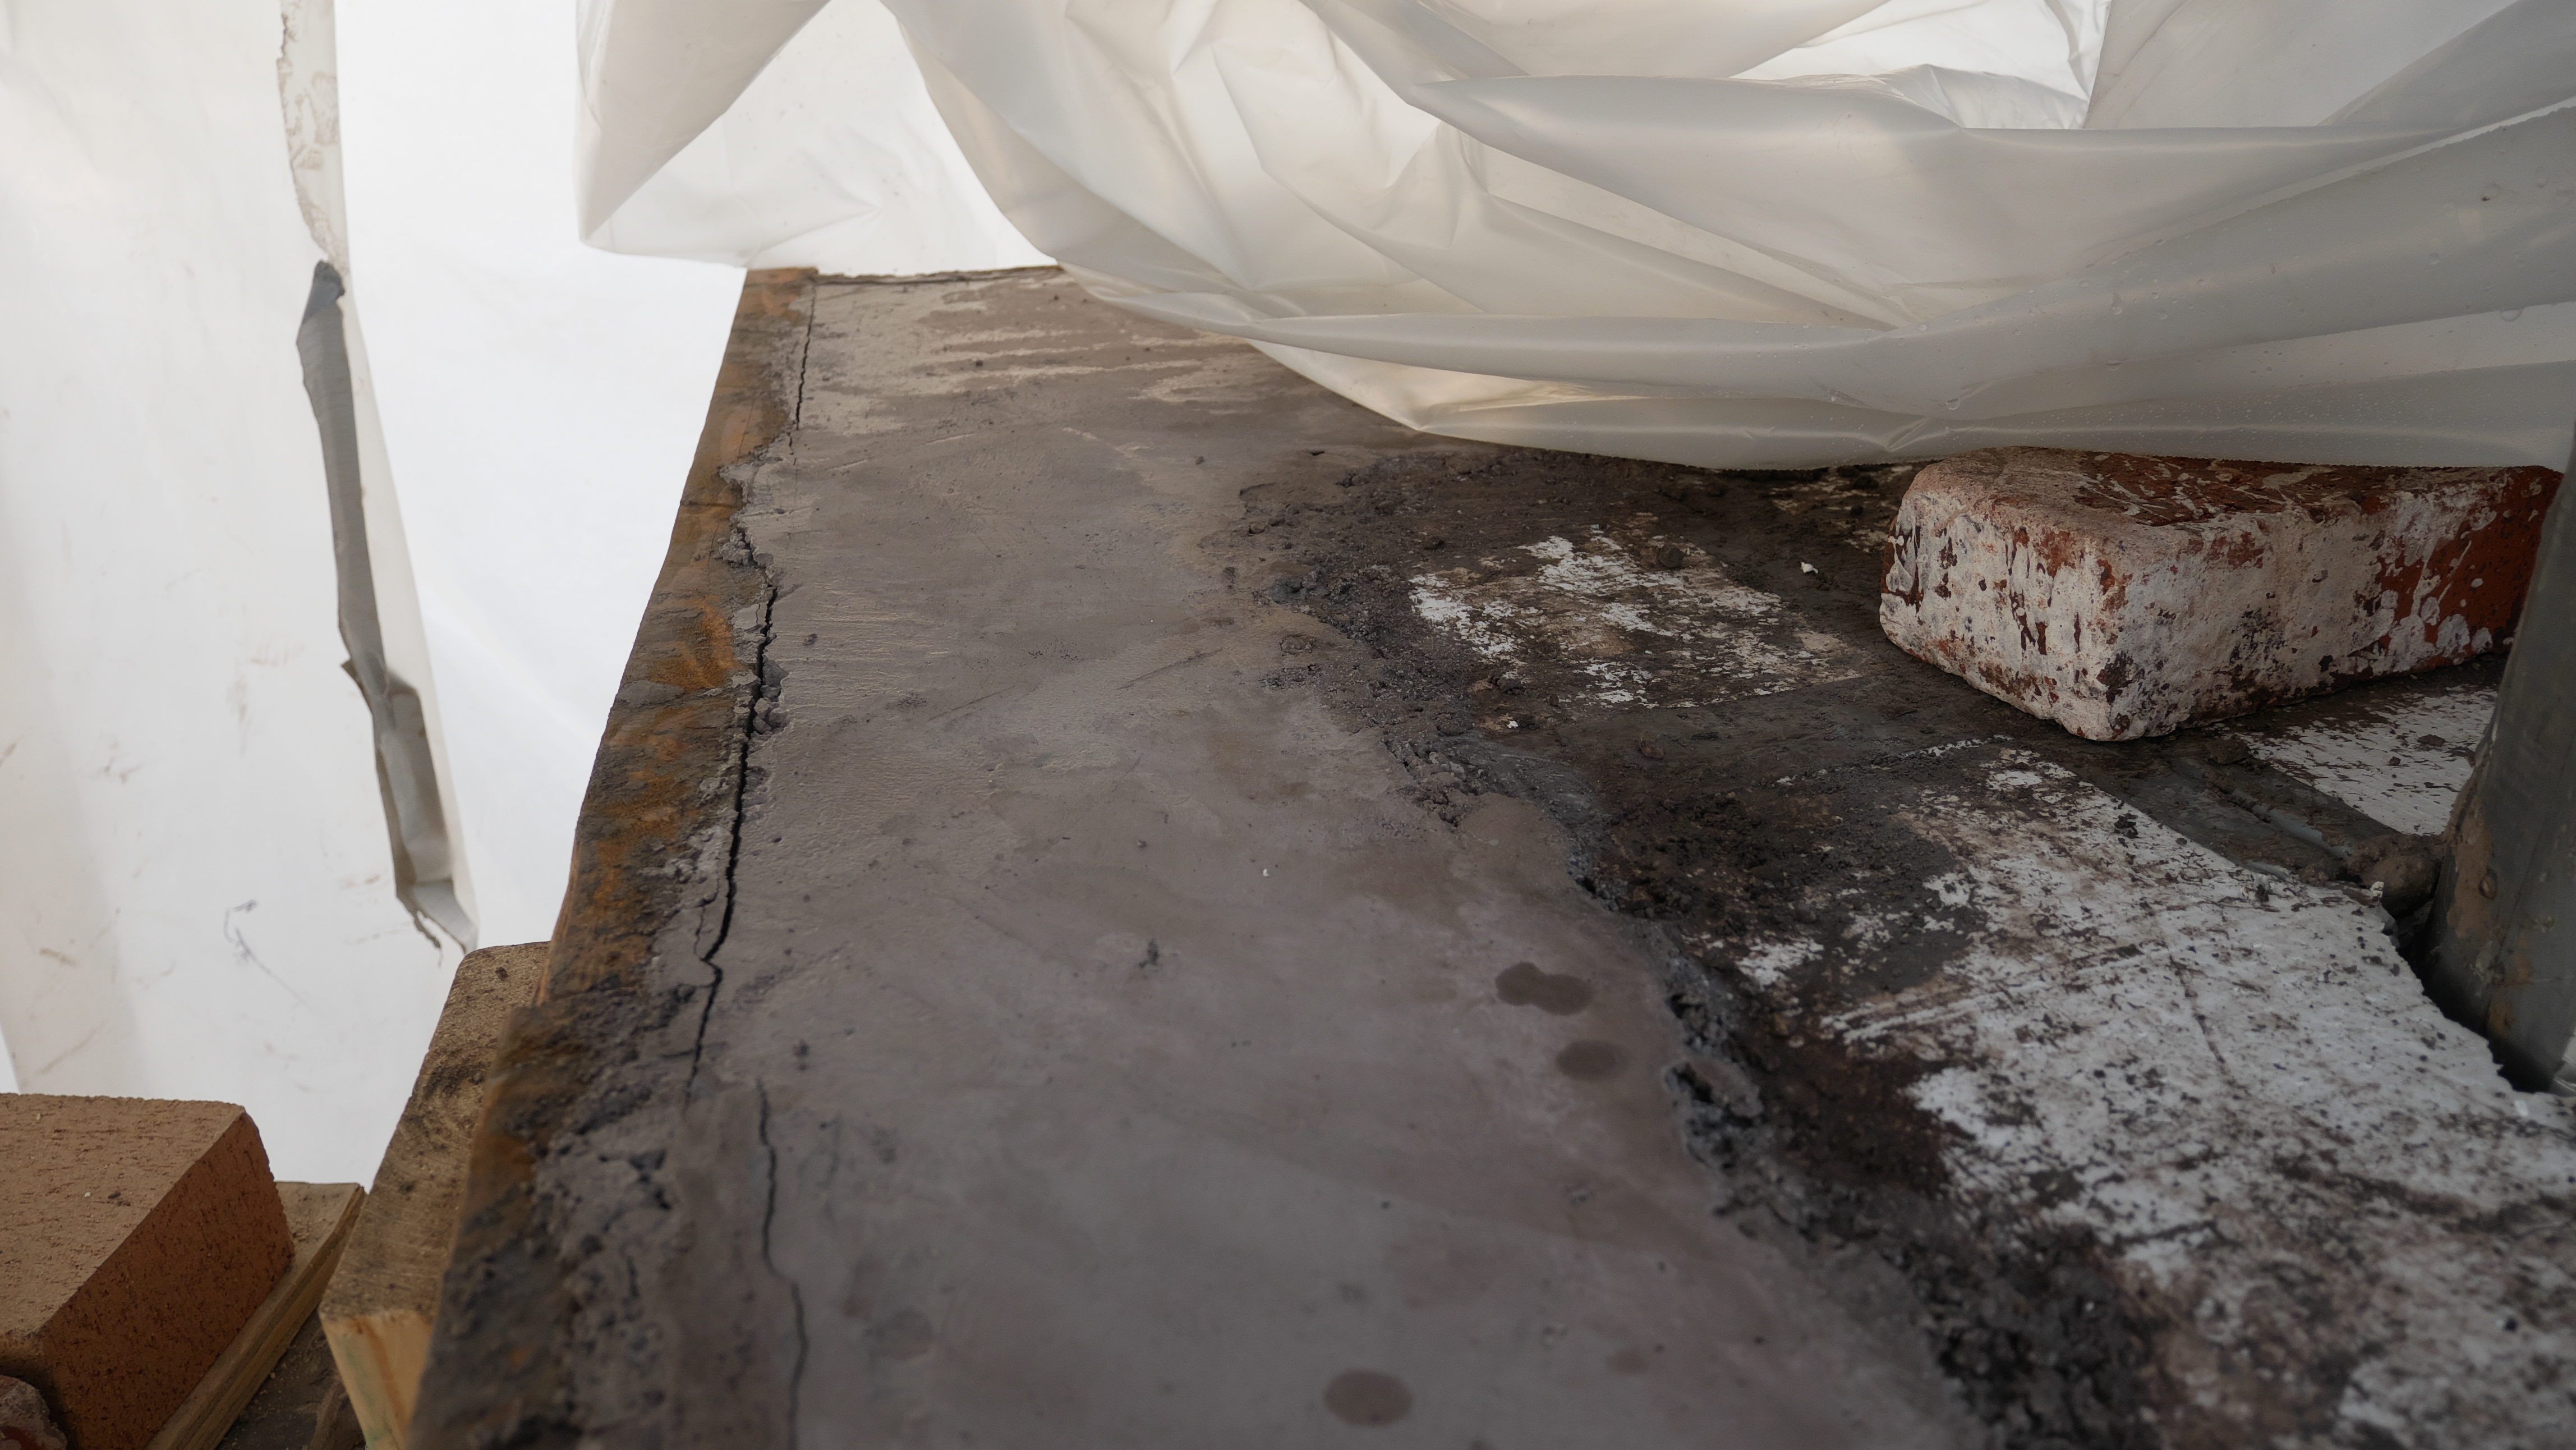
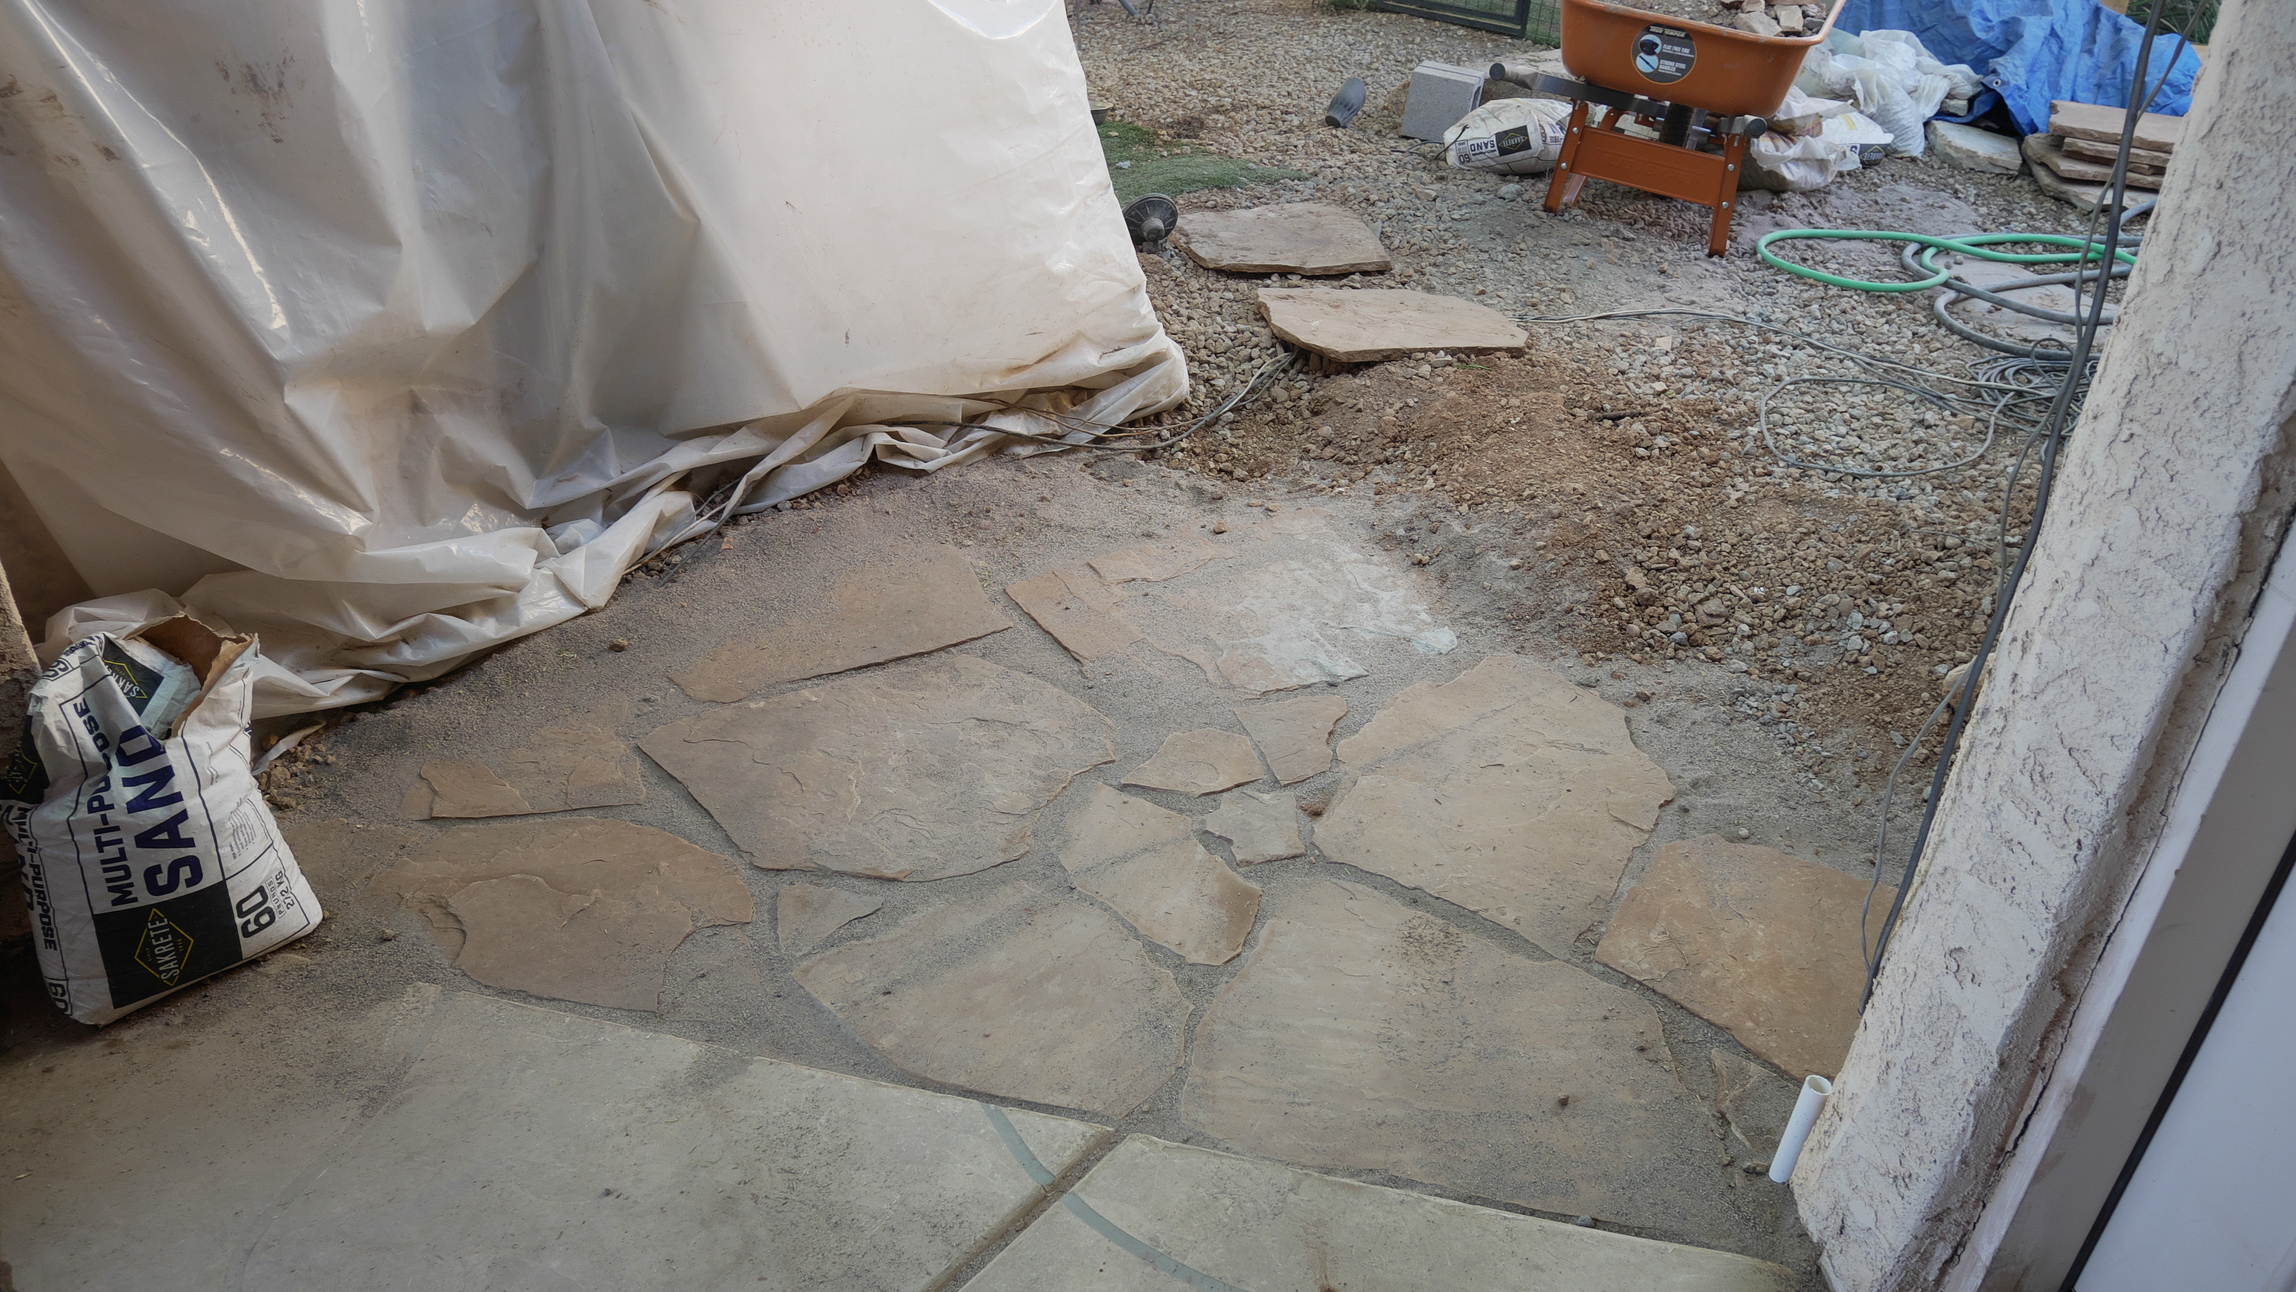
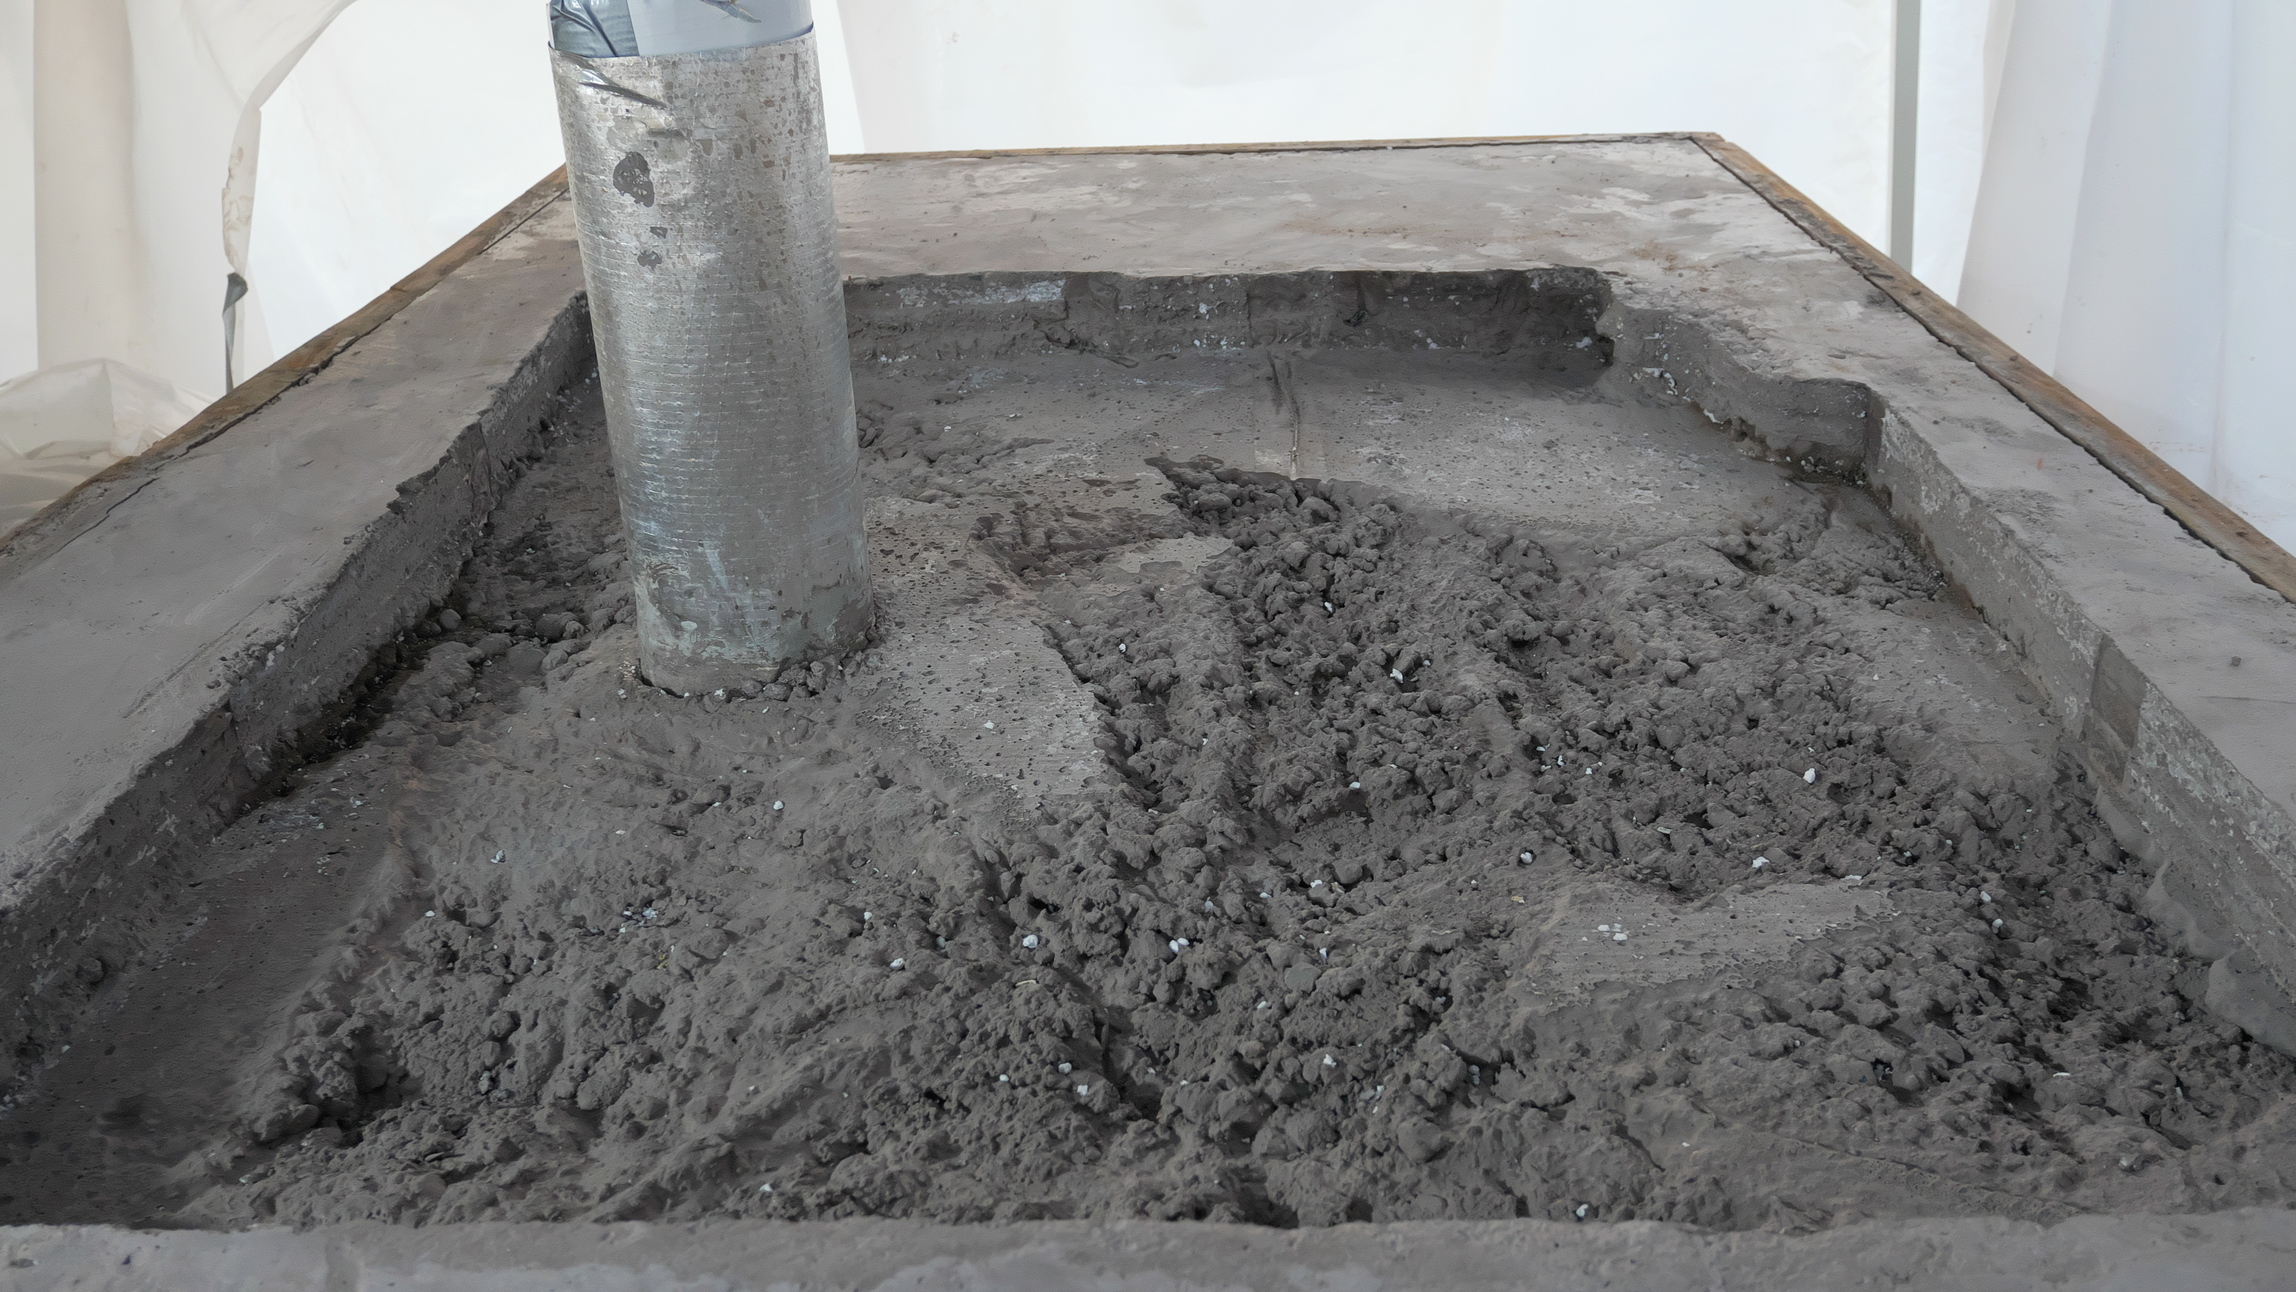
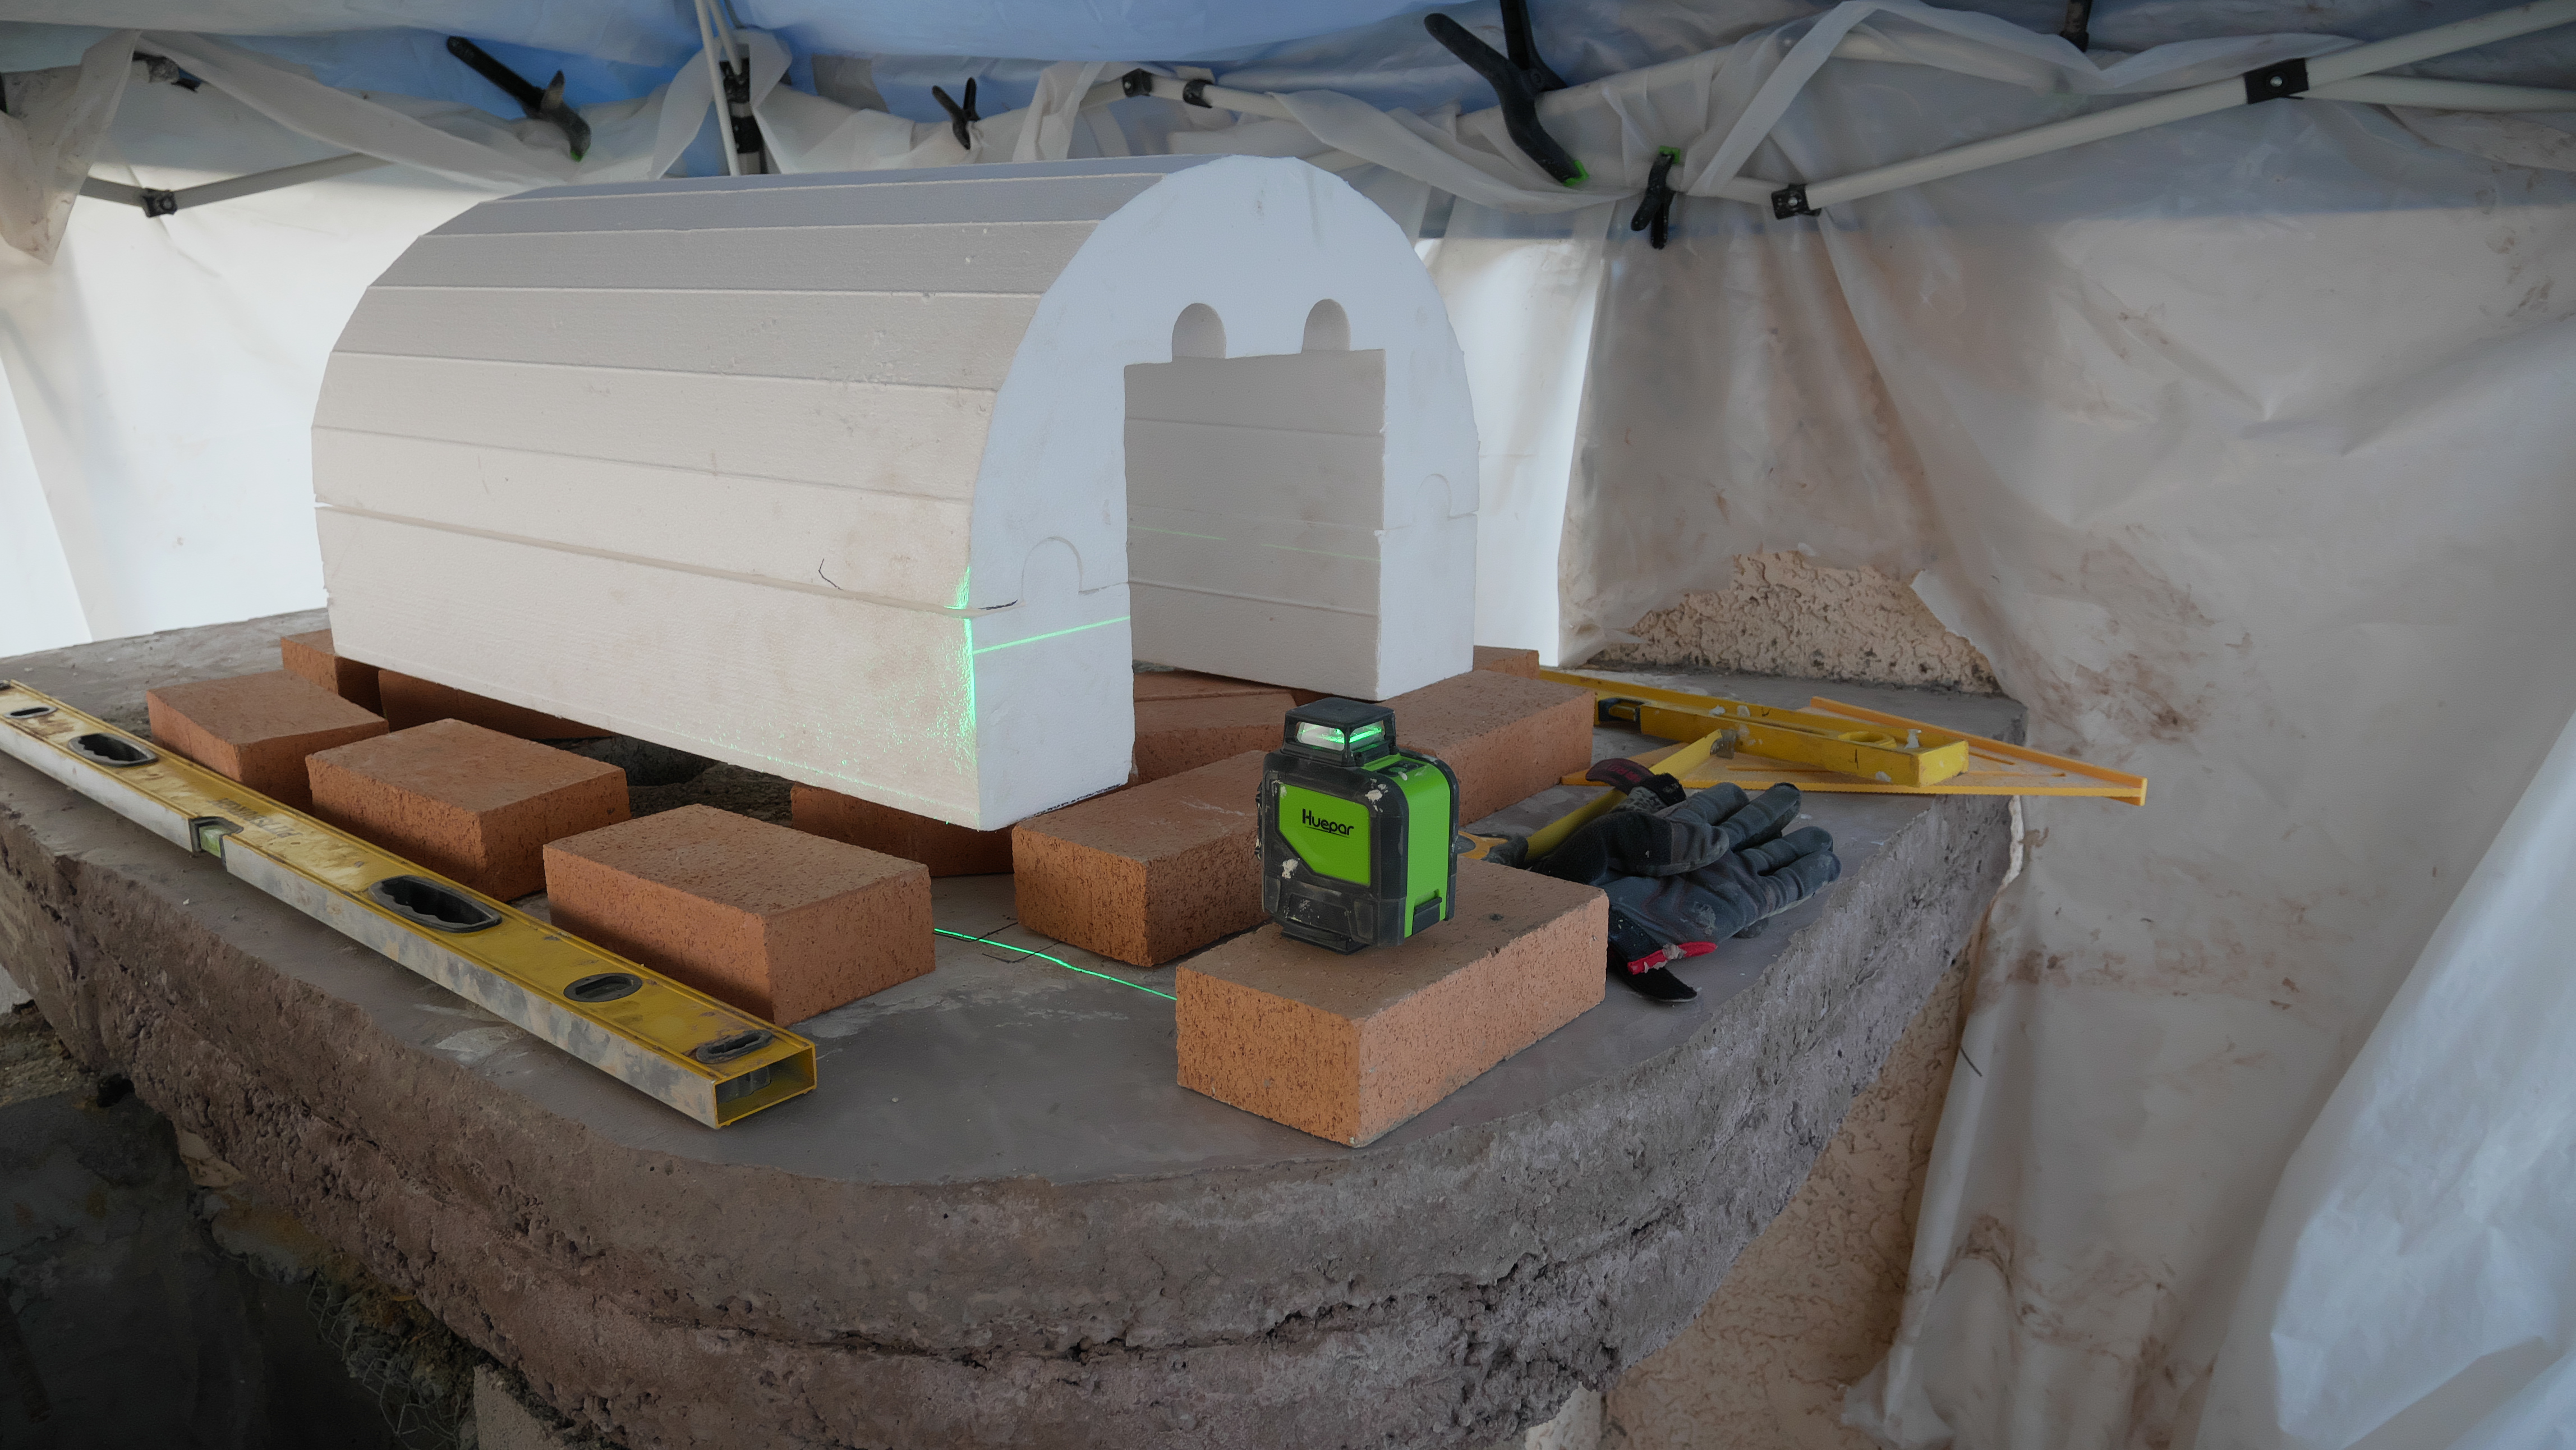
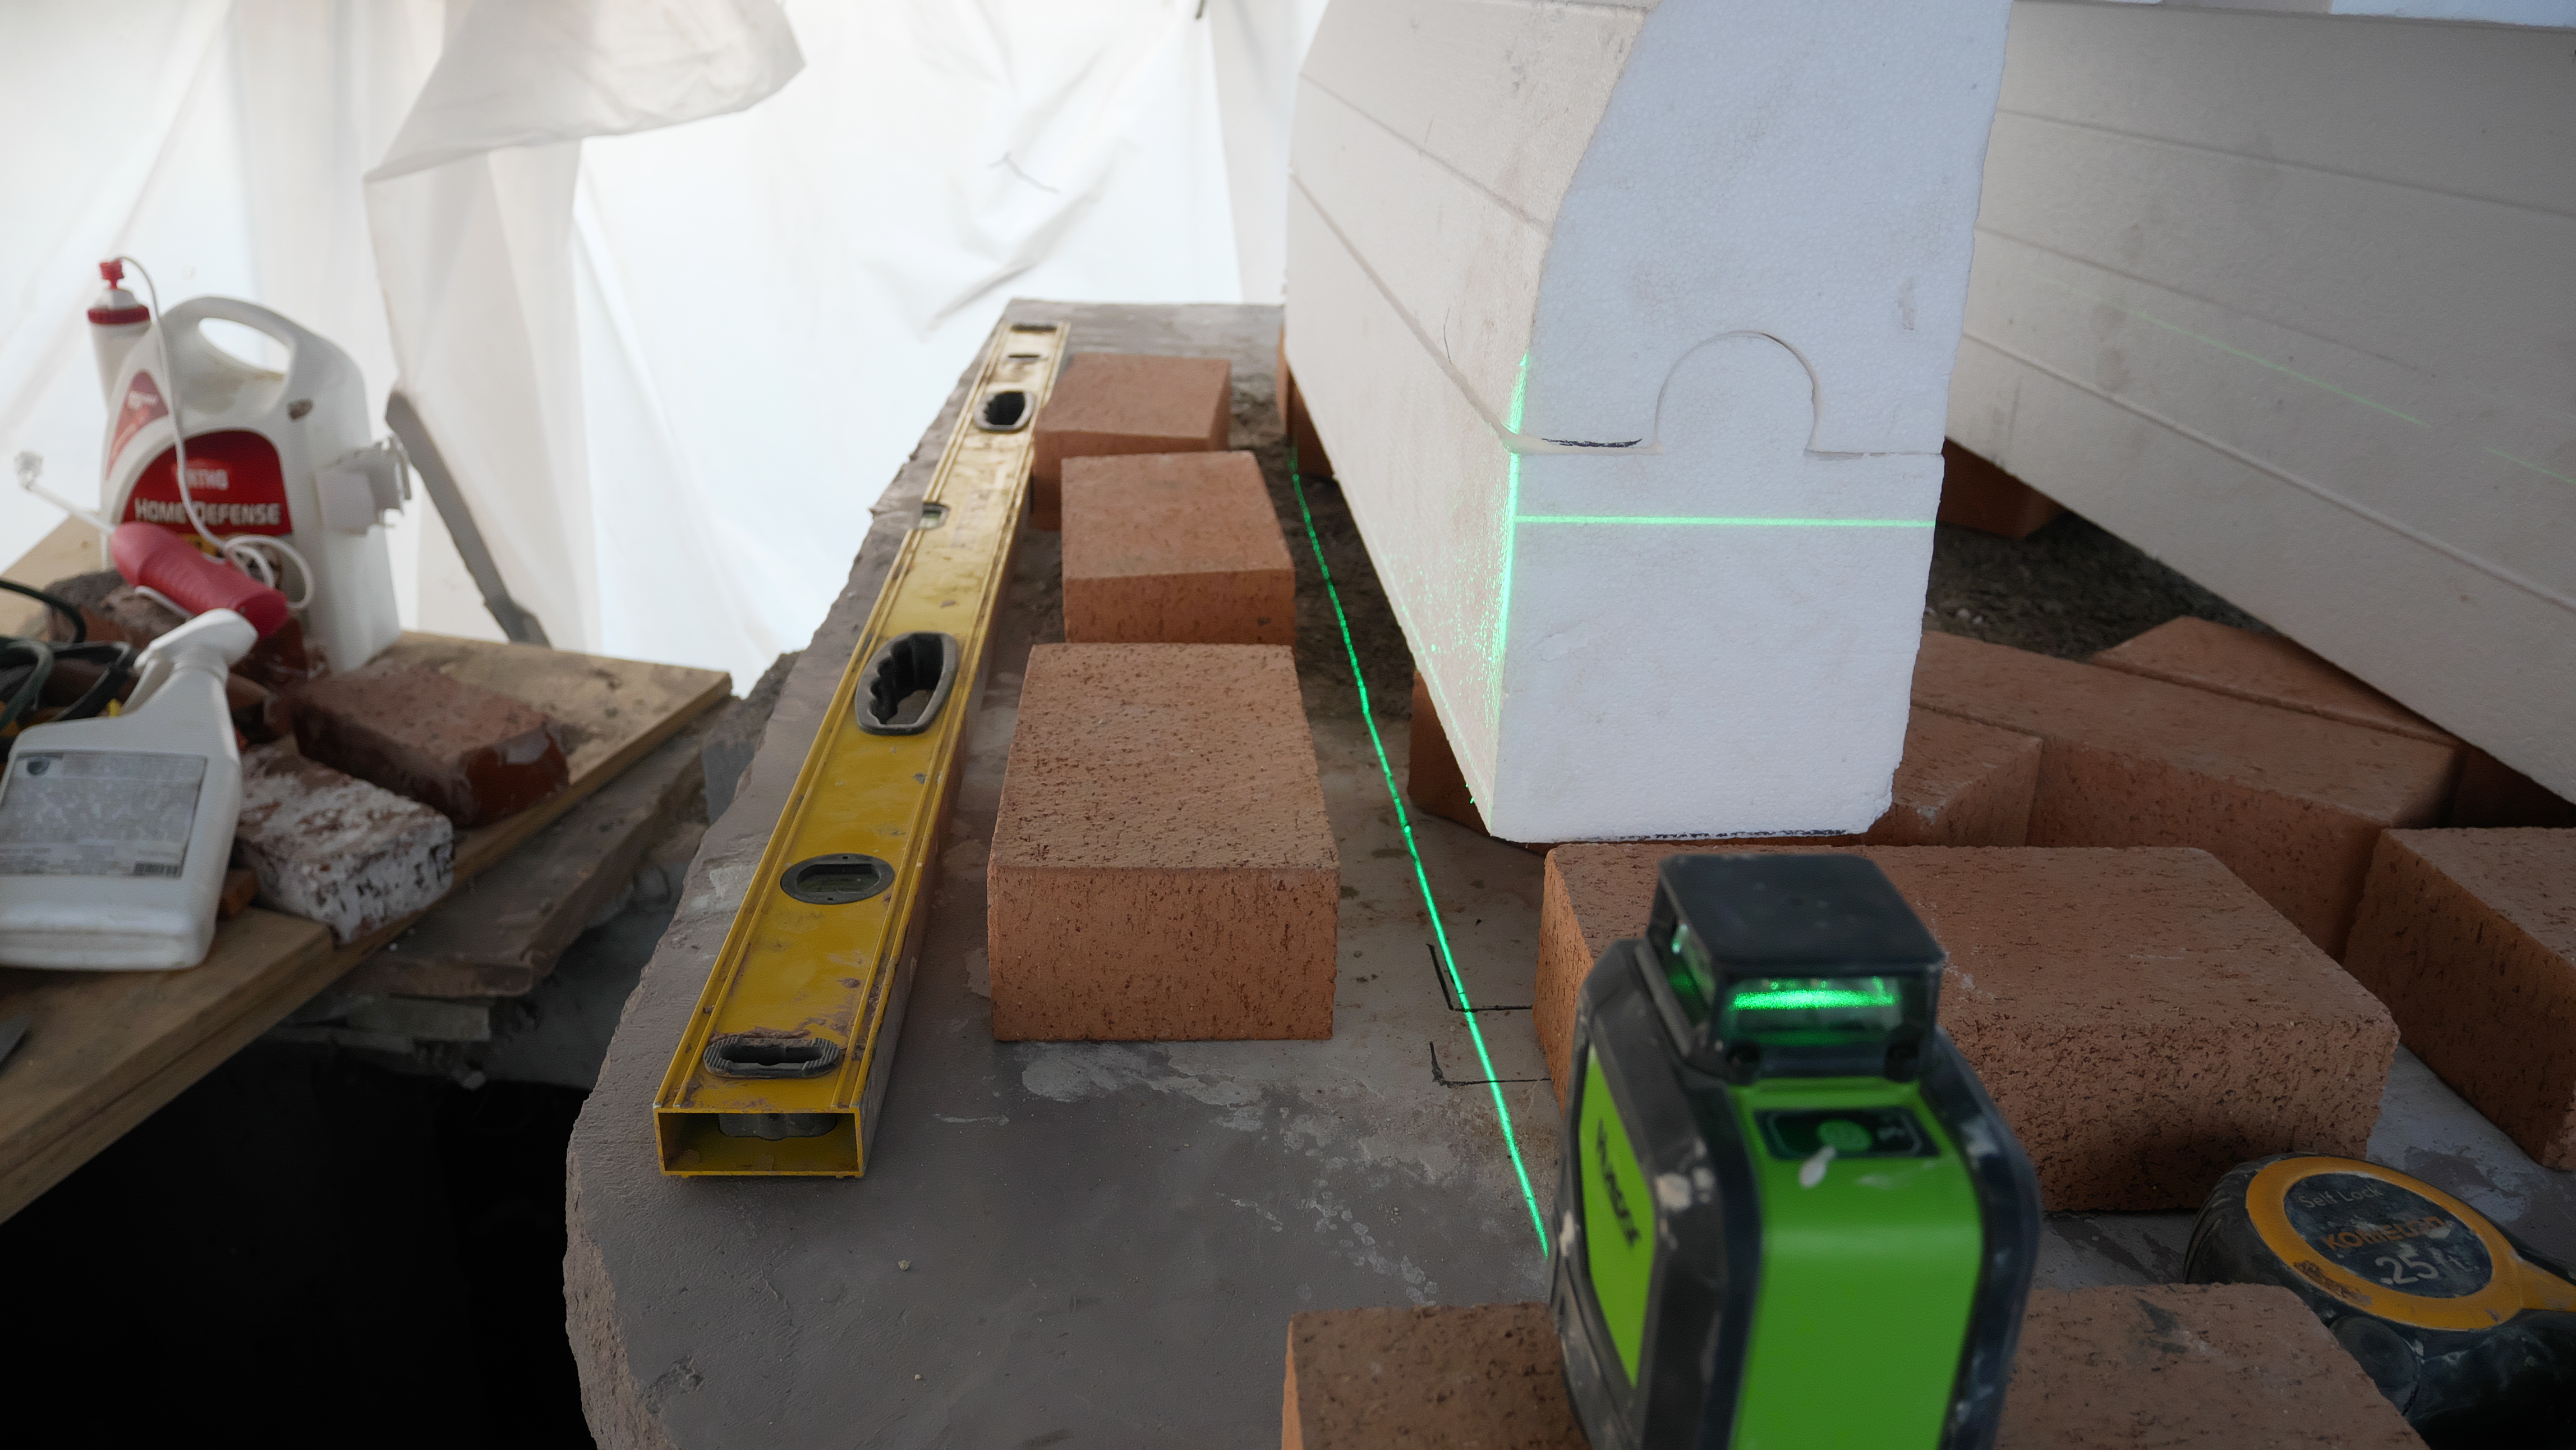
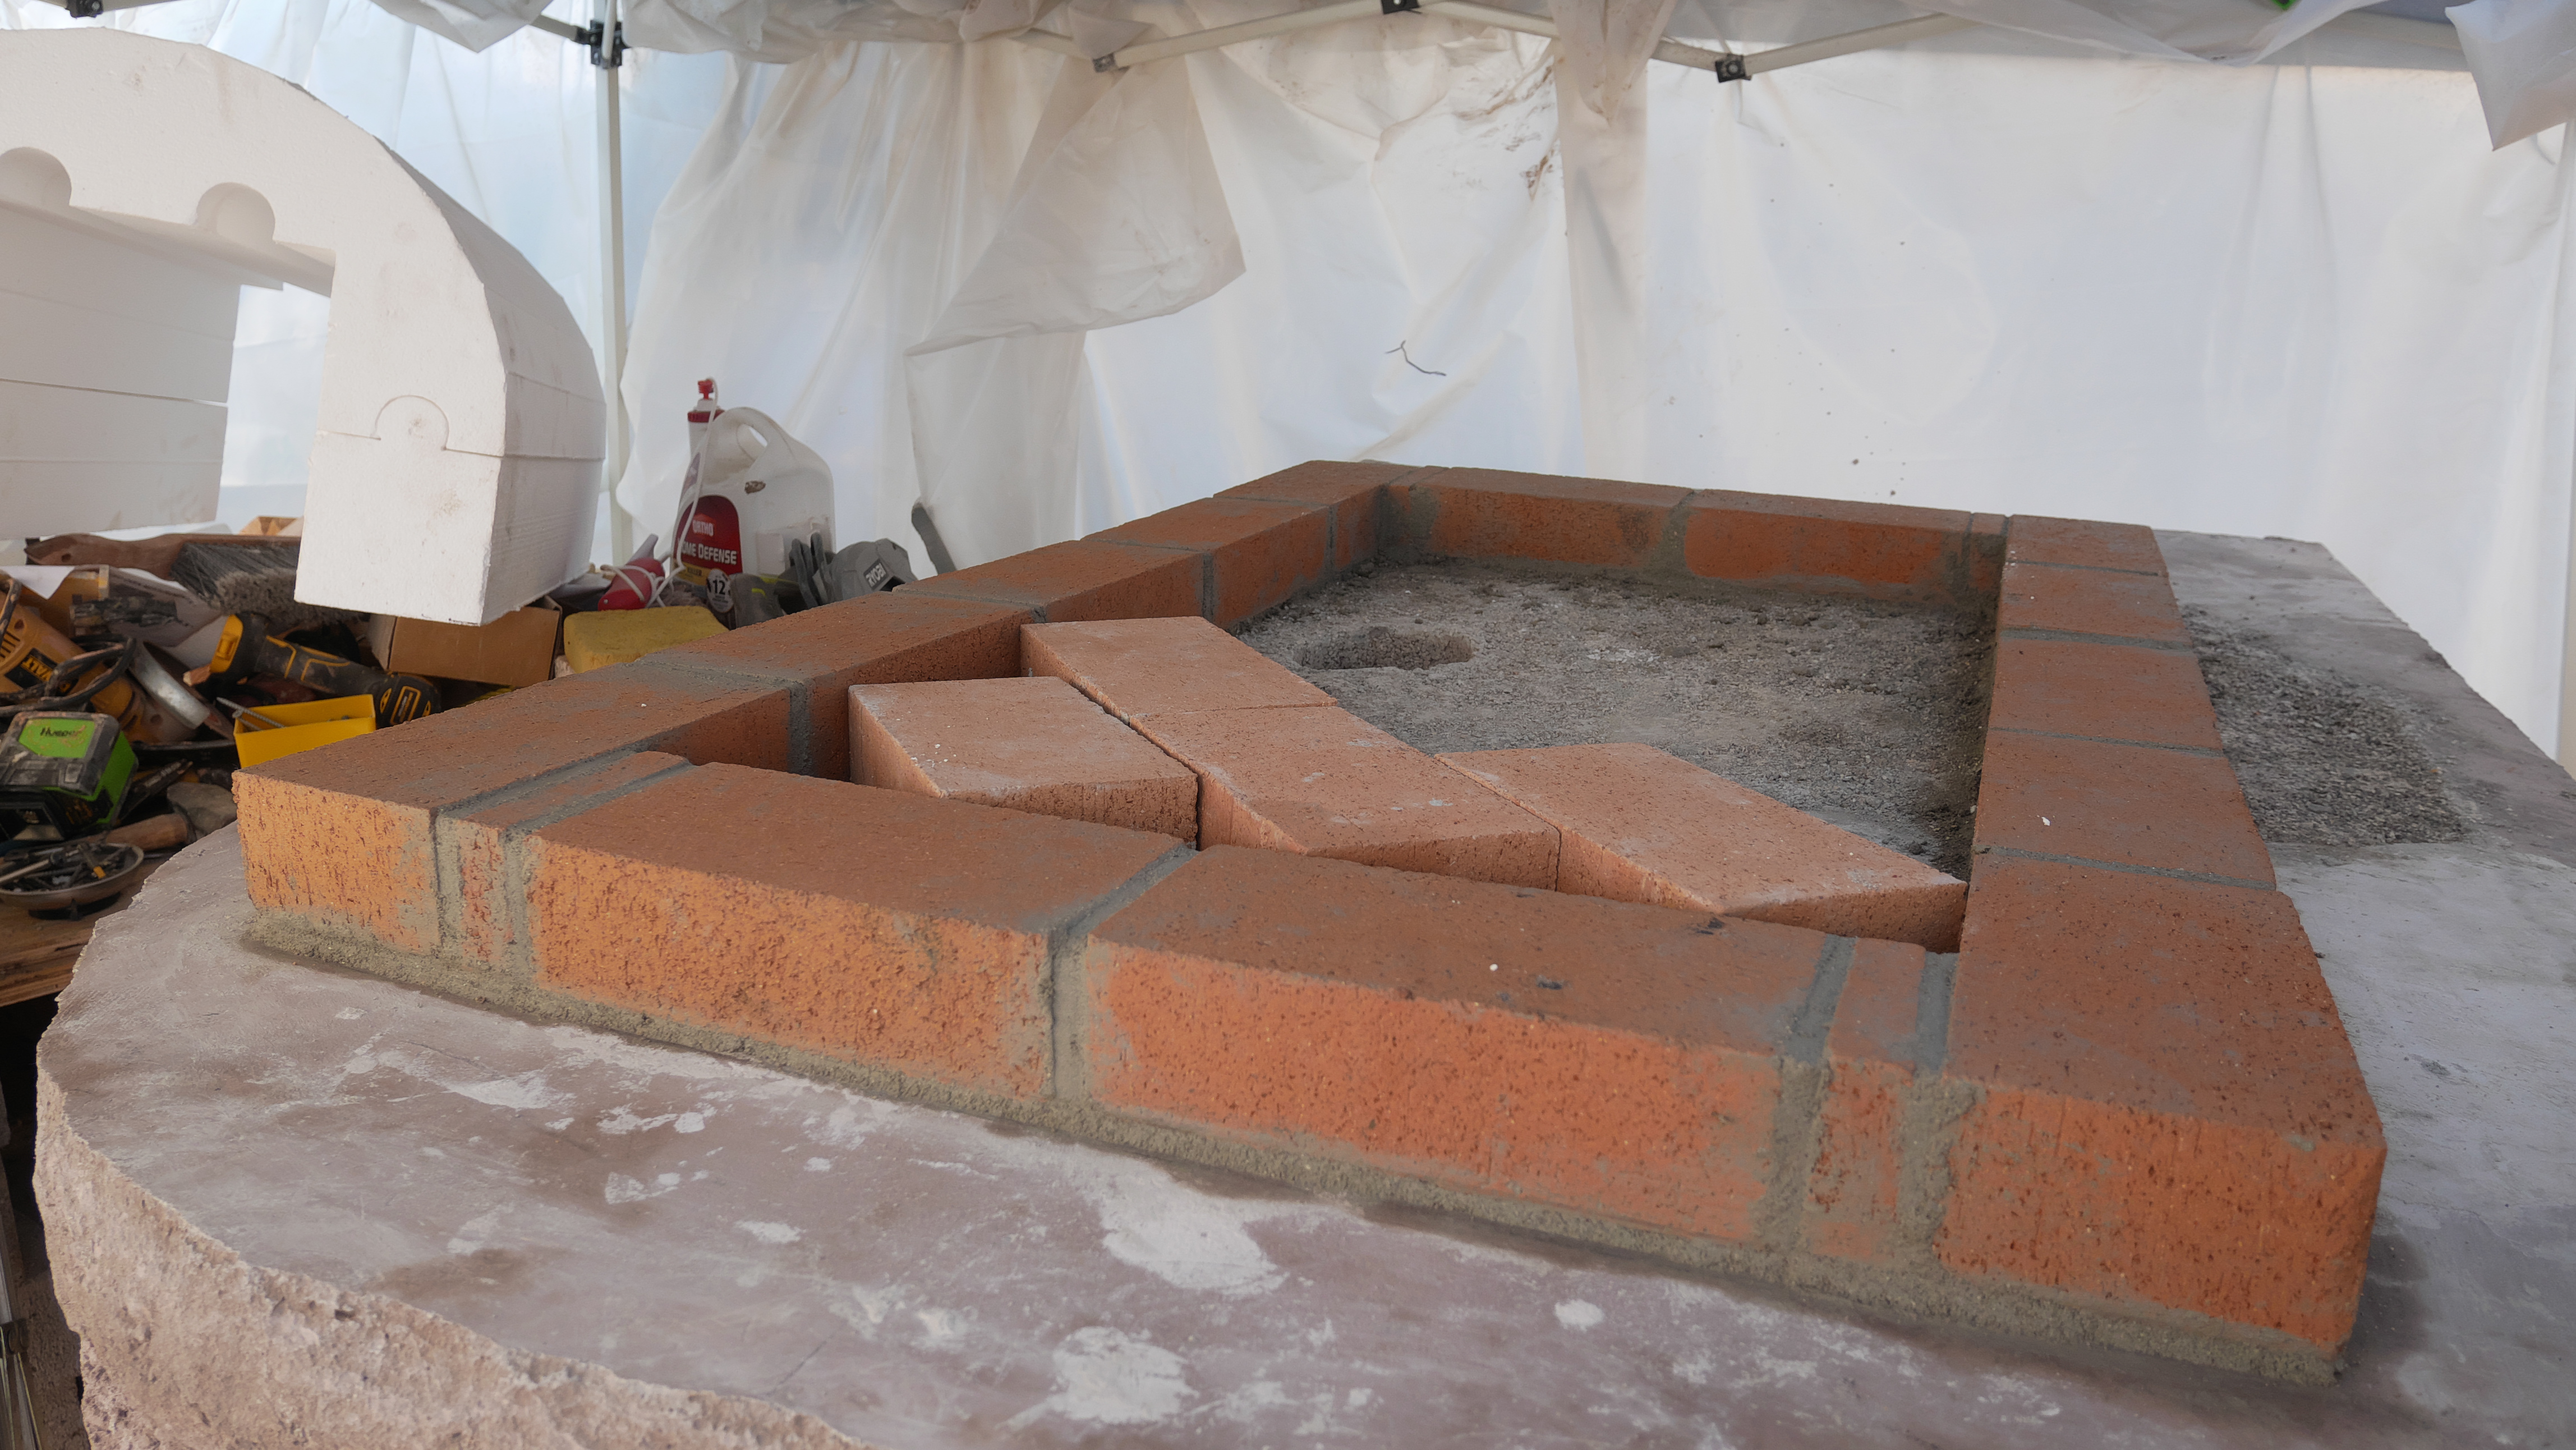
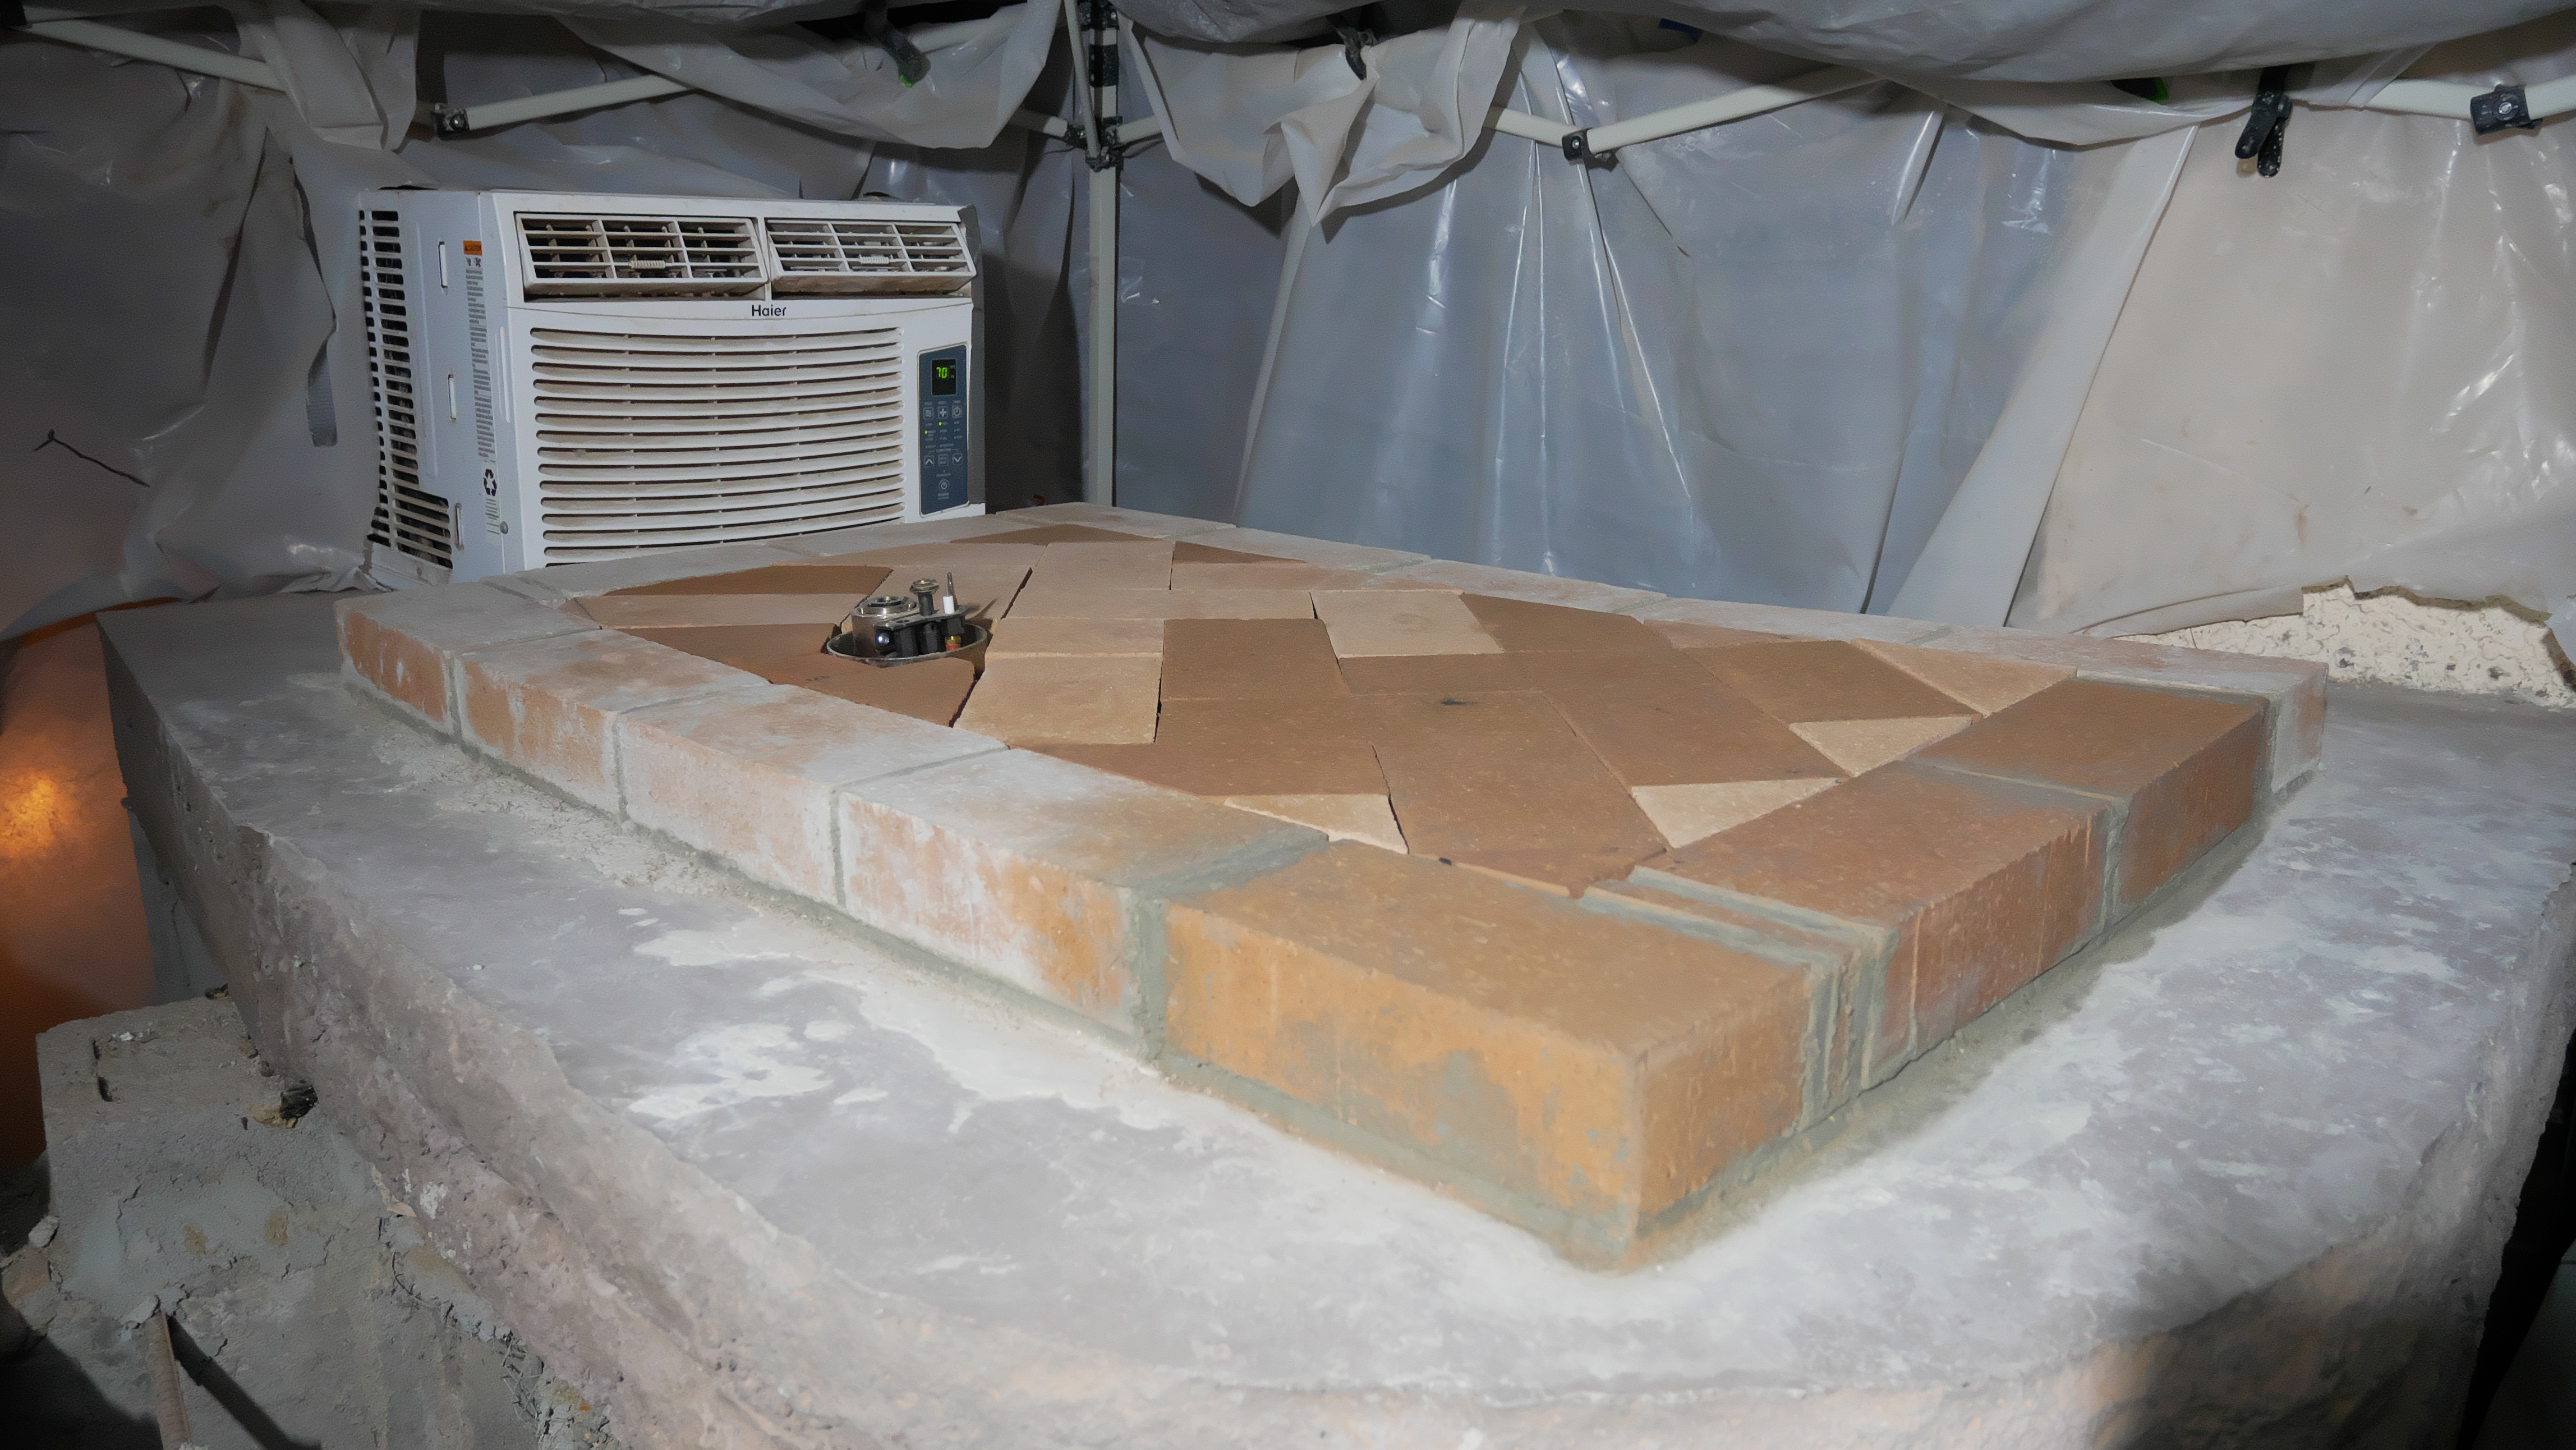
Let’s begin…My oven will go here:

It’s a dry heat!

Lesson one…Building ANYTHING outside in Arizona…in July…is dumb! I’ve lived here 20 years. From May til September; you work inside, only. If you go outside…it’s early mornings and late evenings.

From time to time, I am forced to work outside in the summer. We are animal people, and sometimes I need to work outside to install Catios for people (we call them Catbitats). I had a Harbor Freight “tent” that would allow me to block the sun…but what about the heat?

Well…as a cat lover, we have a few feral cats that live in our yard (and 4 rescues inside). It kills us to watch them suffer through the summers, here in Arizona. In a moment of concern for them, I ran over to Walmart and bought a window AC unit ($ 120). I plugged it in (on the patio) and aimed it at their resting spots. They ran away, Operation Cool The Ferals…was a failure. It’s been sitting in my garage for 2 years. After an hour cleaning up the area, late one afternoon…I had a thought.

If I could “tent” the area…and add an AC unit…would it contain the cool air and make the work area bearable?

Folks…I give you…the “Southwest Solution”!

Misters on…It was time to get to work!!

Dwayne

I am curiously interested in whether I can retro-fit (drill through several inches of brick & mortar) a natural gas burner, somehow, in my oven…

Hi Tommaso! I thought about that as well! As we speak, I am a few days from pouring my hearth.

Short answer…IF you have the tools…go for it…but you will need some serious equipment. My burner requires a 7 3/4" long shaft, that is 4.5" in diameter!

I bet a professional concrete cutter can do it for you?

My big chore over the next two days; is to design the foam mold for my burner. I have the dimensions, but to be safe, I rush ordered the burner, so I can have it on-site, during the mold build and concrete pour.

Natural Gas (or Propane) burner info:

I am new to this forum so I am not sure of all the rules. I wanted my diary to be as informative as possible. To that end, I wanted to provide as much information as possible. That includes vendors and links. If this is not allowed, then I will remove it. To that end…here’s my research.

My first thought was either remove the burner from my little Pronto pizza oven, or build something from Ebay parts. After a little research, I changed my mind.

I don’t mess with two things…240V power and Natural Gas. Nope…not gonna risk blowing myself up!

My research lead me to two vendors who make Natural Gas (or Propane) burners, specifically for Wood Fire ovens. There may be more…but these are the two that I found:

I contacted the vendor, asked a few questions and ordered the Vamparossa M-0 175mm Natural gas burner. They have a manual and automatic burner. I went with the cheaper manual model with a long shaft (due to the thickness of my slab). It arrives tomorrow. More on this later…I need to prep my hearth!

4_175_ng

I have the manual and brochure…but I am not allow to upload this format, yet.

Dwayne

No turning back now…

I was concerned about using an existing platform, so I called a contractor buddy of mine. As a structural engineer, he looked over my area and approved. He commented that he knew the guys who did hardscaping…and it was solid concrete. He suggested I could pour right over the slab…we…as any novice would do…I ignored him.

Sledge hammer in hand, AC blowing a cool 71F…I began to transform my outdoor kitchen. Two slams in…I knew I made a mistake. Our outdoor kitchen area appeared to be covered with some thin slate. I thought I could slice right threw it. I was so wrong. An hour later, I had my first chunk of old countertop removed. Attached to it was 3" of solid concrete! The engineer was right…and I had hours of demo work ahead of me. Two days later…it was done.

Making up for lost time…

It was Monday now and work was getting in the way of my project. To make up for lost time, i would work a few hour early morning, and after work until dark. I managed to get back on schedule and add some bricks to raise the height of the hearth. I then poured my footer, to extend the length of the hearth. I was ready to set the new blocks 3 days later.

Having tiled most of my home…my masonry skills left a lot to be desired. Tiling and Masonary skills do not translate to one another. I got a little better as time went on, but not much.

 Don't forget the most important part of the project...have fun! Life is short. If you're not mixing a tasty margarita between mortar batches, while music is blasting behind you...I'm afraid the project would be considered a failure in my opinion.

Hhaha…I’ll keep that in mind, when I’m throwing around 80LBS bags on Saturday!

It’s a Frame Up…

Well…my first frame with 2" x 6" was a failure…

It was uneven and pieced together. After two days of fighting with it…i tore it down.

Because of my uneven and sloped foundation (re-used built in grill area), my hearth would not be as deep as I wanted. I headed back to Home Depot for some 2" x 8".

During this time, I researched and purchased some concrete form liners. I wanted a stone Tuscany look…if possible. (Rock Face Concrete Countertop Form Liner)

I added a little pigmant and Form Releaser to the order. This time, my frame came together much better.

Time for the rebar and cutouts!

Pourin’ Day!

The Vamparossa Natural Gas burner arrived the night before the pour (6pm…thanks UPS!). I can’t tell you how LARGE this burner is…and heavy too (19LBS)! I really wanted to have the actual burner on hand, to verify my foam insert. I’m sooo glad I did. Everything fit into place rather well…

The next morning…time to pour! What can I tell you? It was back-breaking. All 14 (80LBS) bags of it!! I don’t want to do that again! OK…time for a shower, some pain meds…and a movie!

2 Likes

"The Waiting Is The Hardest Part…"

I can’t stand this waiting!! It will be a good Christmas or a bad one…A new camera lens…or socks. What will my slab look like? I poured the hearth slab on Saturday. As it was going to reach 109F by 1PM; I started at 6:30AM. I mixed in ice cubes to cool the mix. I don’t know if it helped…but I’m told that’s what they do to slow the curing. I was mixing (Harbor Freight 3.5CU mixer…$ 210…best thing ever!!) and pouring by myself…so I needed all the time I could get.

The oven area is double-tented. I have an A/C unit in the main tent, then I covered the hearth slab, after is mist a little water on top. So far…it looks good, I think? I don’t really know what to look for?

It looks like it is shrinking away from the sides a bit? Is this normal? How long before I can remove the supports underneath? Not the sides…just some supports under the front?

In the meantime…I decided to move some pavers around…I’ve got time.

Form Fitting…

Four (4) days after the hearth pour…I decided to remove the Insulation form. As I sprayed it with some “Release Agent”; it came right up. Unfortunately, it exposed the fact that I didn’t do a great job of leveling around the rebar.

Oh well…it will be covered with more concrete, soon (the “Hearth Insulation Layer”). I saw a few wet spots, that gave me pause. As I was sprinkling the hearth with water every morning; I assumed this was just water run-off that found it’s way past the styrofoam?
In any case…better safe than sorry. I’ll wait a few days before I pour the “Hearth InsulationLayer”.

Back to the pavers!

Removed the form. I will need to do a lot of cosmetic work. I had to use 2 faux stone forms because they are only 3 1/2" wide. I’ll have to fill in the middle. Laying the firebrick floor today. It will be 100F by 10 AM…so I’ve got to get to work!

Got it done…

It’s A Math Thing…

Well…it took me 12 hours, 5 trips to Home Depot (including a roundtrip Truck rental…)…to buy a Miter Saw…which took visiting 3 different Harbor Freights (to find in stock)…but I got it done.

I haven’t used basic Geometry since High School…so I give myself about the same grade.

Herringbone Fire Brick oven floor complete…and the Burner fits perfectly.

I’m Out…

Ok… I’m out of Fire Brick and cash at the moment…otherwise…I would have got both sides done. Oh well…my back needs a rest anyway! Getting there…

1 Like

"Inside the Dome"…

Well…the Dome’s done! Now what to do? Do I go with the tried and true method and seal up the back?..or do I frame the chimney and wait a week…then pop out the form and seal the back?!

I have used about a 1/3 can of spray Pam…so I’m just not sure? Thoughts?

1 Like

I wasn’t brave enough to go off book. It seems like a lot of people had success popping the form out then building the back wall. Good luck

Hey Newman!

Yeah…I’ve been thinking about it all night. The form does allow some support for the back wall as well. What to do…what to do… Instructions 1.0 is tried and true, but I see the advantage of thoretical instructions 2.0. I might go with 1.5!! I will finish the chimney this afternoon (work permitting), then I will decide. Part of me wants to just power through and close the back.

1 Like

Wait. Patience is a virtue