Hi, my brick oven is finally built !!! - and we have enjoyed a few good cooking sessions with it and incredible Neapolitan pizza in my back yard! Mission accomplished. Full build pictures coming soon! Been hitting ~900 deg F floor temps with great heat retention. Just a fantastic oven! I was wondering if Brickwoodovens.com has any plans to manufacture a nice canvas type front entrance cover like you would buy for gas grills etc. I know most people throw a tarp when heavy rain is expected but optimally I would like to not worry about it at all. However, rain does get in through the door even with the glass rope installed. The rain seeps down to the floor entrance and gets a couple of the floor bricks wet all the way to the sand beneath and this can take a long time to dry even with a raging fire inside. Before I purchase a nice 8x10 canvas tarp to cover the chimney and front entrance only, are there any plans for a product like this that would be thrown over the chimney to anchor (with elastic) and draped down over the front door to keep rain out? Outside of throwing a tarp every time it was going to rain, this would be both functional and possibly appealing as a permanent cover, but just for the front entrance. Thoughts?
My thought, Mark? I’d buy it in a heartbeat!
And I imagine anyone who built their oven facing into the prevailing wind (which Brickwood formerly recommended) would be interested as well. You’ve clearly thought through what would work in that situation.
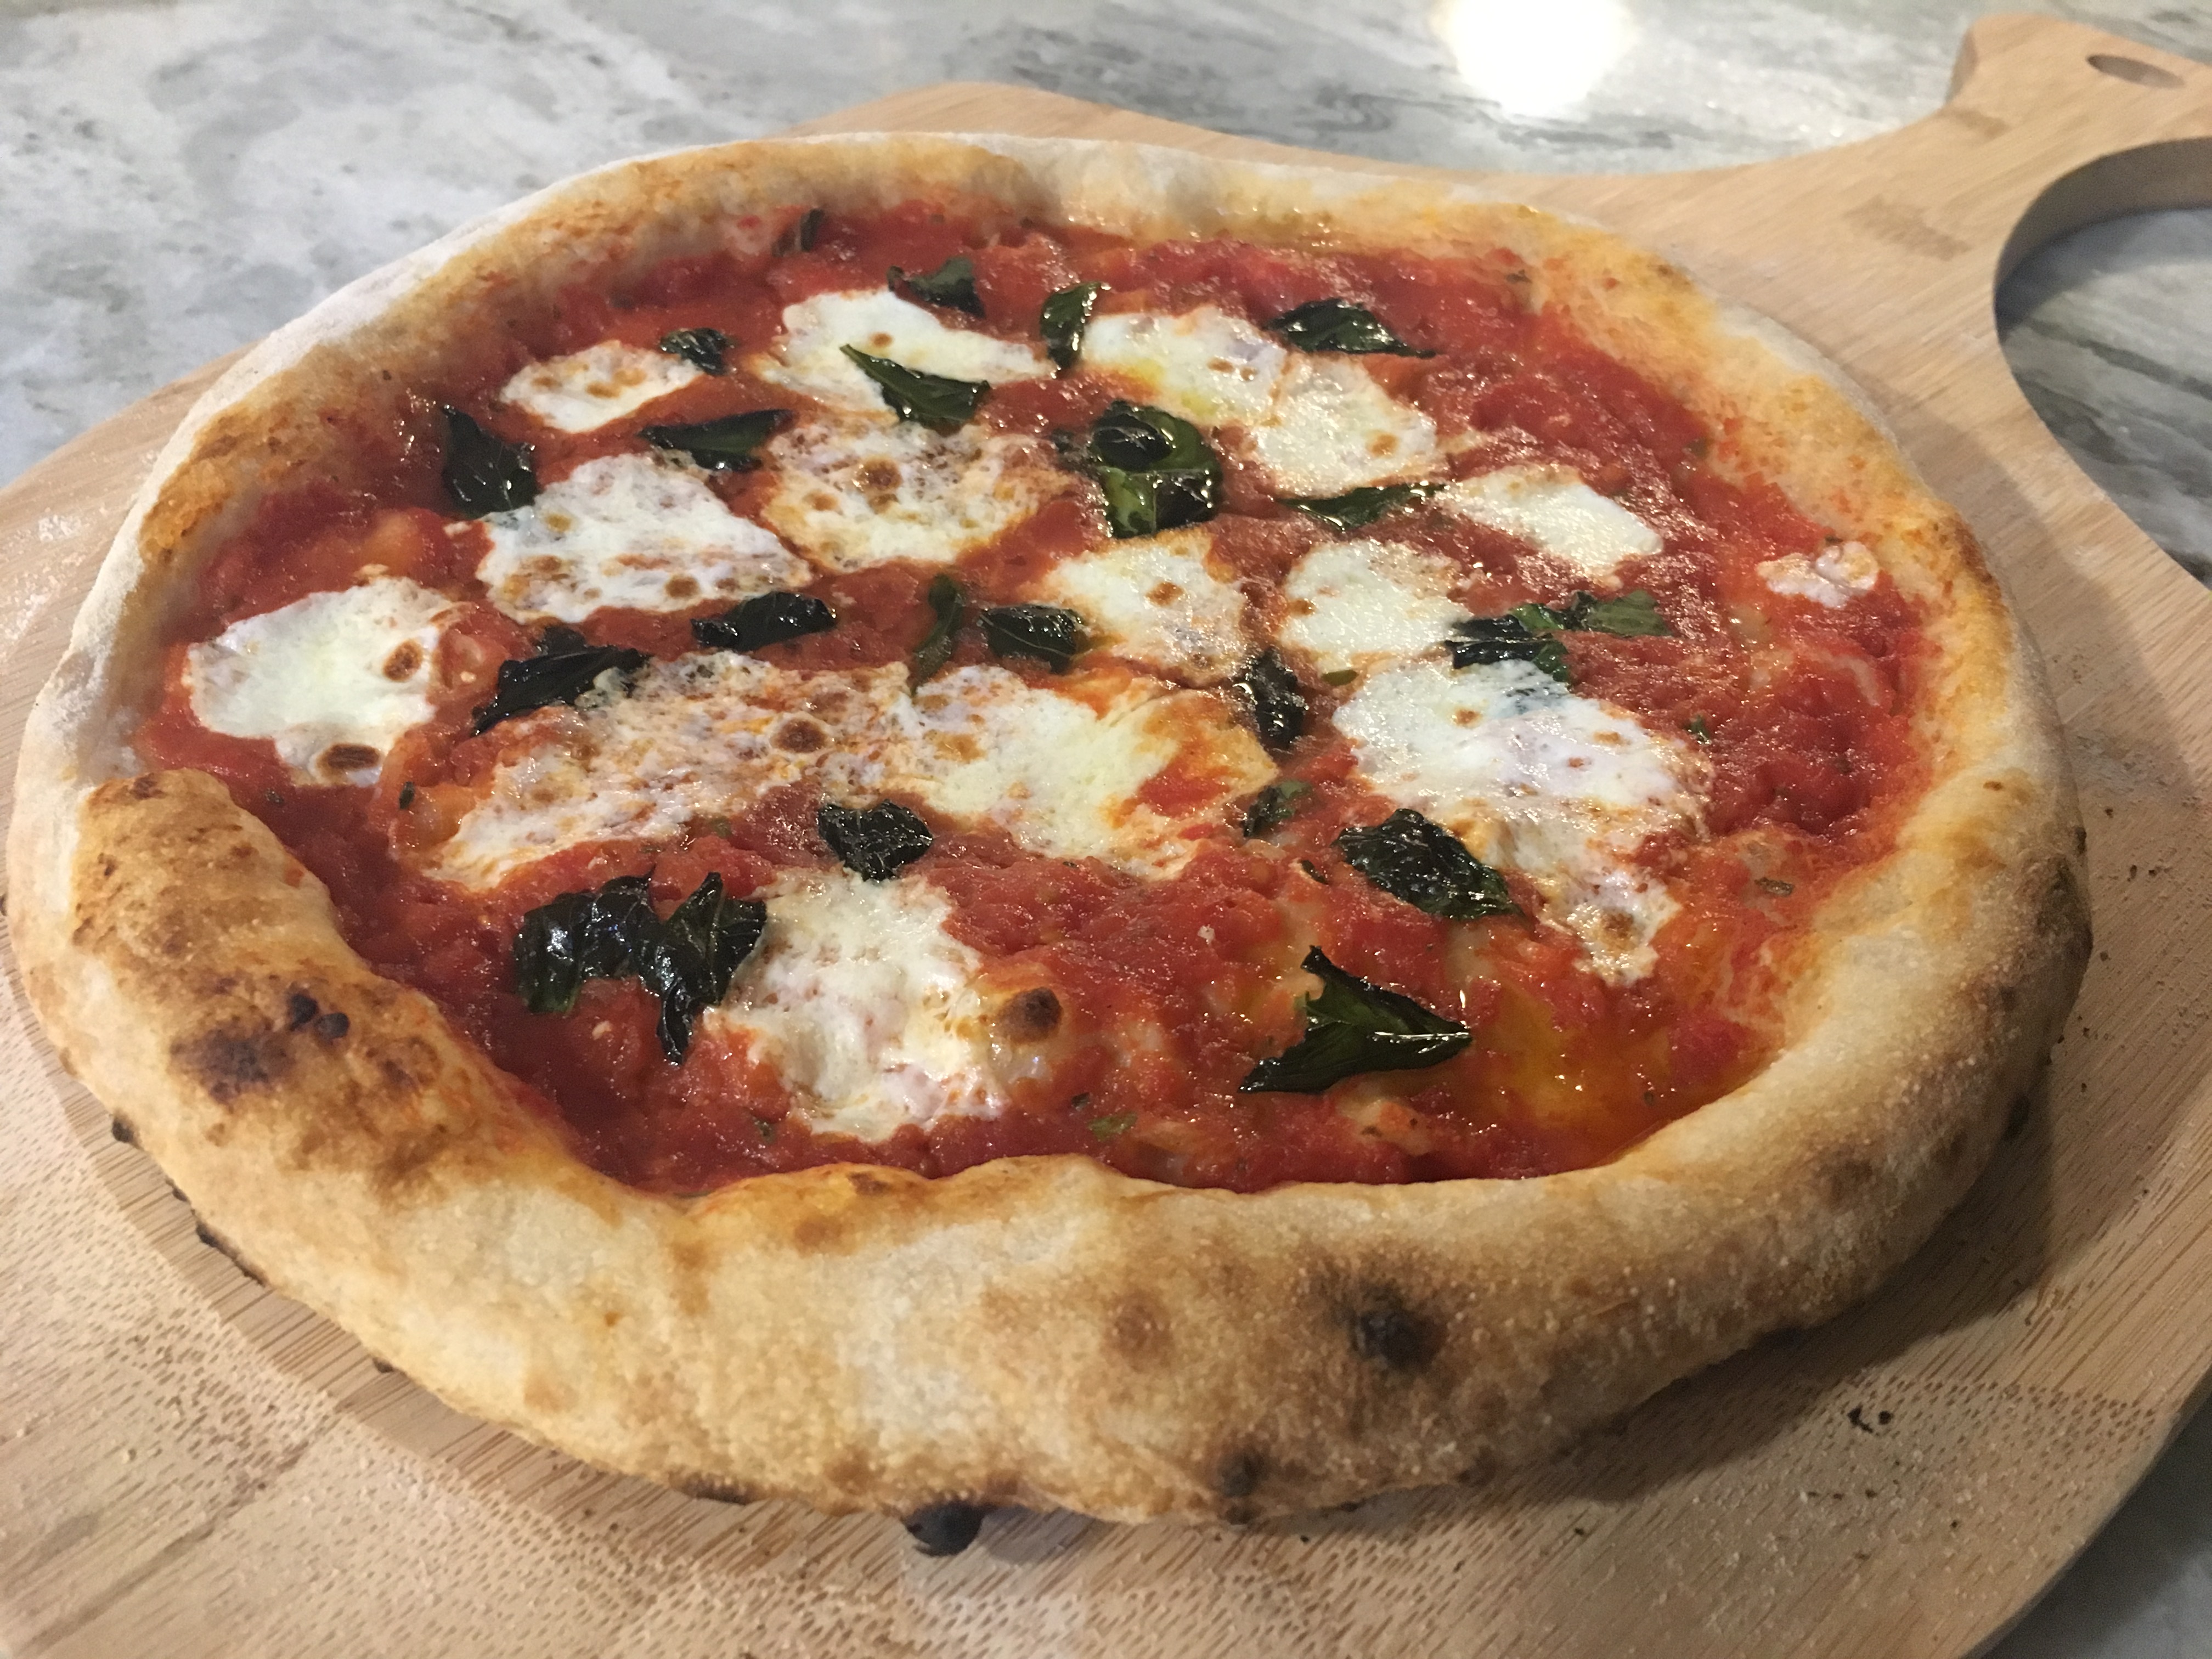
But I’m not going to let the entrance cover idea detract from the headline: that is one fantastic-looking pie in that photo! You hit all the most important points in your build, and you’re reaping the tasty, tasty rewards.
Congratulations on finishing your oven!
Once my oven was finished I bought my brother a case of beverages and had him build a cap for the chimney. He is a tin bender for a local heating and cooling shop so it was something he could make with left over galvanized sheet.
The cover is square and just a bit larger in length and width than the top of the chimney with a 1" lip extending down. I liquid nailed some heavy magnets to each corner on the top of my chimney to keep it from blowing off.
For the door I used heavy diamond plate steel and the liquid nailed magnets again to hold it in place. My door opening faces east so rain coming in the door isn’t much of a problem.
Contact a local metal shop and maybe they could make up a chimney cap for you, it will last much longer than a tarp will.
Wow! That is one good looking pizza! It looks like it came right out of a magazine!
Plz keep the pics coming… We have a very special plan for food pics on Website 2.0!
__
As for the cover - We don’t offer covers for 3 reasons.
-
Every oven is different, so having a form fitting cover would not be possible.
-
The brick / masonry eats covers in windy areas. We have experimented w/ canvas covers, but discovered we need to patch or upgrade the cover every 2 or 3 years due to tears / ripping in the tarp due to high winds. As the wind tosses the cover around, it rubs the cover against the brick / brick corners like a dull razor which starts to rip the cover in no time. 2 years ago, I put a brand new custom canvas tarp (made by the misses) on an oven at the warehouse - it was shredded in less than 2 weeks after a major windstorm (we live in a very windy area).
-
Custom covers are SUPER $$$$$. We called a few different “cover manufacturers” (outdoor awning and outdoor upholstery companies) - and the were CrAzY expensive.
And that’s all stuff I would not have thought of. I don’t feel how sharp those bricks are…'cause I’m wearing gloves while I’m handling them.
Even here in unusually-warm-for-this-time-of-year Connecticut, they’re forecasting 50+ m.p.h. winds tomorrow night. And since it’s Halloween, I hope they’re wrong.
That sounds like a workable solution. I think Mark’s door faces more toward the prevailing wind from what he’s saying.
Do you have closeups of the door setup, Jim?
Thanks!
So what I’m gathering is “Who cares about the rain and wet bricks, what matters is the pizza!”
LOL thanks for the good laughs.
My house is tucked back in the woods, and we have a large field across the road that does bring in a consistent breeze that’s perfect for firing the oven, however we only experience strong winds during rare thunderstorms. So, I went ahead and ordered a small canvas tarp to see how long it will last. I will most likely only throw it on there when a lot of rain is in the forecast. I’ve tested it out with a regular tarp, where if you throw the tarp over the chimney cap and tie it off (tighten) between the grommets with a long rope to pull on from the ground, you can easily install. This acts as a drape that protects rain from seeping in under the door. From what I’ve experienced its not wind related, its just water seeping in through the surrounding brick and mortar and leaching in to the floor fire bricks. Its not a big deal really unless you are grilling with a tuscan grill up close to the entrance. But I would rather keep everything dry if I can.
Question: does anyone experience water leaching in through the veneer brick and mortar joints? The brick I used was saved from our house build and our house bricks also take on water that can take time to dry. Just curious if there is any long term concern for the double stucco layer and the insulation blanket getting wet affecting the performance of the oven? My thought is that the stucco would prevent the blanket from getting wet but it is mortar and mortar does absorb some water. The reason I ask is that I have no plans to ever cover the dome, just the front entrance.
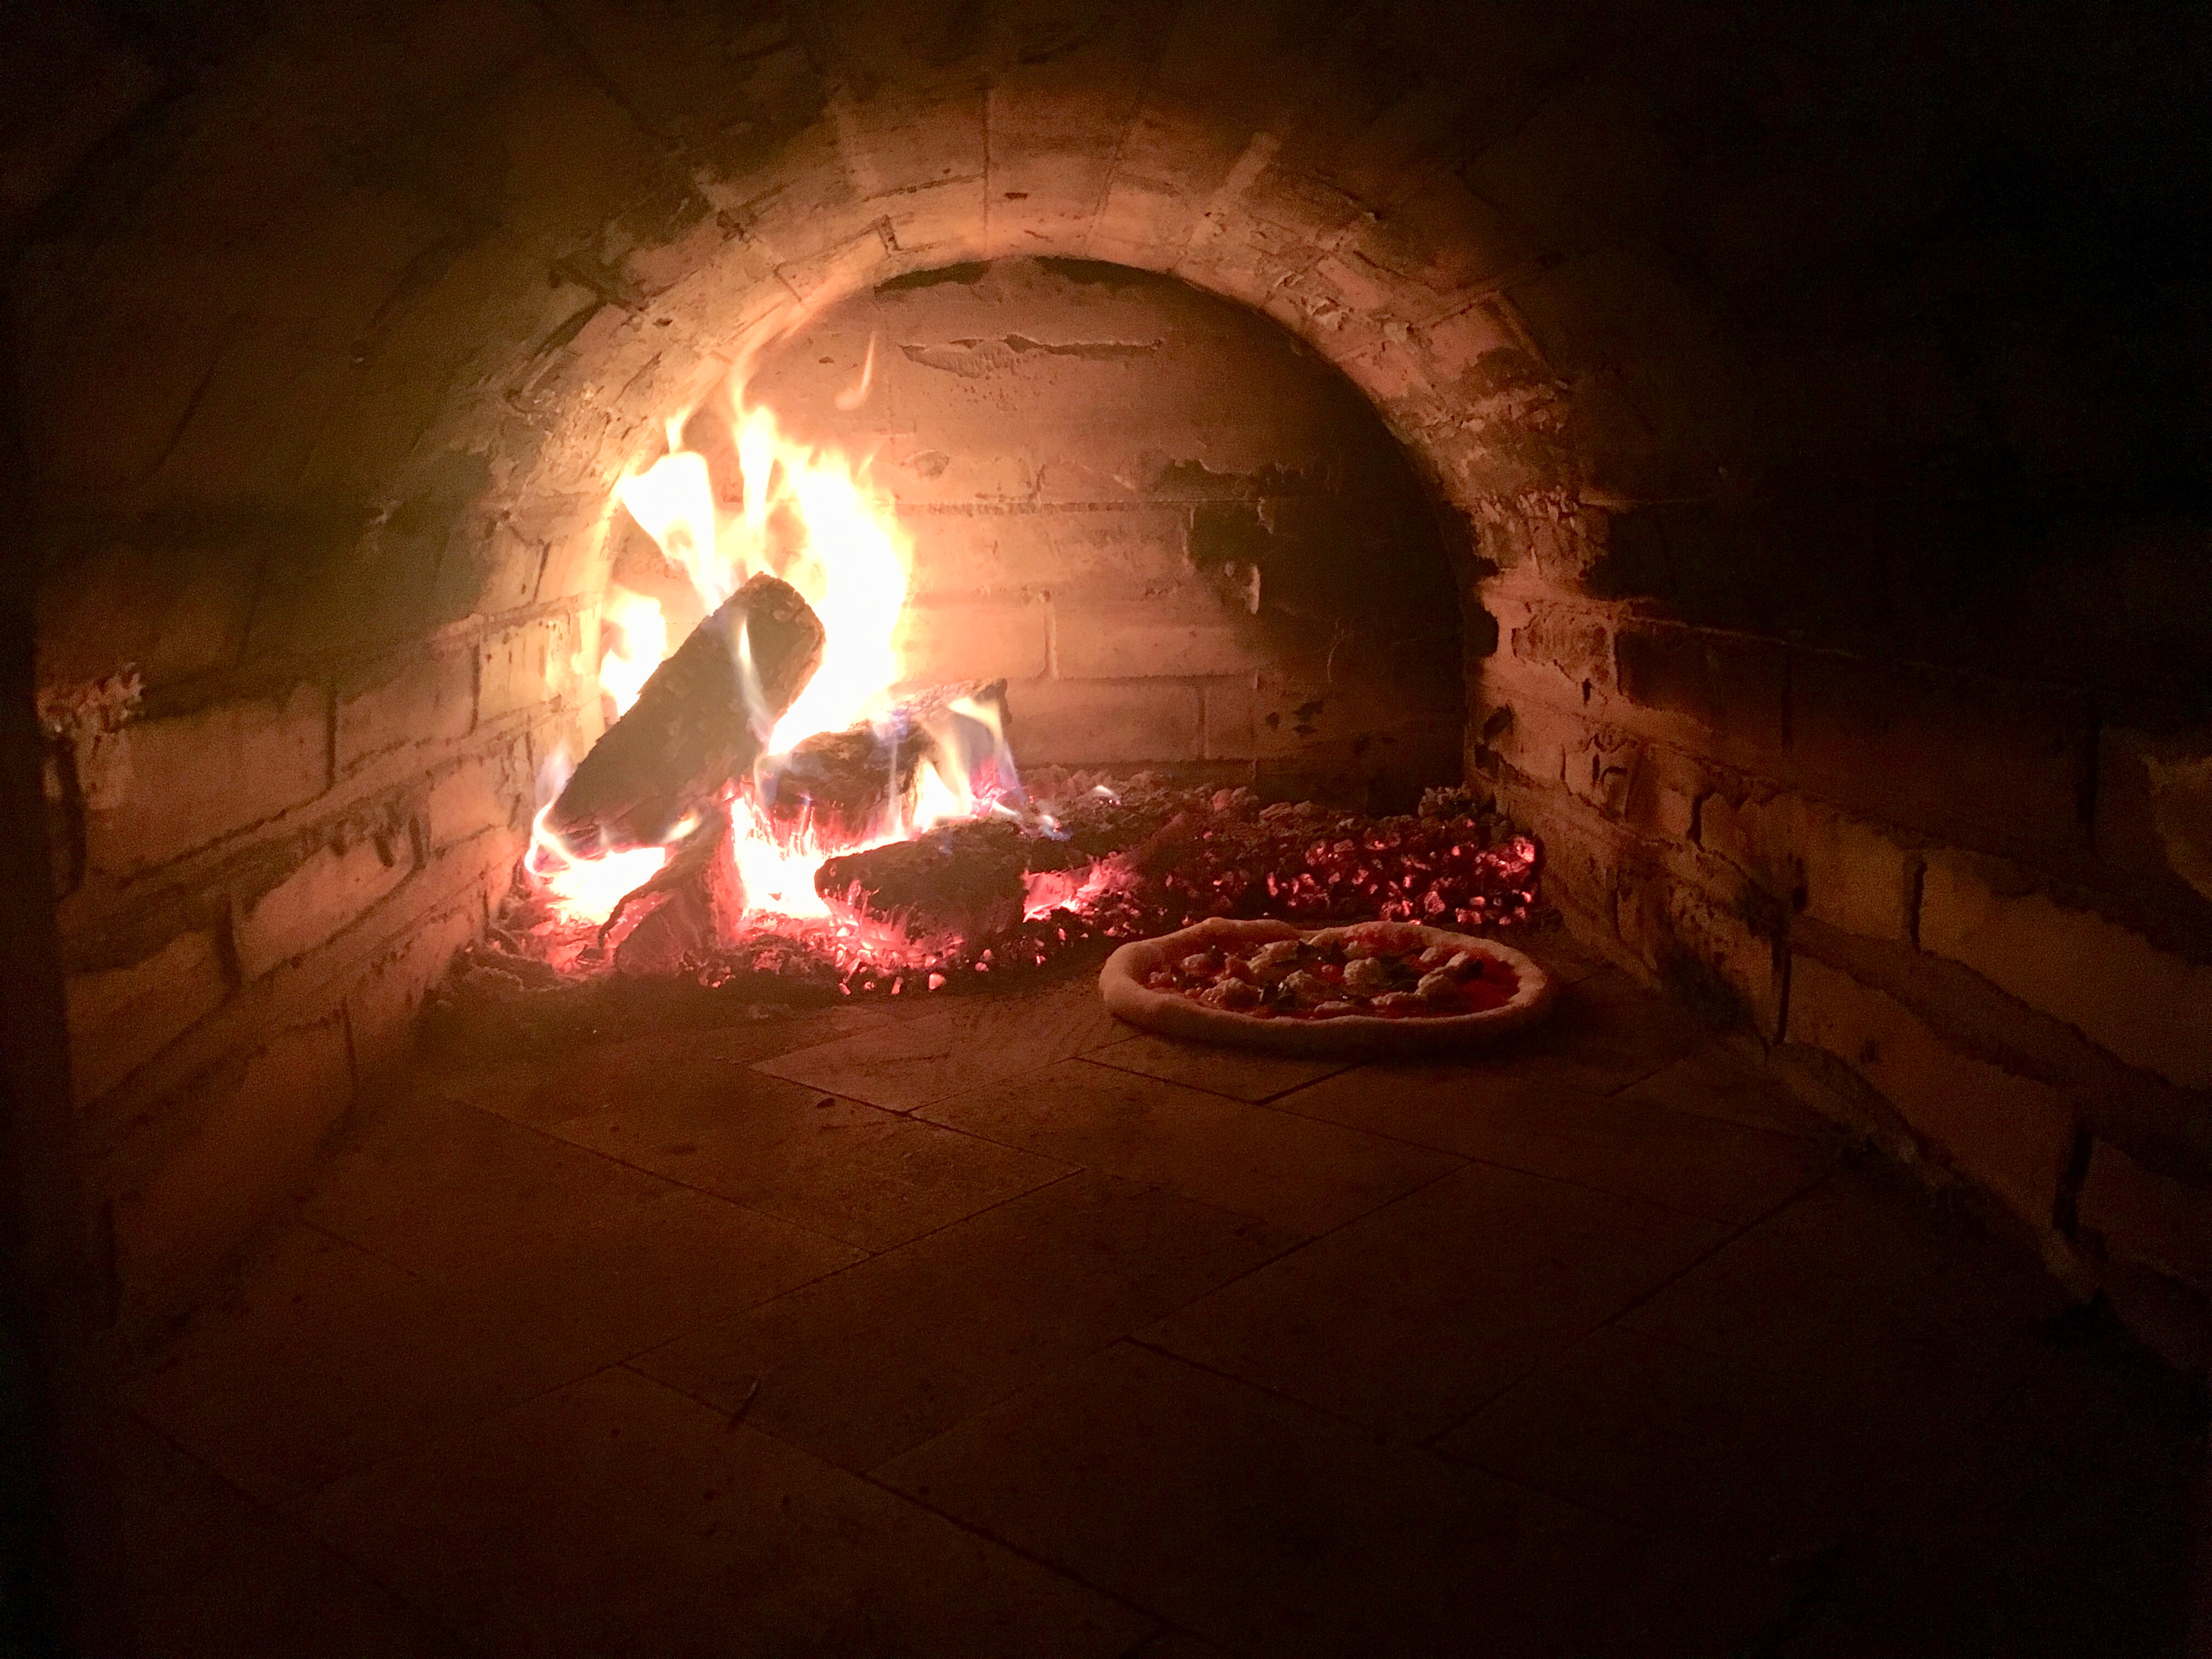
Now, onto more important things, here is that same pizza from above cooking, (Caputo 24-hour ferment, fresh San Marzano puree, pinched mozzarella, basil and EVOO) . . .
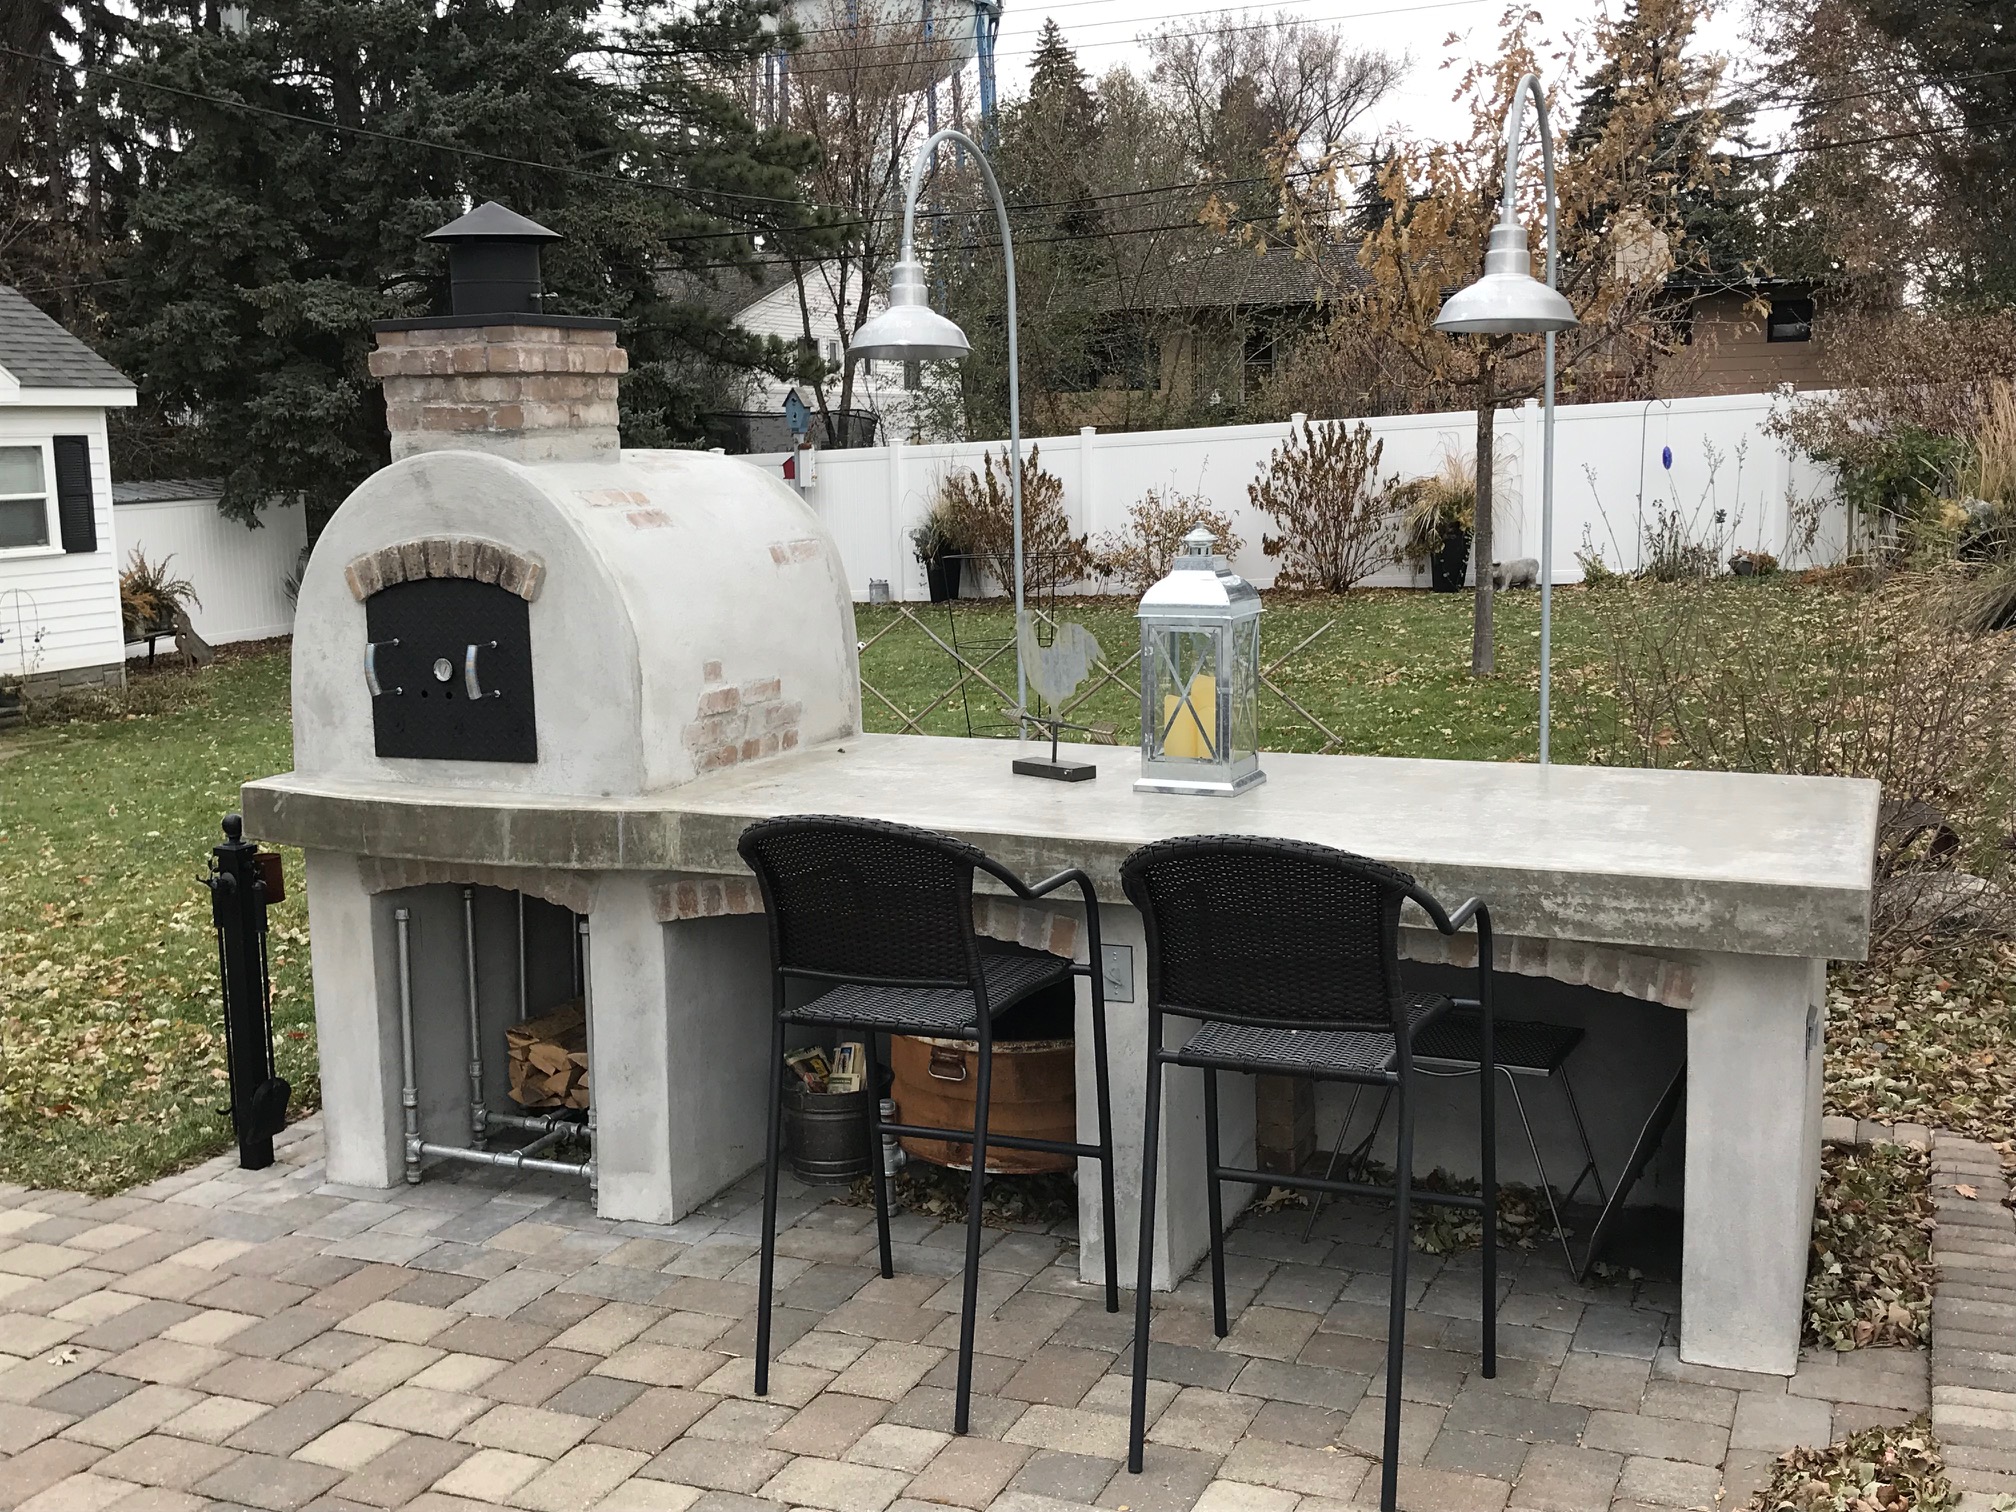
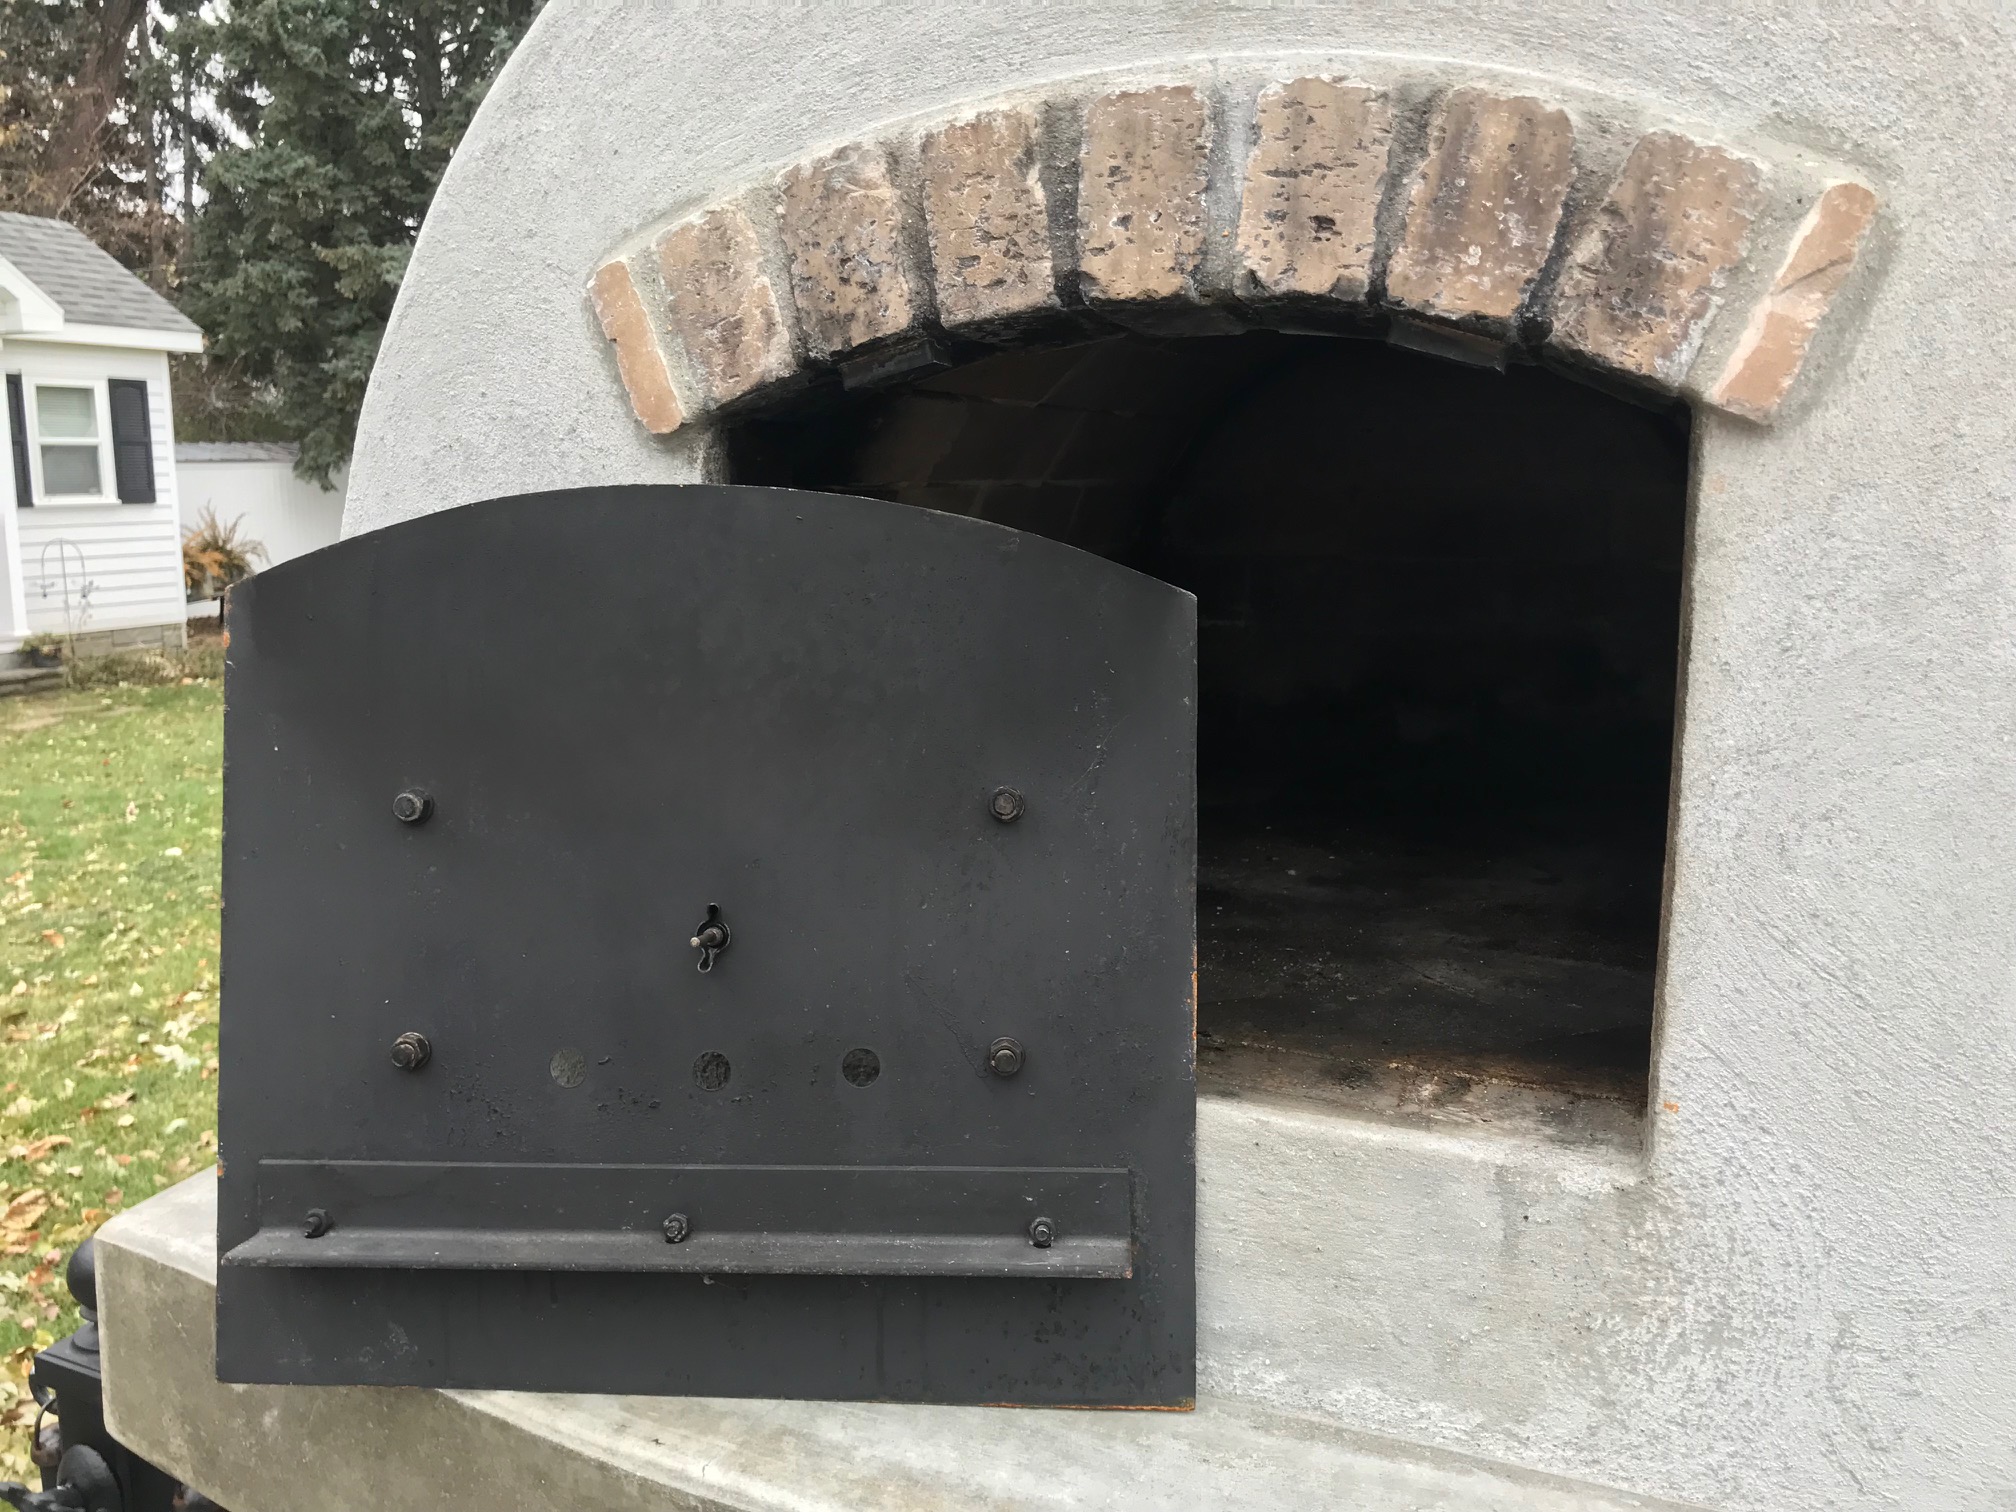
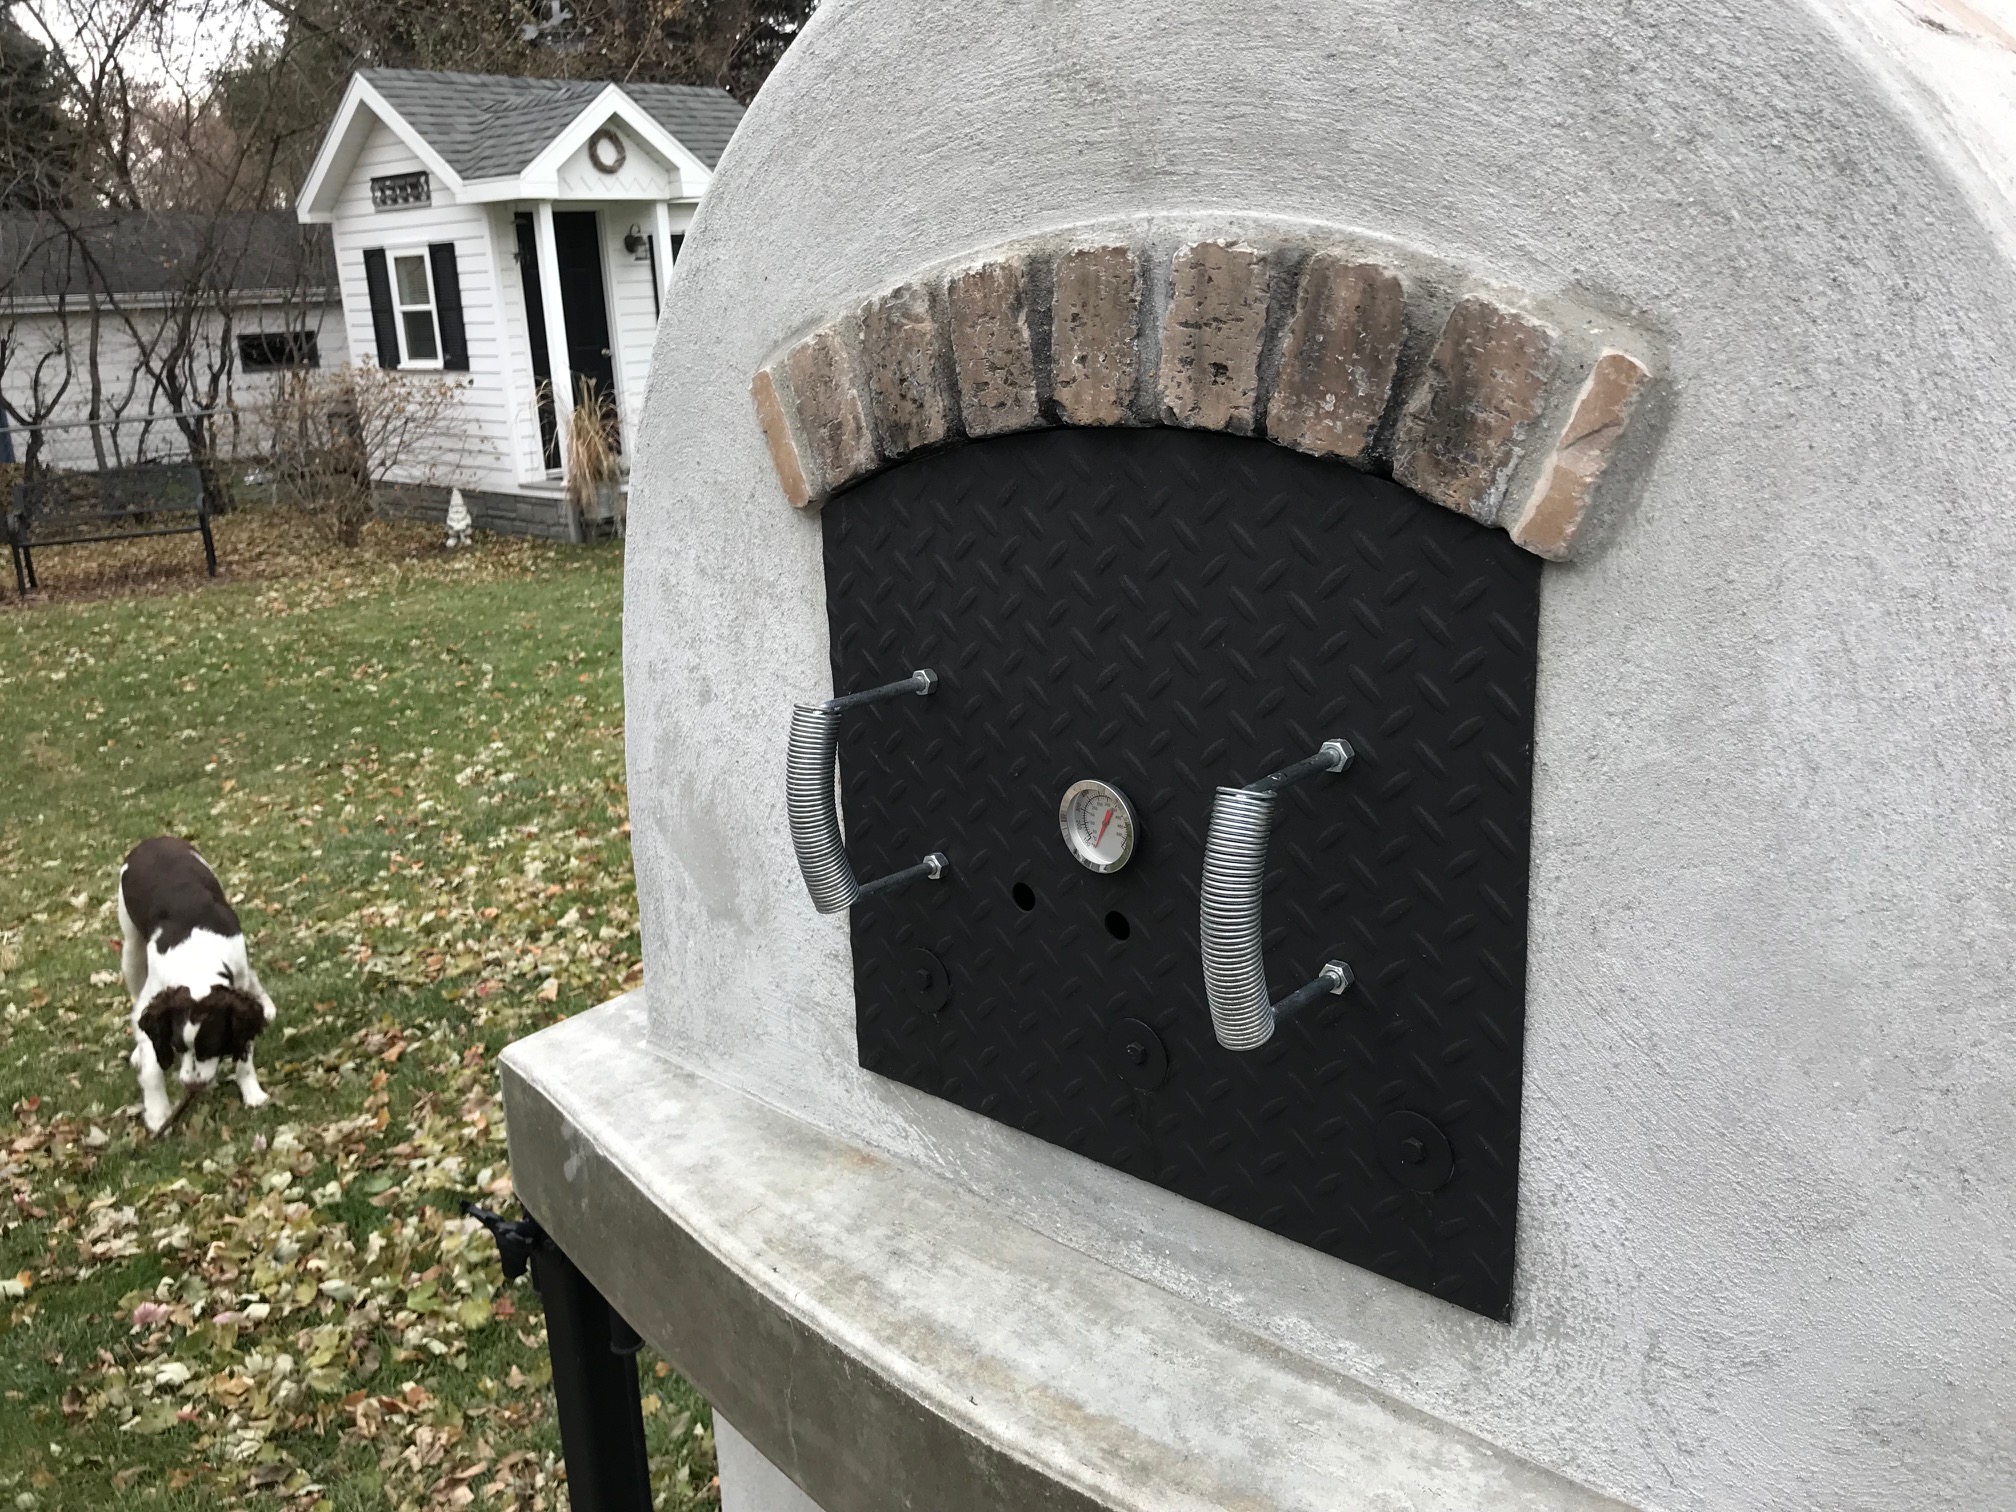
Here are some pictures of my setup.
Angle iron bolted to the bottom of the door to hang it from the opening and magnets liquid nailed at the top of the opening to hold the door shut. I have had no problems with it falling off or getting blown off.
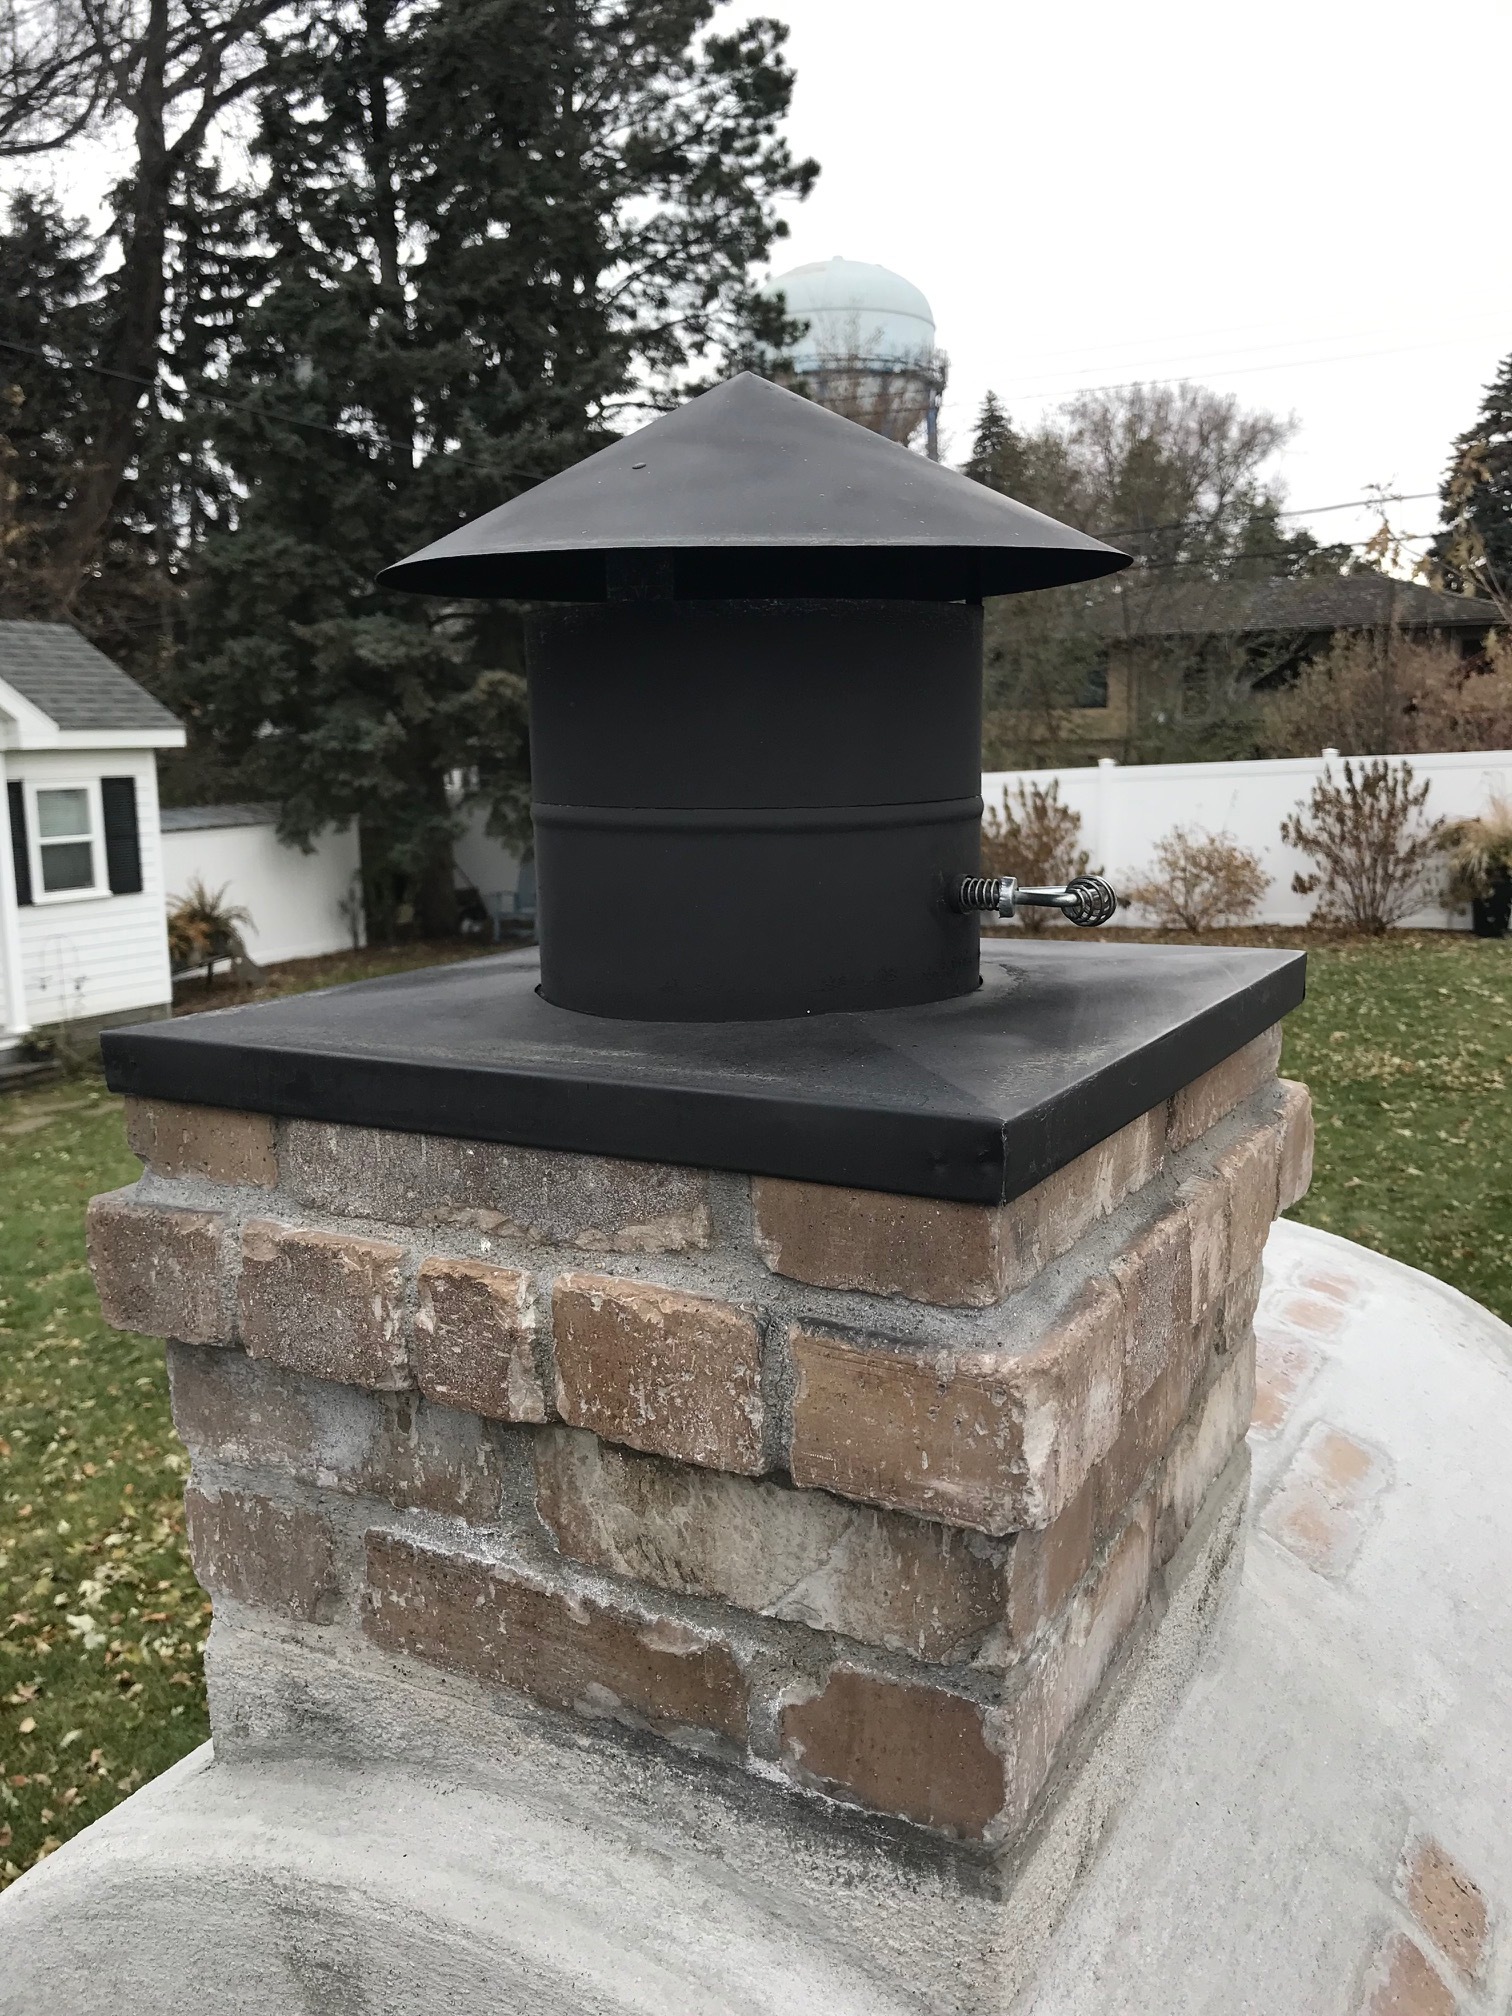
The chimney cover I referenced earlier was modified this summer.
I added a 6" stove pipe to the chimney opening and poured concrete around it. I cut a 6" hole in the chimney cover to slide it over the stove pipe and added a rain cap and damper
I made these changes because it seemed like I was loosing a lot of heat up the chimney and wanted to add a damper to control the heat better.
A few coats of high temp black paint and we are cooking.
First - As the manufacturer, we’re supposed to only recommend the products we sell for your pizza ovens (DuraTech Exhaust Kits and BrickWood Oven Pizza Oven Doors)… But as a penny-pinching DIY’er and self-taught Jack of All Trades (or Autodidacticism)… EXCELLENT JOB on your pizza oven door and exhaust kit w/ damper! Man - you nailed it!
I really do LOVE seeing well-made custom components on our customers pizza ovens - and you hit it out of the park w/ this exhaust kit / damper and custom made door w/ diamond plate. Is there any further information you can share about the exhaust kit (Brand? Custom fabrication? Cost?) and are there any interesting stories behind either of those items?
Second - Love the water tower in the backyard skyline. Very, Americana - Norman Rockwell…
And Third (or Thirdly) - What is up w/ the small house in the background? I know @BikerBudMatt will get onto me for getting off topic, but can you please expand on what that unit is exactly? From my POV - it looks like an elaborate studio or California 1 bedroom, but I’m only seeing it from the recently submitted pics and curiosity has the better of me!
Thx!
Kevin
That looks like a home run to me as well, Jim! I appreciate the photos because I was having a hard time picturing where you’d place magnets. That is one very well thought out setup, and between that and the chimney setup you’ve truly got an upgrade there.
I also appreciate the “old school” coiled steel handles on the door in place of the hardwood. They are, I’m sure, quite effective in dissipating heat so you don’t burn your palms when you’re removing the door.
And, we haven’t even mentioned the log rack sitting so nicely in the underslab space. Or the archwork at all three of those openings. Just nicely, nicely done.
I’m only gonna get on you a little, because we’re talking about the door and chimney system, but—Hey, @jamanh, what’s the name of your four-legged friend in the second photo? ![]()
Thanks for sharing these photos. I especially appreciate being able to point to these as an example for folks who are worried that they have to nail it during construction and then live with the outcome. You’ve improved what you built, and shown others that it’s possible to do that.
Beutifuly done.
Is that a cast in place concrete top?
The “old school” handles are just square U bolts with a screen door replacement spring cut down and slid over the bolt. Cheap and easy and work great.
My little helper in the picture is Leo, an English Springer Spaniel that just turned one last month.
I started my build May 2015 and “finished” August 2016.
The more I use the oven the more ideas I come up with to tweak and improve the looks and function. This is quite a bit different than the gallery pictures from 3 years ago when I thought I finished my oven.
Thanks Kevin.
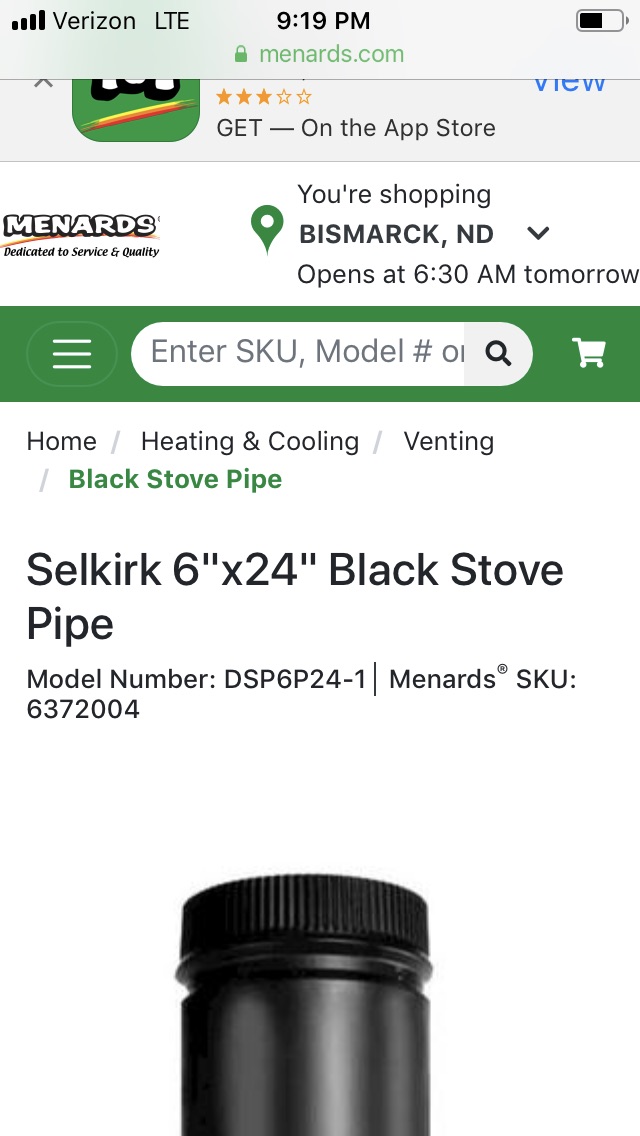
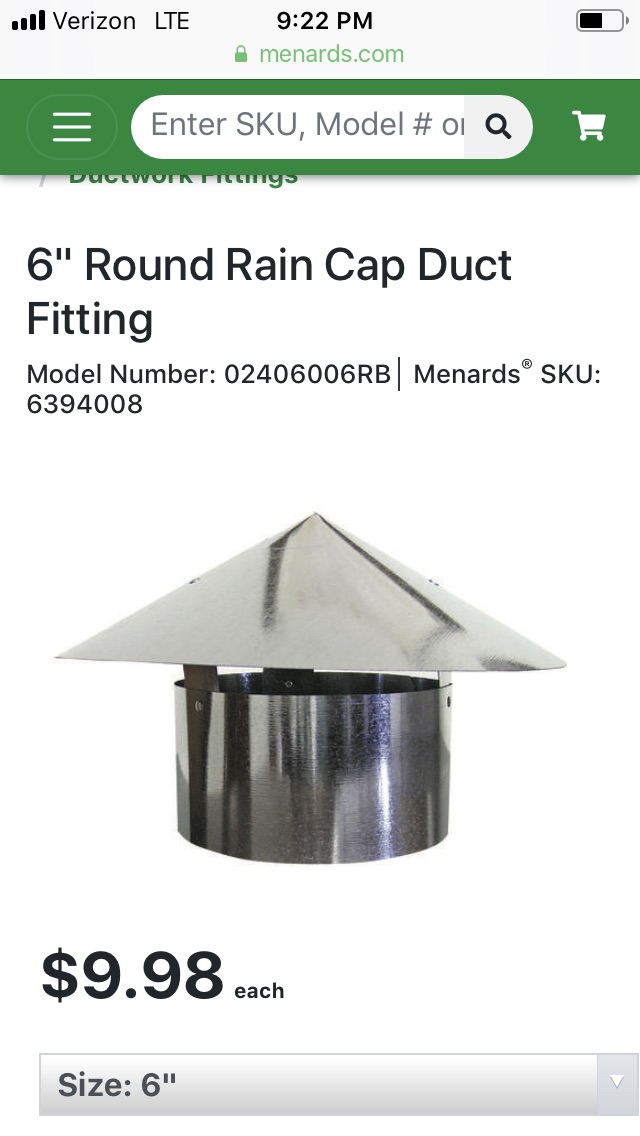
Not sure if you have a Menards in your area, but it’s my favorite place on earth. Here are the parts I used for the damper / rain cap. The Dura Tech is by far a superior product, painted steel doesn’t compare to stainless steel.
The Dura Tech just wasn’t the style I was going for, I don’t think it matched with my oven.
The little house is a play house I built for my daughter Ashten. She is 19 now so it doesn’t get much use, we use it for winter storage for our patio furniture etc. My long term goal is to turn it into a mini man cave. I get a little carried away when I do projects so it is insulated and completely finished with electricity, cable TV and internet.
When I start going overboard with a project my wife reminds me of the dog house I once built that took 6 people to move.
Thanks for showing your materials list for your exhaust kit! Not everyone orders a DuraTech - so the Selkirk kit you’ve shown is a very good alternative.
Love the kids playhouse! I thought that is what I saw - but I just had to double check as only a handful of people would build that elaborate of a playhouse. Amazing! You definitely just raised the bar on Daddy - Daughter gifts.
Thx again!
Very nice indeed. Pictures are worth a million words. I have the Dura Tech chimney with damper and no real issue with rain getting in that way but I like what you have done here. Looks cool. As for the door, that is precision installation there how the angle iron and the magnets all line up. I think the key here is the brick out-cropping arch above the door, which makes the magnets functional, otherwise you would still have rain water seeping in. Not sure this design would look right on my oven but I guess I could always change it later as you have done with the evolution of your oven. My wife already wants to someday swap out our rock ledge decoration (on the hearth slab) with some fancy porcelain tile. So yeah you can always go back and do a face lift on an old brick oven to bring new life to it. Well done, and thanks for sharing. Note: I will say that if I slide two little sticks up under the bottom of the wood arms on the door, it angles the top of the door more flush with the brick veneer and really helps limit the rain getting in. Its still there but just not as much. I will use the canvas tarp over the chimney and doorway for those long periods of rain. Thanks for all the help!