Doing some cleanup work on some cracked mortar. I have been reading about closing the oven. I don’t want to close it off too much. What if i cut 2.5 inches off the fire brick and placed as shown in the picture (right side of oven)? I am thinking that would help with forcing the smoke up the chimney.
If this would work, any ideas on building a brace to keep the bricks in place while the mortar dries?
1 Like
Hi Norm,
Closing off the oven front is a great idea. I’m wondering if you’re overthinking it just a bit. There are clear instructions in the build manual for a basic closing.
So, yes, a shorter brick would work fine, but stand it on its side. (Flip the front of that brick up and you’ll have the idea.) The closure does not have to be thick, because there is not as much heat at the front, and your goal is to close off the top quarter of the arch, yes?
No brace is required if you follow the directions. What you do need is an angle iron, which is an “L”-shaped piece of metal that will make a bridge across the two legs that you are building at either side. It sits across the legs with its back to the oven. Once it is mortared in place, the actual closing bricks will rest on it forever.
I recommend closing off the front for most Barile ovens, unless you really, really need the full opening. As you say, it will help with smoke control and in general with heat retention provided you have a damper on your chimney kit. (Also highly recommended.)
Good luck and let us know how it comes out, Norm!
1 Like
Yes, i want to close off some of the top, but i sure do like the arch look of the original build. I do tend to over think the design, just want it to be amazing:)
Yup, it’s a “decisions, decisions” kind of thing. If you were to close it off but preserve the arch, in my opinion you would be simply making the opening smaller without controlling the smoke that much.
If you are really feeling good about the skills you learned so far, you may want to consider building the two side legs and using a thin, flexible piece of wood between them at the arch level. We have some folks who have done some amazing extended work like that, and their photos are in the Barile galleries.
Going that way means building an arc in small pieces (think “ends” of brick) and allowing it to set in place before you remove the form. Then you can build on top of that to fill out the front.
There would be a lot of cutting involved, but if your goal is “amazing,” it sounds like you’re motivated to do that.
Again in my opinion, more smoke will escape from an arched opening, but even if it is flat across there will always be a little smoke making its way out the front in the right conditions.
Hope this helps, Norm, and I’d be really happy to hear some guidance from others who have done something like this!
1 Like
Follow up question, following the build directions, would i use regular brick or fire brick (for closing the front)?
Good question. BWO recommends firebrick, but regular brick is acceptable. Use high-temp mortar mix; regular “S” mortar is marginally acceptable, but will break down over time. It’s the same reason that high-temp mortar is recommended for the brick hearth frame.
1 Like
Correct - Standard clay brick can be used to close off the front of your oven (try to stay away from concrete brick). Clay brick is fired / cured at high-temps so it is designed to withstand the heat cycle your oven creates. You still want to use Non-Water Soluble High-Temp mortar instead of standard concrete mortar as standard concrete mortar will breakdown under the numerous firings in your oven.
Just make sure any high-temp mortar you use is NON-WATER SOLUBLE as it is designed to withstand moisture / water contact. If you use a water soluble mortar, it will start to crumble.
2 Likes
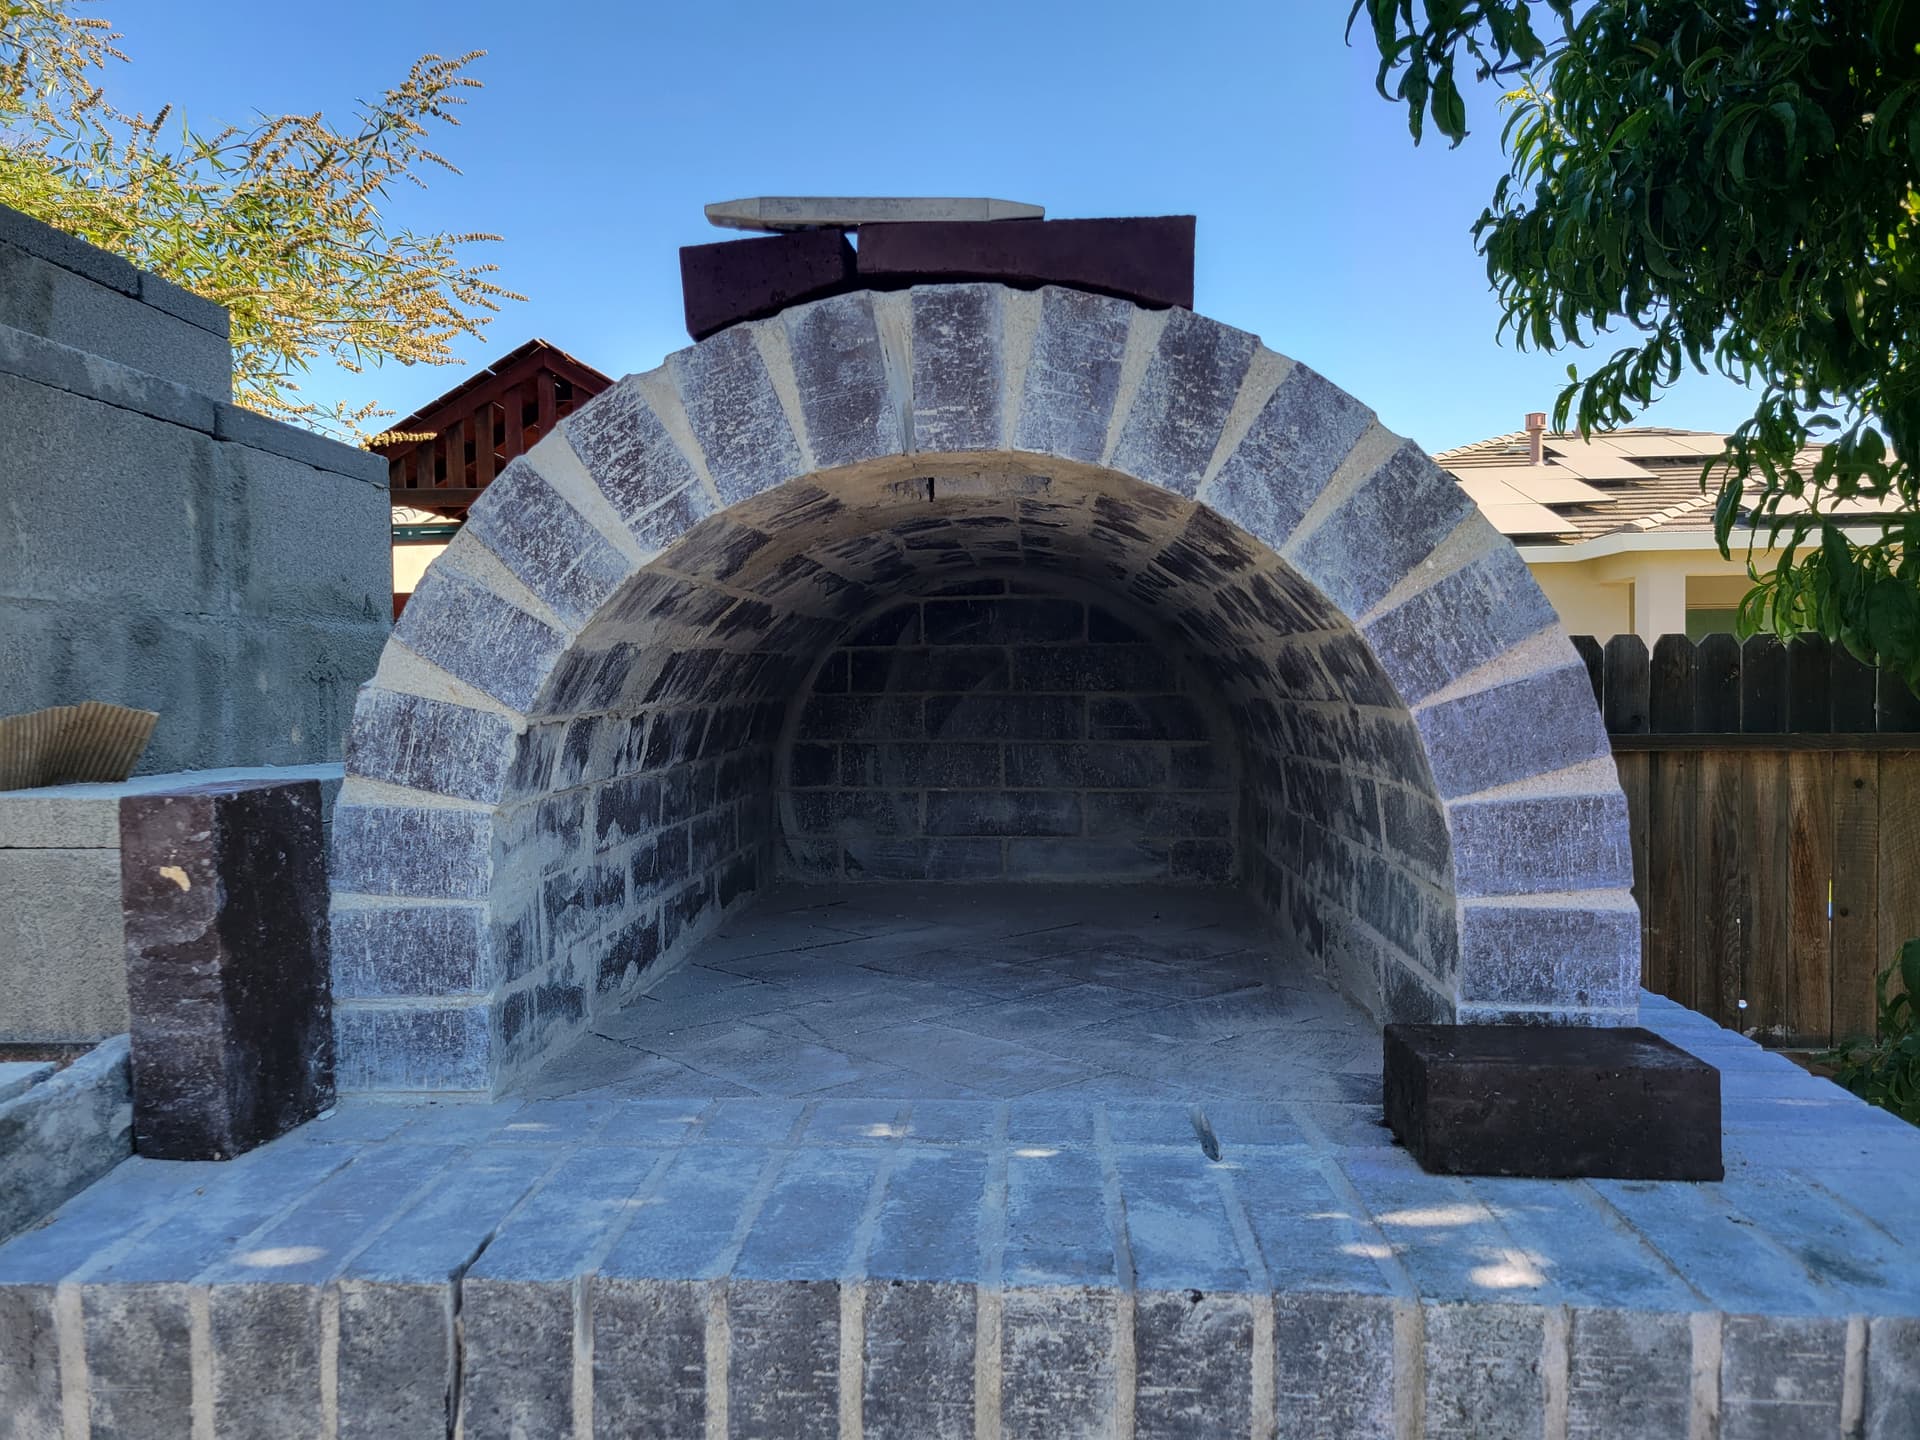
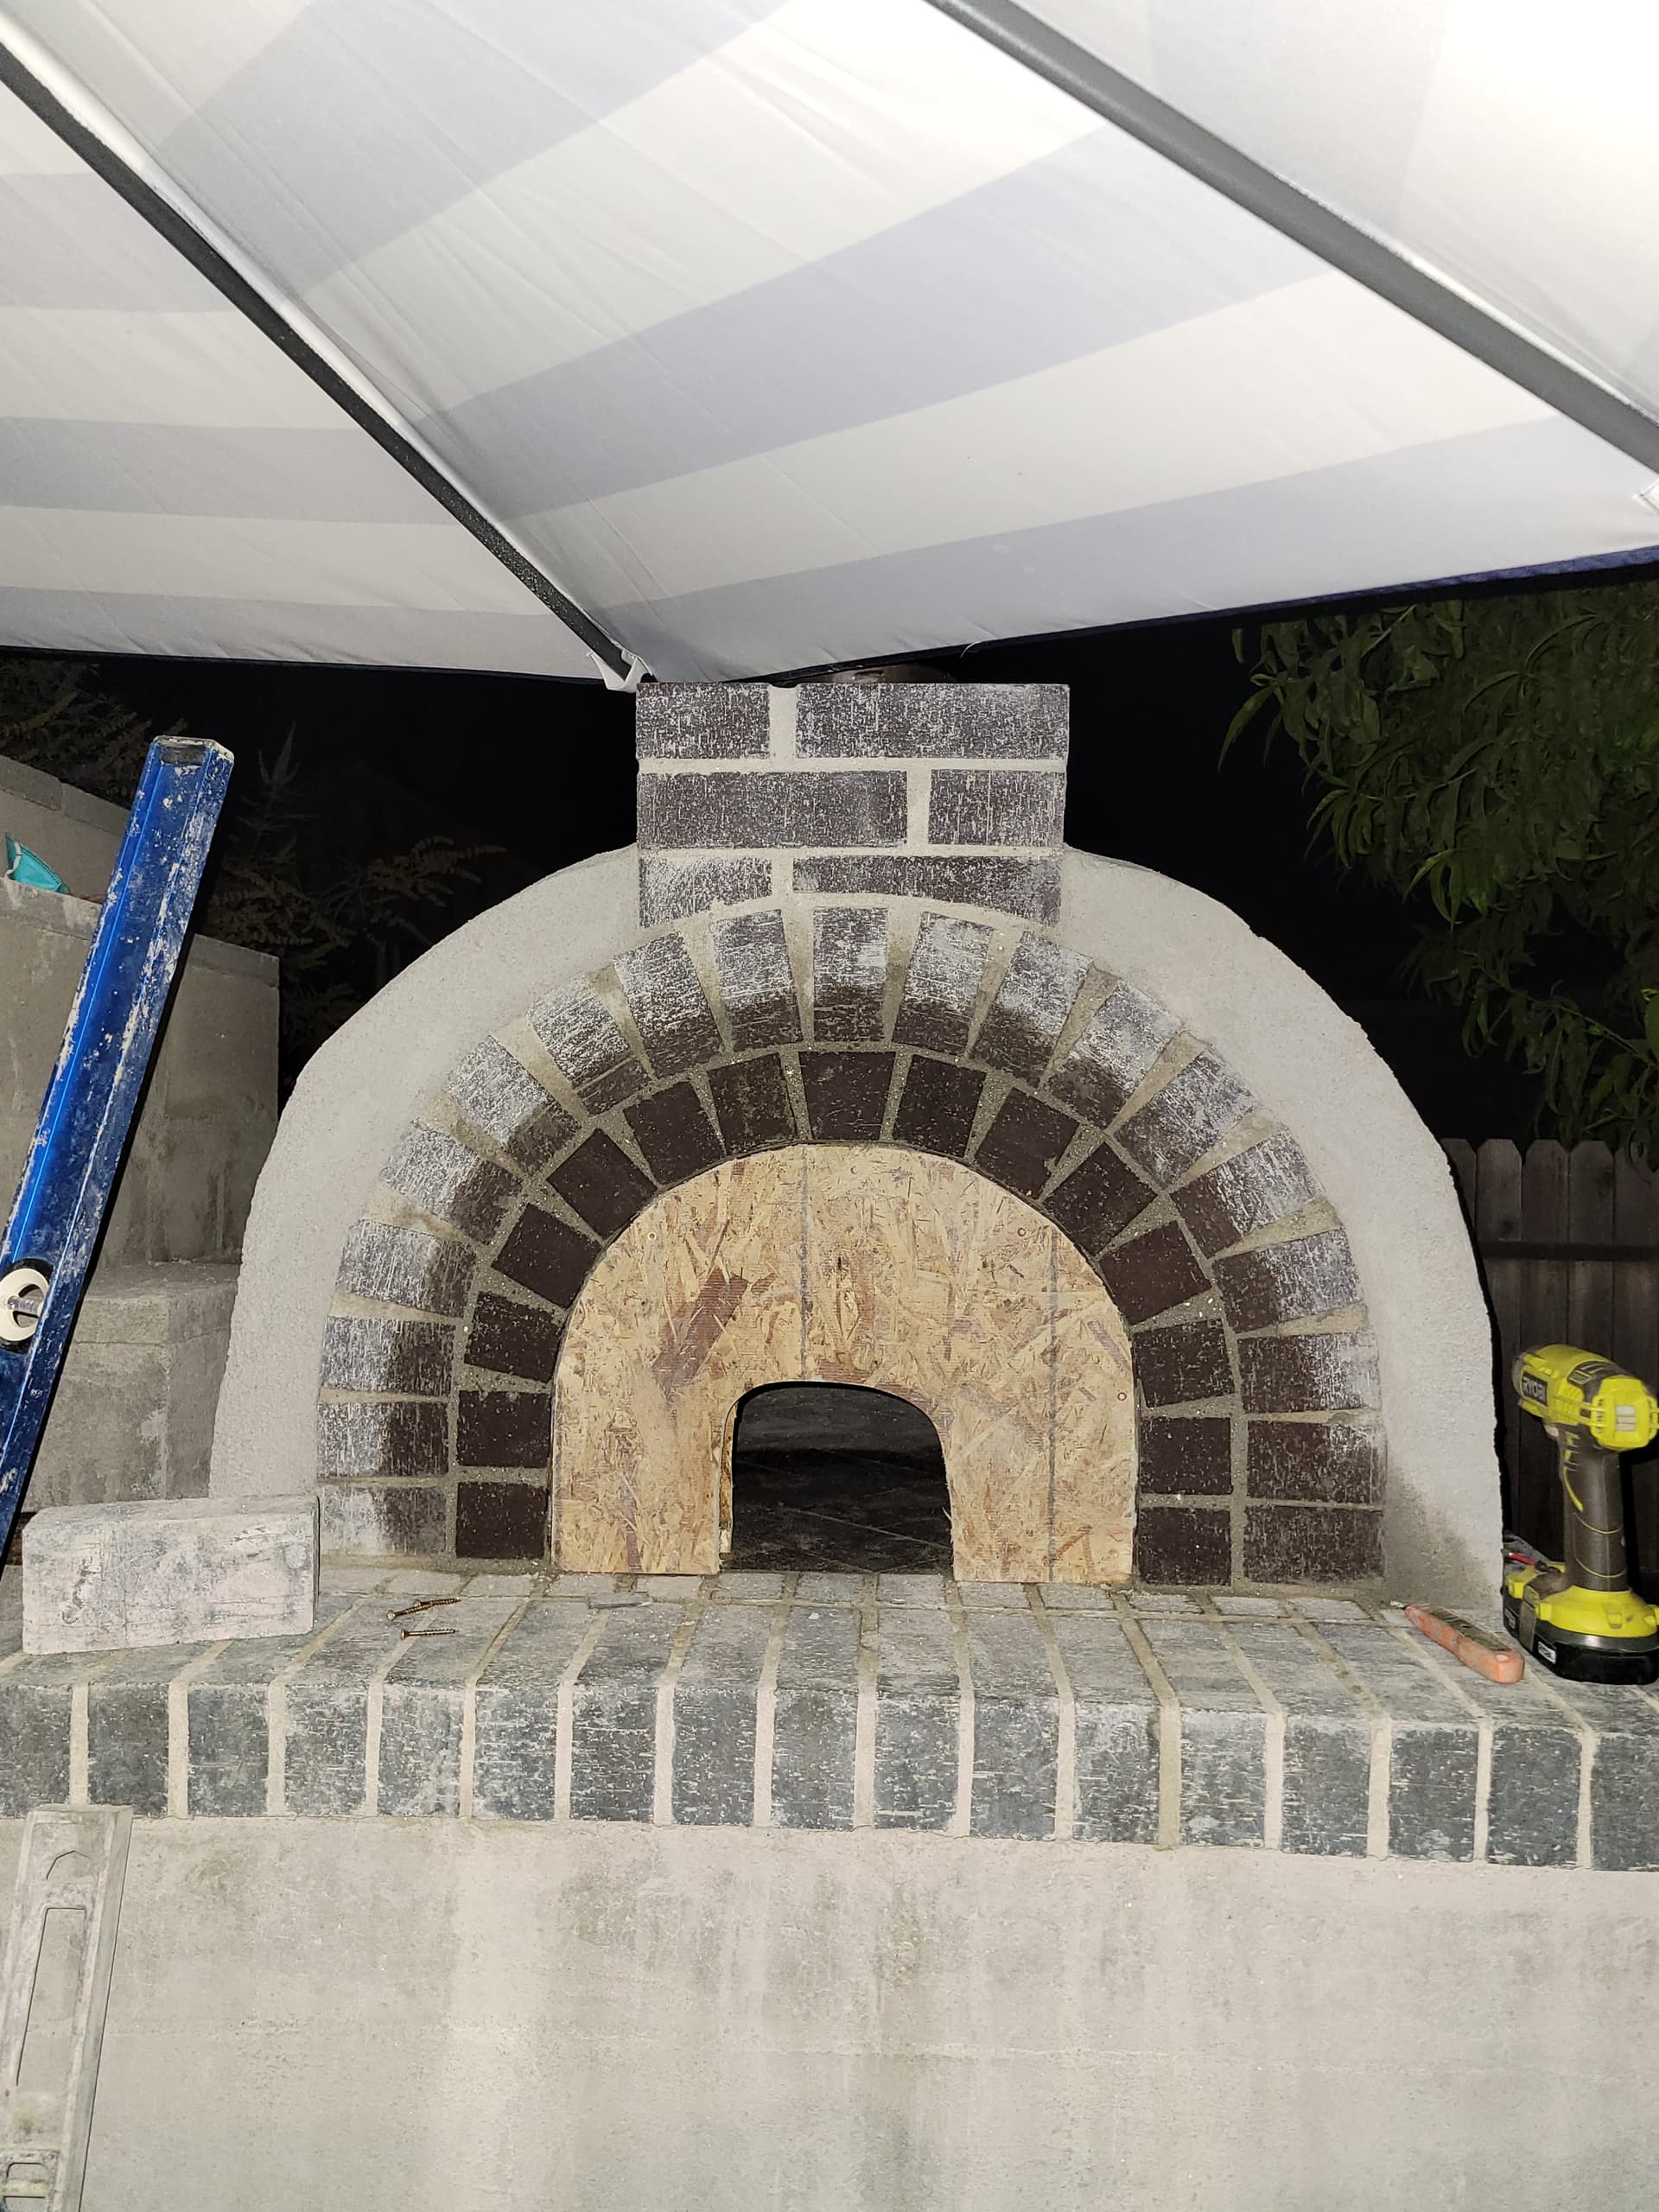
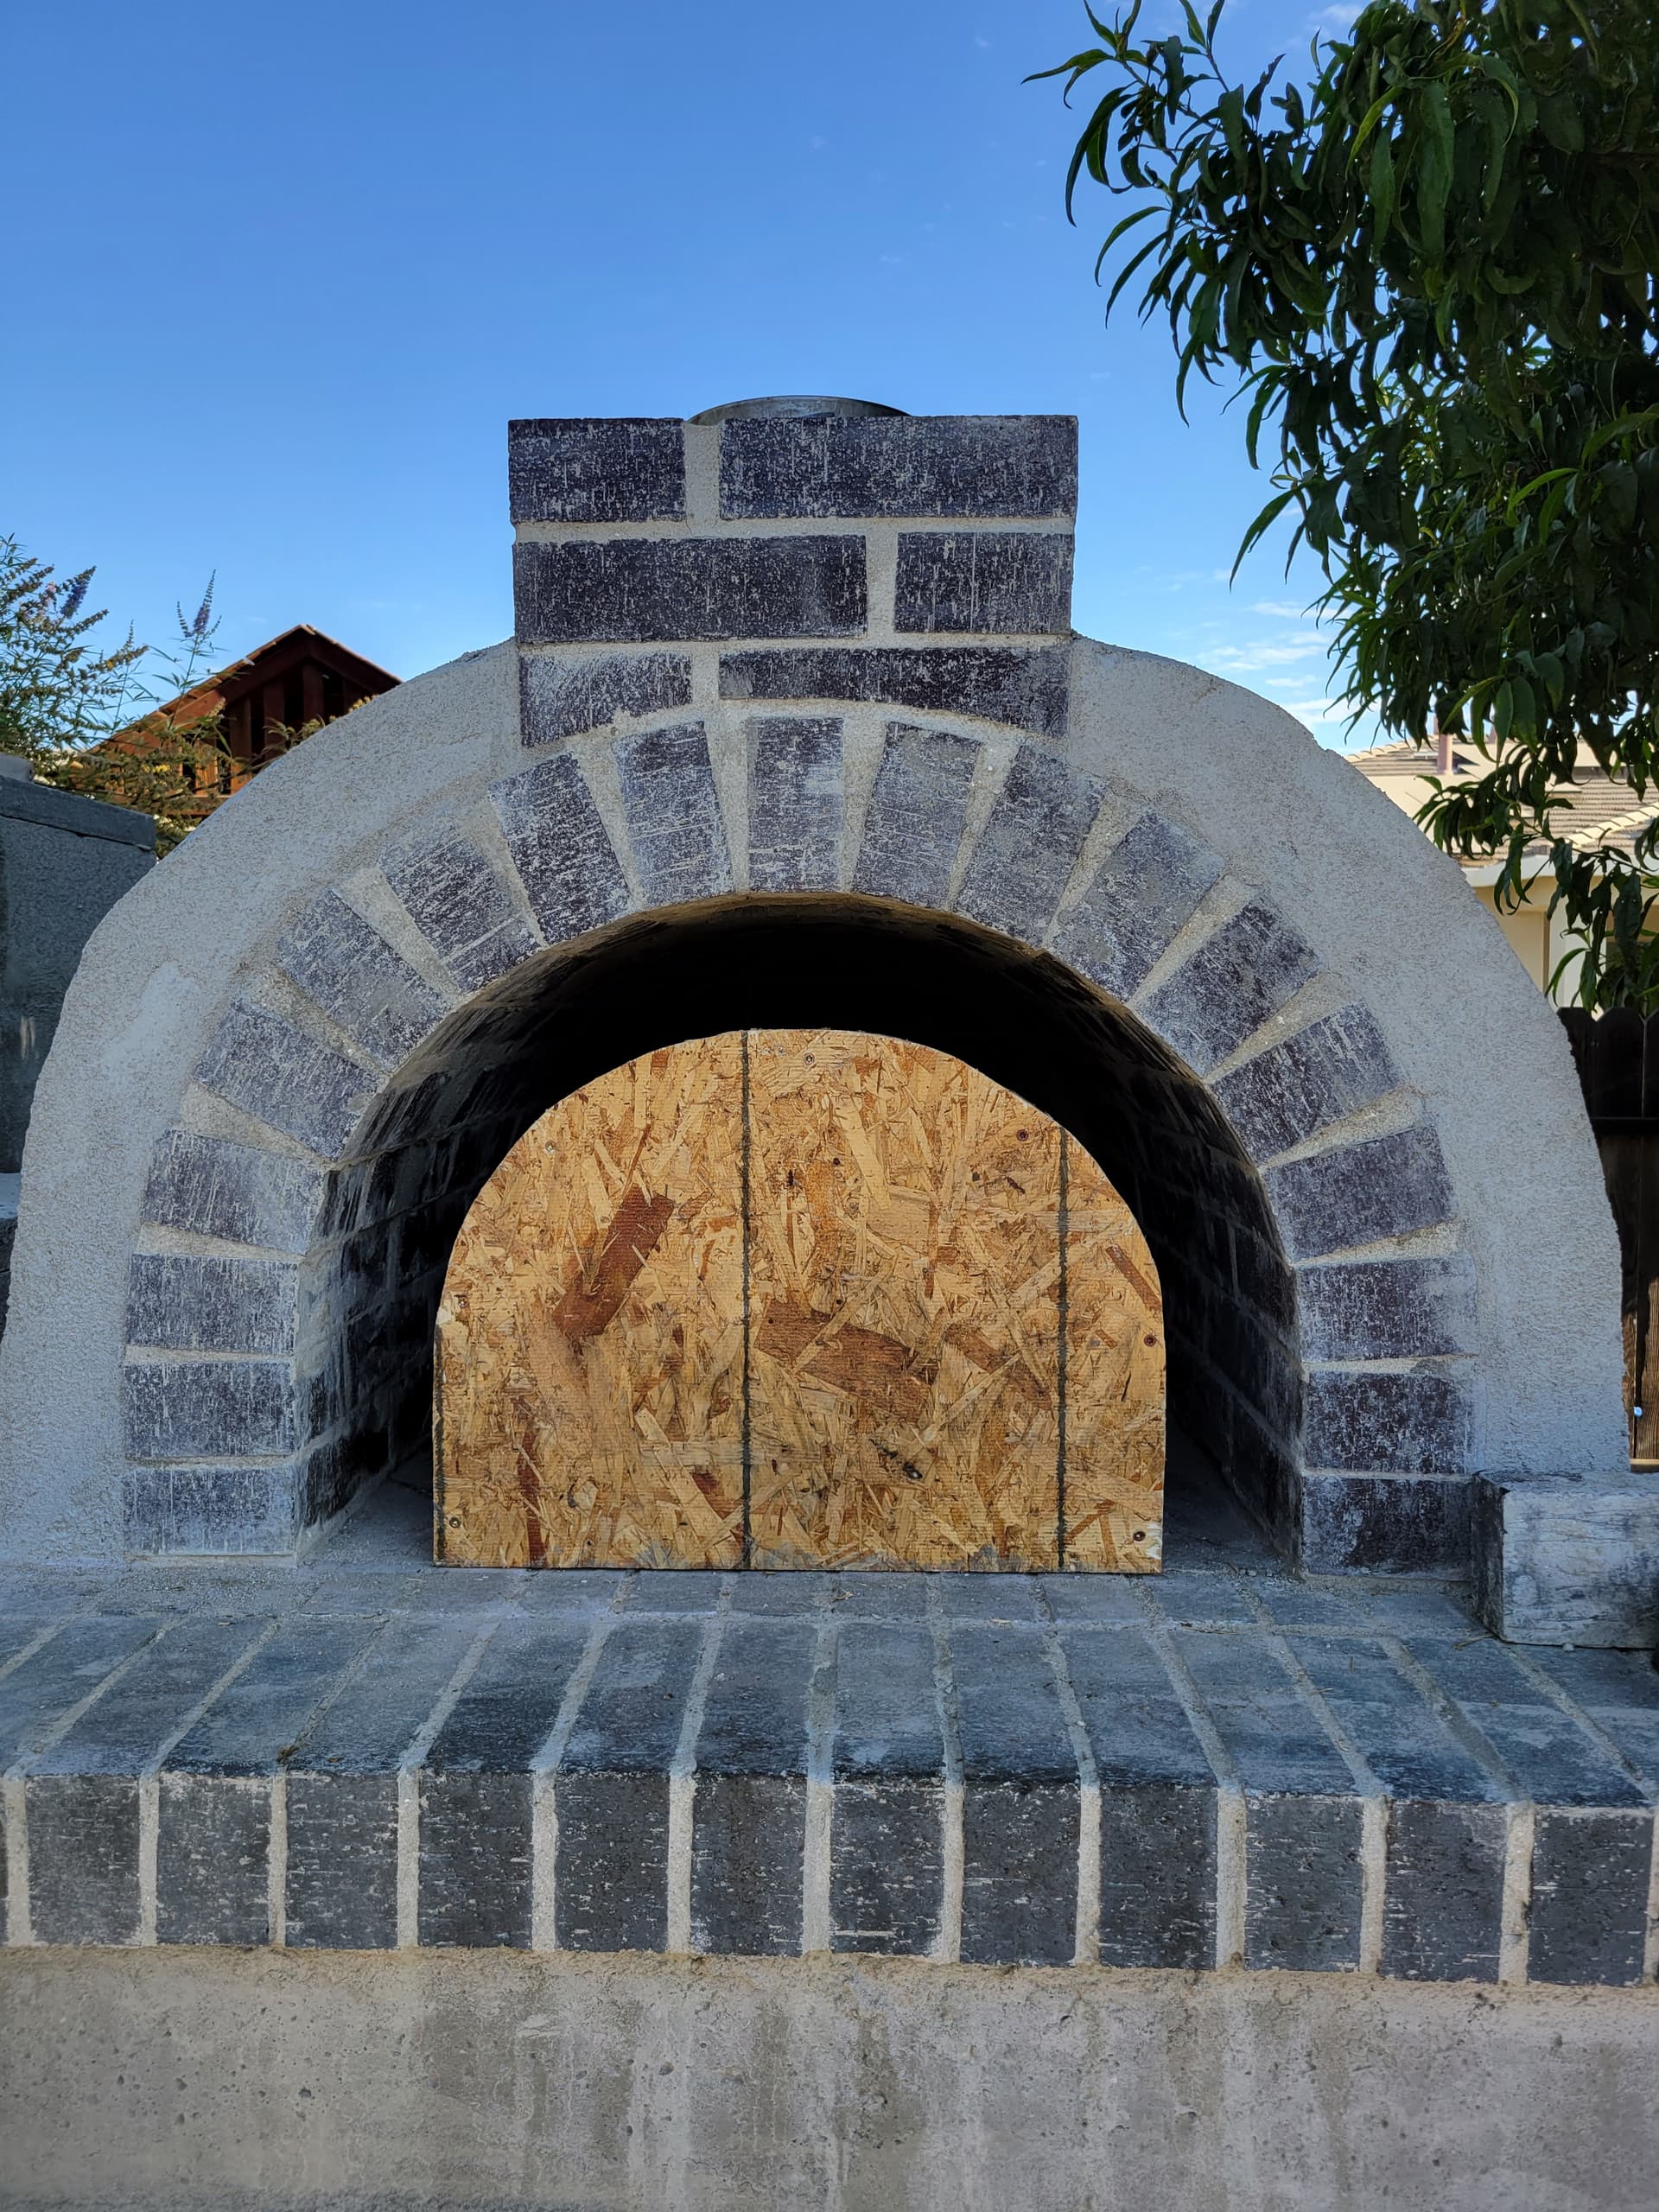
I was able to rescue part of the original for, and cut it smaller to create the closure arch like this. If you can do the same I think you can adjust your brick size however you want.
Hi Bill, and welcome to the BrickWood forum!
Good thinking on your part. Many of us have had to pretty much destroy the foam in order to extract it from the cavity, but as your photo shows that’s not always the case.
Is this a current photo, or is your oven now complete? We’d love to see your final build!
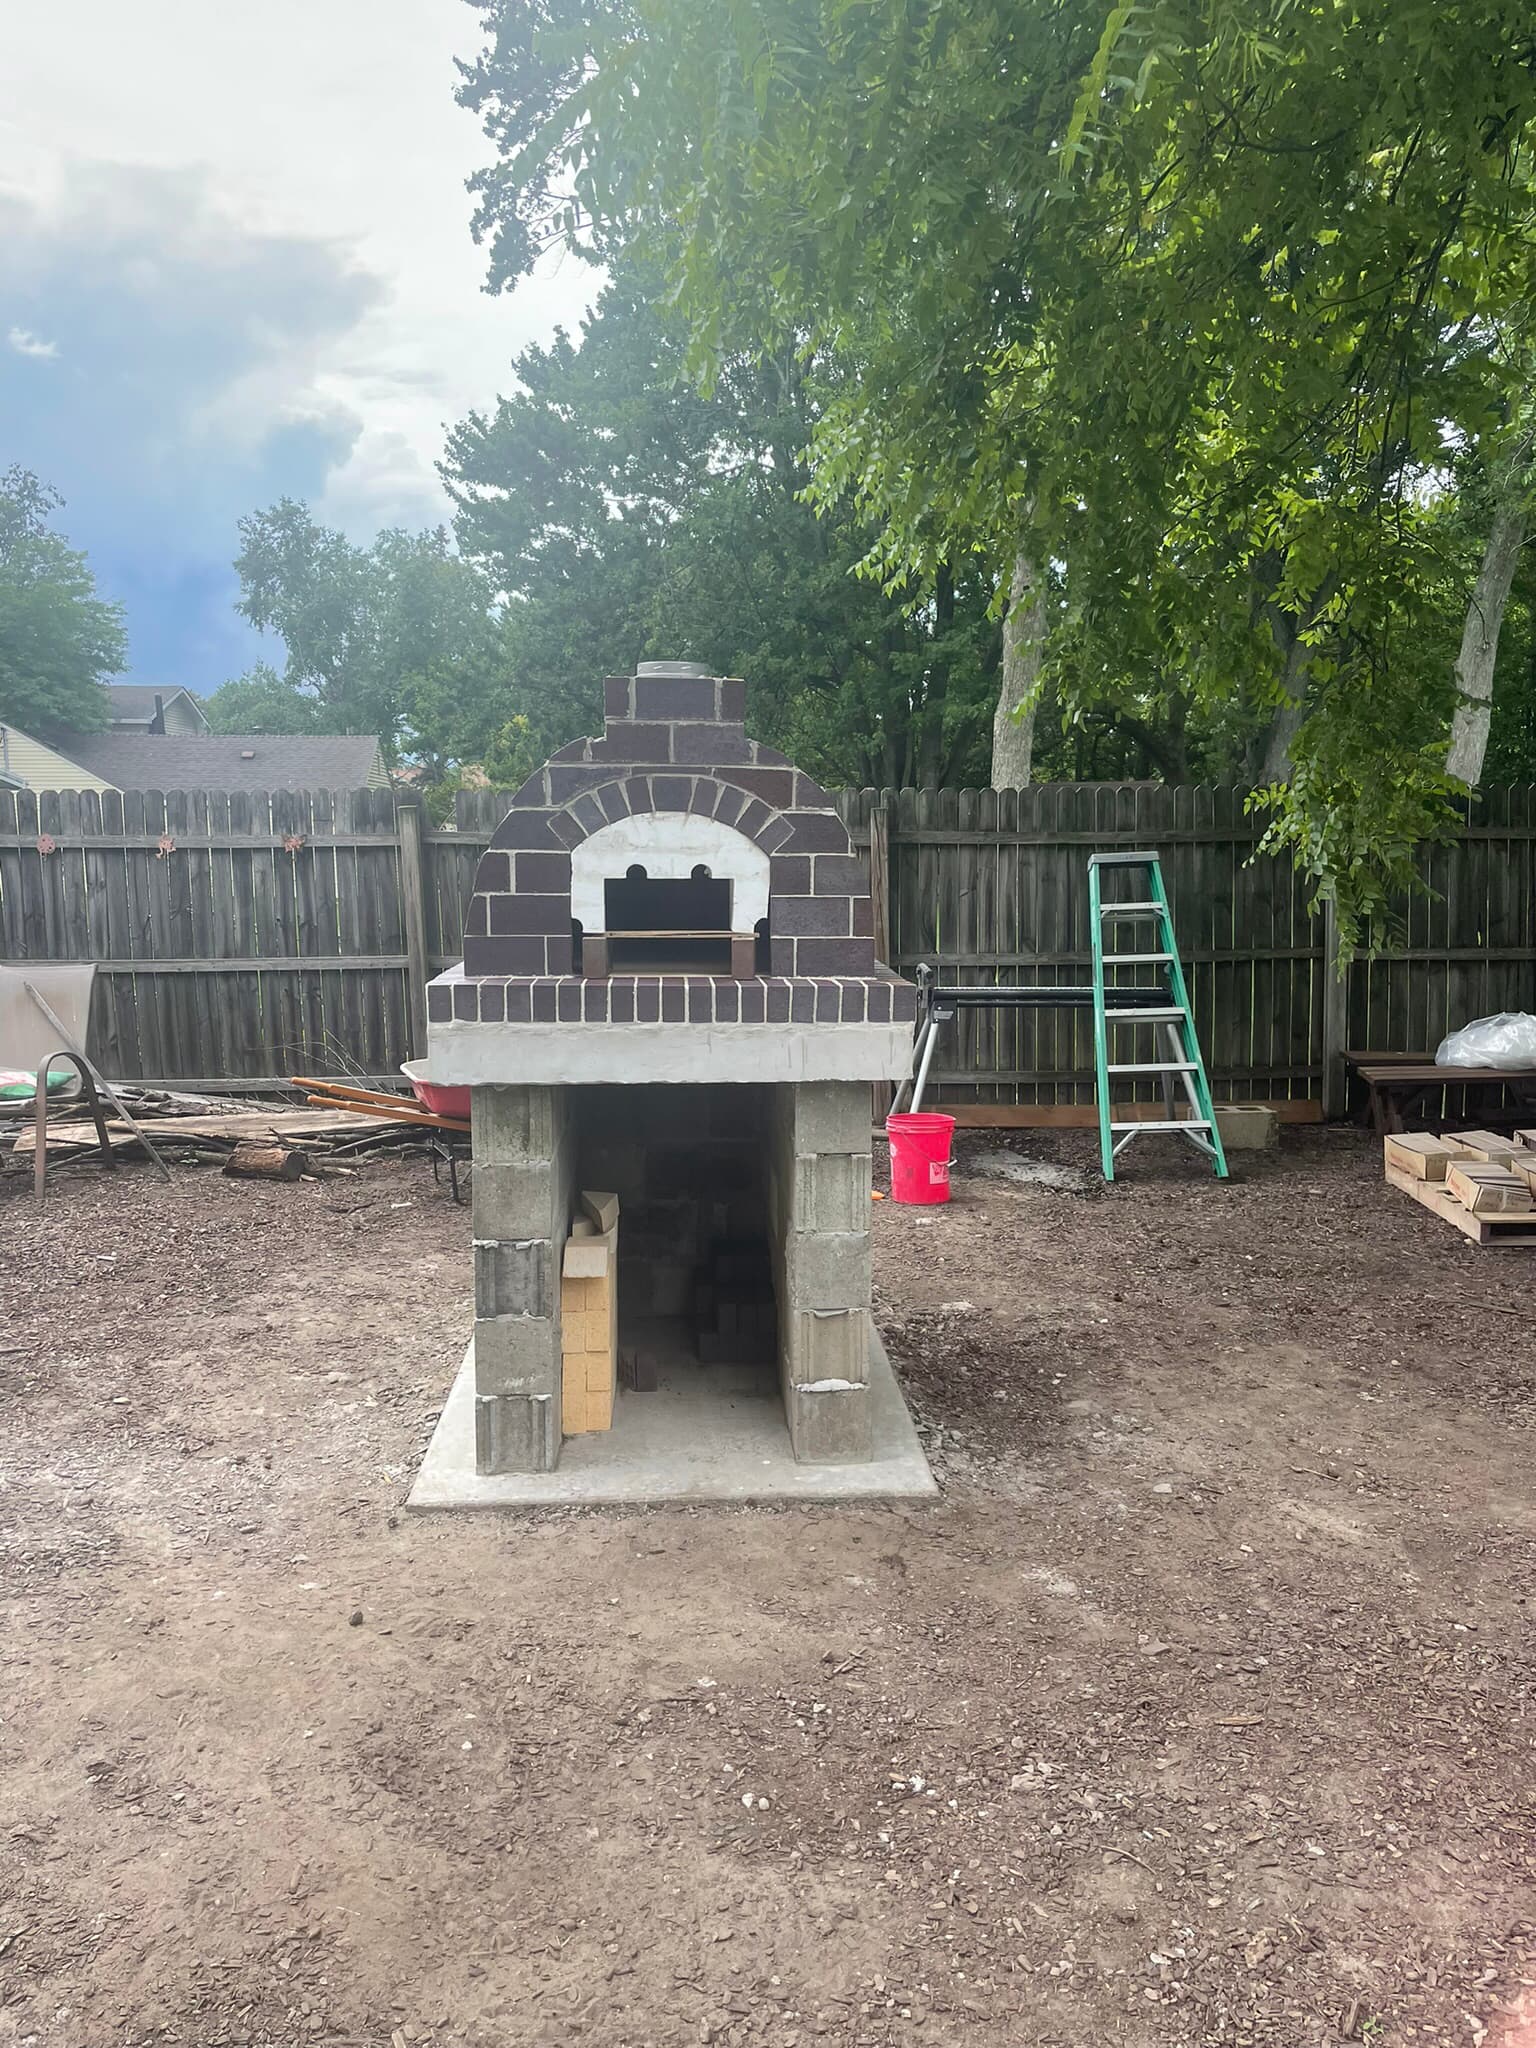
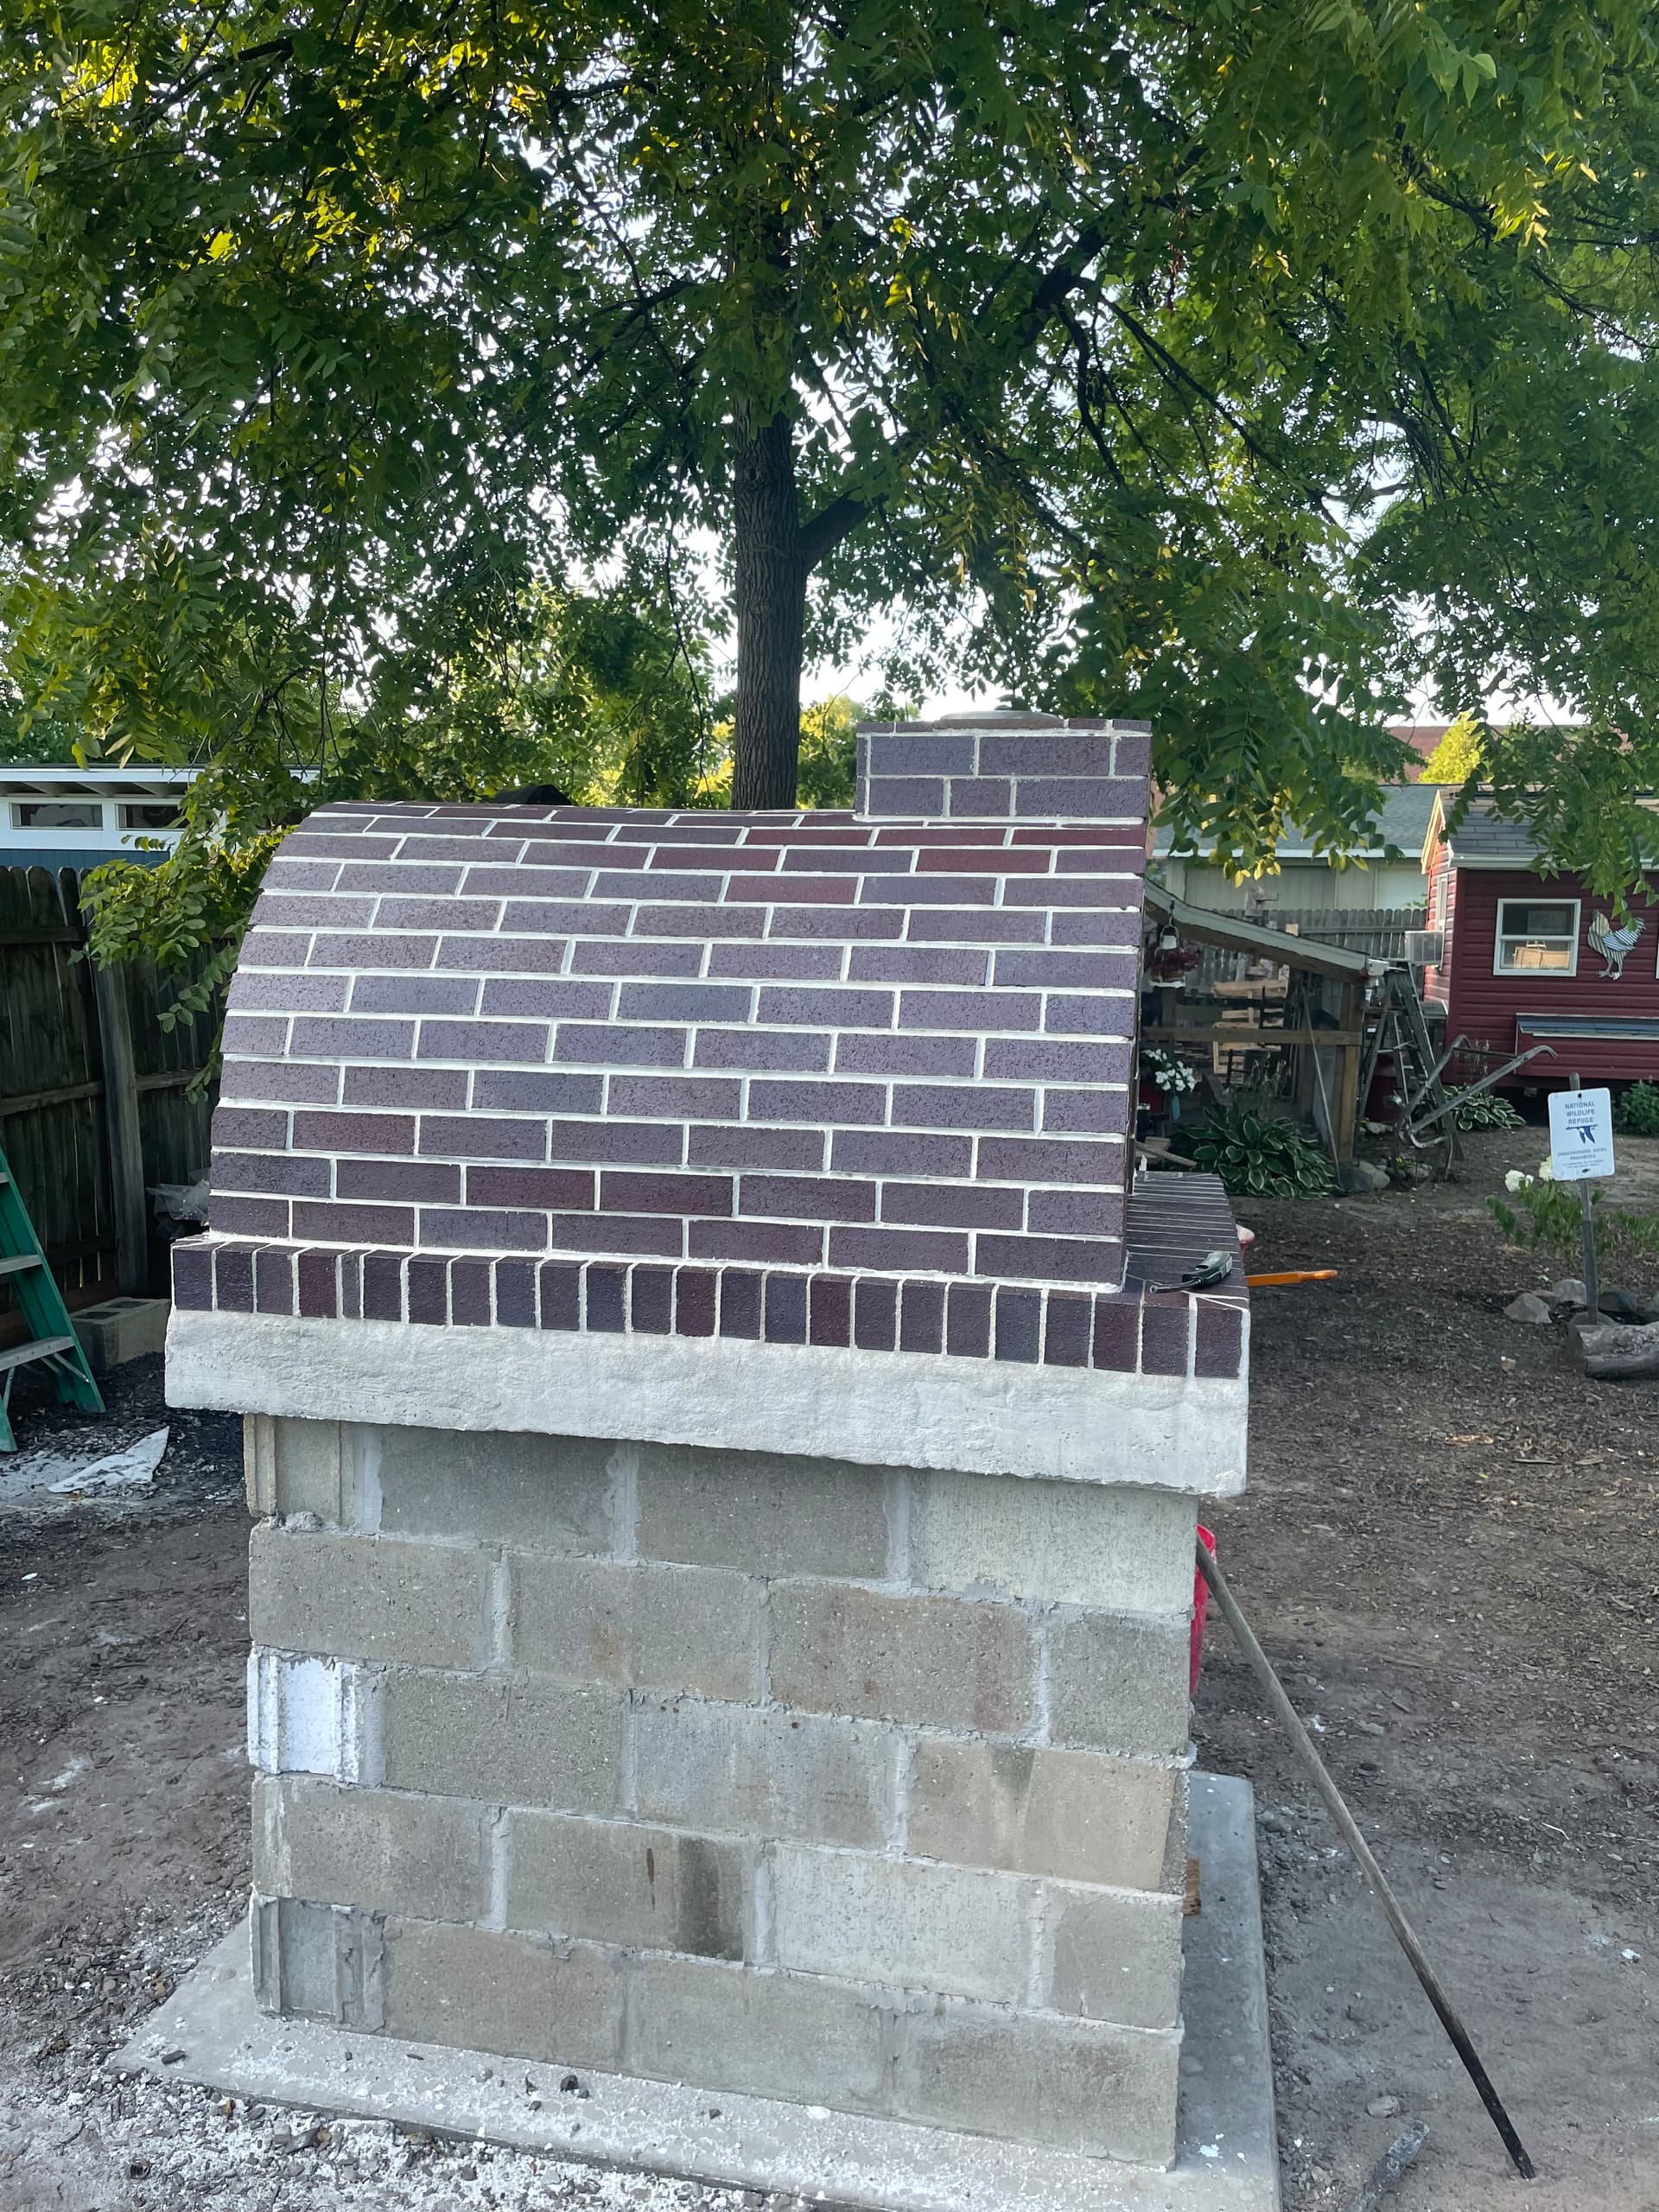
Yes, I started my build right after the 4th of July 22. The oven is complete and cooking pizza. I do still need to cover the cement blocks on the base, we’re currently trying to decide what we want there. It’s definitely been a fun project sourcing’s some of the materials was a bit rough but we got through with out to many headaches.
2 Likes
Love the darker veneer on your arch! You’ve definitely got it going.
That was an issue for several builds that have happened in these past couple of years. The supply chain has been stabilizing and building materials are starting to come down in cost, but I’m still waiting (for example) on a couple of sheets of beadboard that I order (and paid for) back in March.
Have fun finishing off your base. You probably already know this, but you’ll want to use a concrete filler product to smooth over the block ends with ridges on them before you start adding veneer.
Thanks for sharing your photos Bill!
1 Like
Thanks for the tip, and you’re welcome. My only true issue was finding enough fire brick. I live in central lower Michigan and didn’t realize how few brick suppliers are in my area (1) lol.
2 Likes
Beautiful Oven @Bill
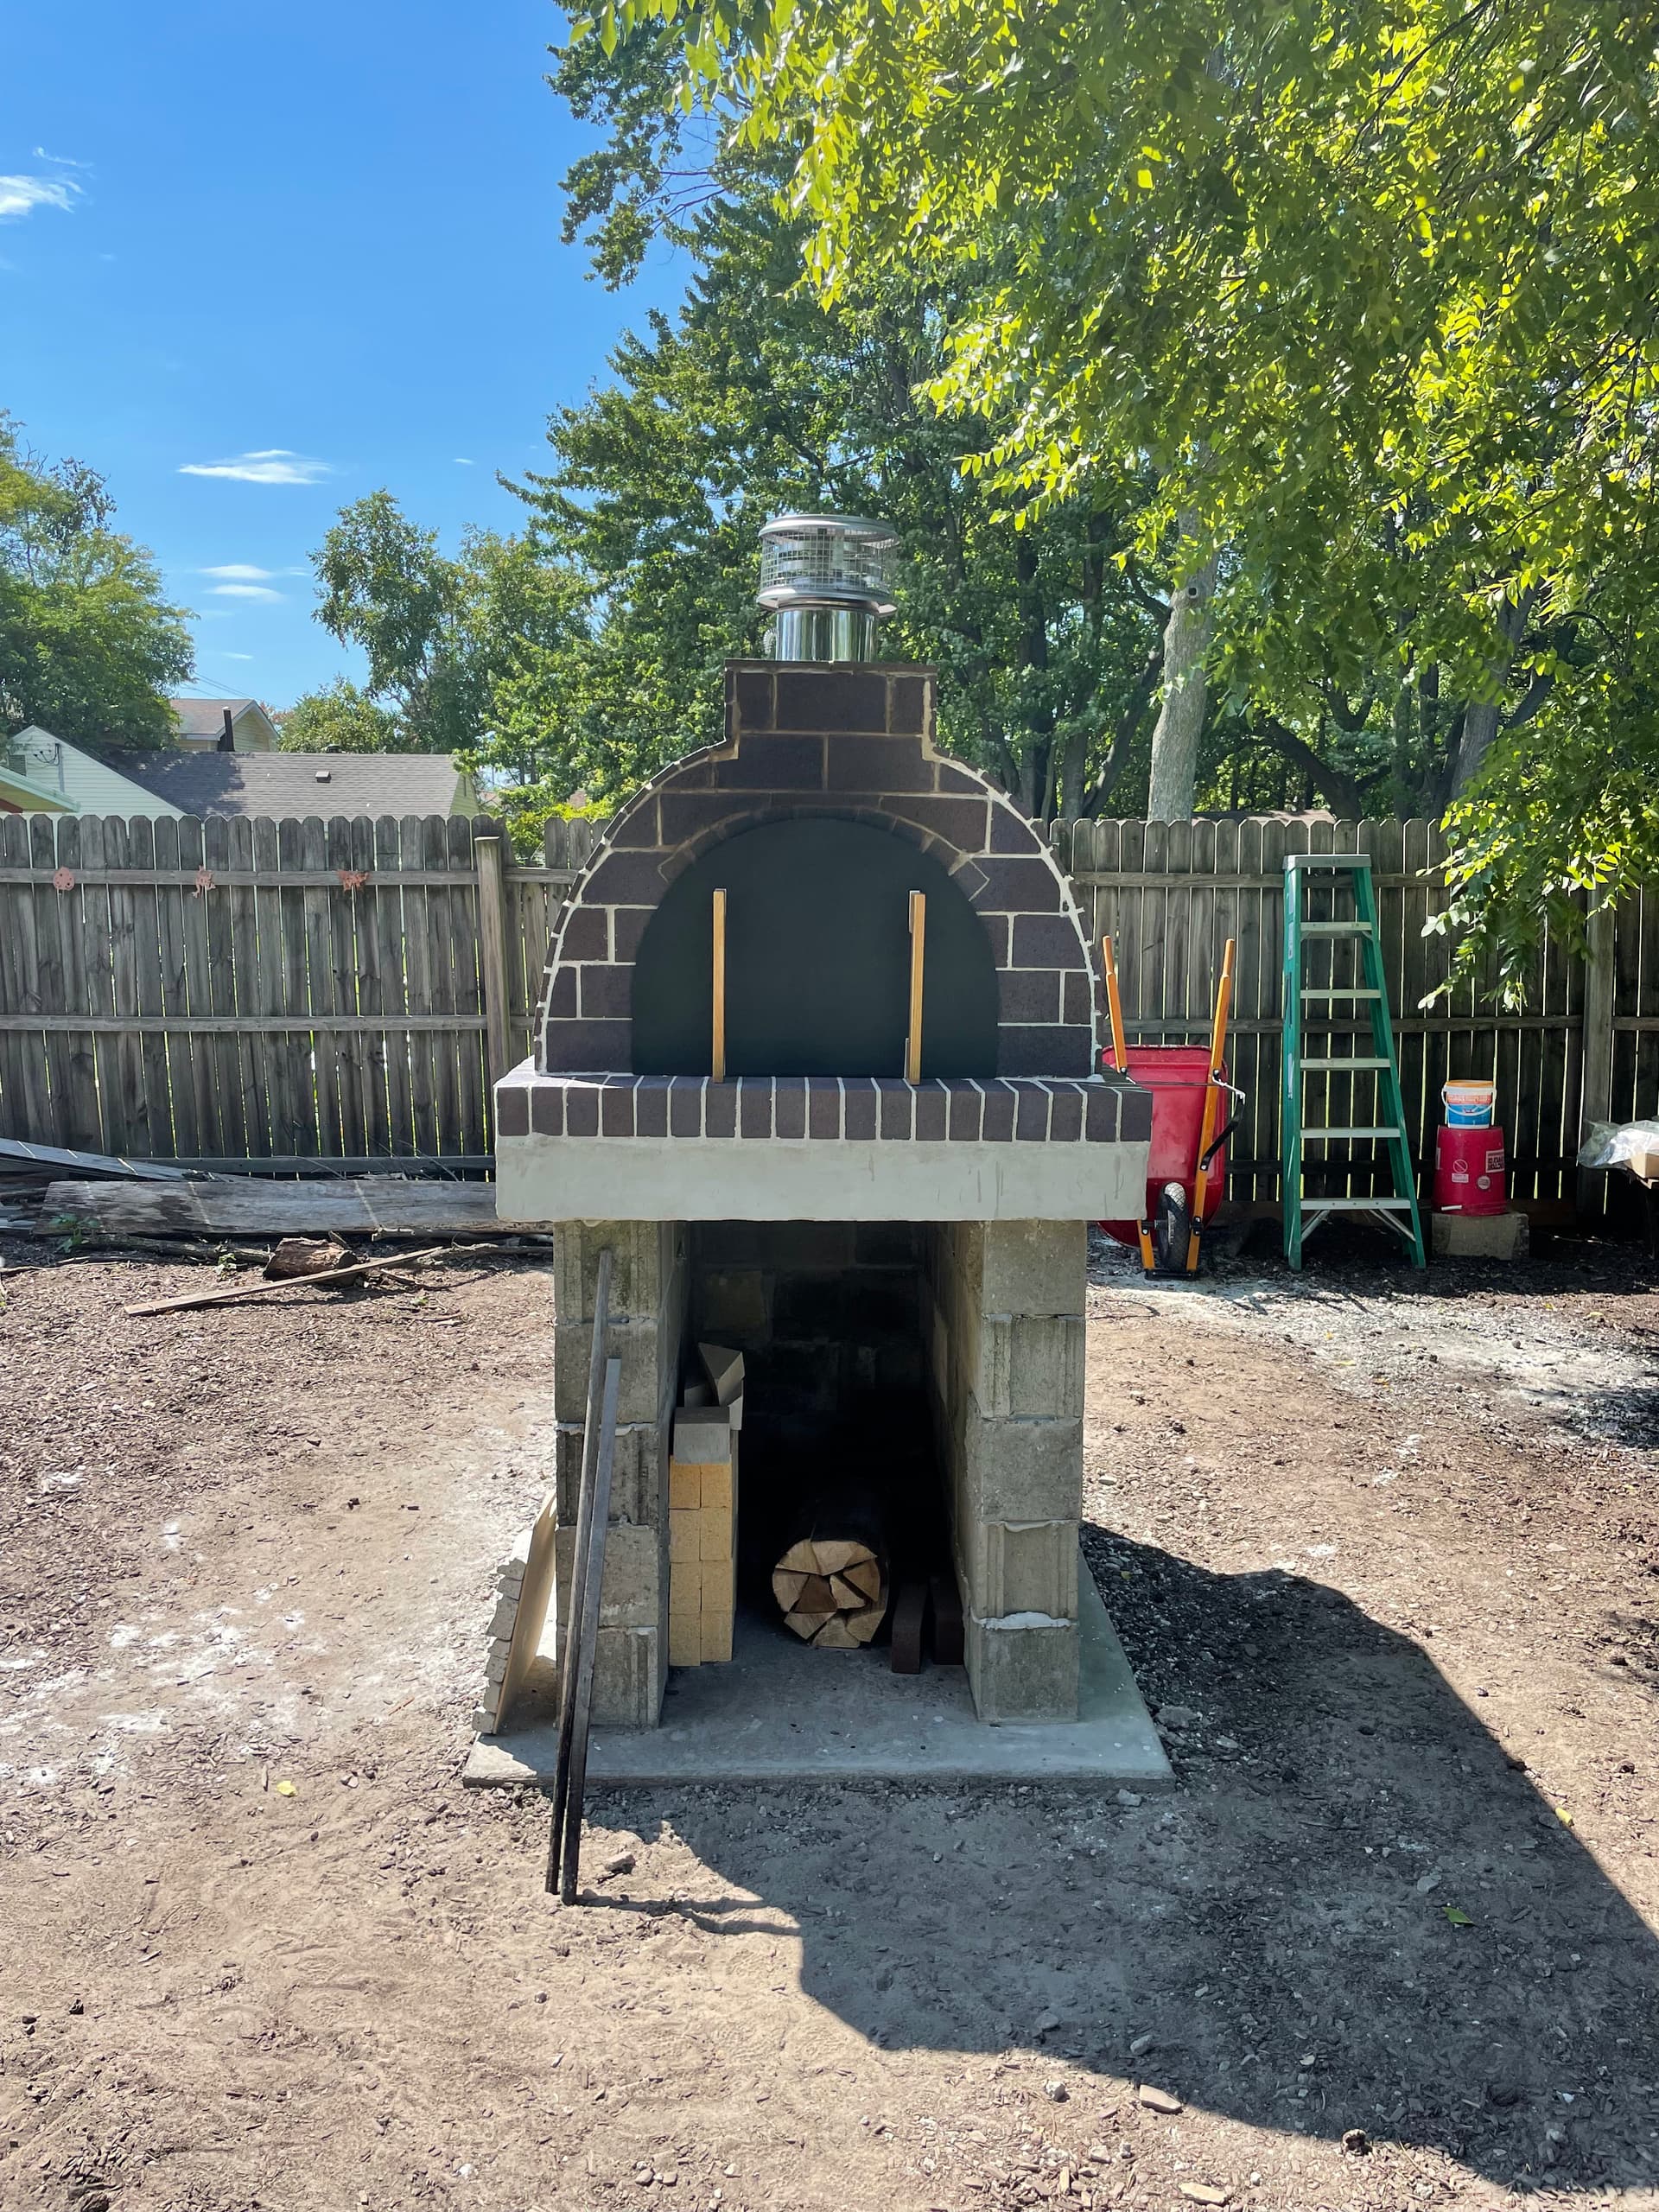
Love the look! And I like how you closed off the front of the oven. Looks great!
1 Like
Thank you, we’re very happy with the way it turned out
Looking at the diagram, I see 2 bricks that appear to be attached to the under side of the angle iron (making an arch). I don’t believe mortar will hold to the steel, Wondering how to attach those bricks to the angle iron? Would Fuze it by liquid nails work?

Hi Norm,
@BrickWood might chime in here, but my understanding of that instruction section is that it is not meant to be a firm plan; the idea there is to show one possibility of applying the ratios he describes in that section. In that illustration the two little arcs look like they’re more decorative than anything else.
Look above in this thread at the photo of Bill’s technique to achieve an arched look. That will work with mortar alone because it is another arch and has two means of support:
- the “legs” at either side resting on brick
- the two half-arches “falling toward” each other
You can also simply go directly across the top of the angle-iron, placing the brick so their ends face out. You should still be sure they are flush to the facing surface so the door closes properly.
My suggestion would be to not take the illustration literally, and to trust your intuition concerning what will look good for your oven.
1 Like
The angle iron is only 1" or 1.5"… so if you mortar brick to the bottom of the brick sitting on the angle iron, you will need to apply mortar to the portion of the brick that is not touching metal. It will most likely be a small piece being attached, so that little bit of high-temp mortar will hold that piece.
1 Like
I ended up going with a second arch inside the original arch. Going to add the damper which will add a little height to the chimney (maybe it will help the draw), also could add a section of duratech pipe.
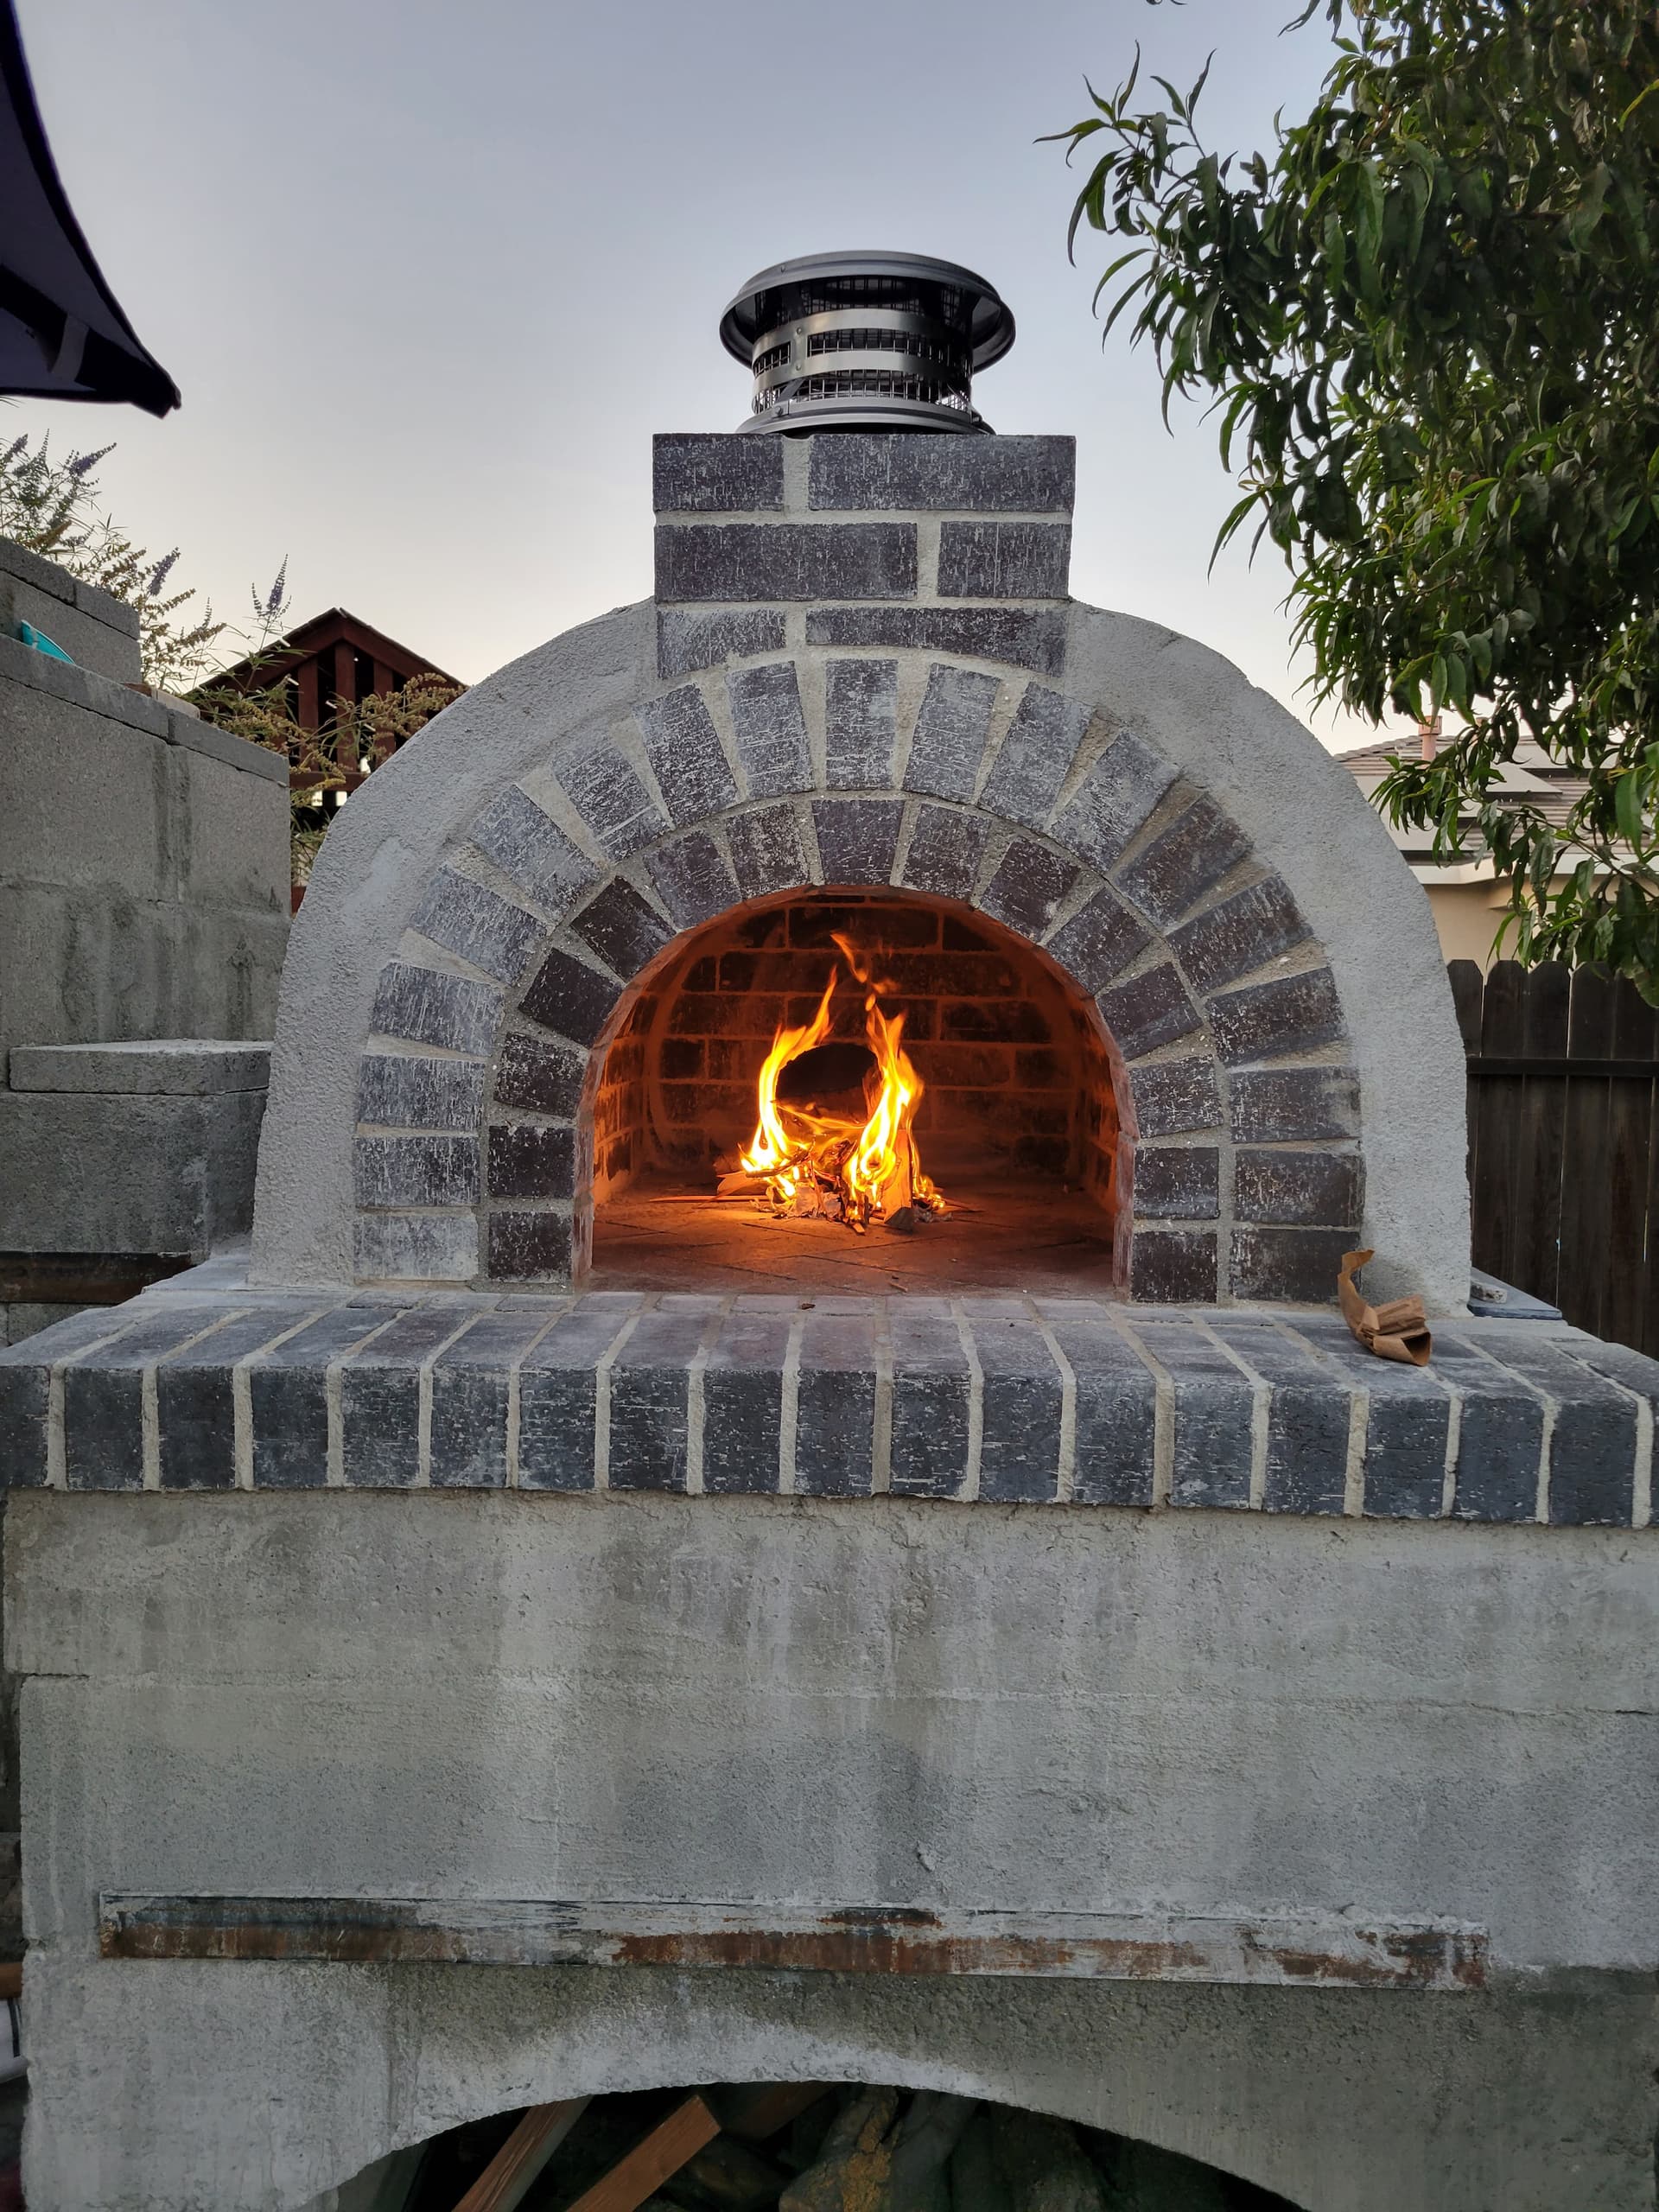

2 Likes
Excellent! You will have a lot more heat retention too (especially w/ a damper)! Looks good!
@Norm-G, for you second inner arch did you use full bricks? I was thinking about doing the same but just cutting them in half.