I was wondering how many man hours the project took from start to finish.
Hi Steve, and welcome to the BrickWood forums.
Everyone’s project is a little different, mainly because of ground conditions and customization. But I’d love to hear reports as well.
I’m aware of a couple of recent builds where they tore through the entire thing in a couple of weeks. But in one case it was a very experienced contractor who had some masonry skills, and in the other it was a family of 3 where the lead-person had a deadline to get it done.
You can get a feeling for it by reading carefully through the steps and noting that there are several points where you must stop and give materials a chance to cure. That time doesn’t count in man-hours, but it does add time to your build.
Plan that it’s going to take more time than the plans state—@Brickwood freely admits he’s not a great estimator of time! 
1 Like
It took a bit. I did it more or less alone. With minimum masonry skill. I think some of the tools I had really helped. And one or two slowed it down.
Some factors that slowed me down may not be an issue for you. It took me a day to dig the hole for the slab and to pour the slab. I spent an hour and a half the day before prepping and planning that out. The biggest issue was I had to cut a bunch of tree roots as I dug.
It took another day to cut the rebar and to build the concrete block frame and pour the concrete.
A couple of hours to pour the slabs that go on top of that frame. 40 minutes and about eighty dollars to pay the neighborhood highschool football players to put those on top of the frame. Best spent money ever.
About an hour to mix vermiculite concrete mix and get that into the void. Two to two and a half hours to do the standard bricks around the edges.
The herringbone floor was the hardest thing for me. I just could not get it level because it was so damp. It turned out that my neighbor had a busted sprinkler head that was shooting over the fence in the morning. I think a reasonable time for me absent those setbacks would be four hours. I won’t disclose the number of hours I spent trying to dry and level the nonzen garden.
Eleven hours in July in Texas to do the arch (it was in the hundreds so had to take a lot of breaks) six hours to do the back wall of fire brick (several breaks because was still July). I spent two hours organizing and planning the day before.
The chimney was difficult to cut but only about an hour to get it in place once cut. Angle grinder helped with the first level of the chimney and a masonry blade for my circular saw made the chimney indentations at the top go easily.
About four hours for stucco and insulation. I’d say but for playing in the sand, about fifty to fiftyfive hours. I had a very small concrete mixer which helped immensely as did a 1/4 in pointing trowel especially getting those mortar joints into the bricks in the arch. I would also buy a 3/8 in one for doing the standard brick frame.
10 in single bevel miter saw slowed progress. I had to do multiple passes in the herringbone bricks and free hand the final cut. Twelve in dual bevel miter saw would have been a game changer. I would have been able to cut some of the bricks for the first level of the chimney and one pass on the herringbone angles.
I think you could shave another 5 hours off of that if I had done this in September or October. I wanted pizza and have no regrets. Setting up scaffolding would save a lot of time too but was cost prohibitive.
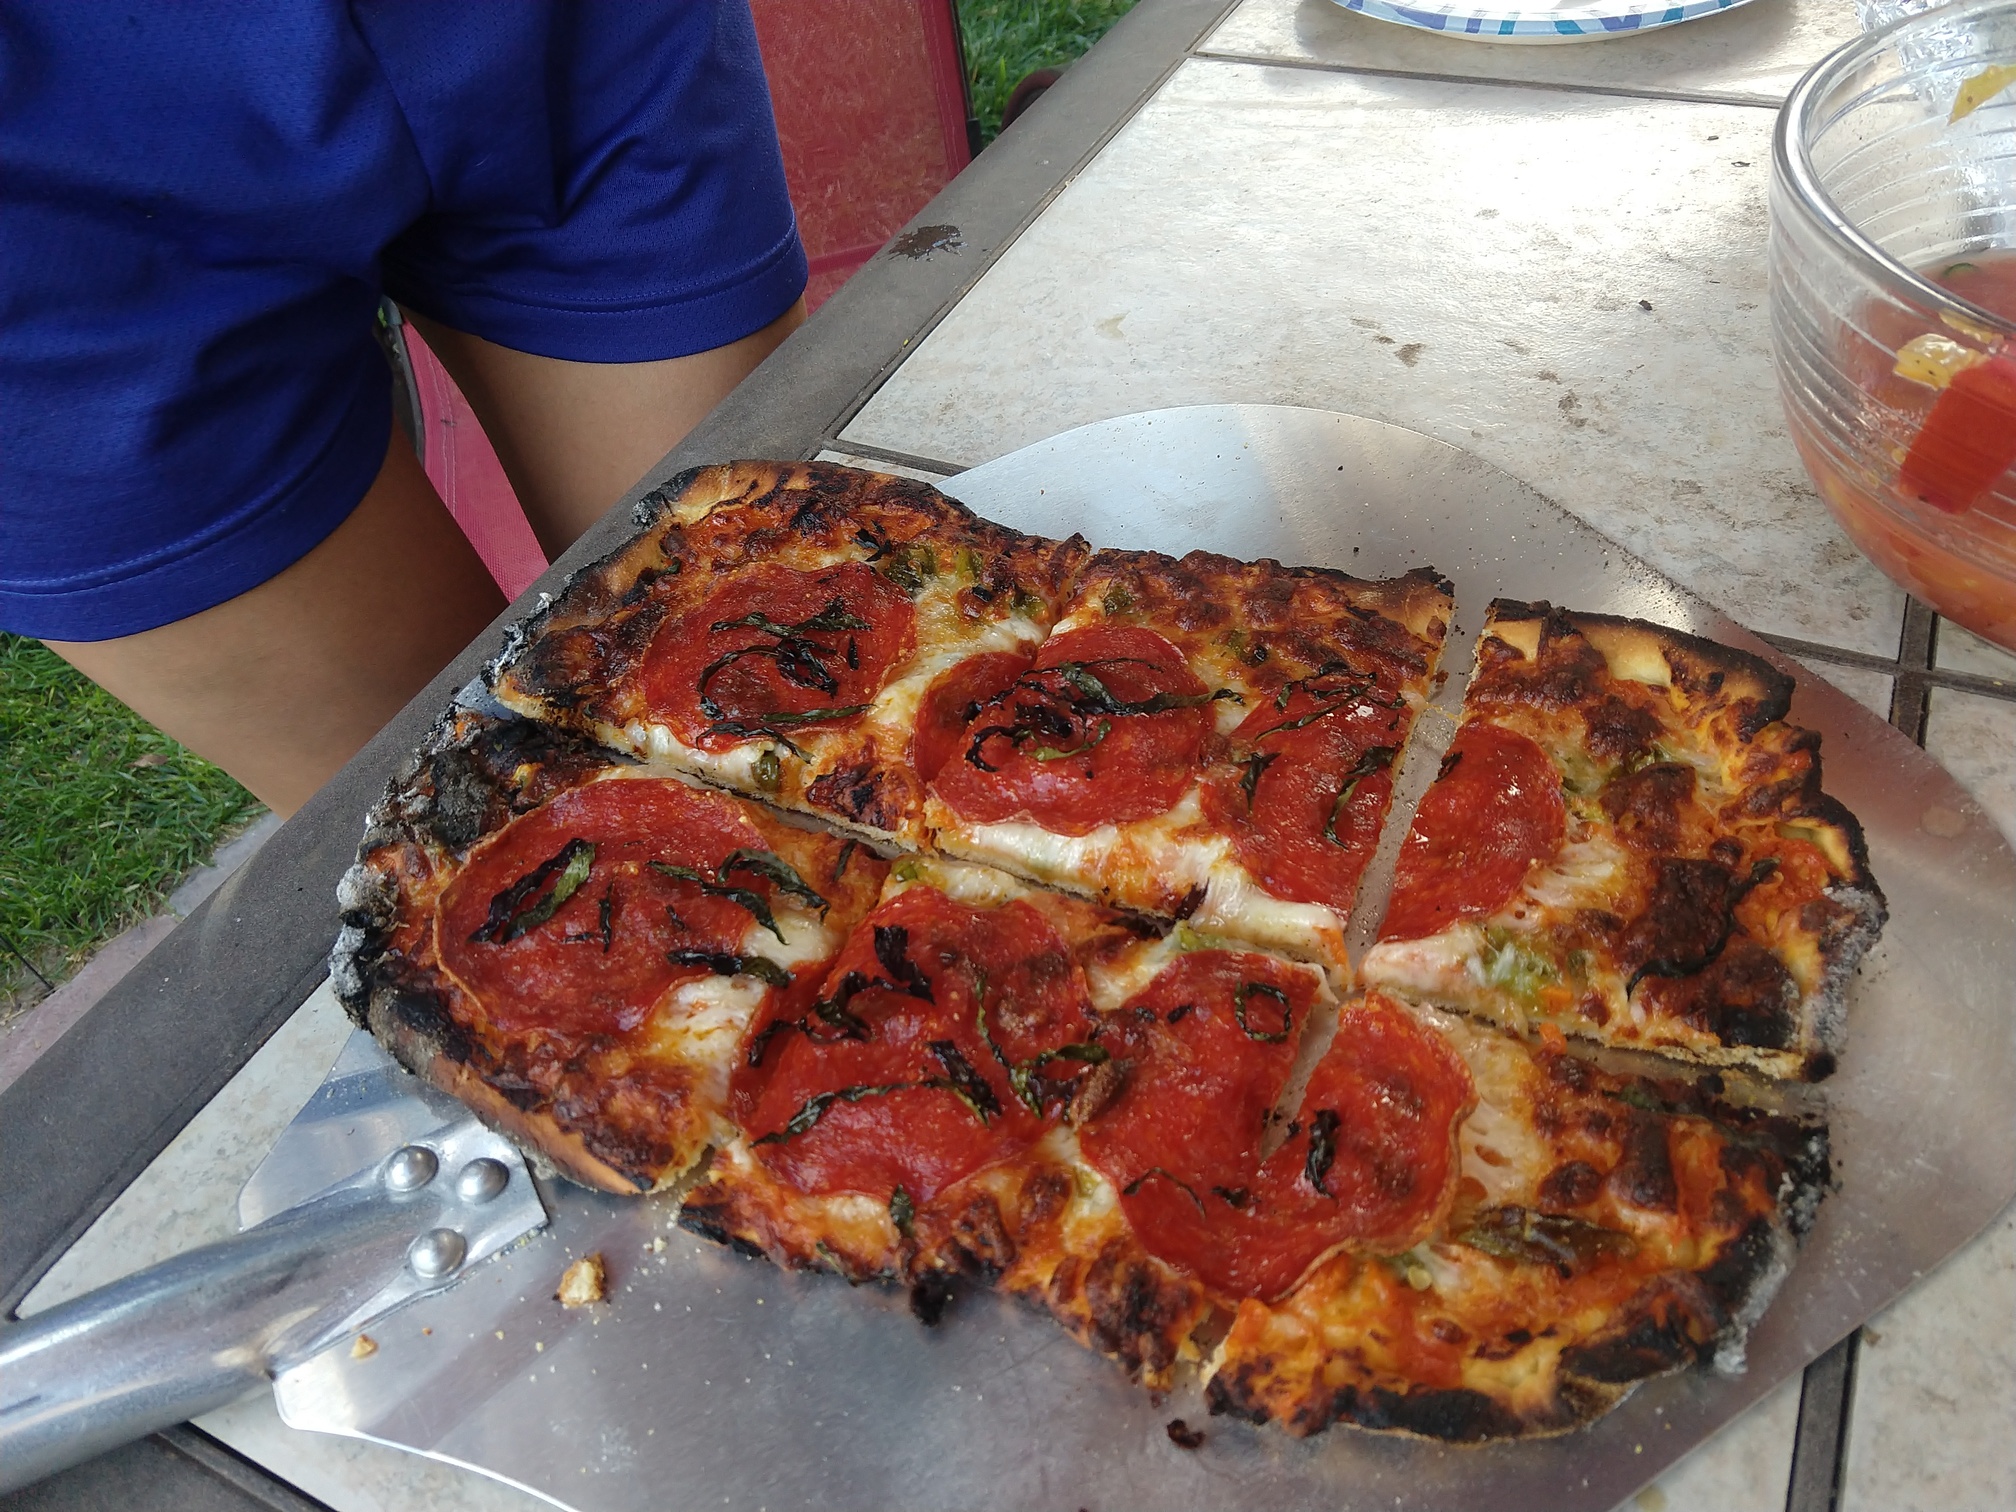
I enjoyed it very much. Not as much as soppressata and candied jalapeno pizza but one has to come first

2 Likes
Plan that it’s going to take more time than the plans state—@Brickwood freely admits he’s not a great estimator of time!
You got that right! Time, Project and Cost Estimators are AMAZING people! That is a skill I’ll never be able to comprehend (I can’t even get to church on time… and it’s a mile away!)
1 Like
Wish I could help here, the stopping, starting, curing and “I’m taking this weekend off” makes it impossible for me to calculate the hours. Also, probably half the time was trips to home depot for mortar, tools and scouring the town for fireclay, firebricks and things that were tough to locate.
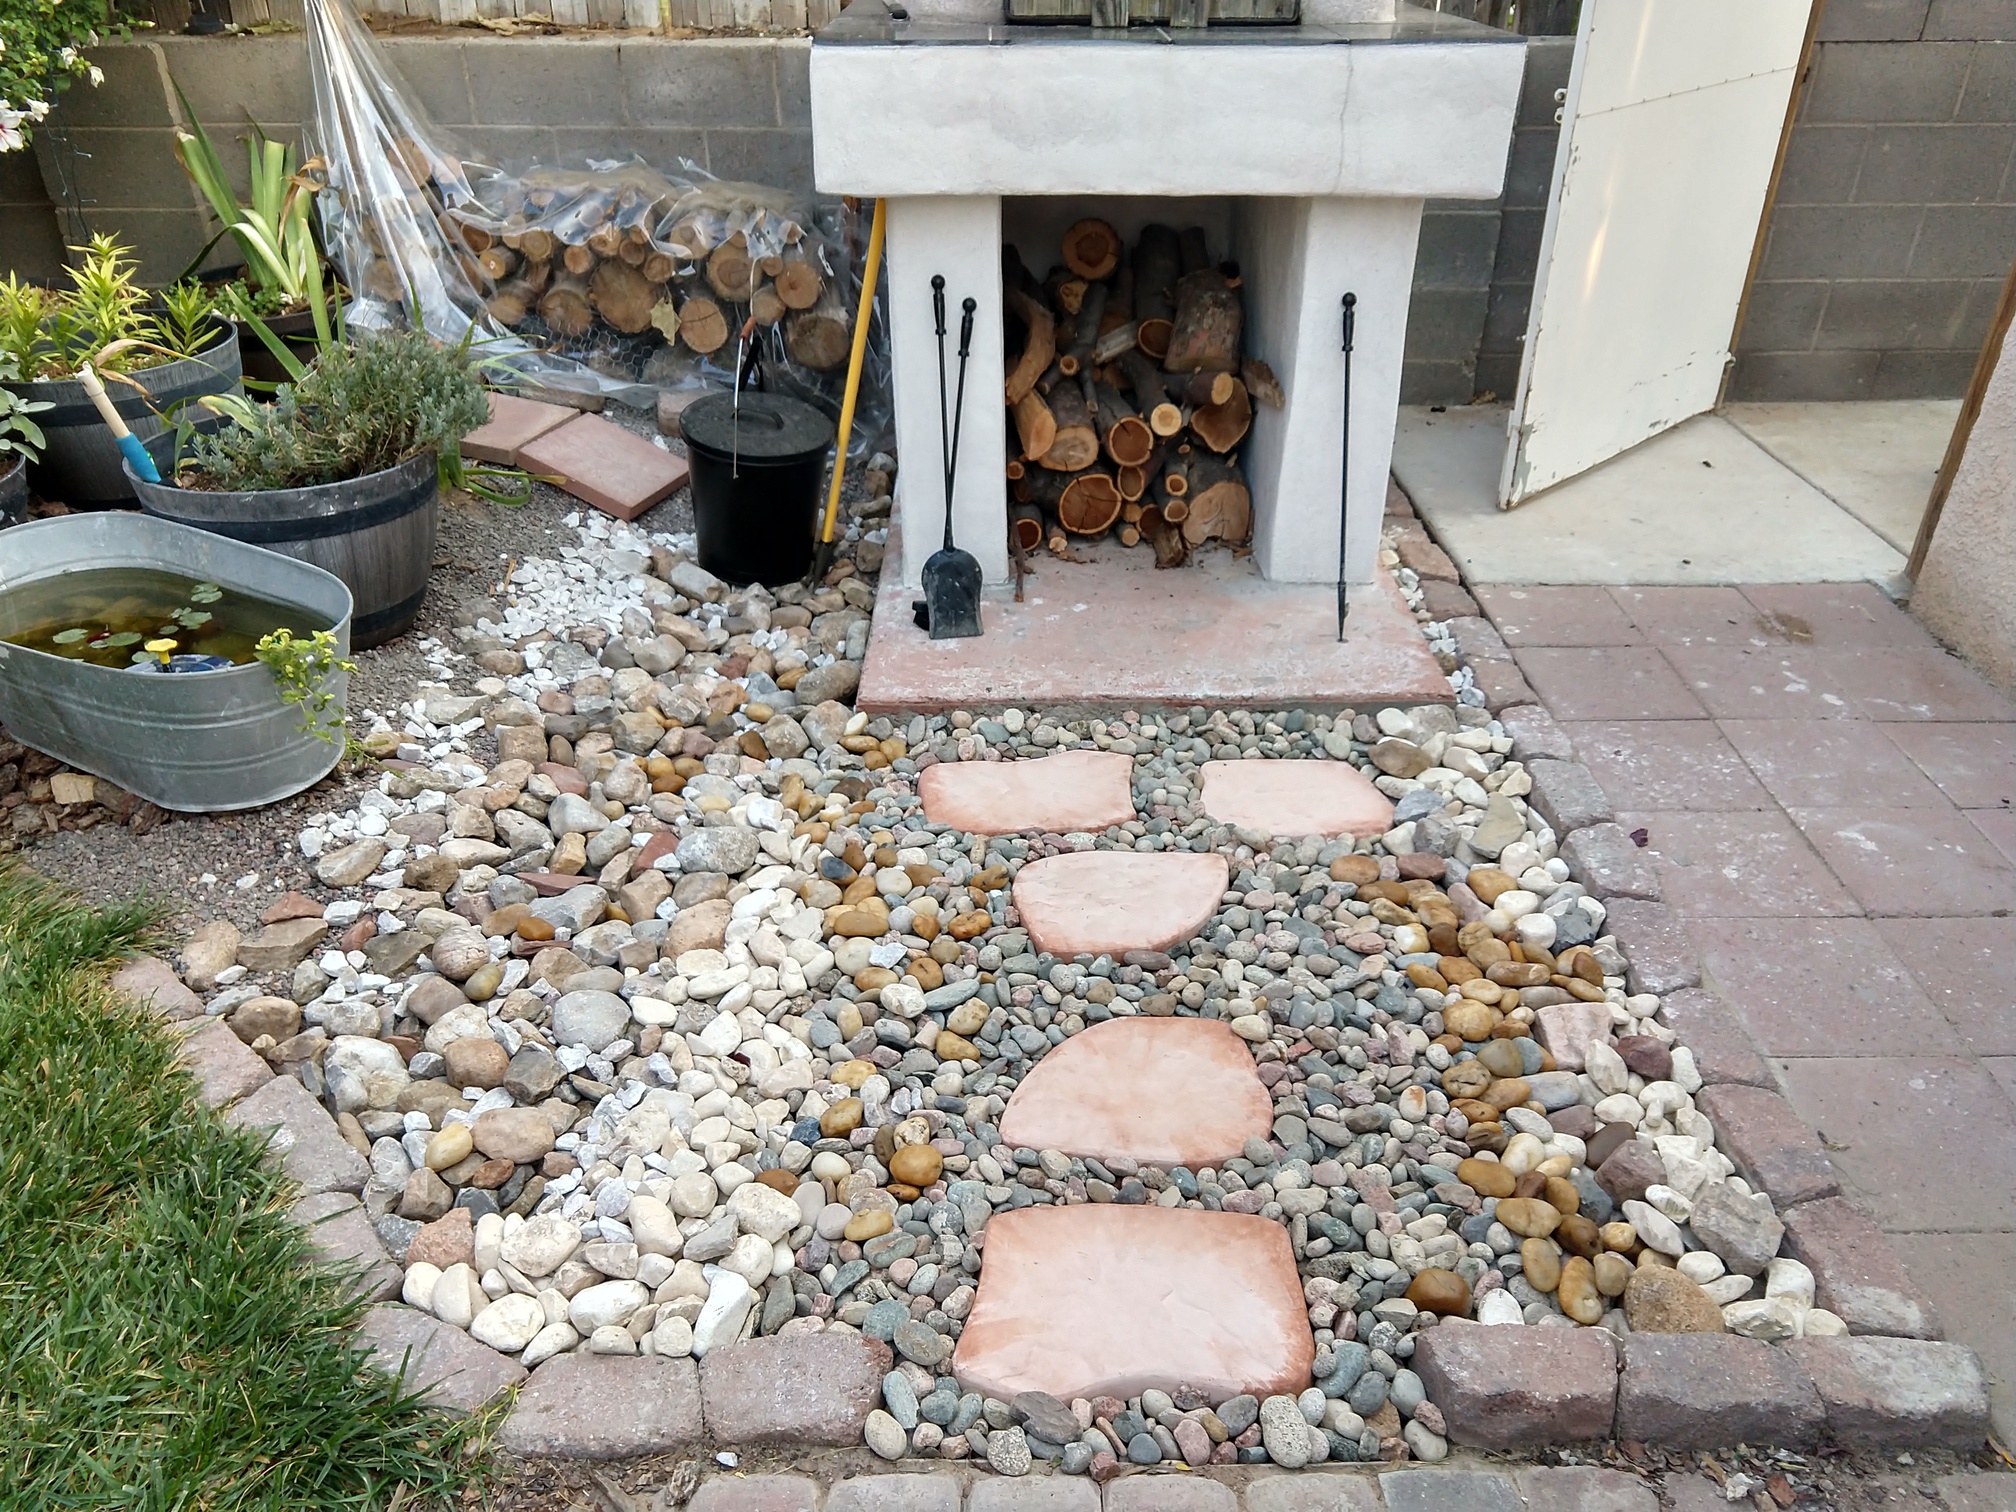
Taking a few weekends off and going at a nice hobbyist pace probably didn’t help either. Not to mention the customizations(custom arch shape, granite counter-top, stucco’d entire outside,zero-scaping)…all-in-all front to back the project took about 2 1/2 months of Saturdays…if not more LOLz!!
1593438197666|281x500
2 Likes
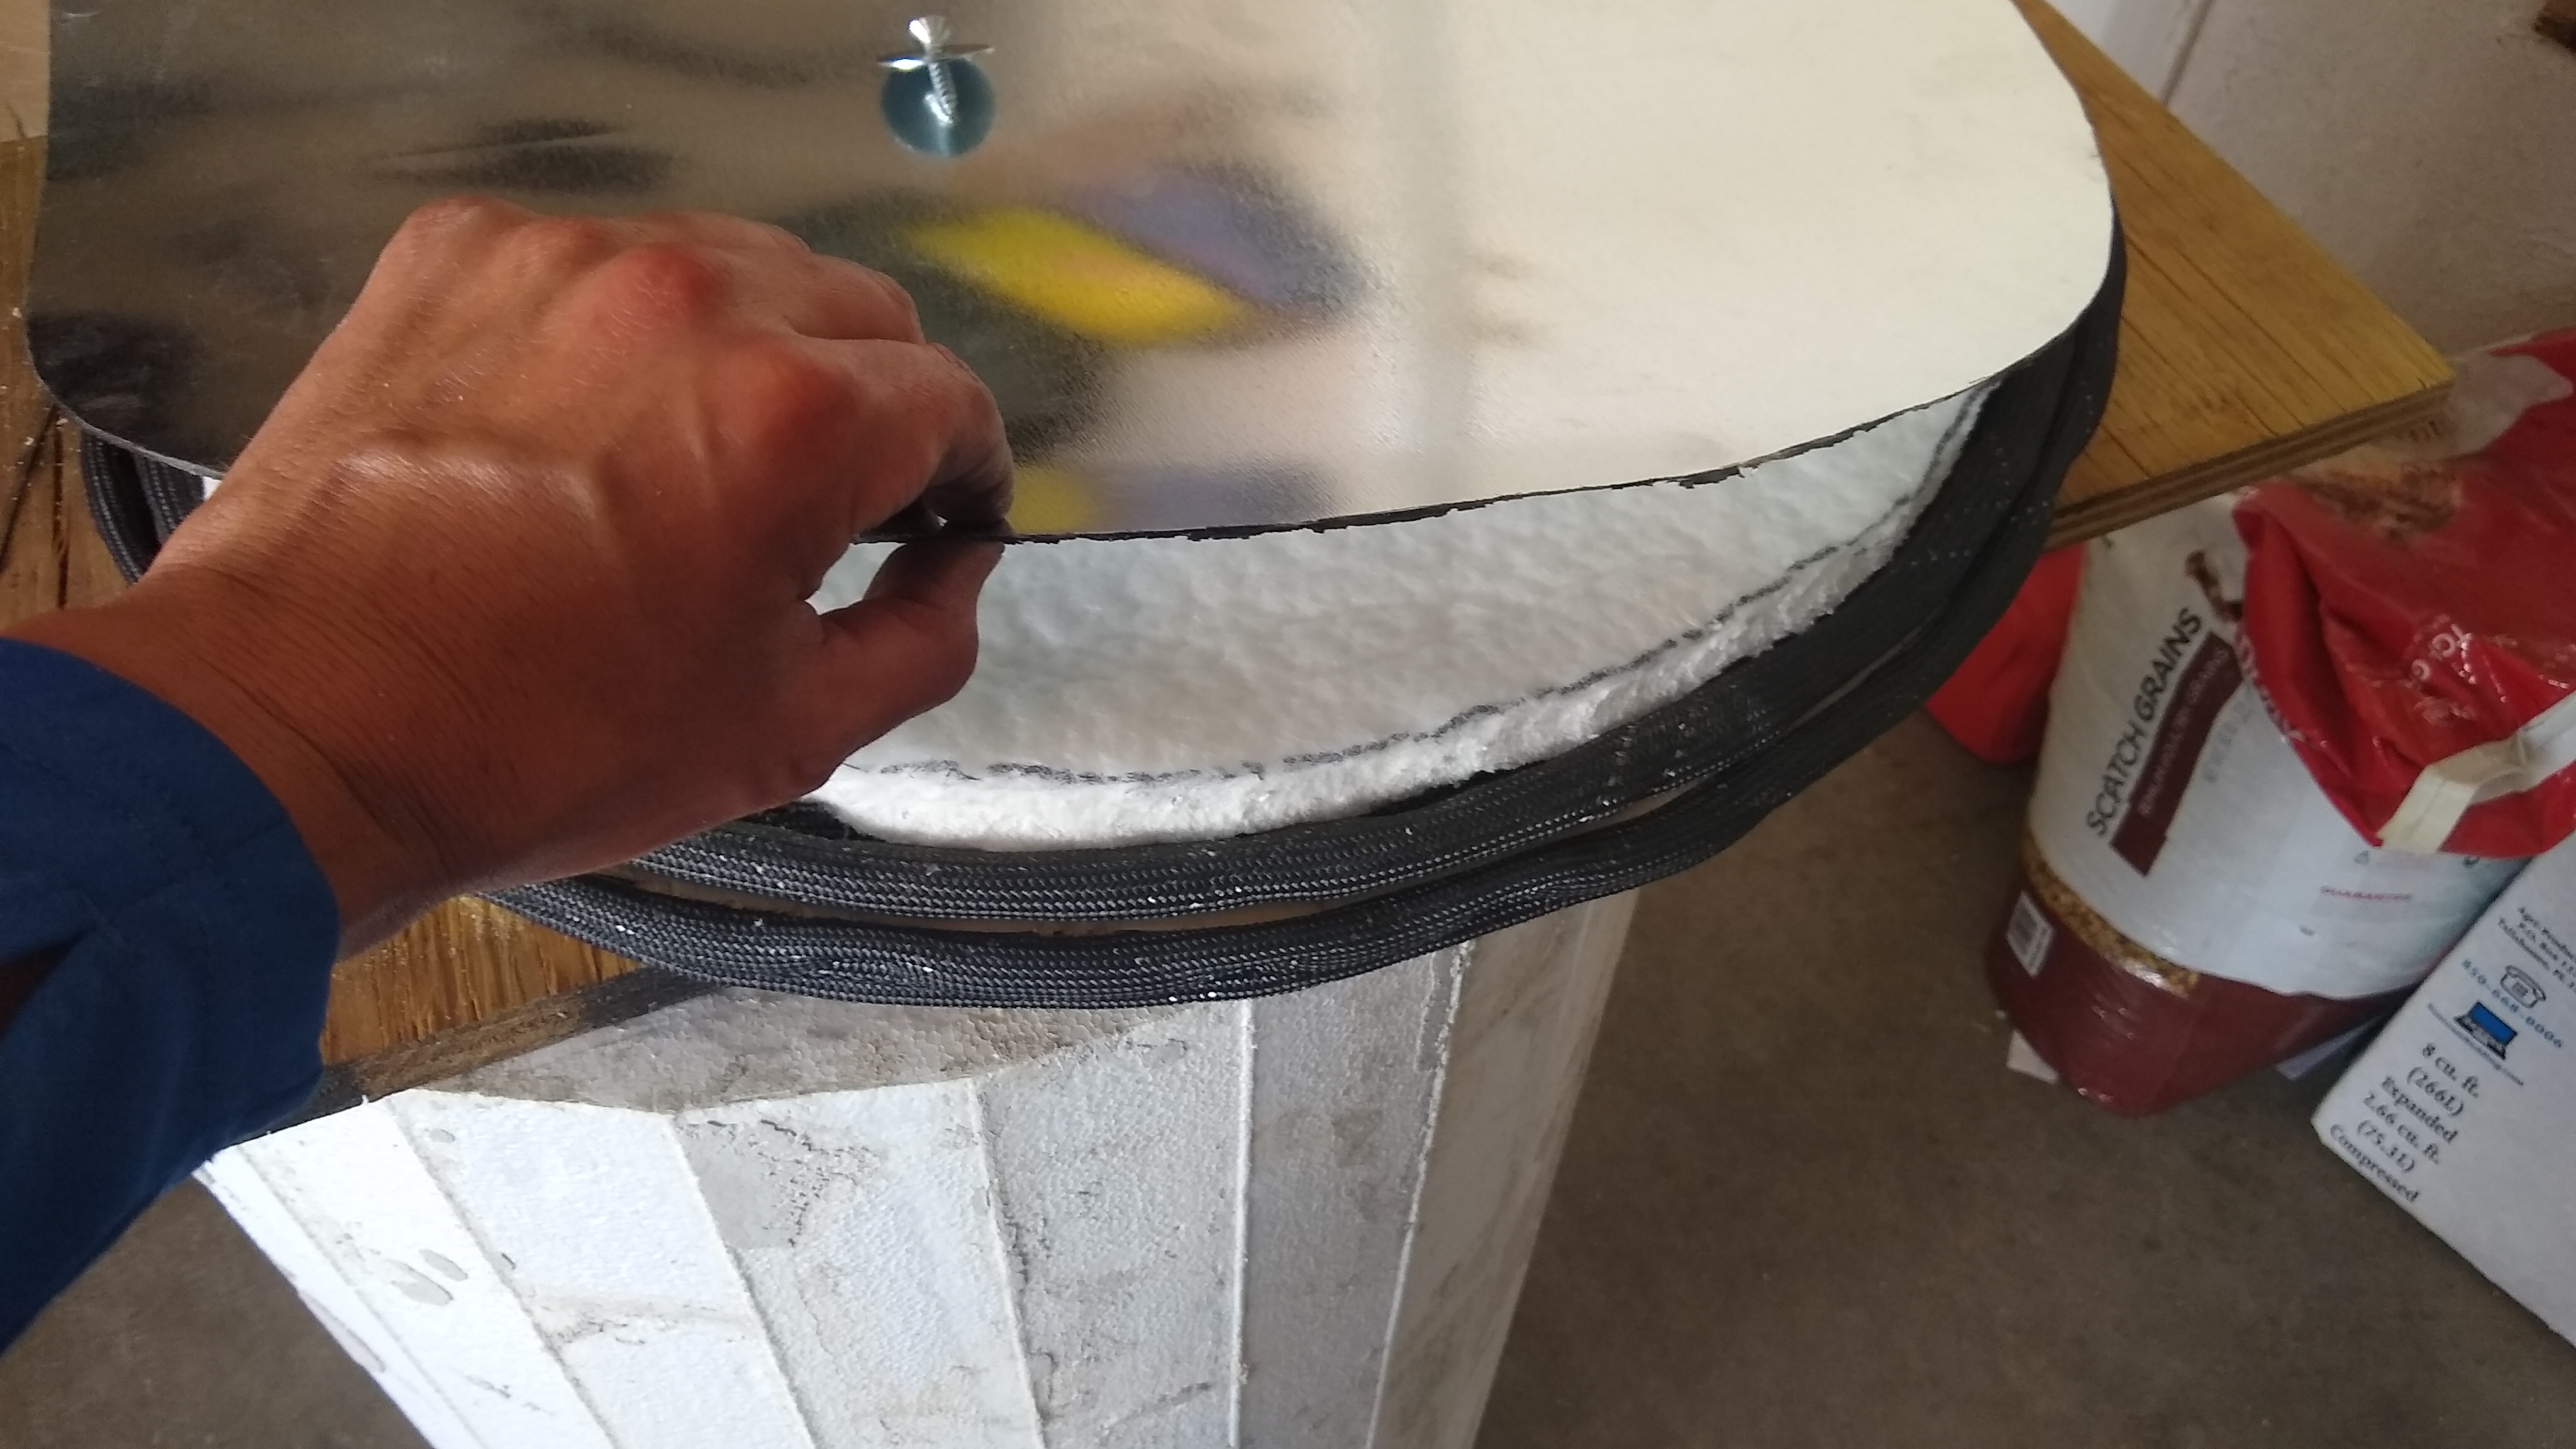
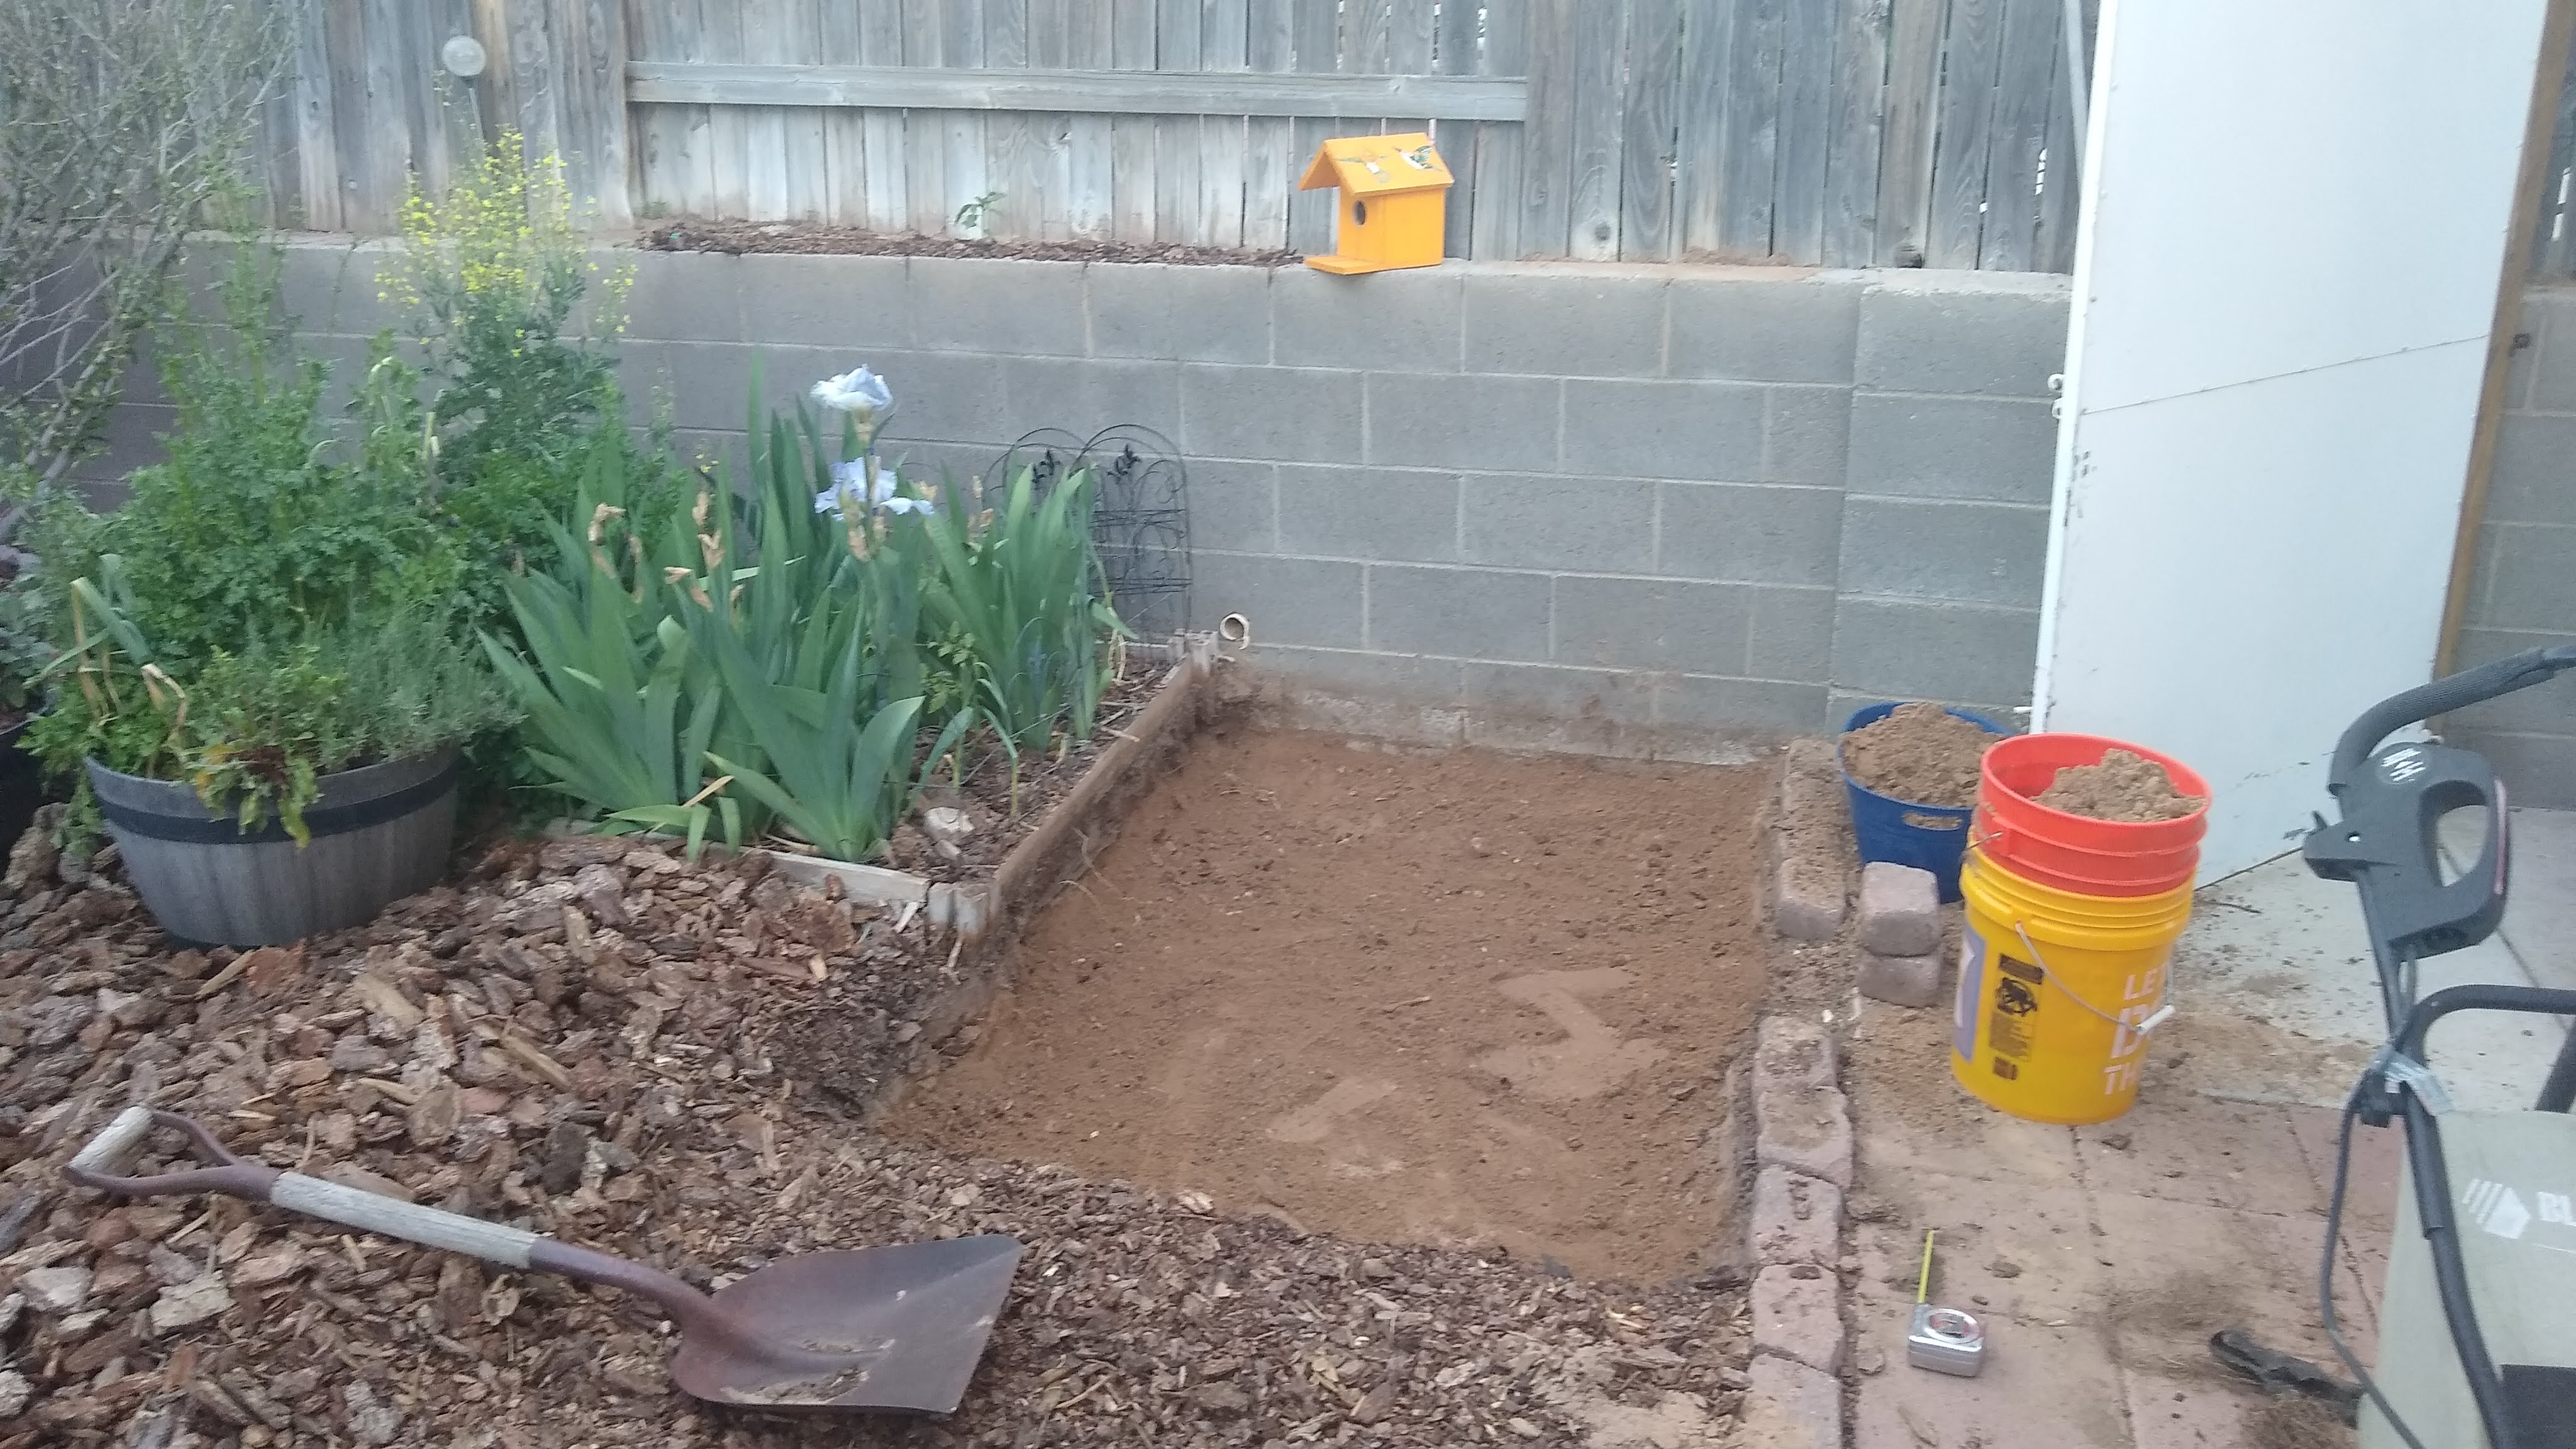
I can’t comment on the oven, as I am just finishing my base. I live in Ohio so had to dig deep for a foundation so I spent about 4 hours digging the foundation to get ready to pour my base slab. I also added 1 cubic yard of rock under the slab and used a hand tamper to prepare the pour. I would say this was 4-6 hours. I also built the top frames ahead of time and had them ready to go. I rented a cement mixer and poured the base slab and the tops all in about 3 hours. (Side note, I didn’t have the top slabs perfectly level, they were sitting on the ground with a slight decline. When I put the foam with construction adhesive on and put a cinder block on it to weigh it down, it slide about 2 inches throughout the night) I spent about 30-45 minutes, removing the foam with a thin piece of aluminum and then used 2 1/2 inch screws with a fender washer to reattach. I would probably do that next time versus the money on construction adhesive if you have the screws laying around. It was also August 6th, so our clay was hard as a rock to dig.
I spent about 2-3 hours cutting rebar. I used a 4 inch angle grinder with a diamond blade from the big box store. The one blade was able to make all of the cuts. Wear ear protection, it is loud. And then spent another hour building the rebar frames.
I used mortar for the cinder blocks and spent about 1-2 hours a day in the evenings doing 1-2 rows a day and filling with concrete. I mix a 1/2 bag of mortar at a time in a black plastic mixing pan from the big box store and use a garden hoe to mix. Clean the hoe and get back to work. When out of mortar and completed the rows, I would then mix a bag or two of concrete and use a small hand garden shovel to fill the void and a piece of rebar to make sure there were no voids. Total time for cinder block base - 8-10 hours.
This is the next issue I faced - I decided to add a scratch coat (4 hours) and two day wait time) to add veneer. I wanted to add the veneer before putting the tops on, so I didn’t have to work under the top. First mistake…In the future I wouldn’t put veneer inside of the wood storage…It takes up space and won’t be seen, too much work and cost in my opinion for something that won’t be seen. 2nd issue, When adding the tops at 380lbs each…you lose about 2-2.5 inches on each side because of the veneer so it makes it hard to hold the slabs and adjust them. I would do the veneer after the tops added.
Veneer - 8-10 hours total, including scratch coat and then applying the stone finish
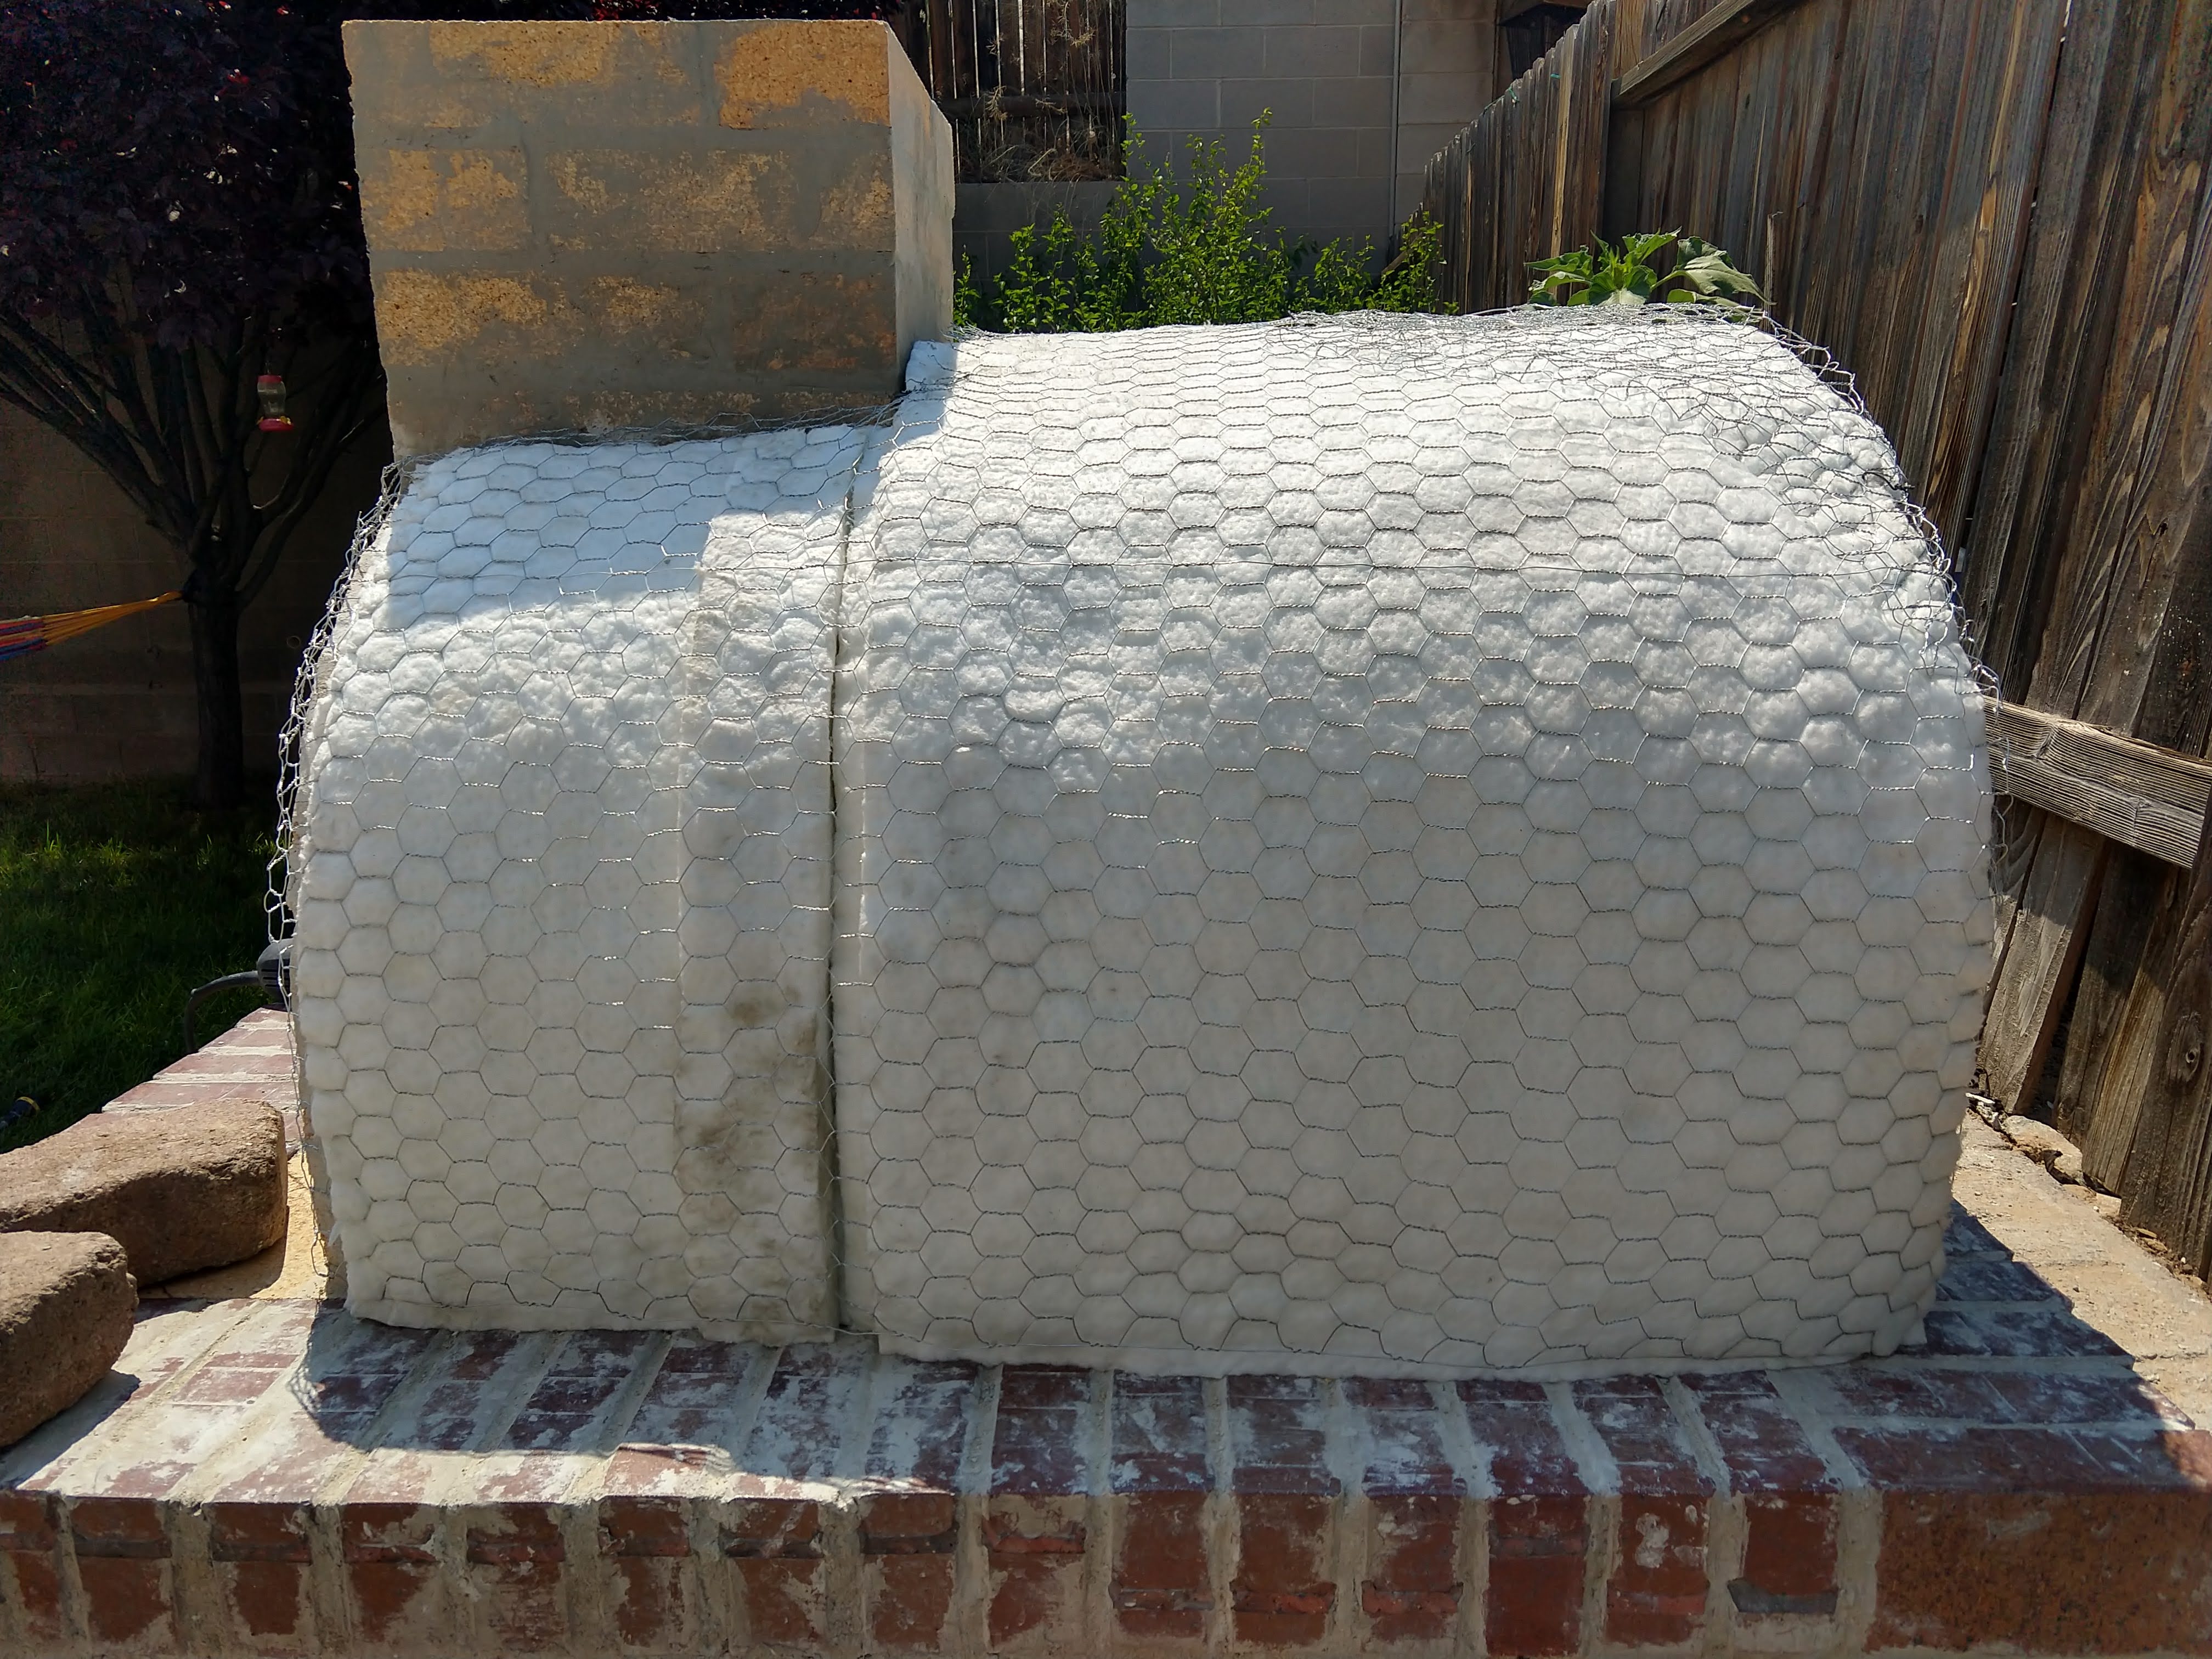
Mixing the vermiculite insulation layer less than an hour. Adding the bricks for the boarder, roughly 2 hours. I then added metal mesh around the whole top using a hammer drill and tapcon screws so I could continue the veneer around the top.
Next step - 2 day wait and will start cutting herringbone brick pattern for floor. Hope to start the oven build next week!
1 Like
Thanks for flagging that for us, Chris! There’s going to be another issue that I hope you won’t encounter: once you start loading up the storage area with wood, no matter how carefully you do it, the splits are going to bang into the veneer and perhaps cause damage. My mom had a woodbox built in her living room for the stove, and they made it of concrete with stucco and a tile veneer around the inside top edge. The tiles are mostly gone after 20 years. No one did it on purpose, but when you’re bringing in 3 loads a day in the winter, things happen.
Good luck with your hearth build. That was one of the more satisfying parts of the project for me!
Ohh, I thought of that too, while doing it. .I am sure I will be popping veneer off left and right when chucking wood in there…I won’t worry about it…I should have just put a nice smooth dyed mortar coat on the inside.
Update on where I am at…Placed the form 15 minutes (kept the chimney part off) Day 1 - 3 hours mixing mortar and and laying the 4 rows of bricks on each side. I found it easy to wear gloves and use a 10 quart paint bucket from the big box store. For measuring I use 3 solo cups of sand, and 1 solo cup of each (clay, portland, and lime). Mix it all in the bucket buy hand (wearing nitrite gloves) and then dump in a big black mixing tub. I then mix a second batch and leave it in the 10 quart bucket without water! I am too slow so the mortar starts setting up if I try to mix larger quantities. About 2-3 hours to get both sides to 4 rows. I also keep my bricks soaking but found that they need to be out for 5-10 minutes before adding mortar or the mortar slides off. The next couple of rows took tons of mortar and the top last row is difficult because you have to mortar both sides. I just shoved mortar in the cracks and used the a thin piece of metal about double the length of a Popsicle stick 3 hours. About 2 hours on the back wall as well. Overall the form was straight forward and no issues. I will be adding the blanket this week…Pizza’s in October!!! The entire oven and brickwork took less then 7 hours. This included cutting the 10 bricks in half to start (used a 19 dollar 10 inch miter saw blade from Amazon), and cutting the bricks for the backwall, and mixing all the mortar. The chimney part was tough because I have a 4 inch angle grinder…a larger angle grinder would save alot of time. The oven itself was definitely less time consuming then doing veneer work!
1 Like
Sounds like you’re doing great, Chris! Overall your experience sounds like it’s on par for this particular course. The mortar in particular sounds sooo familiar—I recall having to throw out a few handfuls of it that I could no longer use because I’d mixed too much. It really hurt to do that!
You are definitely on your way.
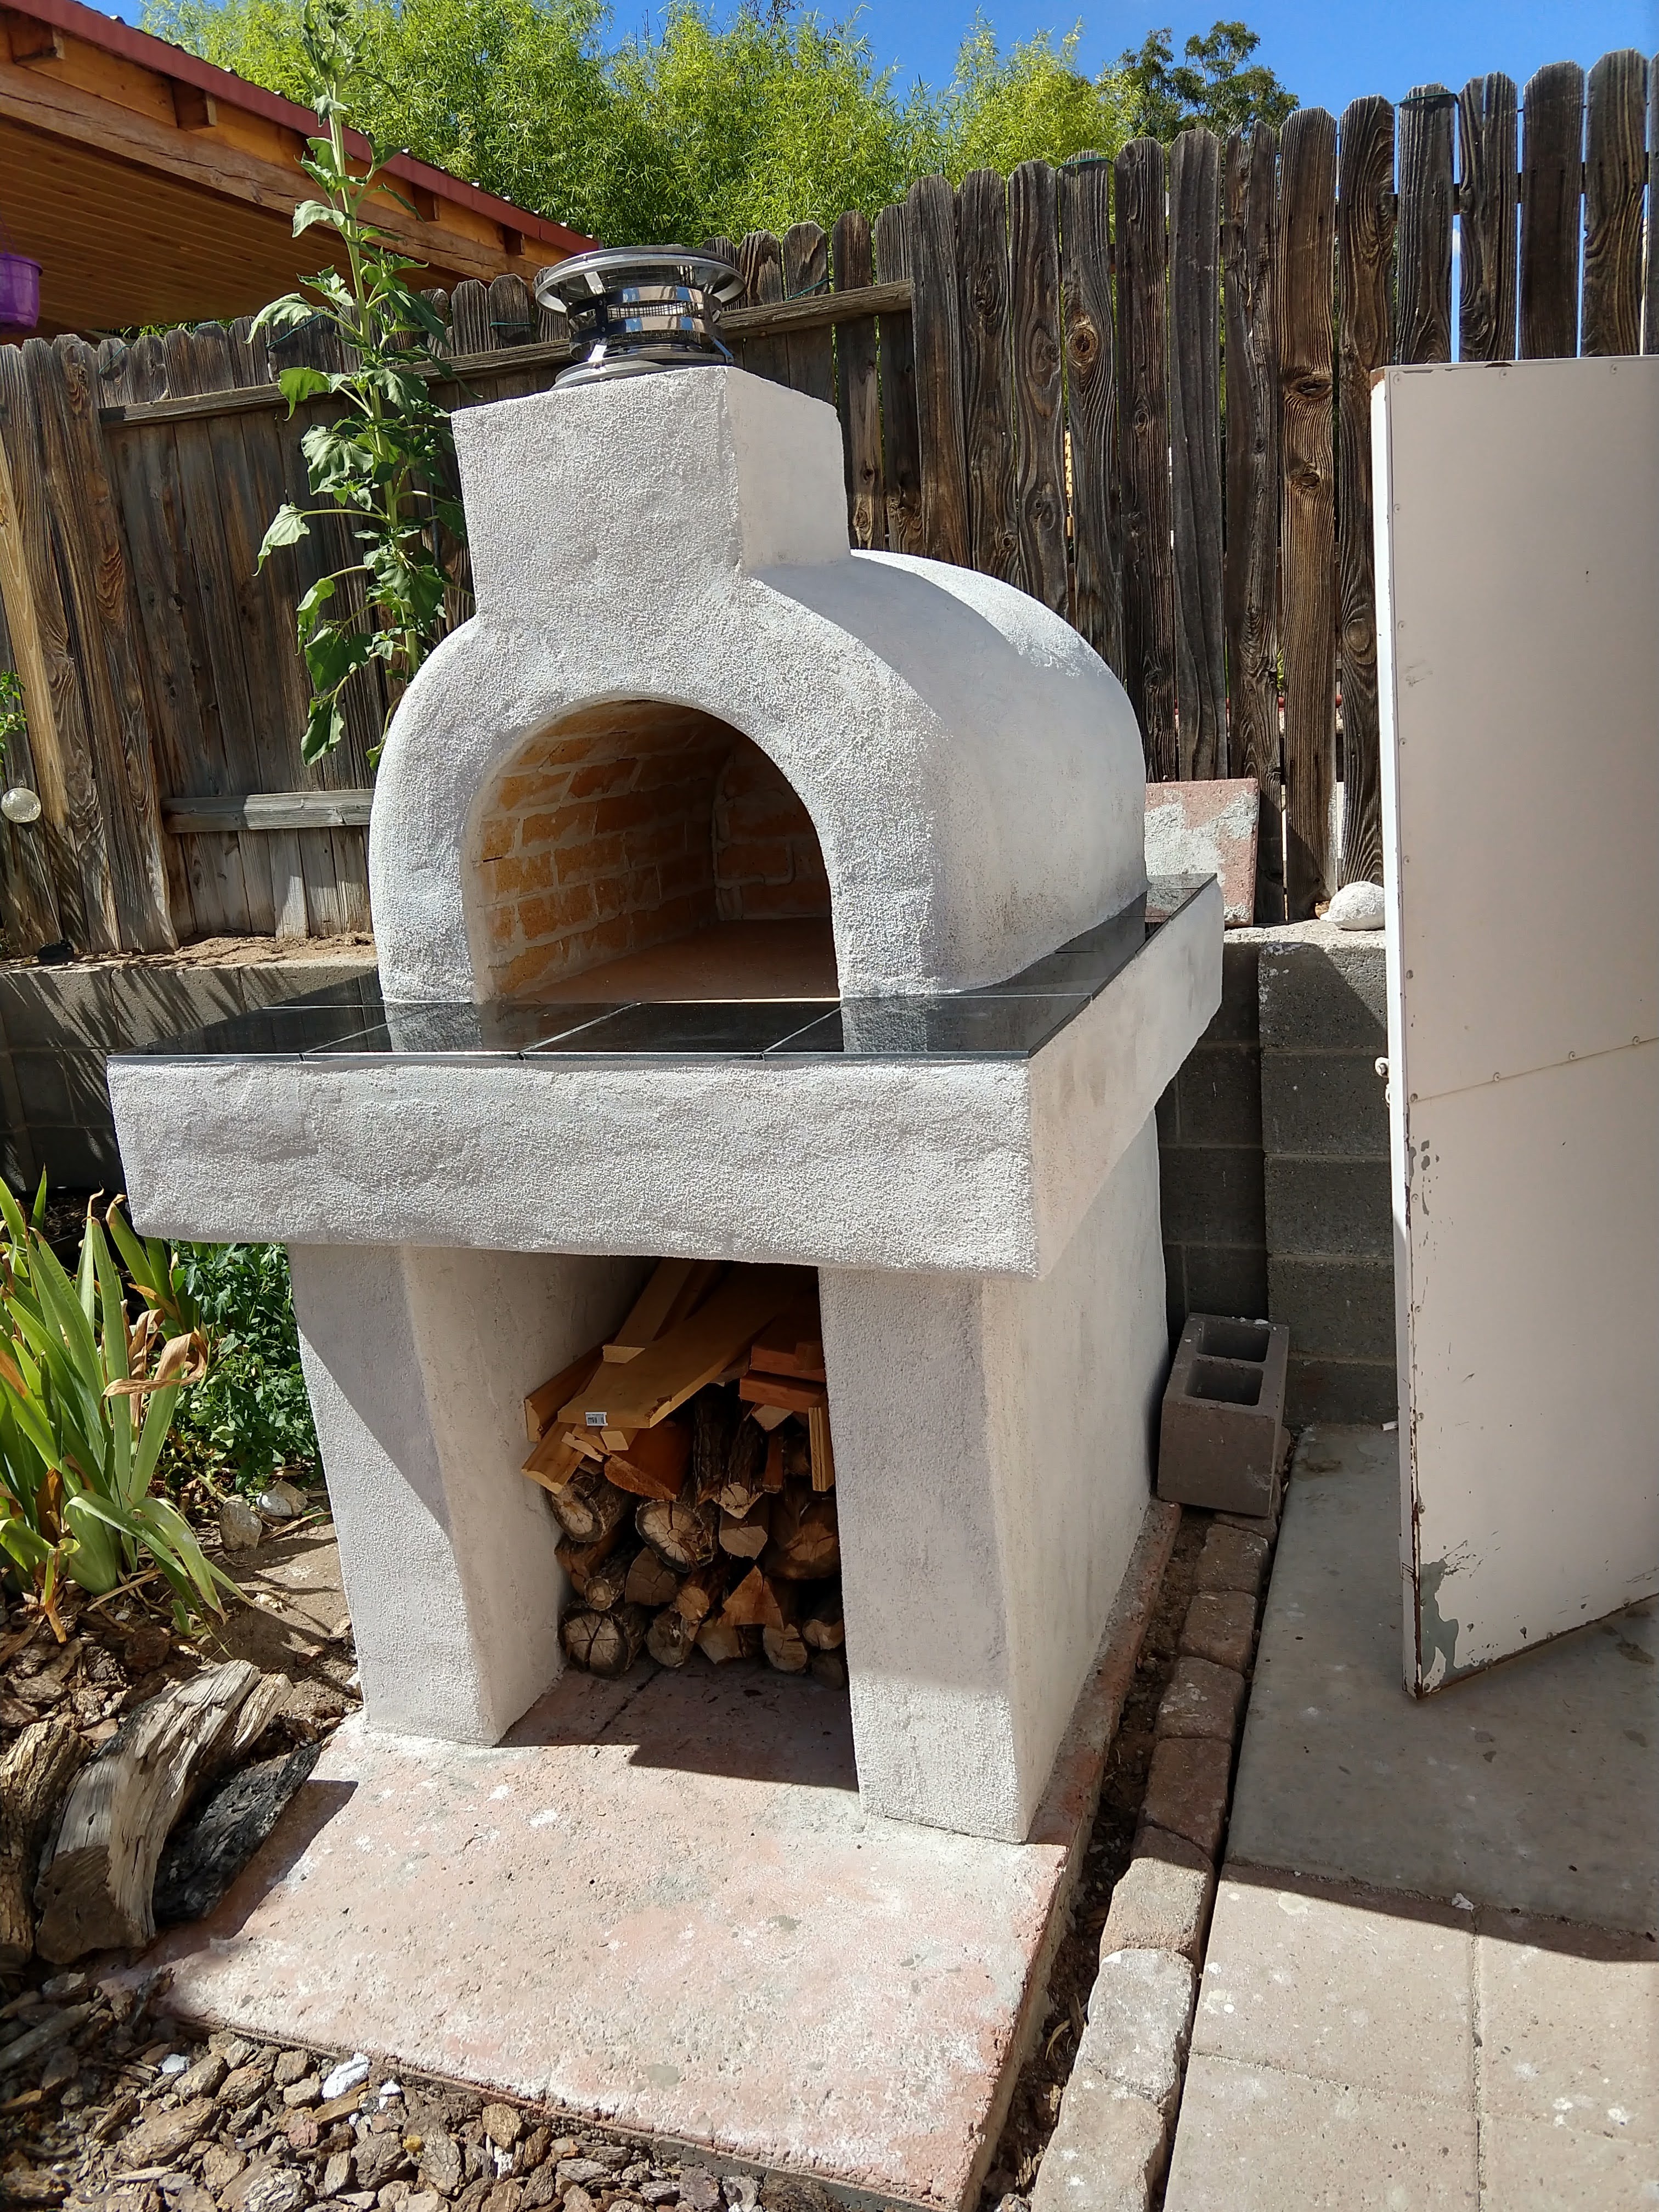
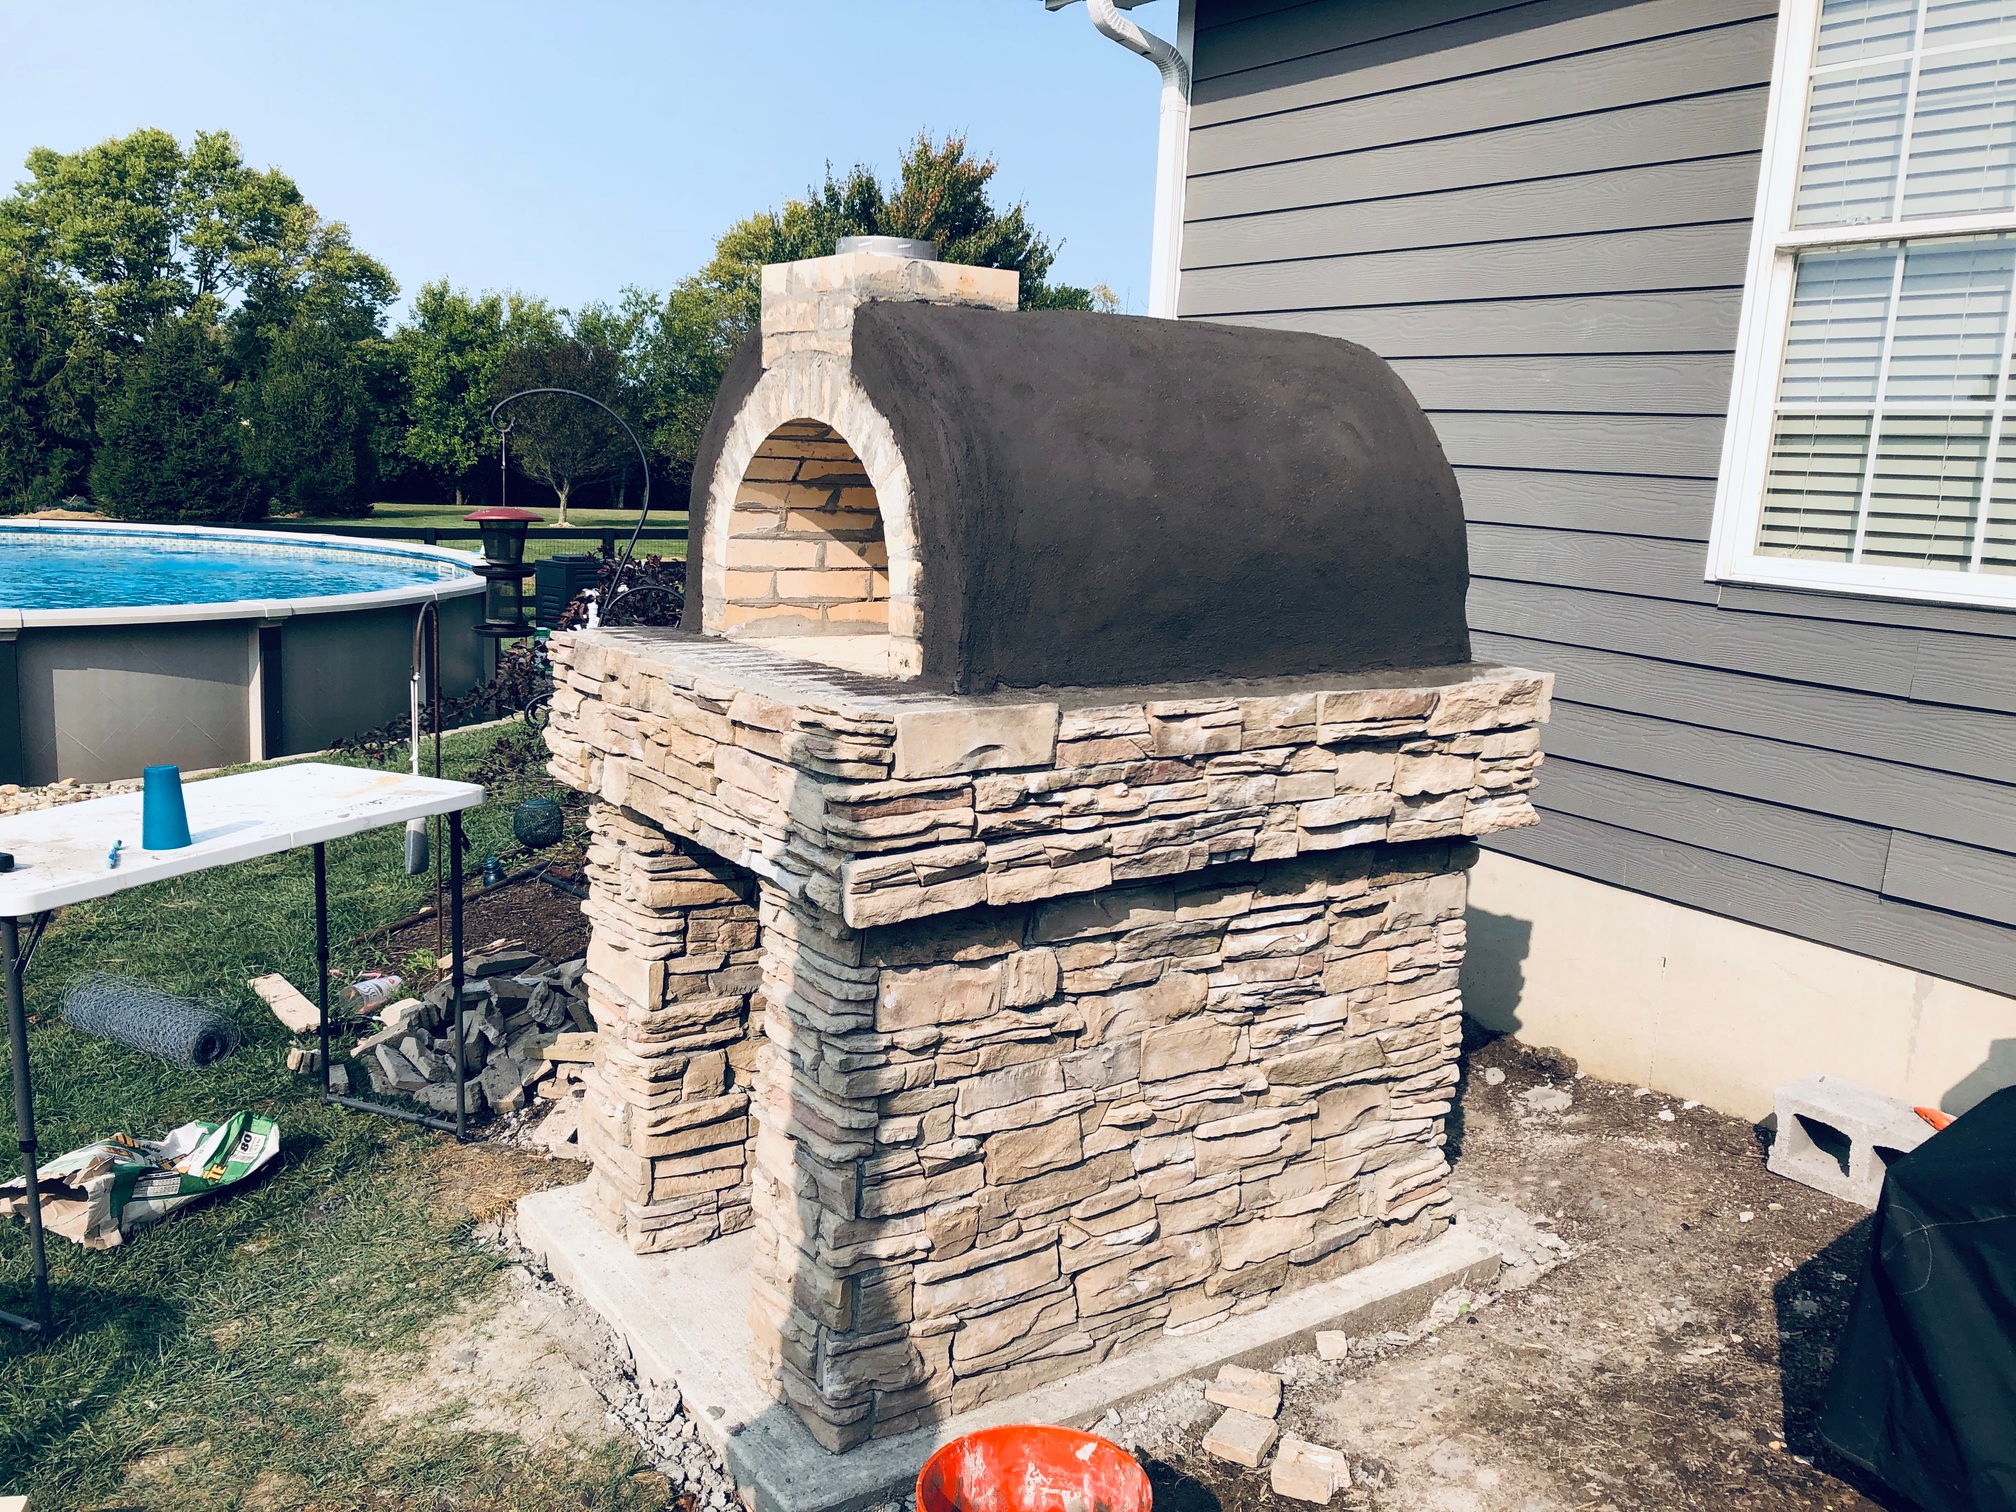
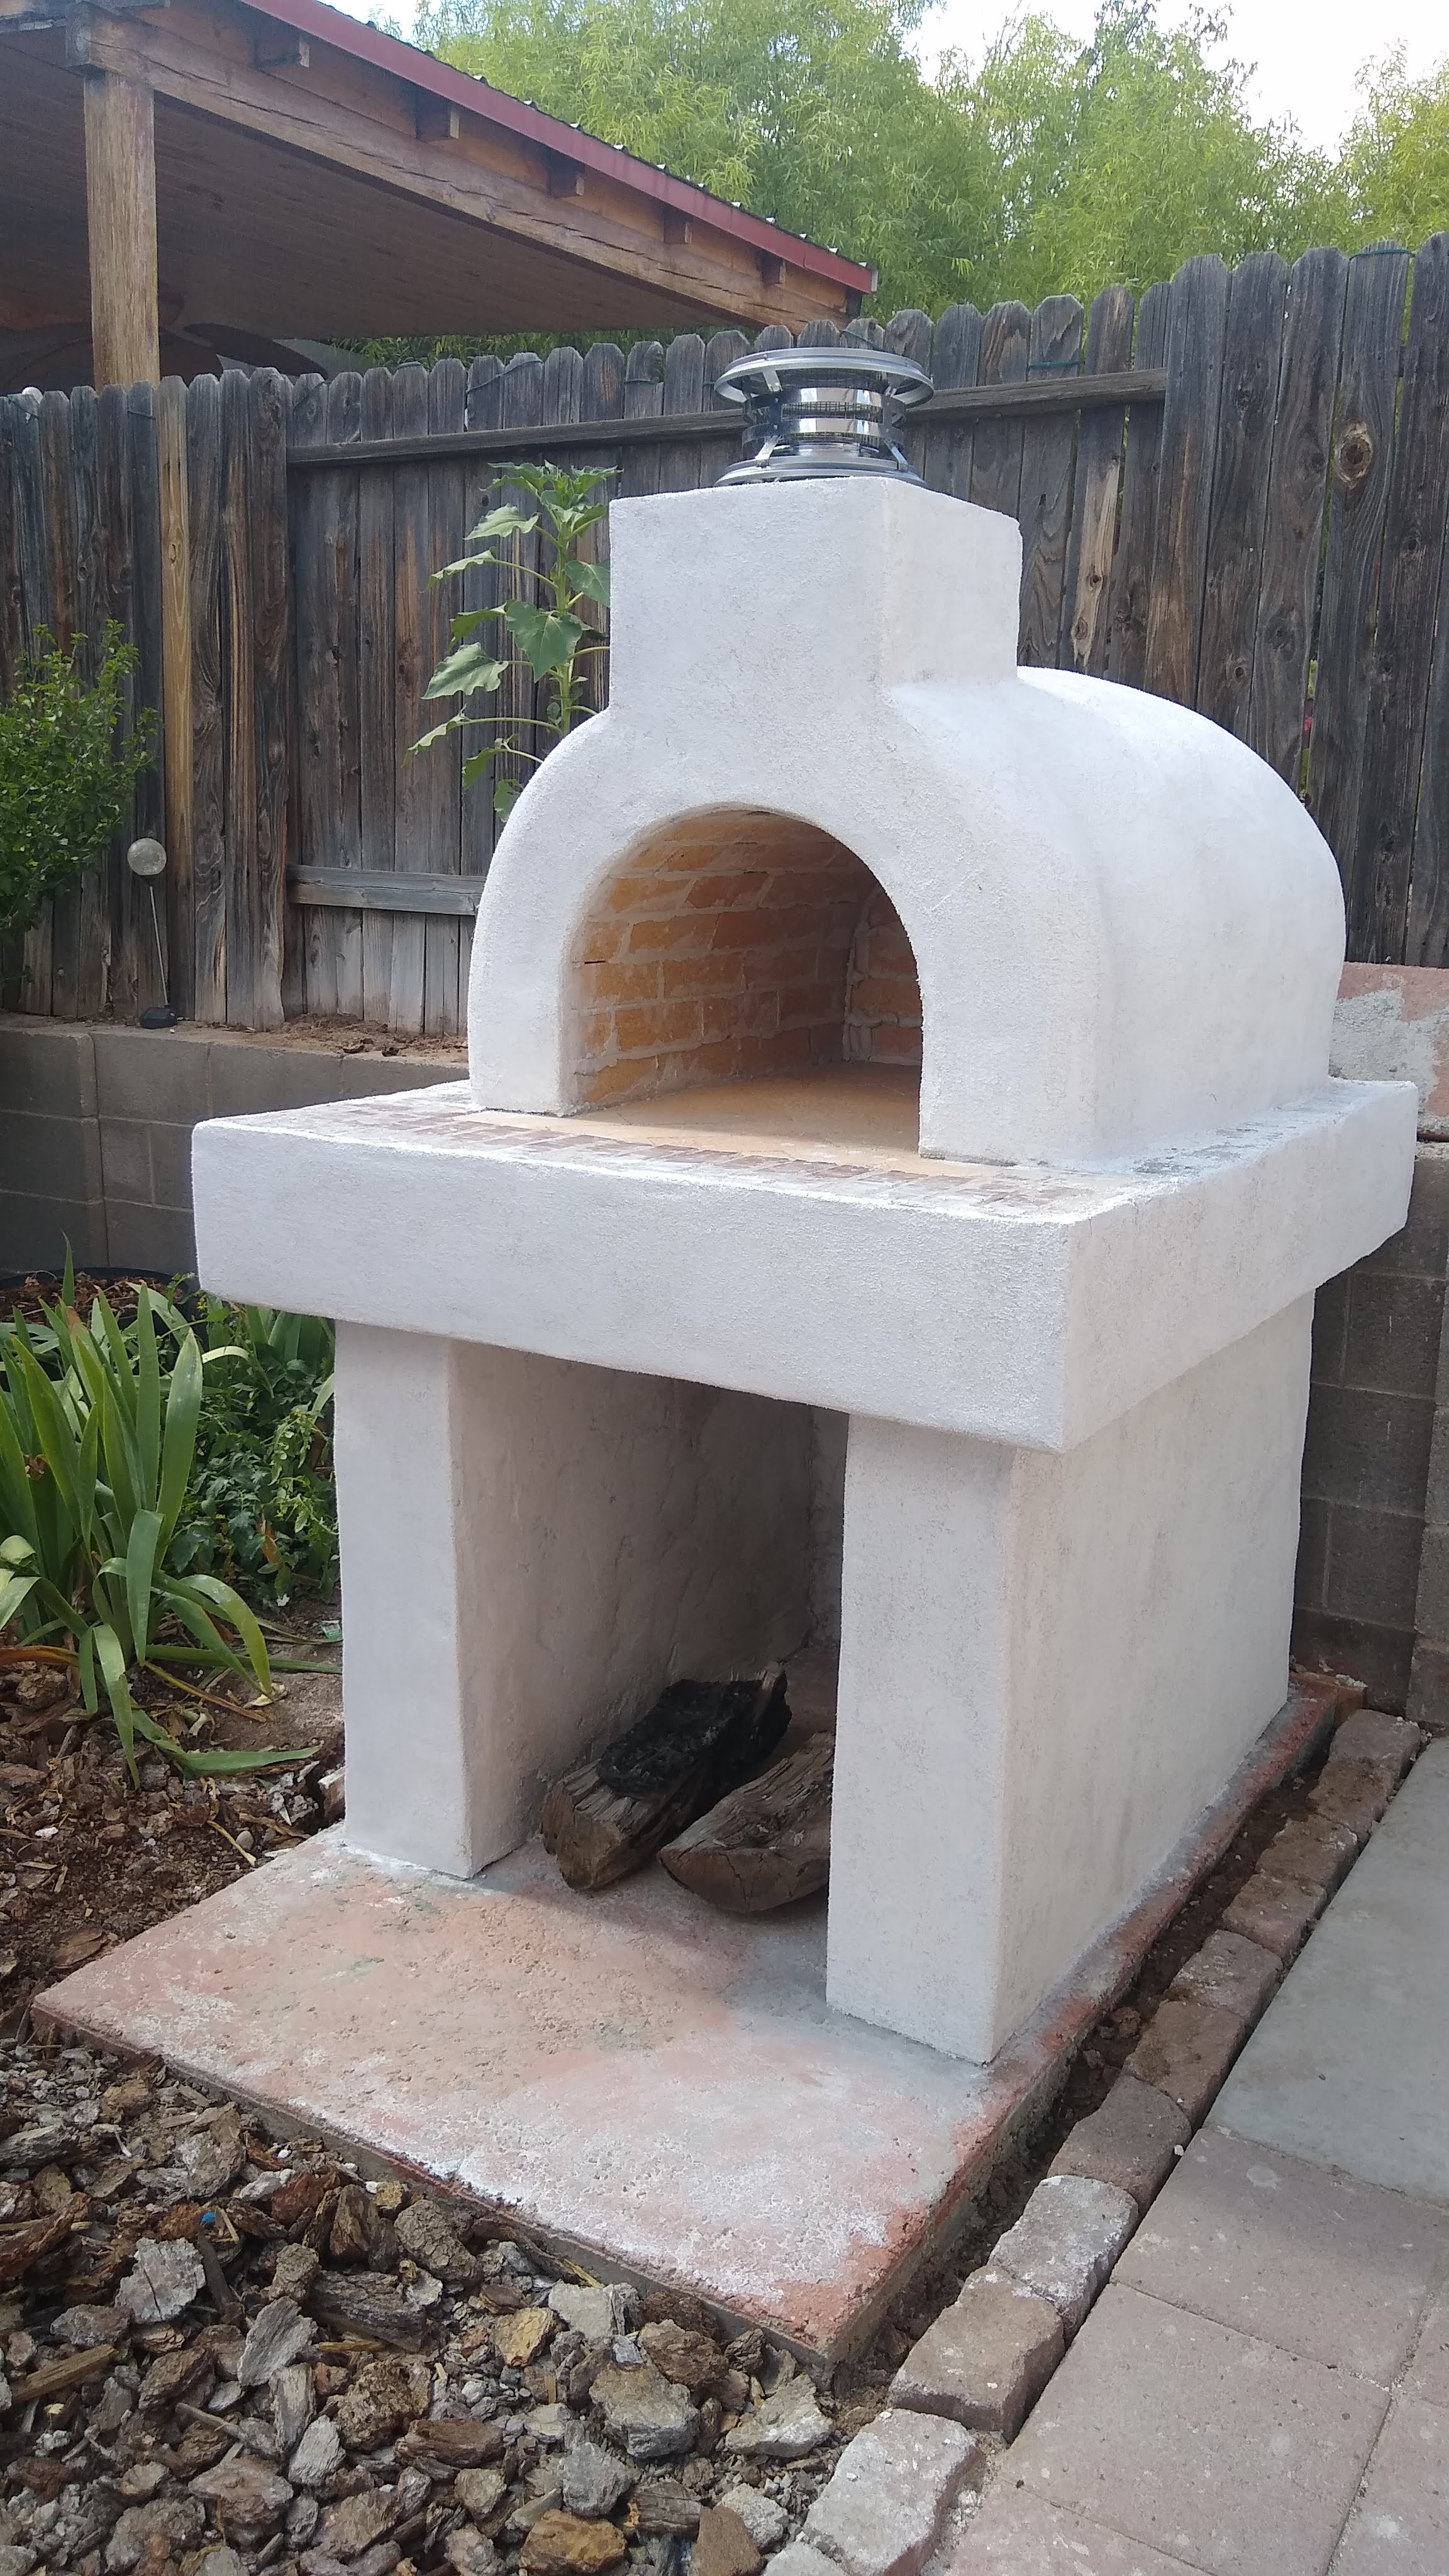
Looking good, final render with type S on today with quickrete black additive. Due to covid brick veneer is 4 plus weeks on delivery
1 Like
That looks awesome. Stone veneer is a great look.
1 Like