What about cooking a turkey for thanksgiving in the oven? Anyone pulled that off?
Ask me again in a couple of weeks, Scott!
Seriously, that’s a happening thing this year. I know everyone will have different menus and so on, but our plan is to fire up for pizza on Wednesday evening, maintain the heat overnight, and use it to bake French-Canadian (my people!) meat pies first thing Thursday morning. Then maintain a roasting environment and roast the turkey starting around 11 a.m.
For years I’ve roasted on our now-ancient Weber gas grill with excellent results. This year is a dry run for when we can host family again. They want a Terducken!
1 Like
That sounds like a great plan for the holiday. For your turkey what would be a good temperature to shoot for? Also since I am new , if the temperature drops some can wood be added during cooking?
Roasting is a long-term process. The recommendation I’ve read that makes sense is to heat it up thoroughly like you would for pizza, then let it cool down a bit. You want something like 550°F on the floor, with your fire to one side and flames going up that side only. Your roasting pan is on the other side, catching convection from the arch.
And yes, you should plan to add sticks of wood during your roast. You need that flame in order to roast. Adding smaller sticks for a rolling flame is a good strategy. You can use the door to damp things down as necessary, and also to maintain your temperature. If you have a damper, I’d close it off a bit, but that’s more to avoid making the neighbors absolutely sick with envy. 
Turkey needs a cover on it for most of the roast, just like it would in the kitchen oven (or on the grill). Use an open roasting pan and make a “tent” out of heavy-duty aluminum foil. Keep the turkey covered for most of the roast time, then uncover it for the last 45 minutes or so to brown it up nicely.
1 Like
That’s so great advice. I’m doing a turkey also. I got one of the heritage breeds, which means less white meat. I will tent the breast meat longer than the dark meat to ensure they are done around the same time.
I’ve done turkey on the grill, the smoker, and a rotisserie. One of the keys I’ve found is a good brine. There’s a good dry brine (3 days) on food52.com and a good wet brine on youtube from alton brown.
2 Likes
Please Take Pictures of the Process!!!
I’ll be writing a blog post “How to cook a Turkey in your Wood-Fired Oven” this year and would love to have some additional photos &/or videos of your success!
We can add video to the forum and new blog, so we’d love to see video
Thx Gentlemen!
Kevin
1 Like
That is awesome! I am getting excited. As soon as I can stock up enough wood I will be rolling in fire.
A quick question. When the recipe calls for a specific temperature are they talking floor temperature mostly?
Also can anyone recommend a good recipe book to purchase. One that covers many foods other than pizza. Thanks.
Hi Scott,
Always measure on the floor. One advantage your oven has is that the heat is stored in your hearth bricks and continues to radiate up even after the fire is out. If your floor is still hot, you’re still cooking!
As for a good recipe book, I usually recommend Andrea Mugnaini’s The Art of Wood-Fired Cooking. Her family imports and installs wood-fired pizza ovens, and also runs a cooking program at their home in California. The good thing about this book is that when she describes preparing your oven for different kinds of cooking (pizza, roasting, baking), she is thoroughly descriptive and includes diagrams.
There are similar books, but most of them stop with great pictures and recipes, which is where Mugnaini picks up.
2 Likes
Thank you that is very helpful.
If we were using only the floor temperature it would cook like a pancake. You would have to flip it.
Think about it like a conventional oven. The heat radiating from all sides causes it to cook in every direction. My focus with the floor temperature will be to ensure its hotter than I want the cooking temp to be. When I have roasted chickens in the oven I’ve noticed that if I’m shooting for 450 the cooking vessel comes in much colder and sucks up some of the heat. So I usually shoot for about 550-575 and use the damper and door a little differently to achieve an ambient temp that I want.
My plan is as follows: 1. Brine the turkey for about 12 hrs in a wet brine, clean pat dry and season the turkey with salt and pepper, and truss with butchers twine (promote even cooking). 2. Use a traditional roasting pan, turkey will be up off the floor in a rack. Underneath, onions, carrots, and celery. 3. I’m going to place the turkey in sideways and reverse it every 30 to 45 minutes. 4. Tent the turkey breasts in heavy duty foil and finish the turkey tail facing the flames until I hit target. 5. Target temp breasts 157-160 and for the legs/thighs. 165 degrees. 6. Rest turkey for 30 minutes wrapped in foil in a clean cooler.
Having cooked a turkey a bunch of different ways. Best laid plans often go awry, but having the plan makes it easy to adjust and adapt when things don’t go as planned.
I concur with the Mugnaini book. Easy to understand principles.
Have you watched any YouTube videos by the “wood fired chef” ?
2 Likes
LOL! Yes, that’s true.
And of course it’s good to take measurements of walls and upper arch. We use all of those when taking into account whether the oven is ready for a particular task.
The floor temperature is our reference. The walls can be up to 900F for pizza, but if your floor is too cold you’ll have a toasted cheese top and a soggy bottom, as others have attested when they’re trying to figure out what they did wrong.
Great plan for your turkey, and I hope it goes well!
1 Like
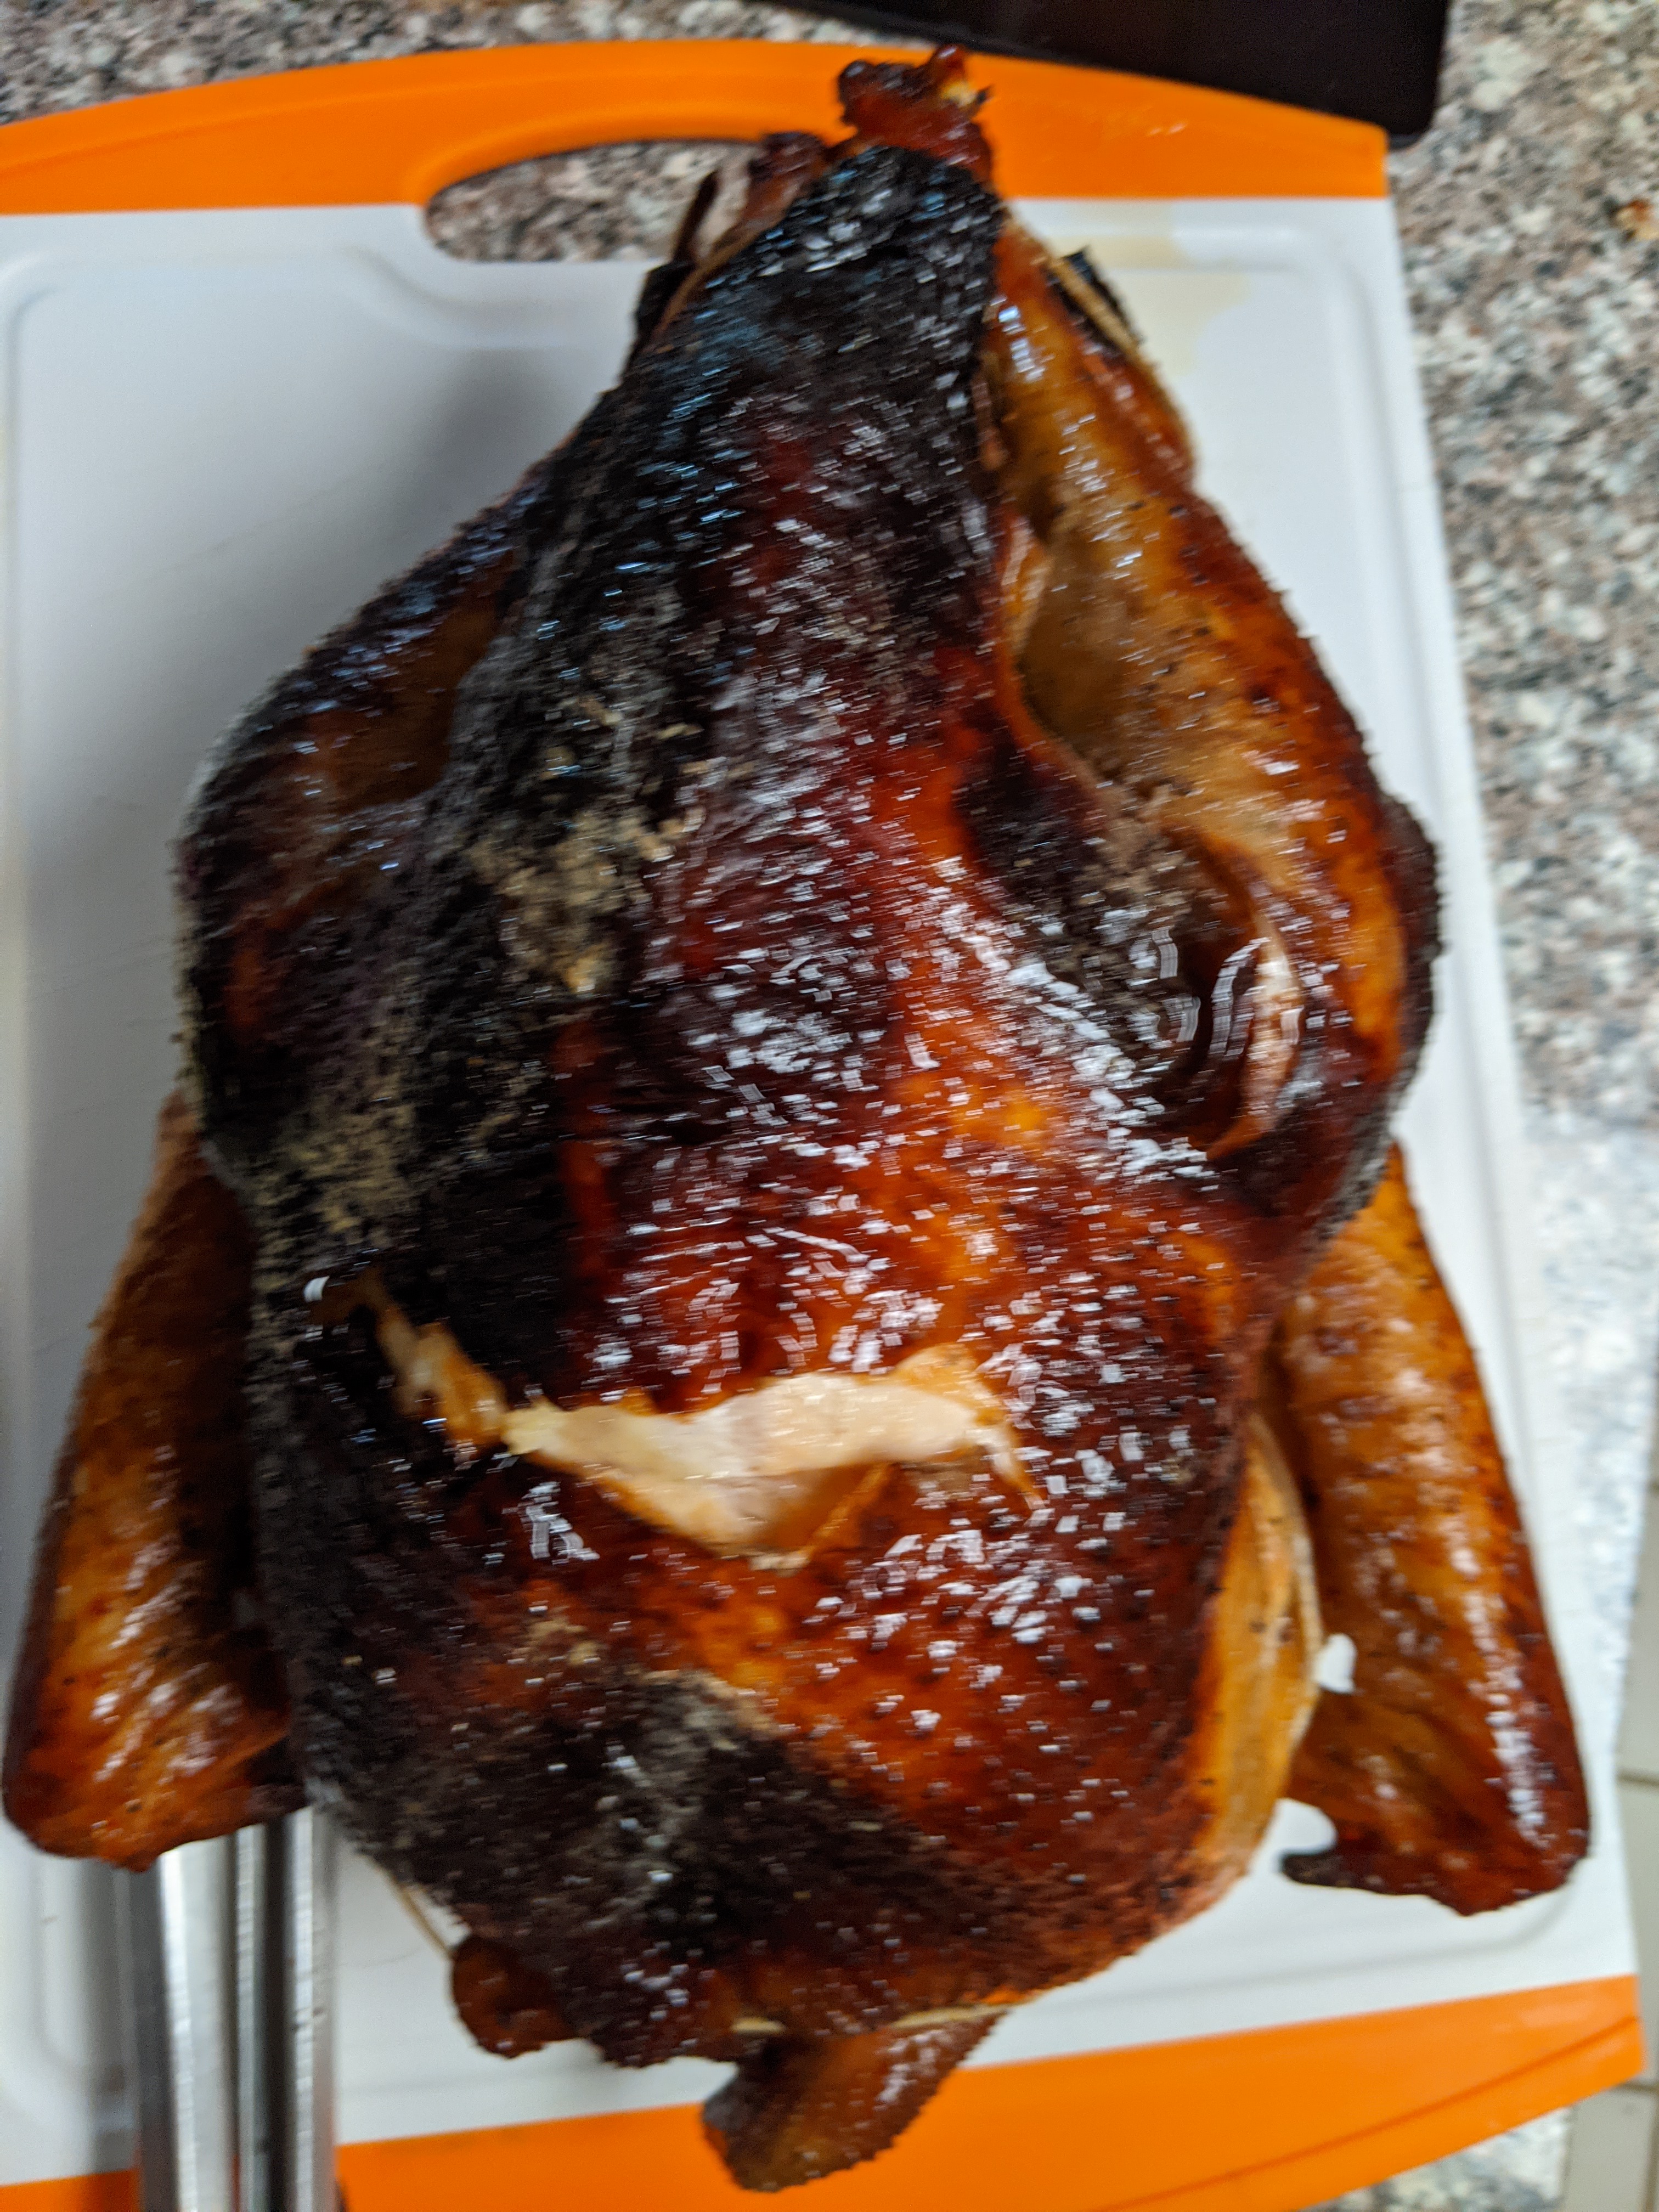
Turkey was a success. My favorite way to cook a turkey I’ve found. I think I’m out of ways to cook turkey. I learned some things. These are the things I would do different.
First, temperature was too high. I’ll shoot for 525 in the back and 500 in the front next year.
Second, 30-45 minutes was far too long per side. I checked after fifteen and the turkey got a little too dark. Tasted fine but I wanted a medium brown skin. I would check after ten minutes. I would spin the bird 180 degrees and cook for less time on the second side before tenting the bird. I did not anticipate getting as much color from the door side as I did. I would do ten minutes on the first side and seven on the second.
Third, I would get a bigger turkey. Normally, we host a big Thanksgiving but didn’t because of the virus. It provided less wiggle room and I missed my target temp in the breasts by a few degrees. 9 lbs was too small. I pulled the turkey at 163 and it was moist but I know I can do better.
Fourth, I did not plan on flipping the turkey over but to get even color I needed to. I would start the bird upside down for a few minutes with tail towards the flame and spin it a 180 degrees for a few (shorter number than tail) number of minutes. Because I did it towards the end, I cracked the skin when I flipped it.
Fifth, I would put all of the sides in the oven when I pulled the turkey. I could have cooked everything with the residual heat but didn’t. That’s more a matter of diplomacy with the wife.
2 Likes
I think it’s a fine-looking outcome! Yeah, I get your point about being darker than you expected on one side, but as you say it’s a matter of expectations.
Our weather here was so lousy last week that we ended up bagging the plans to roast outdoors. But the test bird (large chicken) that I did the week before did show some of the same issues. I tented through most of the roast, and when I removed the tent near the end it colored very quickly. Too quickly.
Relatively speaking, a 6 pound chicken, so it was a third smaller than your turkey. But I learned a lot from it.
Thanks for sharing your experience, Newman!